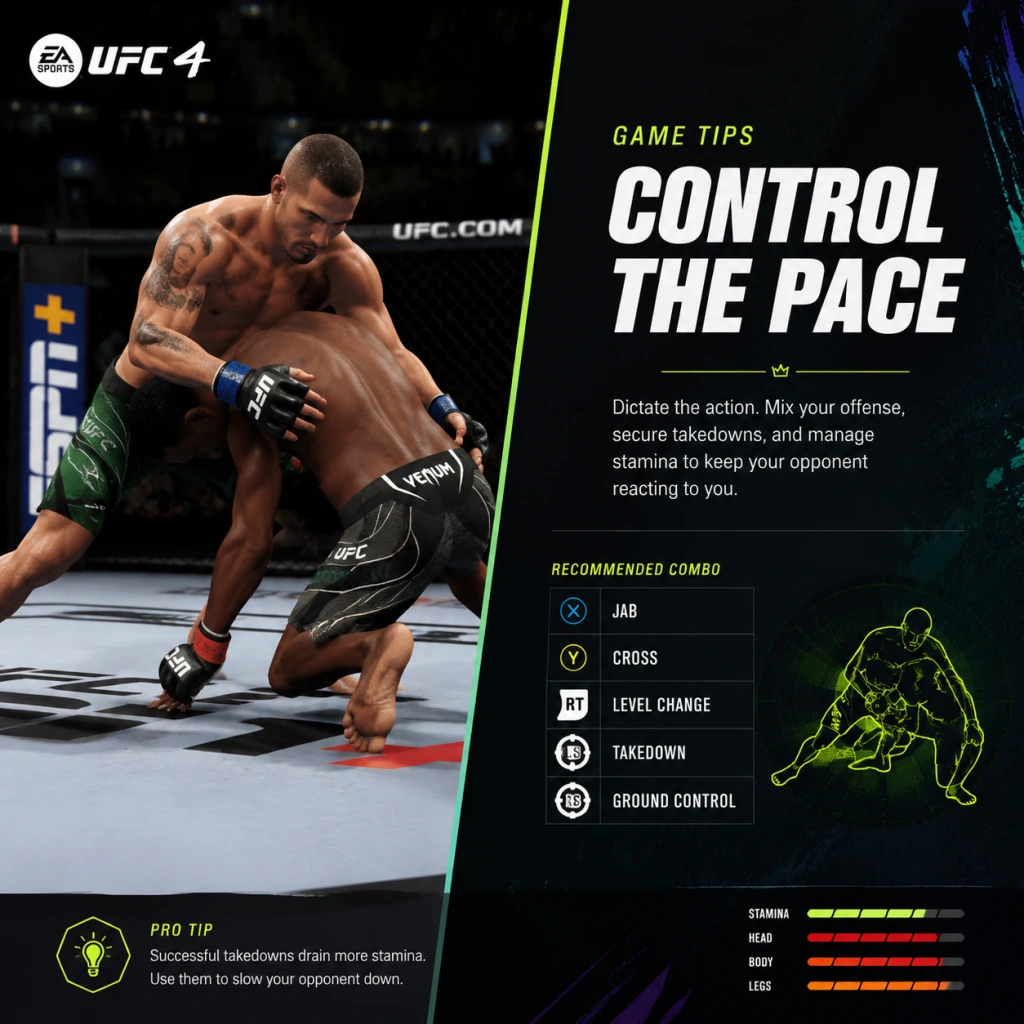
Game Tips
EA Sports UFC 4 – Game Tips Guide
This guide covers essential tips for all skill levels, grouped by key gameplay areas. Each tip includes an explanation of why it works and when to apply it.
1. Combat – Striking
Beginner Tip: Master the Basic Strikes
- Tip: Practice jabs, straights, hooks, and kicks (head, body, legs) in Practice Mode until you can throw them without thinking.
- Why it works: Fundamentals build muscle memory. Consistent jabs set up power shots and keep opponents guessing.
- When to use: Every fight from Round 1 onward. Start with jabs to measure distance and find openings.
- Tip: Chain 2-3 strikes in combinations (e.g., jab-cross-hook, leg kick-straight). Mix up high and low targets.
- Why it works: Combos break through guards and score more damage. Opponents who block high are vulnerable to body/leg shots.
- When to use: After landing a jab that forces a reaction; when opponent is pressed against cage; to counter a missed strike.
- Tip: Fake a strike by starting the animation then cancel (e.g., jab feint into takedown). Use head slips (L1/LB + left stick) to dodge punches.
- Why it works: Feints freeze your opponent, creating opportunities for takedowns or power shots. Head movement avoids damage and prevents stamina drain from blocking.
- When to use: Against aggressive opponents who spam strikes; to set up a takedown after making them respect your hands.
- Tip: When opponent shoots, press R2/RT + right stick toward them (or down for sprawl). Do not spam—wait for the animation start.
- Why it works: A well-timed denial keeps the fight standing where you are comfortable. Spamming drains stamina unnecessarily.
- When to use: When you see the shooter lunge; during opponent’s forward movement.
- Tip: Enter clinch (L1 + circle/B near opponent). Use side control (left stick) to land knees or elbows. Watch stamina—clinch consumes it fast.
- Why it works: Clinch limits opponent’s striking options and lets you land damaging body shots. Great against strikers who lack takedown defense.
- When to use: After backing opponent to cage; when you have stamina advantage; to disrupt a furious striker.
- Tip: Learn the rock-paper-scissors of ground transitions (postures, half-guard, full guard). Use fakes (tap transition then cancel) to bait opponent into blocking wrong direction.
- Why it works: Fakes open a real transition opportunity. Submissions (R2 + right stick for arm bars, triangles) can end fights quickly but cost stamina if defended.
- When to use: When you have a stamina advantage on the ground; after a knockdown where you follow to ground; to finish a rocked opponent.
- Tip: Hold L1/LB to block high strikes; hold R2/RT to block low kicks. Release block between strikes to regenerate stamina faster.
- Why it works: Proper blocking nullifies most damage. Dropping block for a split second reduces stamina lost per blocked hit.
- When to use: Default state of defense; only drop block when opponent is not attacking or you intend to counter.
- Tip: Tap L1/LB just before a punch lands to parry (windows are tight). This stuns opponent briefly, allowing a free counter.
- Why it works: Parries disrupt rhythm and give massive damage opportunity. Risk/reward – mistiming leaves you open.
- When to use: Against predictable jab-cross patterns; when you see a straight punch coming from distance.
- Tip: Use lateral movement (L3 + left stick) to circle off center line. Step in and out with left stick to control range.
- Why it works: Great footwork makes you a harder target, forces opponent to waste stamina chasing, and sets up your own angles.
- When to use: Constantly – even while blocking. Circle to opponent’s weaker side (orthodox vs southpaw).
- Tip: Never let stamina drop below 50% unless necessary. Rest when opponent is on ground or backing away.
- Why it works: Low stamina reduces damage output, slows movement, and makes you vulnerable to knockdowns and submissions.
- When to use: During clinch breaks; after throwing a combo; when you have a winning lead in rounds.
- Tip: When rocked (screen blur, fighter wobbles), immediately hold block (L1) and move backward. Do not engage.
- Why it works: A rocked fighter takes extra damage. Blocking gives you time to recover stun reduction. Moving backward avoids follow-up.
- When to use: Instantly when rocked – spam block if necessary.
- Tip: Force your opponent to throw many strikes by slipping and moving. Let them tire themselves out while you stay efficient.
- Why it works: An opponent at 30% stamina has greatly reduced power and speed. Then you can press advantage.
- When to use: Against aggressive early-round fighters; when you have superior cardio (higher stamina stat).
- Tip: Start with “Boxing” or “Wrestling” backgrounds. Avoid grappler archetypes until you understand ground game.
- Why it works: Boxing gives elite striking stats; Wrestling gives strong takedown defense. Both ease you into game.
- When to use: First career playthrough.
- Tip: During training weeks, prioritize drills that improve your lowest stats (e.g., takedown defense if you keep getting taken down). Don’t ignore fight-specific game plan bonuses.
- Why it works: Balanced stats prevent exploitation. Game plan bonuses give temporary boosts for next fight.
- When to use: Every week before a fight.
- Tip: Maintain at least 80% morale by winning fights and completing side activities. Keep energy above 60% by not over-training.
- Why it works: High morale gives stat boosts; low energy leads to injuries and poor performance.
- When to use: After fights, check morale; before training, ensure enough rest days.
- Tip: For a balanced build, put 4 points into Striking, 4 into Grappling, and the rest into Physical (stamina/speed). Do not neglect any category.
- Why it works: A one-dimensional fighter loses against a well-rounded opponent. Physical stats affect all actions.
- When to use: When creating a custom fighter for online or career.
- Tip: Equip only a few high-damage moves you can execute reliably rather than filling slots. For example, one powerful head kick, one submission entry.
- Why it works: Reducing move pool helps muscle memory. You’ll use those specific moves effectively.
- When to use: At fighter creation or during move re-learning.
- Tip: Create a fighter with “Boxing/Wrestling” or “Muay Thai/Jiu-Jitsu”. This gives unique animations and stat boosts.
- Why it works: Hybrids have no glaring weakness. Example: Boxing/Wrestling gives lethal hands plus takedown ability.
- When to use: After mastering one style, expand to hybrid.
- Tip: Observe common tactics (spamming leg kicks, overhand spam, clinch abuse). Practice counters: low block for kicks, lateral movement for overhands.
- Why it works: Countering popular strategies gives immediate advantage against many opponents.
- When to use: After a few online fights, adjust your game plan.
- Tip: Use wired connection to reduce latency. Avoid playing on Wi-Fi if possible.
- Why it works: Even 50ms ping difference affects parry windows and takedown denials.
- When to use: Always when playing online.
- Tip: First 30 seconds of round: feel out with jabs, check opponent’s tendency. If they block low, go high; if they rush, use footwork.
- Why it works: Adapting beats any fixed strategy.
- When to use: Every match.
- Tip: Complete Daily and Weekly Objectives (from main menu) to earn coins faster. Also play Career Mode fights for payout bonuses.
- Why it works: Objectives give free coins. Career bonuses increase with higher difficulty settings.
- When to use: Log in daily for objectives; increase difficulty when comfortable.
- Tip: Prioritize purchasing move packs or cosmetic items for your main fighter over loot boxes. Avoid buying stamina boosts with cash.
- Why it works: Move packs expand your arsenal. Cosmetics are purely visual but fun. Loot boxes are random.
- When to use: When you have 5000+ coins.
- Tip: Learn the frame data of key moves (e.g., jab is 10 frames, overhand is 20 frames). Use fast moves to interrupt slower ones.
- Why it works: Understanding frame advantage lets you know which moves are safe after landing.
- When to use: Only for competitive improvement; study online resources or practice mode frame counters.
- Tip: When opponent has back to cage, use low kicks and straight punches. Do not throw hooks—they miss and leave you open.
- Why it works: Low kicks force opponent to commit to a direction. Straight punches land clean.
- When to use: Whenever you pin opponent against cage.
- Tip: Combine a perfect sprawl (press L1 + down on right stick) immediately with a body knee (□+△ on PS, X+Y on Xbox) to inflict damage.
- Why it works: This punishes takedown attempts and drains opponent’s stamina heavily.
- When to use: When you read a double-leg takedown coming.
- Tip: Spend 5-10 minutes before ranked matches in Practice Mode: drill parries, combos, clinch entries.
- Why it works: Sharpens reactions and refreshes timing.
- When to use: Before any competitive session.
- Tip: Set practice opponent to specific behaviors (e.g., “Aggressive Striker”). Practice escaping under pressure or countering.
- Why it works: Replicates real match conditions better than stationary dummy.
- When to use: To work on a weakness (e.g., getting KO’d early).
Intermediate Tip: Use Combos with Purpose
Advanced Tip: Feints and Head Movement
2. Combat – Grappling & Clinch
Beginner Tip: Deny Takedowns with Proper Timing
Intermediate Tip: The Clinch – Control and Damage
Advanced Tip: Ground Transitions and Submissions
3. Defense
Beginner Tip: Block High and Low
Intermediate Tip: Countering with Parries
Advanced Tip: Footwork and Distance Control
4. Stamina & Health Management
Every Level: Watch Your Stamina Bar
Intermediate Tip: Rocked State – Survive
Advanced Tip: Gassing Opponent
5. Career Mode Tips
Beginner: Choose the Right Fighter Archetype
Intermediate: Training Camps – Focus on Weaknesses
Advanced: Manage Fight Morale and Energy
6. Fighter Creation & Builds
Optimizing Attributes
Move Sets – Choose Efficient Moves
Advanced: Hybrid Styles
7. Online Multiplayer
General: Learn the Meta
Connection Matters
Adjusting to Opponent
8. Economy & Customization
Earning Fight Coins
Spending Coins Wisely
9. Advanced Optimization
Frame Data Knowledge
Specific Techniques: The “Cage Game”
The Perfect Takedown Defense
10. Practice Mode Drills
Always Warm Up
Situational Drills
---
Final Words: Consistent practice and a willingness to adapt are key. Start with the basics, build a solid foundation in striking and grappling, then layer in advanced tactics. Use the training tools available. Good luck in the Octagon!