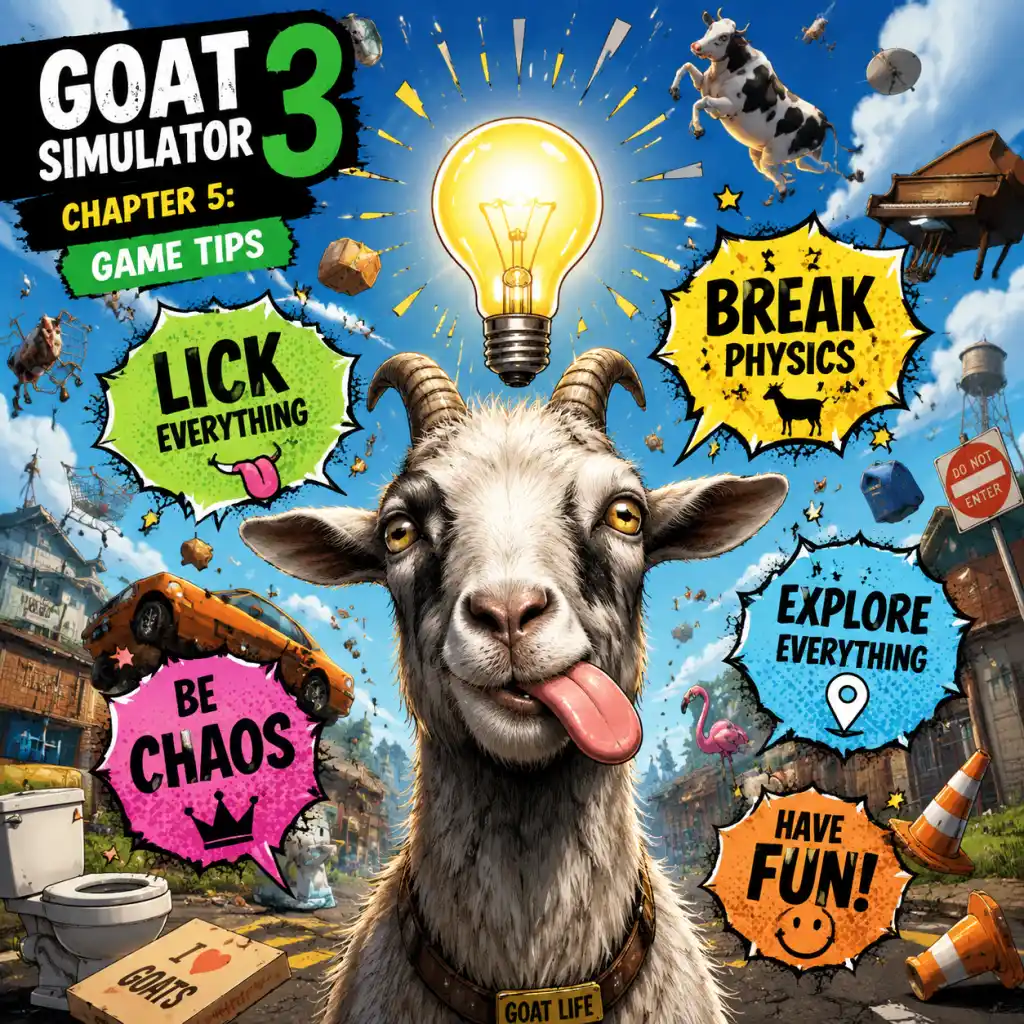
Game Tips
Overview
Goat Simulator 3 is a physics sandbox of pure, unadulterated chaos. To master the island of San Angora, you need more than luck—you need strategy. This guide provides tips categorized by playstyle and progression level, from the first head-butt to the final secret.
---
Beginner Tips
1. Master the Basics of Movement
- Explanation: Your goat can run, jump, head-butt, lick, and ragdoll. Head-butts break objects, licks grab things, and ragdolling lets you slide and smash into breakables.
- Why it works: These actions are your primary tools for interacting with the world. Practice chaining a sprint into a head-butt to maximize damage and distance.
- When to use: Always. Quickly tapping the ragdoll button while jumping lets you pancake enemies and objects alike.
- Explanation: The starting meadow and farmhouse contain multiple breakables, collectibles (Goat Toys, Easter eggs), and a few easy events.
- Why it works: Early game items like the Jetpack and the Lava Cape are hidden here. Complete the events to unlock customization items and currency.
- When to use: Immediately after the tutorial. Explore every barn, outhouse, and fence line.
- Explanation: Licking objects lets you drag them behind you. You can also lick enemies to toss them.
- Why it works: Some puzzles require moving objects to trigger switches. Also, licking a cow and dragging it to a barn counts toward an event.
- When to use: When a mission objectives includes "bring X to Y" or when you want to fling enemies off cliffs.
- Explanation: Your phone (press the gadget button) shows events, collectibles, and fast travel points. You can also replay completed events.
- Why it works: Events are the main source of Goats (currency) and unlock new goats. Fast travel saves time.
- When to use: Open the map frequently to see nearby activities. Prioritize events with high cash rewards.
- Explanation: The game auto-saves infrequently. You can manually save by opening the camera (photo mode) and exiting.
- Why it works: If you die or break your goat (e.g., trapped geometry), you can reload. Also useful for checkpointing before difficult stunts.
- When to use: Before attempting a tricky jump, collecting a fragile item, or entering a dangerous area.
- Explanation: There are a dozen or so fast travel totems scattered across the island. Touching them unlocks teleportation.
- Why it works: Reduces travel time when farming events or collectibles. Some totems are hidden behind breakable walls or require precise jumps.
- When to use: Unlock all as early as possible. Use a guide to find the ones in caves or on top of buildings.
- Explanation: San Angora has a deep ocean with sunken structures, caves, and rare collectibles (e.g., the "Dune" Spice Melange item).
- Why it works: Several events require underwater exploration. The Tuxedo Goat can be found underwater. Also, deep water hides a secret boss.
- When to use: Get the Jetpack or a speed-boosting goat (e.g., Motorcyclist) to navigate underwater faster. Look for bubbles indicating air pockets.
- Explanation: Many events require altitude. Climb the Ferris wheel, the radio tower, the mountain peak.
- Why it works: These spots usually have a collectible (Goat Toy or Crown) and a good view for photo missions. Also, some goats can only be unlocked by reaching certain heights.
- When to use: Equip the Parachute or the Jetpack for easier climbing. Use the "Bouncy" power-up from the castle to leap high.
- Explanation: The island has several hidden entrances, often behind waterfalls, in the side of cliffs, or under buildings.
- Why it works: They contain unique events, rare items (like the Golden Fart), and temporary power-ups (e.g., Fire Goat ability).
- When to use: Try to enter every suspicious crack. Use headbutt to break fake walls.
- Explanation: There is no health bar. Enemies (NPCs, police, other goats) are dealt with by knocking them out with objects, headbutts, or explosions.
- Why it works: The game uses ragdoll physics. A single well-placed headbutt to the face or a thrown propane tank can instantly flatten any human.
- When to use: When an event requires you to "eliminate" targets (e.g., scare farmers, destroy property, annoy tourists). Use explosive barrels for area damage.
- Explanation: Traffic cones, chairs, rocks, and even cows can be thrown or licked and swung.
- Why it works: Throwing objects deals high damage and often causes chain reactions (e.g., knocking a barrel into a group).
- When to use: In crowded areas. Lick a large object (like a table) and swing it to hit multiple enemies.
- Explanation: By pressing the ragdoll button while running, you become a sliding bullet. Hitting someone while ragdolling counts as a massive hit.
- Why it works: It covers ground quickly and can bowl over an entire line of people.
- When to use: Running down a street full of pedestrians. Also useful for breaking rows of fragile items.
- Explanation: Gas stations, fireworks stands, and fuel drums explode when damaged. Detonating one can set off a cascade.
- Why it works: Massive area damage for events requiring high destruction score. Also clears large areas of enemies.
- When to use: When you see a gas station—start a fire using a torch or a spark from a broken wire. Run away and watch the show.
- Explanation: Goats (regular currency) are earned from events, destruction, and collectibles. Gold Goats are premium currency earned rarely or via login rewards.
- Why it works: Regular Goats buy cosmetics, new goats, and power-ups. Gold Goats buy exclusive items (like the Golden Goat skin) and skip progress.
- When to use: Spend regular Goats on abilities first (e.g., double jump, increased speed). Save Gold Goats for items you cannot earn otherwise.
- Explanation: Events are repeatable. Some are very quick (e.g., "Break 10 plates" at the diner) and give 100+ Goats each time.
- Why it works: You can grind the same event to accumulate currency fast. The "Pushing the Cart" event in the supermarket gives ~150 goats per minute.
- When to use: When you need a large sum for an expensive goat (e.g., Alien Goat costs 5000 Goats).
- Explanation: Your destruction score increases combo multiplier when you break things rapidly. Higher multiplier = more currency from destruction.
- Why it works: A short session of breaking many items in a tight space (like a warehouse) can net hundreds of Goats.
- When to use: When you need quick cash. Look for rooms full of glass or pottery (e.g., souvenir shop, museum).
- Explanation: Finding all Goat Toys in a set gives a bonus reward (often a new goat or a large amount of Goats).
- Why it works: It's a guaranteed payout and often unlocks unique cosmetics that help in events.
- When to use: Use the map to track missing collectibles. Search systematically by region.
- Explanation: Each goat has unique stats and abilities. For example, the Sheep (slow but high damage), the Motorcycle Goat (fast but fragile), the Alien Goat (levitation and laser).
- Why it works: Choosing the right goat can trivialize some events. Speed events require fast goats, destruction events benefit from high damage.
- When to use: Switch goats based on the event. Keep a default goat for exploration (e.g., Regular Goat with double jump).
- Explanation: The Fire Goat (unlocked from a cave event) deals fire damage on contact, has a speed boost, and can jump high. Its downside is occasional uncontrollable burning.
- Why it works: Fire passively destroys objects, making it excellent for destruction score. The speed helps in chase events.
- When to use: Whenever you need sustained damage or speed. Avoid using it in fragile item events (they might break prematurely).
- Explanation: The Motorcycle Goat has the highest movement speed but poor control. With this goat, you can zip across the island quickly.
- Why it works: Perfect for travel between events and for speed-based events like "Do A Lap" races.
- When to use: When you need to complete an event under a time limit or cover ground fast. Pair with the Parachute for aerial shortcuts.
- Explanation: The Lava Cape (cosmetic) sets you on fire when activated. Combined with the Fire Goat, you become a walking inferno that melts everything.
- Why it works: Doubles fire damage and creates a larger area of effect. Great for events demanding massive destruction in a short time.
- When to use: In enclosed spaces (warehouses, clubs) to maximize damage. Be careful not to burn yourself on metal surfaces.
- Explanation: Some events can be cheesed by standing in a spot where the objective spawns repeatedly. For example, the "Destroy the Propane Tanks" event at the gas station can be done infinitely if you don't complete it fully.
- Why it works: You get the reward each time you break the tanks, even if you stay in the area. The event resets when you leave.
- When to use: For grinding currency fast. Look for events with respawning objects. But be aware that patches may fix these.
- Explanation: Use the ragdoll slide to skip large parts of maps. A well-timed jump into ragdoll can launch you across gaps.
- Why it works: The physics engine allows momentum preservation. This is key for events that require reaching a distant point within a time limit.
- When to use: In races or while collecting time-sensitive items. Practice the timing on the starting field.
- Explanation: There is a hidden goat called the "Gold Goat" that grants a golden texture and increased destruction value. To unlock it, you must find all 50 Gold Teeth hidden around the island.
- Why it works: The Gold Goat doubles your destruction point reward. It never loses its sheen.
- When to use: After collecting all Gold Teeth, use this goat exclusively for destruction-heavy events.
- Explanation: While in photo mode, the game pauses but the physics can be manipulated. You can position the camera and exit to trigger certain events (like falling objects).
- Why it works: You can set up complex chain reactions by positioning enemies or objects and exiting photo mode, causing them to interact.
- When to use: For events requiring precise timing (e.g., knocking a ball into a hole). Use it as a pseudo-slow-motion.
- Always look for breakable walls. They hide shortcuts and treasure.
- Don't forget to use your phone. It’s your best tool for planning routing.
- Play with a friend in co-op. Many events are easier with two goats causing double chaos.
- Have fun with the physics. The game rewards experimentation. Try licking a trampoline while another goat jumps on it.
2. Visit the First Area Thoroughly
3. Use Lick to Your Advantage
4. Don't Ignore the Phone
5. Save Often with the Photo Mode
---
Exploration Tips (Intermediate)
1. Discover All Fast Travel Points
2. The Underwater World
3. Climbing the Highest Points
4. Hidden Caves and Tunnels
---
Combat Tips (All Levels)
1. Combat Is All About Physics
2. Use the Environment as a Weapon
3. The Ragdoll Slaughter
4. Explosive Chain Reactions
---
Resources & Economy Tips
1. Currency: Goats and Gold Goats
2. Farming Events for Goats
3. Destruction Score Multipliers
4. Collectible Bonuses
---
Builds & Goats Tips (Advanced)
1. Best Goats for Different Situations
2. The Perfect All-Rounder Goat
3. Speed Farming with the Motorcycle Goat
4. The Lava Cape Combo
---
Advanced Optimizations
1. Glitch Exploits for Infinite Money
2. Speedrunning Techniques
3. The Secret Goat
4. The Photo Mode Flaw
---
Final Tips
Master these tips, and you'll become the ultimate agent of chaos in San Angora. Happy headbutting!