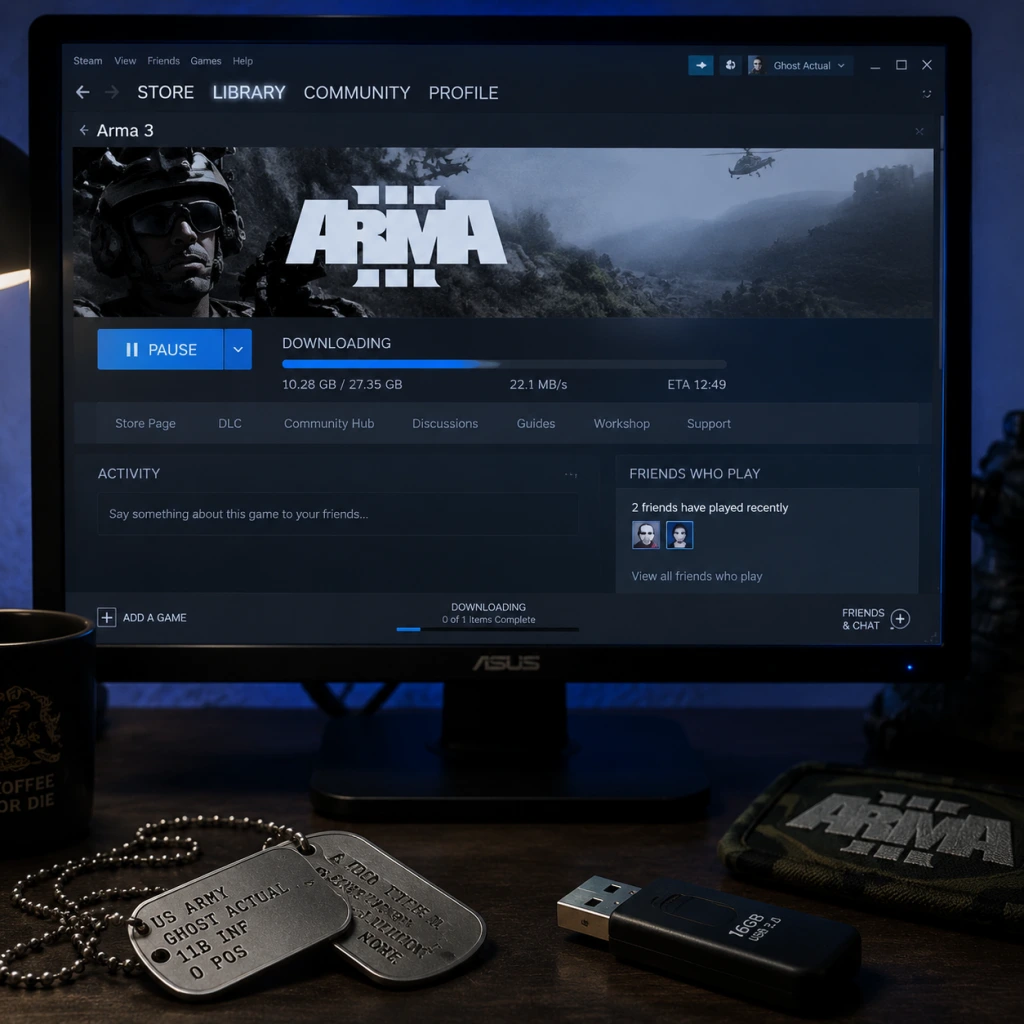
Download & Installation
Overview
Arma 3 is a PC-exclusive military simulation game developed by Bohemia Interactive. It is officially available only on PC (Windows, Linux, macOS) and is not released for PlayStation, Xbox, Nintendo Switch, or mobile platforms. The primary legitimate distribution platforms are Steam and the Bohemia Interactive Store (standalone version). The game is also available through third-party key resellers, but official sources are strongly recommended for support and security.
System Requirements
Minimum Requirements
| Component | Specification |
|---|---|
| OS | Windows 7 SP1 (64-bit), macOS 10.12, or Ubuntu 16.04 / SteamOS (64-bit) |
| Processor | Intel Core i3-4340 / AMD FX-6300 |
| Memory | 6 GB RAM |
| Graphics | NVIDIA GeForce GTX 660 / AMD Radeon HD 7850 (2 GB VRAM) |
| Storage | 45 GB free space on an SSD (recommended) or HDD (slower loading) |
| DirectX | Version 10 |
| Network | Broadband Internet connection |
| Additional | .NET Framework 4.5.2 (Windows), Visual C++ Redistributables (automatically installed) |
Recommended Requirements
| Component | Specification |
|---|---|
| OS | Windows 10 (64-bit) |
| Processor | Intel Core i5-4460 / AMD Ryzen 3 1200 |
| Memory | 8 GB RAM (16 GB for large multiplayer or mods) |
| Graphics | NVIDIA GeForce GTX 1060 / AMD Radeon RX 580 (4 GB VRAM) |
| Storage | 45 GB free space on an SSD |
| DirectX | Version 11 |
| Network | Broadband Internet connection |
Account Requirements
- Steam version: Requires a free Steam account and the Steam client installed.
- Bohemia Interactive Store version: Requires a free Bohemia account for activation and download.
- The base game occupies ~45 GB after installation. With all official DLCs and some mods, expect 60–100 GB.
- SSD is strongly recommended for faster loading times, especially in multiplayer and with mods.
- If using an HDD, fragmentation and slower read speeds may cause long loading screens (5–10+ minutes).
- Cause: Network interruption or antivirus blocking.
- Fix: In Steam, right-click Arma 3 → Properties → Local Files → Verify Integrity of Game Files. For standalone version, re-run the installer as administrator.
- Cause: Missing Visual C++ Redistributables.
- Fix: Install the latest Visual C++ Redistributable for Visual Studio 2015–2022 from Microsoft. Both x86 and x64 versions are required.
- Cause: Antivirus or firewall blocking BattlEye (anti-cheat).
- Fix: Add the entire Arma 3 folder and the BattlEye folder (`\BattlEye`) to your antivirus exclusions. Re-install BattlEye by navigating to `<Arma3>\BattlEye` and running `BEService_x64.exe -install`.
- Cause: Missing write permissions in the user directory.
- Fix: Run the game as administrator once, or manually create a folder called `Arma 3 - Other Profiles` in `Documents`.
- Cause: Corrupted configuration files or outdated graphics drivers.
- Fix: Delete the configuration files in `%USERPROFILE%\Documents\Arma 3` (backup if needed). Update GPU drivers to the latest version.
- Cause: 32-bit mode with large mods.
- Fix: In the launcher, go to Parameters → Advanced and enable Use 64-bit executable (checked by default) and increase memory allocator to 2 GB or more.
- Disable Windows Game Mode and background apps to improve performance.
- Set the game process to High Priority in Task Manager if you experience micro-stuttering.
- For mod management, use the official Arma 3 Launcher or third-party tools like Arma PBO Manager for manual installations.
Step-by-Step Installation
Option 1: Steam
1. Install the Steam client from [store.steampowered.com](https://store.steampowered.com).
2. Sign in to your Steam account (create one if needed).
3. Use the Steam Store search and type "Arma 3".
4. Click the Add to Cart button or Buy for the base game or a bundle (e.g., Arma 3 Creator DLC Bundle).
5. Complete the purchase using a supported payment method.
6. After purchase, go to your Library and find Arma 3 under "Games".
7. Click Install – a dialog appears with installation options:
- Choose a destination folder (can be changed via Steam Library settings).
- Select optional components: Arma 3 Tools, Arma 3 Launcher (always included), and any DLC you own.
8. Click Next – Steam begins downloading the game. The initial download size is approximately 18 GB for the base game, but it will expand to ~45 GB after unpacking.
9. Wait for the download and installation to finish. Steam will verify the files automatically.
10. A desktop shortcut can be created by right-clicking the game in Library and selecting Manage → Create Desktop Shortcut.
Option 2: Bohemia Interactive Store (Standalone)
1. Visit the [Bohemia Interactive Store](https://store.bistudio.com) and sign in (create an account if necessary).
2. Navigate to the Arma 3 product page and add it to your cart. Complete the purchase.
3. After purchase, go to My Account → My Products and locate Arma 3.
4. Click Download – you will receive a standalone installer executable (e.g., `Arma3_Setup.exe`) or a download manager.
5. Run the installer and follow the on-screen instructions:
- Accept the license agreement.
- Choose an installation directory (avoid `Program Files` to prevent permission issues; e.g., `C:/Games/Arma 3`).
- Select components: you can choose to include the Arma 3 Launcher, which is highly recommended.
6. The installer will download and install the game files. Ensure you have a stable internet connection.
7. Launch the game from the Start Menu or desktop shortcut created by the installer.
8. Upon first launch, you must activate the game with your Bohemia account (an internet connection is required). The launcher will prompt you to log in.
Storage Space Notes
First Launch Setup
1. Run the Arma 3 Launcher (Steam or standalone version).
2. The launcher will automatically check for updates and verify integrity of files.
3. Configure Graphics:
- Click PLAY to open the game. On the main menu, go to Options → Video Options.
- Recommended preset: Standard or High depending on your hardware.
- Disable Anti-Aliasing (or set to FXAA) for better performance on mid-range GPUs.
- Set View Distance to 2000–3000 m for balanced performance.
4. Audio & Controls:
- Adjust master volume and voice chat settings.
- Configure key bindings under Controls. Default layout matches Arma 2.
5. Mod Setup (optional):
- Use the Mods tab in the launcher to install mods from Steam Workshop or local files.
- Enable only the mods you intend to use to avoid conflicts.
6. Benchmark: Run the single-player Showcase missions or the Arma 3 Benchmark tool (available as a separate free DLC on Steam) to test performance.
Common Installation Errors & Fixes
Error 1: "Download failed" or "Corrupt update files"
Error 2: "Missing MSVCP140.dll" or similar DLL errors
Error 3: "Launch failed: BattlEye not installed correctly"
Error 4: "No user profile" or "Profile creation failed"
Error 5: Game crashes on launch with no error
Error 6: High memory usage or out-of-memory crashes
Post-Installation Verification
1. Check Game File Integrity:
- Steam: Right-click Arma 3 → Properties → Local Files → Verify Integrity of Game Files.
- Standalone version: Use the built-in `Arma3Launcher.exe` → Settings → Check for updates.
2. Test Basic Launch: Start a single-player scenario (e.g., Showcase: Infantry) and play for a few minutes. If it runs without crashes, the installation is successful.
3. Verify Multiplayer Access: Join an official Bohemia Interactive server (e.g., "Official Arma 3 Server") to confirm BattlEye and network connectivity work.
4. Mod Compatibility Test: If you installed mods, enable them one by one and load a single-player mission to verify no missing dependencies.
5. Benchmark Results: If you used the Arma 3 Benchmark tool, compare your FPS with online user results for your hardware tier.