Game Tips
Game Tips
1. Beginner Tips
- Start with the Prologue and Boot Camp: The in-game tutorials (accessible from the main menu under "Learn") teach basic movement, weapon handling, communication, and medical care. Complete them before stepping into multiplayer.
- Learn the Controls: Arma 3 has over 100 keybindings. At minimum, memorize: W/A/S/D (move), Q/E (lean), C (crouch), Z (prone), Space (walk/run toggle), Left Shift (sprint), F (interact), R (reload), V (tactical switch/view), and the inventory key (default Tab).
- Use the Virtual Arsenal (Arsenal): In the main menu, select "Virtual Arsenal" to freely experiment with weapons, attachments, equipment, uniforms, and items. This helps you understand what each item does without risk.
- Understand the Stamina System: Running, jumping, and carrying heavy loads drain stamina. When exhausted, actions slow and accuracy drops. Manage stamina by walking or stopping to recover. Lighten your load to improve endurance.
- Play the Campaigns ("The East Wind", "Adapt") in Sequence: They gradually introduce mechanics and story. Do not skip to the later DLC campaigns without mastering the basics.
- Join a Beginner-Friendly Community: Arma 3 has a steep learning curve. Play with friends or join a casual unit (find them on Reddit r/FindAUnit or the Bohemia Forums). Veteran players can teach you teamwork and tactics.
- Adjust Graphics and Performance Settings: Lower terrain detail, shadows, and object draw distance to improve FPS. Disable anti-aliasing if struggling. Use the in-game Benchmark (Main Menu > Options > Performance) to test settings.
- Use Cover and Concealment: Always move between cover (objects that stop bullets) and concealment (bushes/grain that hide you). Arma 3 has realistic ballistics; small rocks or walls provide protection. Do not peek from the same spot twice.
- Fire Control: Fire in short bursts (3-5 rounds) to maintain accuracy. Full auto wastes ammo and reduces control. For single-shot weapons like DMRs, aim for center mass or headshots.
- Suppression: Firing at an enemy’s position, even with poor aim, suppresses them. Suppressed enemies have blurred vision, lowered accuracy, and are less likely to return fire. Use this to pin down foes while teammates flank.
- Communicate: Use voice chat or in-game radio (if using Task Force Radio or ACRE) to call out targets with clock directions, distance, and cardinal directions. Example: “Contact, enemy infantry, 200 meters, 1 o’clock, moving south.”
- Flank and Overwhelm: Head-on attacks are rarely effective. Use the terrain and team splits to attack from multiple directions. The enemy AI reacts slowly to threats from unexpected angles.
- Check Your Stance: Standing is loud and offers no stability. Crouch for better accuracy and partial cover. Prone gives best stability and lowest profile but limits mobility and view. Switch stances based on terrain and engagement distance.
- Zeroing and Bullet Drop: All weapons have a zeroing setting (default Page Up/Page Down). For ranges beyond 200-300m, adjust zero. Use the range card or laser rangefinder to estimate distance. Learn the drop for your preferred weapon at various ranges.
- Wind and Coriolis Effect (Mods like ACE): In advanced modded environments, wind affects bullet trajectory. Use the Kestrel wind gauge or player height over target. Coriolis matters only over very long (>1000m) shots.
- Medical System (Vanilla & ACE): Vanilla health is simple – bandage and use morphine. With ACE Advanced Medical, wounds require proper treatment: tourniquets for limbs, surgical kits for stitches, morphine for pain. Carry a personal medical kit and know how to use it. Check your teammate’s wound types before treating.
- Vehicle Combat: Always dismount before engaging infantry – vehicles are loud, vulnerable to AT, and have limited weapon arcs. Use vehicles for transport, fire support from standoff range, or amphibious crossings. Learn to repair with a toolkit.
- Explosive Ordnance: Mines, claymores, and IEDs are deadly. Move slowly in suspected areas. Use mine detectors (like those in mods) or sweep with binoculars. Place explosives on vehicle roads or choke points.
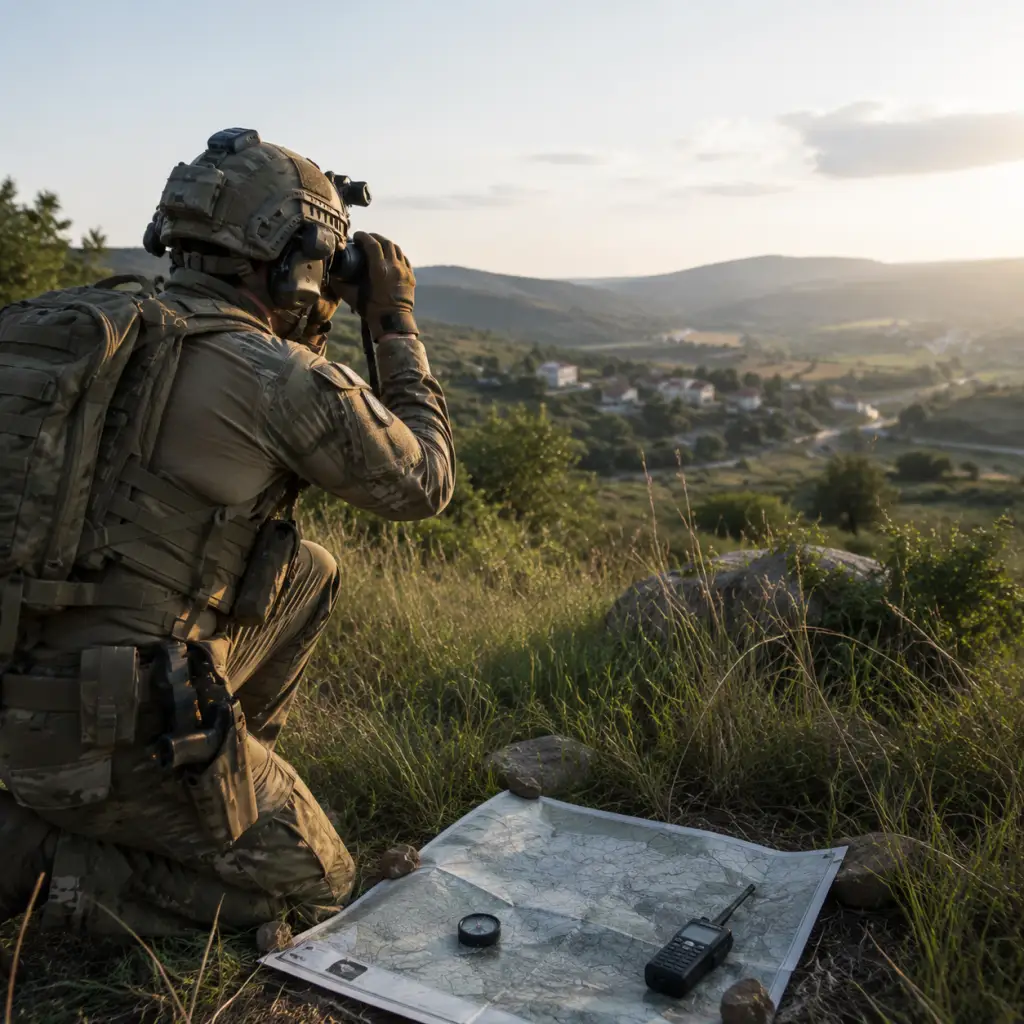
- Use the Map and Compass: Press M for map. Right-click to place markers, which all squad mates can see. Use the compass (default K) to align with map orientation. Draw a line on the map from your position to the objective to get an azimuth.
- GPS (Vanilla): Enable GPS via inventory (item map GPS or similar) or vehicle. It shows your position and direction on a small screen. Useful for fast navigation but drains battery (if modded).
- Waypoints: In single-player, use map clicks to set up to 5 waypoints (dashed lines). Your group AI follows them. In multiplayer, waypoints are often placed by the mission maker or squad leader.
- Stance and Speed: Use the stance bar (bottom-left) to cycle between standing, crouching, and prone. Speed key (default Left Alt) toggles walk/run. Sprint (Left Shift) boosts speed but drains stamina quickly.
- Stealth Movement: Crouch or prone when sneaking near enemies. Avoid running on gravel or through bushes. Move from tree to tree. Use night vision or thermal if available, but be aware NV draws power.
- Climbing and Vaulting: Use V (default) to climb over low obstacles or vault over walls. You can also climb ladders (press W on ladder). Jump (Space) only works when running.
- Traversing Rivers and Ponds: You can swim – press Shift to dive, Ctrl to surface. However, swimming is slow and loud. Use boats or bridges when possible. Wading through water is faster than swimming.
- Carry the Right Ammo: Always bring an extra magazine or two, but don’t overload. Standard loadout: 6-8 magazines for primary, 2-3 for secondary (if any), and a few grenades. Adjust based on role (autorifleman carries more ammo).
- Use Backpacks Wisely: Backpacks add weight and noise. Choose a size appropriate for your role. Medics carry large medical packs; riflemen can use small assault packs. Know how to transfer items between teammates (drag and drop in inventory or use scroll wheel actions).
- Medical Supplies: Carry at least 2 bandages, 1 morphine, and 1 tourniquet (if ACE). For vanilla, one medical kit can heal you fully. Share medical supplies with your squad; don’t hoard.
- Fuel: Vehicles have fuel tanks. Monitor fuel gauge; refuel at fuel stations (vanilla) or with jerry cans (mods). Running out of fuel in enemy territory is fatal.
- Repair: Use a toolkit to repair vehicle damage (tires, engine). Damaged parts reduce performance. If the vehicle is smoking heavily, abandon it before it explodes.
- Supply Drops: In many missions, you can request supply crates (via radio or menu). These contain ammo, weapon attachments, medical supplies, and replacement vehicles. Place them in safe areas and guard them.
- Earning Money: In roleplay or survival servers (e.g., Altis Life, Exile), earn cash by completing missions, crafting, trading, gathering resources, or selling loot. Always check server rules for allowed income methods.
- Spending Wisely: Prioritize essentials: a basic weapon, ammo, medical supplies, and a vehicle. Avoid buying high-end gear early – it attracts attention and many servers allow gear to be looted upon death.
- Base Building (Mods like Epoch): If the server has base building, gather resources (wood, metal, concrete) via tools or buy from traders. Place a storage box for items. Build walls and defenses to protect your loot. Use combination locks on doors.
- Trading: Many economy servers have traders who buy/sell items. Prices vary by location. Some items are illegal – be careful near police/military NPCs.
- Insurance and Banking: Some mods offer vehicle insurance or bank safes. Use them to protect your assets. Never carry all your money; stash some in a bank if possible.
- Weapon: MX or M4 (vanilla) – versatile, reliable. Attach red dot or optics for close-mid range.
- Gear: 6-8 magazines, 2 frag grenades, personal medical kit, map, compass.
- Role: Core infantry. Engages at all ranges, supports team with suppressive fire, follows squad leader’s orders.
- Tips: Use single fire for precision, burst for suppression. Carry a launcher (if available) for vehicles.
- Weapon: LMG like the 6.5mm MX LSW or MK200. Bipod attached.
- Gear: 4-5 belts/drums of ammo, spare barrel, tripod (if space), medical supplies.
- Role: Provide sustained suppressive fire, covering team movement, pinning enemies.
- Tips: Deploy bipod (default C) on walls or ground for zero recoil. Fire in long bursts (10-15 rounds) to suppress. Use cover – LMGs attract enemy fire.
- Weapon: DMR (7.62mm) or sniper rifle like the Cyrus or Lynx (vanilla). High-magnification scope (e.g., Sniper Scope).
- Gear: 2-3 magazines of special ammo (AP, tracer), range card, laser designator (if spotter), earplugs.
- Role: Eliminate high-value targets, provide overwatch, call out enemy positions.
- Tips: Always work with a spotter who uses binoculars. Adjust zero and account for bullet drop. Stay far from main fight – at least 300m. Relocate after every few shots to avoid detection.
- Vehicle: Medical kit and extra supplies (bandages, morphine, tourniquets). Backpack full of medical items.
- Weapon: Same as rifleman – you need to defend yourself.
- Role: Heal and revive squad members. Manage triage: treat most critical wounds first (chest/unconscious).
- Tips: In ACE mod, learn cpr, use epinephrine for shock, and surgical kit for deep wounds. Stay behind front line but close enough to respond quickly. Communicate your position.
- Weapon: Rifle with underslung grenade launcher or compact SMG.
- Gear: Tool kit, mine detector, explosive charges (satchel, claymore), detonator.
- Role: Clear obstacles (walls, doors), place explosives on targets, repair vehicles.
- Tips: Use explosives sparingly – they are heavy and attract attention. Place charges on vehicle engines or ammunition piles for maximum damage. Use remote detonators to avoid being caught in blast.
- Vehicle: Choose appropriate vehicle: tank (crew: hull gunner and driver), helicopter (pilot), jet (pilot).
- Gear: Flight helmet, NVG, oxygen mask (for high air). Crewman kit includes repair items.
- Role: Maneuver, provide fire support, transport troops.
- Tips: Learn basic vehicular controls: throttle, brake, pitch, yaw. Use sound as feedback – engine whine indicates over-rev. In helicopters, practice hovering and landing on slopes. In jets, manage speed to avoid stalls.
- Graphics: Set Terrain Detail to “Standard” or “Low” to improve FPS in dense environments. Turn off Ambient Occlusion and Motion Blur. Reduce Object Draw Distance to 1200m; view distance to 3000m is usually enough.
- CPU and GPU: Arma 3 is CPU-intensive. Overclock your processor if possible. Disable hyperthreading for older CPUs. Use Launch Parameters: `-malloc=system -enableHT -cpuCount=3 -exThreads=7` (adjust according to your core count).
- Memory: Use the 64-bit executable to avoid memory crashes. Increase pagefile size to at least 16GB.
- Create Custom Keybinds: Bind frequently used actions like “Open Map”, “Switch Weapon Mode”, “Use Medic Item” to easily reachable keys. For example, set “Auto Run” to a side mouse button.
- Macros: Use third-party software (AutoHotkey) or in-game scripting to automate repetitive actions (like menu navigation). However, avoid cheating – most servers ban macros that give unfair advantage.
- View Distance and Object Draw Distance: Bind keys to quickly adjust view distance (e.g., Ctrl+Page Up/Down) to toggle between high for spotting and low for performance during combat.
- Use a Mod Launcher: The official Arma 3 launcher supports mod presets. Use third-party launchers like JSRS or swifty for larger mod collections. Always verify mod compatibility with the server you join.
- Essential Mods for Enhanced Gameplay:
- Mod Order: Load mods alphabetically or follow server modlist order. A wrong load order can cause crashes.
- Delete or move the `Documents/Arma 3/userconfig` folder after major mod updates to clear stuck settings.
- Use `-world=empty` launch param to skip intro and loading of default terrain (saves time).
- Enable Console (Ctrl+D): Useful for debugging mod conflicts or checking error messages.
- Customize HUD: Use options to disable unnecessary icons (e.g., compass, weapon info) for a more immersive experience. Bind toggle HUD key (default Left Shift+H).
- Reduce Lag: Use wired internet connection. Select servers with low ping (<100ms) and high player count (50-80) for stable performance.
- Local vs Dedicated Server: For single-player or co-op, host a dedicated server on a separate machine to offload AI processing. Or use LAN with a friend.
- Use `-noSound` launch param if you have audio issues (not recommended for gameplay).
2. Combat Tips
General Combat
Advanced Combat Mechanics
3. Movement and Navigation
Basic Navigation
Advanced Movement
4. Resources and Logistics
Ammo and Inventory Management
Vehicle Logistics
5. Economy (Multiplayer Servers)
6. Loadout Builds (Role Specialization)
Rifleman (Standard) – Beginner to Expert
Autorifleman (Support)
Marksman / Sniper (Precision)
Medic (Support)
Engineer / Explosive Specialist
Vehicle Crew / Pilot (Specialist)
7. Advanced Optimizations
Performance Settings
Custom Keybinds and Macros
Mod Management
- ACE3: Realistic medical, ballistics, and teamwork mechanics.
- CUP Units/Weapons/Vehicles: Adds content from older Arma titles.
- RHS (USAF, AFRF, GREF): High-fidelity US and Russian military assets.
- Task Force Radio/ACRE2: Realistic radio communication.
- CBA (Community Base Addons): Required by many mods.
Scripting and User Interface Tweaks
Network and Server Optimization
This guide covers the essentials for every Arma 3 player, from fresh recruits to seasoned veterans. Practice, patience, and teamwork are the keys to mastering this complex simulation. Good luck out there!