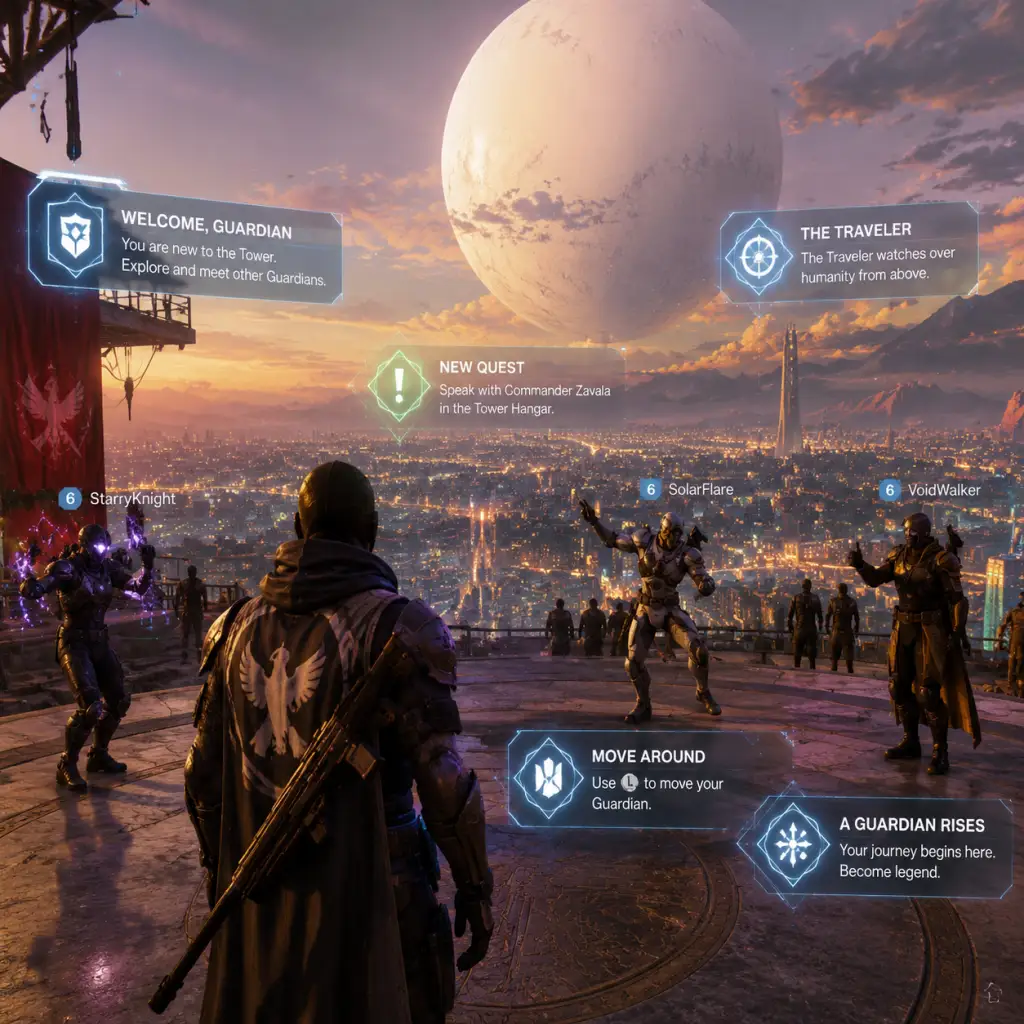
Getting Started
Getting Started
Overview
This guide helps brand-new players jump into Destiny 2 (free-to-play) without confusion. You will learn what to do in your first hour, how to navigate the menus, which resources to hoard, and how to avoid common pitfalls. Follow the Day-One Checklist at the end to start strong.
---
Character Creation
Destiny 2 has three character classes: Titan (tank/melee), Hunter (agile/precision), and Warlock (magic/support). Choose based on your playstyle:
- Titan: High armor, shields, and melee power. Good for aggressive players.
- Hunter: Fast movement, dodges, and potent knives. Excellent for PvP and solo play.
- Warlock: Healing abilities, area-of-effect attacks, and flying glides. Balanced for support.
You also choose a race (Human, Awoken, Exo) – this is purely cosmetic with no gameplay impact. Customize appearance lightly; you can change it later via the in-game Eververse (paid) or occasional free transmog items.
Once created, you immediately start a short introductory mission (the "New Light" questline). Do not skip dialogue – it explains basic controls and story context.
---
Controls (All Platforms)
| Action | PC (Keyboard+Mouse) | PlayStation | Xbox |
|---|---|---|---|
| Move | W/A/S/D | Left stick | Left stick |
| Look | Mouse | Right stick | Right stick |
| Shoot | Left Mouse | R2 | RT |
| Aim Down Sights | Right Mouse | L2 | LT |
| Melee | C or V | R1 (tap) | RB (tap) |
| Grenade | Q | L1 | LB |
| Jump | Space | X | A |
| Crouch/Slide | Ctrl | Circle | B |
| Sprint | Left Shift | L3 | L3 |
| Class Ability | E (tap) | R1 (hold) | RB (hold) |
| Super Ability | F | L1+R1 (together) | LB+RB together |
| Interact / Revive | E | Triangle | Y |
| Swap Weapons | Mouse wheel or 1/2/3 | D-Pad up/down | D-Pad up/down |
| Reload | R | Square | X |
| Map (Nav mode) | M or Tab | Touchpad (hold) | View button (hold) |
| Ghost (menu) | Tab | Touchpad (tap) | View button (tap) |
| Pull out Ghost | T (hold) | Hold Touchpad | Hold View |
| Emote | G | D-Pad left/right | D-Pad left/right |
| Sprint toggle | Q (default, can rebind) | L3 click | L3 click |
---
UI Overview
The Destiny 2 interface shows:
- Health & Shields (top-left) – red bar is health, blue bar is shield. Shield regenerates after a few seconds out of combat.
- Super meter (bottom-left) – fills as you deal/take damage. Full bar lets you use your super ability.
- Weapon slots (center-bottom) – three weapons: Kinetic (primary), Energy (special), Power (heavy). Ammo colors: white (primary), green (special), purple (heavy).
- Grenade & Melee charge (above weapons) – icons glow when ready.
- Class ability (bottom-left of weapon slots) – dodge (Hunter), barricade (Titan), rift (Warlock).
- Ammo counter – shows current magazine and total reserves.
- Sprint bar (only visible while sprinting) – a small stamina-like bar; when empty, you cannot sprint for a moment.
- Notifications (top-right) – quest progress, objectives, alerts.
- Director (map/planets screen) – opened with Tab (PC) or Touchpad (console). Shows destinations, quests, milestones.
- Ignore the Corrupted Strike or any Legacy: Forsaken campaign – those are free but confusing for new players. Stick to the New Light quest.
- Waste Enhancement Cores – you get a few from New Light, but save them for later.
- Try Crucible (PvP) or Gambit immediately – you will get stomped due to low Power and lacking gear. Wait until you are at least 1500-1550 Power and have some good weapons.
- Spend Glimmer on useless items – you need Glimmer for infusion and bounties.
- Reach Power 1350 soft cap by completing blue (rare) and purple (legendary) drops from activities: Patrols, Public Events, Strikes, and Lost Sectors.
- Complete all New Light quests including the ones that give you a choice of an exotic weapon (Riskrunner, Fighting Lion, etc.). Pick Riskrunner (great for new players – chain lightning damage).
- Unlock the Moon destination (from Tower map) by completing the intro quest "The Storming". Super easy.
- Open your first couple of Lost Sectors (on EDZ or Cosmodrome) – they drop gear and Engrams. Easy way to level.
- Complete a Strike (Vanguard Ops playlist) – matchmaking available. This teaches team play and gives powerful gear upon first completion weekly.
- Add friends or join a clan – doing activities with clanmates gives extra loot and XP bonuses.
- Infusing gear early – Infusion (raising Power of a lower item) costs Enhancement Cores and Glimmer. Only infuse weapons you absolutely love (like Riskrunner) after you hit the soft cap (1350).
- Deleting Legendary Shards – you need them to buy from Xur and for focusing engrams later. Save at least 500.
- Wasting Mod components – mods on armor and weapons are powerful, but mod components are scarce. Do not apply mods randomly; wait until you know what build you want.
- Buying weapons from Banshee-44 – he sells daily rotation weapons, but they are often mediocre. Save Glimmer and Shards.
- Playing Trials of Osiris – endgame PvP, requires high skill and Power. Avoid until you are ready.
---
First Hour Walkthrough (What to Do Step-by-Step)
1. Complete the New Light questline (called "A Light in the Dark" in the Cosmodrome). This teaches movement, shooting, reviving, and using supers. Do not abandon it.
2. After the intro mission, you land in the Cosmodrome (Earth). Follow the waypoints to:
- Kill enemies.
- Collect engrams (glowing orbs).
- Interact with terminals.
3. Return to the Tower – the social hub. You will automatically get a transmat (teleport) prompt.
4. In the Tower, go to the Kiosk near the mailbox (the "Quest Archive" terminal) to pick up new quests:
- "The Risk/Reward" (exotic quest) – not urgent but good.
- "Operation: Midguard" (one-time EDZ intro).
- "Going the Distance" (SPL/Adventures).
5. Equip better gear from drops. Do not dismantle any legendary (purple) or exotic (yellow) weapons/armor unless you are sure they are duplicates.
6. Complete Introduction to Bounties from the Tower vendor (Banshee-44, Zavala, Shaxx, etc.). Bounties give XP, Glimmer, and Bright Dust.
7. Play the first mission on the EDZ (European Dead Zone) called "The Warrior" (if offered) or simply wander into the EDZ patrol zone to shoot enemies and complete public events.
8. After about 30-45 minutes, you should be at Power level ~1300 (base). Equip highest Power items; the game auto-calculates your highest achievable Power for drops.
9. Unlock the seasonal artifact (if a season is active) – speak to the seasonal vendor in the Tower. This grants bonus XP and artifact mods.
What NOT to do in the first hour:
---
Essential Early Objectives (First Few Days)
---
What to Do First & What to Avoid
Priority list (Day 1-2):
1. Finish "New Light" questline.
2. Complete "Operation: Midguard" on EDZ.
3. Unlock all four elements of the Light (Arc, Solar, Void, Stasis if available) – but Stasis requires DLC, ignore for now.
4. Equip the Riskrunner exotic (obtained from "The Risk/Reward" quest). It is fantastic against Fallen enemies.
5. Visit Xur (weekend vendor) on Friday-Sunday in the Tower or on a planet – he sells exotic gear for Legendary Shards. Always buy weapons first, then armor for classes you play.
6. Level your Season Pass (if you bought it) – you get bonus XP from bounties.
Things to AVOID:
---
Early Resource Priorities
| Resource | Priority | Use |
|---|---|---|
| Glimmer | High | Bounties, infusion, planetary materials. Earned from everything. |
| Legendary Shards | High | Xur purchases, focusing engrams. Save up! |
| Enhancement Cores | Medium | Infusion, masterwork items. Do not waste. |
| Upgrade Modules | Low early | Used for infusion after soft cap. Save until you have high-level gear. |
| Planetary Materials (Dusklight Shards, etc.) | Medium | Upgrade armor mods, buy from Spider. Collect from patrols. |
| Bright Dust | Low | Earn from bounties; used for cosmetics. Save for specific Eververse items. |
| Seasonal currency (e.g., Risen Umbral Energy) | Low | Only relevant if you buy the Season Pass. Use for focusing high-stat armor. |
---
Common Beginner Mistakes
1. Holding onto too many engrams – Decrypt engrams at the Cryptarch (Rahool) in the Tower immediately. They scale to your current Power, so no reason to hoard.
2. Ignoring public events – They show as orange circles on the map. Participating gives large XP, Glimmer, and loot. Always join them.
3. Running into high-level areas – The Dreaming City, Moon (some parts), and Europa have enemies 1400+ Power. You will die quickly. Stick to Cosmodrome and EDZ until you are 1700+.
4. Playing solo all the time – Finding a clan or LFG (Looking For Group) group for Nightfalls, raids, and dungeons makes the game significantly easier and more fun.
5. Not using your Super – It charges quickly, especially with mods. Use it on groups of enemies or bosses; do not hoard it.
6. Falling off the map – Happens often to beginners. Watch your step; jumping puzzles are common in missions. Travel with Sparrow (unlocked early) to avoid falls.
7. Trying to solo a Lost Sector on Master difficulty – Those are Power 1600+; wait until you are higher.
---
Day-One Checklist
Before your first session ends, aim to complete:
- [ ] Create a character and finish the initial new light intro mission ("A Light in the Dark").
- [ ] Equip the highest Power gear from drops (no infusions).
- [ ] Visit the Tower and accept all available quests from the Quest Archive kiosk.
- [ ] Complete 1-2 patrols on EDZ or Cosmodrome to get used to shooting.
- [ ] Join a Public Event (orange icon) and earn a reward chest.
- [ ] Speak to Banshee-44 and pick up his daily bounties (easy XP).
- [ ] Purchase the Riskrunner exotic from the quest completion (if you chose it).
- [ ] Reach Power 1300 (should happen naturally from drops).
- [ ] Bind your Fireteam (if you plan to play with friends) – invite or join.
- [ ] Add the Destiny 2 Companion App to your phone – helps manage inventory and find groups.
- [ ] Unlock the Moon destination by picking up the quest "The Storming" from the Moon map.
- Complete all blue gear milestones until you hit soft cap 1350.
- Run Vanguard Strikes playlist once to get a weekly powerful drop.
- Explore Europa (if you own Beyond Light) or Savathûn's Throne World (if you own The Witch Queen) for more content.
- Save Enhancement Cores and Legendary Shards for when you start chasing a specific build (around Power 1500+).
---
Next Steps (After Day One)
Remember: Destiny 2 is a marathon, not a sprint. Take time to enjoy the worlds, listen to dialogue, and experiment with different weapons. Join the Destiny 2 LFG Discord to find groups for harder activities. Good luck, Guardian!