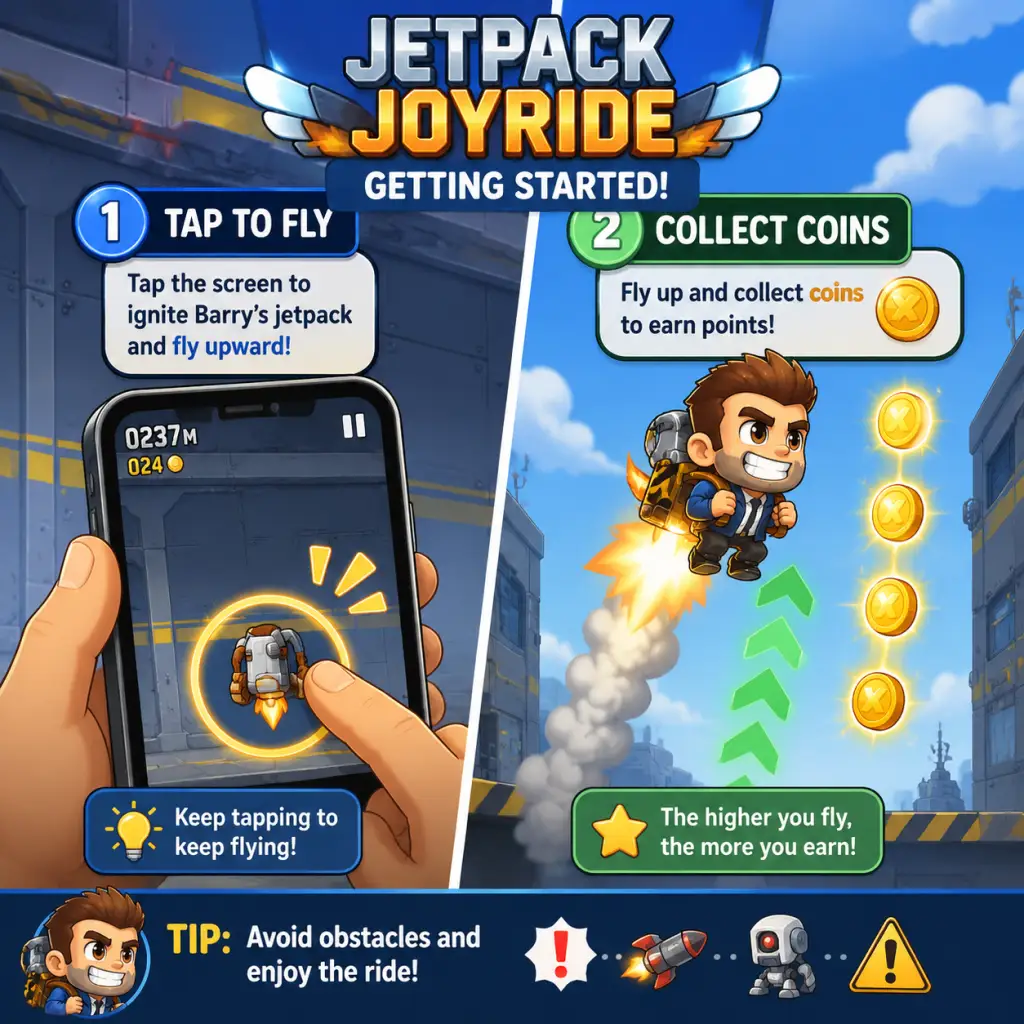
Getting Started
Getting Started with Jetpack Joyride
This guide is designed to help brand-new players survive their first hour, avoid common pitfalls, and build a strong foundation for endless runs. Jetpack Joyride is an endless runner where you control a test subject using a stolen jetpack to fly through a laboratory, avoiding obstacles and collecting coins. Read on for platform-specific controls, UI breakdowns, early priorities, and your day-one checklist.
---
First Hour Walkthrough
1. Complete the Tutorial (First 2 Minutes)
- The game opens with a short tutorial that teaches the core mechanic: tap and hold to fly upward, release to fall.
- Follow the on-screen prompts to dodge the first few zappers (electric barriers) and collect a few coins.
- After the tutorial, you’ll be taken to the main menu. Your lab coat and red jetpack are the default look – there is no character creation in this game.
- Press the big green PLAY button to start your first unlimited run.
- Focus on learning the rhythm: tap to rise, release to drop. Don’t try to go far – just get comfortable with the controls.
- Coins will appear everywhere. Grab as many as you can without running into zappers, missiles, or the ceiling/floor.
- Most first runs end within 500 meters. That’s normal. After each run, you’ll see a Results screen showing coins earned, distance, and mission progress.
- From the main menu, tap MISSIONS (the clipboard icon). You’ll see three active missions, e.g., “Collect 100 coins” or “Fly 200 meters.”
- Your primary early goal: complete the first set of missions. Each completed mission rewards cash and experience, which levels up your Badge (your player rank).
- Focus on one mission at a time – don’t try to do all three in a single run unless they overlap.
- With your first few thousand coins, go to the SHOP and buy the Coin Magnet gadget for 500 coins. This is the best early investment.
- Equip it in the Gadgets slot (tap the gadget icon on the main menu). Now coins near you will automatically attract during runs.
- After a few runs, you’ll randomly find a vehicle token (e.g., a small icon floating mid-run). Grab one to unlock the Crazy Freaking Teleporter (a giant mech that stomps everything).
- Vehicles last a short time but let you smash through obstacles without dying. Don’t buy vehicles with coins yet – your first one is always given for free.
2. Your First Few Runs (Minutes 3–10)
3. Missions and the First Objective (Minutes 10–20)
4. Unlock Your First Gadget (Minutes 20–40)
5. First Vehicle Encounter (Minutes 40–60)
---
Character Creation and Customization
There is no character creation in Jetpack Joyride.
You start as a bald man in a lab coat. You can change your appearance later by buying outfits from the shop (coins or tokens), but these are purely cosmetic. None affect gameplay. Focus on gadgets and upgrades first.
---
Controls on All Platforms
| Platform | Control Scheme | Notes |
|---|---|---|
| Mobile (iOS/Android) | Tap and hold to fly up. Release to fall. | Use your thumb. You can also tilt the device if you enable Tilt Controls in Settings (not recommended for beginners – tap is more precise). |
| PC (Steam/Windows) | Press and hold Spacebar (or Up Arrow) to fly up. Release to fall. | The mouse does nothing. You can also use a controller. |
| Console (Xbox/PlayStation/Nintendo Switch) | Hold A (Xbox) / X (PlayStation) / B (Switch) to fly. Release to fall. | On Switch, you can also use touchscreen in handheld mode. |
---
UI Overview
When you start a run, the screen shows:
- Top Left: Your current coin count (collected this run, but these are temporary – you can lose them if you die before collecting? No, you keep all coins collected during the run, even if you crash. Coins are permanent.)
- Top Center: Distance in meters.
- Top Right: Mission progress bar (shows how close you are to completing the current mission).
- Bottom Left (Vehicles): A progress bar for the next vehicle token. Fills as you collect tokens during a run.
- Bottom Center (Gadgets): Small icons showing your equipped gadgets (e.g., Coin Magnet, Turbo Boost). They charge or activate automatically.
- Bottom Right (Spin Token): Shows your collected spin tokens (every 1000m you earn one).
- Obstacles: Zappers (electric walls), missiles (red rockets), lasers (yellow lines), and the ceiling/floor.
- PLAY – big green button to start a run.
- MISSIONS – clipboard icon where you see active missions.
- SHOP – cart icon for buying gadgets, vehicles, outfits, and upgrades.
- GADGETS – gear icon to equip up to two gadgets.
- VEHICLES – car icon to see your unlocked vehicles.
- STATS – graph icon showing total distance, coins, etc.
- SETTINGS – gear icon for sound, controls, and language.
- Play 5–10 short runs to get a feel for timing.
- Always check missions before pressing play – they guide your early progress.
- Save all coins until you have 500 for the Coin Magnet.
- Revive once per run if you die near a milestone (e.g., within 50m of a new mission objective) – revival costs a coin spin token or a small gem fee (gems are rare early on).
- Don’t buy cosmetic outfits early – They cost thousands of coins that should go to gadgets and upgrades.
- Don’t waste coins on the Slot Machine – The wheel in the shop costs 2,500 coins and usually gives junk.
- Don’t try to dodge coins – Grab every coin you see. Even if you crash, coins are banked permanently.
- Don’t fly too high or too low – The ceiling and floor kill you instantly. Stay in the middle 50% of the screen.
- Don’t focus on distance alone – Early on, distance is less important than completing missions. A 300m run with 200 coins is better than a 1000m run with 50 coins.
The Main Menu (after a run) has these important buttons:
---
Essential Early Objectives (First Day)
1. Complete the Tutorial – Basic movement down.
2. Finish the First Mission Set – You’ll get 3 missions. Complete all three to earn your first big cash reward and rank up.
3. Buy the Coin Magnet – It costs 500 coins and is the best gadget for beginners.
4. Collect Your First Vehicle Token – Easiest way to survive longer runs.
5. Unlock the ‘Body Shield’ Gadget – Your second gadget priority (costs 2,000 coins). It blocks one hit per run.
6. Try to Reach 1000m – That’s the distance for your first spin token (wheel spin). The wheel gives random prizes like coins, tokens, or rare items.
---
What to Do First and What to Avoid
✅ Do This First:
❌ Avoid These Mistakes:
---
Early Resource Priorities
| Resource | How to Get | What to Spend On | Avoid Spending On |
|---|---|---|---|
| Coins | Collected during runs | Gadgets (Coin Magnet, Body Shield), then vehicle upgrades (e.g., longer vehicle time) | Cosmetics, slot machine, temporary power-ups |
| Spin Tokens | Every 1000m, or from achievements | Wheel of Fortune (free spin) – use tokens when you have 3+ to guarantee a prize. | Don’t use tokens on low-probability spins early. |
| Gems | Rare from missions/loot boxes | Only use for reviving if you have a great run going (e.g., >2000m). | Don’t buy anything with gems until you’ve unlocked all basic gadgets. |
| Experience (Badge Level) | Completing missions | Unlocks new gadgets and vehicles in the shop. | – |
1. Coin Magnet (500 coins) – Doubles your coin income.
2. Body Shield (2,000 coins) – Survive one hit per run.
3. Turbo Boost (3,000 coins) – Temporary speed burst that also makes you invincible.
---
Common Beginner Mistakes
- Mashing the button – Causes you to bounce erratically and hit obstacles. Practice split-second taps.
- Ignoring missions – You’ll earn coins and level up much slower.
- Spending coins on outfits – A lab coat recolor won’t help you get past 1000m.
- Reviving every time – Early runs are short; reviving wastes gems or tokens for little gain.
- Flying at the top of the screen – The ceiling is a common death. Keep your character’s head about one-third from the top.
- Not using the pause button – If you need to check a mission mid-run, pause (top-left corner). You can also exit safely without losing coins.
- [ ] Complete the tutorial run.
- [ ] Play 3–5 runs, each lasting at least 30 seconds.
- [ ] Check the MISSIONS screen and note your three active missions.
- [ ] Complete at least one mission (e.g., “Collect 100 coins”).
- [ ] Buy the Coin Magnet from the Shop for 500 coins.
- [ ] Equip the Coin Magnet in the Gadgets slot.
- [ ] Collect your first vehicle token during a run (it will appear randomly).
- [ ] Reach at least 500 meters in one run.
- [ ] Try the free Wheel of Fortune spin (the one that costs 0 tokens – appears after your first 1000m run).
- [ ] Save all future coins until you can afford the Body Shield (2,000 coins).
- [ ] Avoid buying anything cosmetic until you own at least three gadgets.
---
Day-One Checklist
Follow this checklist and you’ll be well on your way to becoming a competent Jetpack Joyride player within your first hour. Remember: the game is about risk vs. reward. The more you play, the better your muscle memory becomes. Happy flying!