Game Tips
Jetpack Joyride Game Tips
Category: Beginner Tips
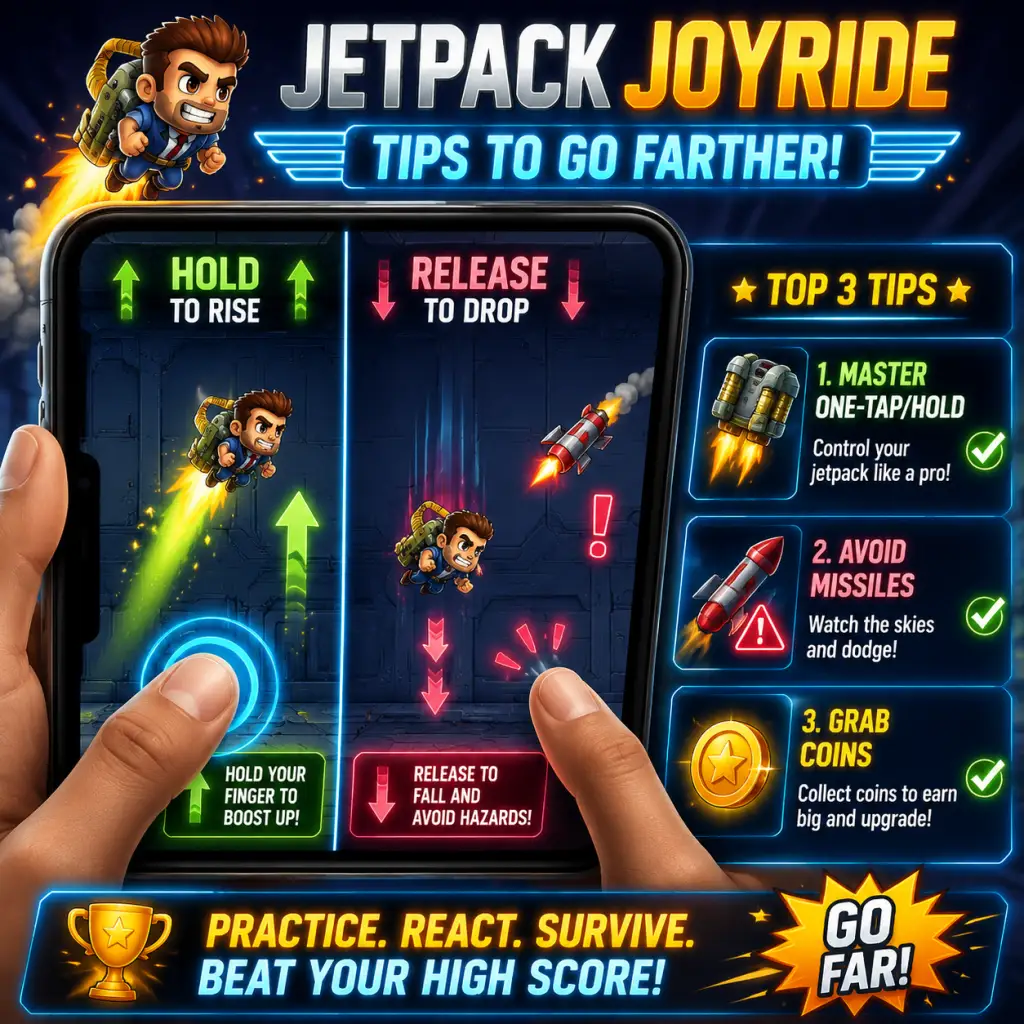
#### 1. Master the One-Tap/Hold Mechanic
- Explanation: The game is controlled by a single action: tap and hold to fly up, release to fall. Beginners often hold too long or tap too erratically. Practice smooth, short taps to maintain a stable altitude.
- Why it works: Stable altitude lets you navigate zappers and missiles without overcorrecting. Use small taps to stay in the middle of the screen for maximum reaction time.
- When to use: Always, but especially in the first 1000 meters where obstacles are sparse.
- Explanation: In early runs, go out of your way to collect coins, even if it means bumping into a few obstacles. Coins unlock gadgets, vehicles, and upgrades.
- Why it works: Early coin investment leads to faster progression. Don't worry about high score until you have a decent vehicle (e.g., Bad As Hog).
- When to use: First 20-30 runs until you unlock Mr. Cuddles or Crazy Daze vehicle.
- Explanation: Green tokens (Spin Tokens) appear in set patterns. Memorizing one or two reliable collection paths helps you earn free spins without compromising survival.
- Why it works: Free spins earn vehicle tokens, which unlock powerful vehicles faster than coin grinding.
- When to use: Every run where you see a green token cluster (e.g., early section with three coins in a vertical line).
- Explanation: The game offers a revive for 10 coins (later 20 coins). Only use it if you are within 200 meters of a personal best or an achievement reward.
- Why it works: Coins are scarce early on. Wasting them on mid-range revives delays vehicle purchases.
- When to use: When you're about to break a record (e.g., 3000m) or during a Daily Challenge that guarantees a coin bonus.
- Explanation: The Spin Wheel costs a token and can give coins, vehicles, or upgrades. Stop spinning once you have all common prize vehicles; save tokens for special events where rare vehicles appear.
- Why it works: Tokens are finite. Hoard them for limited-time vehicle releases (e.g., Sharky).
- Advanced tip: The wheel’s odds change based on ownership; after owning 4 out of 6 common vehicles, chances of a rare drop increase.
- Explanation: Not all vehicles are equal. Prioritize upgrading the Bad As Hog (extra coin magnet duration) and Mr. Cuddles (auto-collect coins). Then move to Teleporter for survival.
- Why it works: Coin vehicles yield more coins per run, accelerating future upgrades. Survival vehicles help you reach deeper distances for higher coin multipliers.
- When to use: Upgrade Bad As Hog to level 3 first, then Mr. Cuddles to level 2.
- Explanation: Zappers (electrical fields) follow fixed patterns: horizontal lines, vertical columns, or checkerboard grids. Learn the timing by counting “mississippi” beats.
- Why it works: Pattern recognition reduces reaction time. For example, a 3-zapper grid takes 1.5 seconds to cycle; fly through during the gap.
- When to use: Every run. Focus on memorizing the first pattern (three horizontal zappers starting at top left).
- Explanation: Missiles spawn from the sides. Staying near the center gives you maximum escape time. If a missile appears from the left, you have 0.4 seconds to move right.
- Why it works: Centered position allows bidirectional dodging. Flying at the edge leaves no escape room.
- Intermediate tip: Use the Teleporter vehicle to vanish through missile waves.
- Explanation: After a certain distance (around 3000m), gravity flips. Prepare by adjusting your tap rhythm: very light taps now make you fall faster. Hold slightly longer to stabilize.
- Why it works: Gravity reversal disorients most players. Practice this area in “No End Mode” for 5 minutes to internalize the new physics.
- When to use: When you see the laboratory ceiling texture change to a floor pattern.
- Composition: Vehicle: Bad As Hog (at least level 3) + Gadget: Coin Magnet + Lucky Spin (optional).
- How to execute: Activate magnet just before a dense coin cluster. The Bad As Hog increases magnet range and duration.
- Best use: First 2000m where coin clusters are thick. Ideal for grinding coins fast.
- Composition: Vehicle: Mr. Cuddles (level 2+) + Gadget: Teleporter + Shield.
- How to execute: Use Teleporter to bypass zapper walls; shield absorbs one hit. Mr. Cuddles auto-collects coins so you can focus on dodging.
- Best use: Late game (5000m+) where obstacles are relentless. Prioritize distance over coins.
- Composition: Vehicle: Crazy Daze (level 3) + Gadget: Missile Launcher + Gravity Belt.
- How to execute: Crazy Daze rockets blast zappers; missile launcher destroys obstacles ahead; gravity belt helps with tight spaces.
- Best use: Short burst scoring runs for daily challenges. Less effective for long distance.
- Explanation: Each run multiplies coins based on distance (every 500m adds 0.5x). To maximize coin income, focus on surviving slightly further each run rather than aggressive coin chasing.
- Why it works: A 6x multiplier (3000m) gives 6 coins per collectible. If you die at 2500m (5.5x), the lost multiplier costs far more than the coins you could have grabbed.
- When to use: After unlocking 3 vehicles, set a distance goal (e.g., beat 4000m) before caring about coin pathing.
- Explanation: Complete daily missions (e.g., “Collect 500 coins without using a vehicle”) to earn bonus coins and tokens. Weekly events offer exclusive vehicles like the Steampunk Jet.
- When to use: Log in daily to claim mission sets. Save tokens for event vehicles that are harder to obtain.
- Advanced tip: Stack missions: start a run when you have 3 active daily missions, so one run can clear multiple objectives simultaneously.
- Explanation: Gadgets (e.g., Coin Magnet, Shield) can be earned through spins or vehicle prize packs. Coins are better spent on vehicle upgrades.
- Why it works: Vehicle upgrades provide passive benefits; gadgets are one-time use per run. Upgrade cost vs. benefit ratio favors vehicles.
- When to use: Only purchase gadgets if you’ve max upgraded your primary vehicle and still lack them.
- Explanation: Some obstacles (e.g., double zappers with 1-pixel gap) require near-perfect timing. Learn the exact tap duration to fit through. Practice in the “Training Mode” (unlocked at 10,000m cumulative distance).
- Why it works: This saves milliseconds that stack into longer survival. For example, a 1-frame late tap on a tight horizontal gap causes death.
- When to use: When you consistently reach 5000m and feel plateaued.
- Explanation: In specific areas near the 10,000m mark, you can clip through a wall using a rocket vehicle at full speed, causing the game to loop back to 0m but with coin multiplier preserved. This resets obstacle difficulty but keeps score.
- Why it works: Effectively doubles your coin earnings per run (since you restart with same multiplier).
- When to use: Only if you are comfortable losing a run (glitch may crash). Not recommended for beginners.
- Explanation: Green tokens appear in clusters of 5-7 at specific distances (every 1500m). Memorize the exact layout (e.g., after the third missile wave, tokens form a diamond shape).
- Why it works: Collecting all tokens in one cluster gives you a 20% chance of a free spin. Doing this twice per run yields one extra token on average.
- When to use: After unlocking 4 vehicles, when you need tokens for the final rare vehicle.
- Explanation: The lab has distinct zones: Test Chambers (0-1000m) – sparse obstacles; Missile Range (1000-3000m) – missiles and zappers; Anti-Gravity Lab (3000-5000m) – gravity flips; Experimental Wing (5000m+) – extreme combos.
- Why it works: Zone awareness lets you predict upcoming dangers. For instance, in Missile Range, stay center; in Anti-Gravity, tap twice as often.
- When to use: Refer to zone boundaries while running; they are marked by subtle wall color changes.
- Explanation: At 2500m, a doorway with a green arrow leads to a separate room with 100 coins and a free spin token. This is guaranteed on every run if you enter (fly through the opening).
- Why it works: Instant 100 coins and a token without extra danger.
- When to use: Always. If you miss the door, you can still enter from the right side by reversing (vehicle needed).
- Practice daily – 10 minutes of focused runs improves reflex speed more than hour-long sessions.
- Watch replays – After death, look at your angle of approach to obstacles. Identify if you overshot or undershot.
- Use headphones – Audio cues (zapper hum, missile whoosh) give 0.2s early warning.
- Join community – Reddit r/JetpackJoyride and Discord share updated spin wheel odds and event schedules.
#### 2. Prioritize Coin Greed Early
#### 3. Learn the Green Token Paths
Category: Resource Management
#### 4. Revive Only for Major Mile Stones
#### 5. Spin to Win – But Know When to Stop
#### 6. Upgrade Vehicles in Order of Utility
Category: Combat & Obstacles
#### 7. Zapper Patterns are Predictable
#### 8. Missile Dodge – Never Fly at the Edge
#### 9. The “Anti-Gravity” Section
Category: Builds & Vehicle Strategy
#### 10. The “Coin Rush” Build
#### 11. The “Survival” Build
#### 12. The “Explosive” Build
Category: Economy & Progression
#### 13. Coin Multiplier Gain is King
#### 14. Daily Challenges and Events
#### 15. Avoid Buying Gadgets with Coins
Category: Advanced Optimizations
#### 16. Frame-Perfect Dodging
#### 17. The “Infinite Loop” Glitch Exploit
#### 18. Token Farming
Category: Exploration (Course Knowledge)
#### 19. Know the Zones
#### 20. The Hidden Coin Room