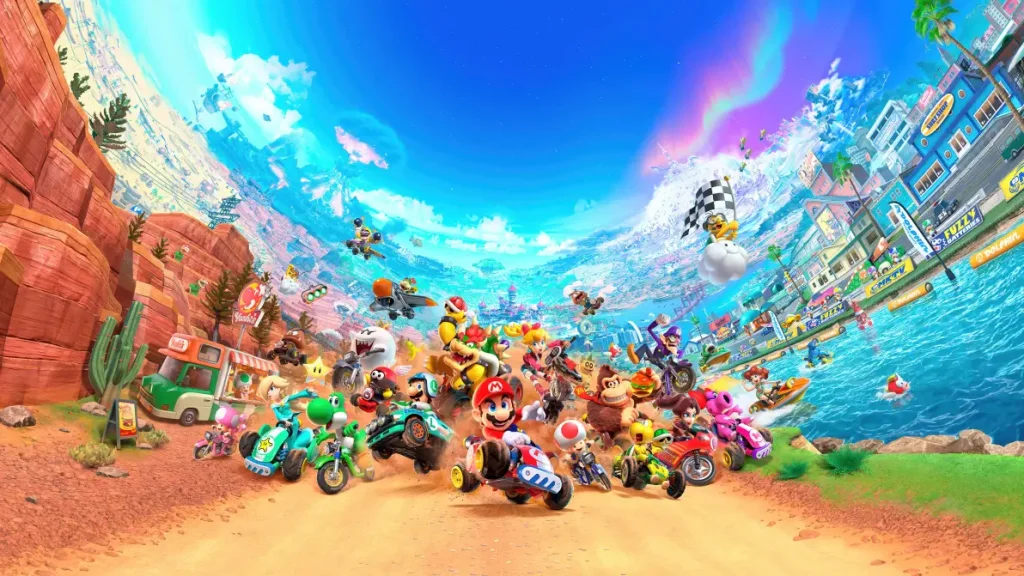
All Game Items
Overview
In Mario Kart 8 Deluxe, “items” primarily refer to power-ups that you collect from item boxes during races. These are not traditional weapons or armor but serve as offensive, defensive, and speed-boosting tools. The game also features a currency (Coins) and a wide selection of vehicle parts (Kart Bodies, Wheels, Gliders) that act as equipment, affecting your kart’s stats. This guide covers every major item type, how to obtain them, when they are most useful, and any important synergies.
---
Power-Up Items
All power-up items are obtained by driving through item boxes scattered across tracks. The item you receive depends on your race position (lower positions get more powerful items) and is random within that tier. Items can be used by pressing the item button (default: L or ZL) once to deploy/hold behind you, or twice (or hold and release) to use forward. Some items have alternative uses (e.g., dragging a banana behind you).
Offensive Items
| Item | Effect | How to Obtain | When to Use | Synergies/Notes |
|---|---|---|---|---|
| Green Shell | Fires a single green shell that travels in a straight line and ricochets off walls. Can hit multiple opponents. | Common from item boxes in any position. | Aim directly at a racer ahead or bounce around tight corridors to hit multiple foes. | Can be held behind you as a defense. Triple Green Shells spawn as three shells in a row; press once to fire them one by one, or hold to launch all at once in a spread. |
| Red Shell | Fires a homing shell that locks onto the nearest racer in front. Single hit. | Common in middle-to-front positions. | Use when you have a clear line of sight to a racer ahead. Good for securing a hit on a specific target. | Can be blocked by items held behind you (Banana, Super Horn). Triple Red Shells fire all three at once in a homing pattern; each finds a different target if possible. |
| Bob-omb | A bomb that you can throw forward or drop behind. Explodes on contact or after a short fuse. | Common from item boxes in lower positions. | Throw into a group of racers or near a tight corner. Also great to drop just before a jump to land on racers below. | Can be held behind you as a shield; if the bomb is hit, it explodes instantly, hitting anyone nearby. |
| Spiny Shell (Blue Shell) | Always targets the player in 1st place. Flies through the air, then drops on them. Wide explosion radius. | Rare, only appears when you are in a low position (8th–12th). | Use when the leader is far ahead to bring them back to the pack. Best used on straightaways where they cannot dodge. | The explosion can also hit nearby racers. The leader cannot block it (only Super Horn can destroy it mid-flight). |
| Boomerang Flower | Throw a boomerang that hits multiple opponents in a line and returns to you. Can catch items from racers it hits. | Appears in middle positions. | Use on narrow tracks to hit several racers in a row. Also good for stealing items (e.g., a Red Shell from an opponent). | The returning boomerang can hit you if you’re not careful. Synergizes well with a Star invincibility. |
| Fire Flower | Shoots a rapid fire of small fireballs. Each fireball stuns a racer temporarily. | Appears in middle-to-low positions. | Spam on straightaways or groups to disrupt multiple racers. Limited number of fireballs (~10). | Fireballs can be blocked by items, but they are quick and hard to dodge. |
| Piranha Plant | A plant attaches to your kart and bites any racer that comes close. Also chews up items in your path. | Appears in lower positions. | Drive near opponents to have the plant bite them. The plant also destroys incoming items (like shells) that touch it. | Very effective when driving through the pack; you can combo with a Star or Bullet Bill for maximum chaos. |
| Boo | Temporarily turns you invisible and steals a random item from the nearest racer. | Appears in lower positions. | Use when you are behind to steal a powerful item (like a Star or Blue Shell) from an opponent. | Invisibility makes you immune to items while active. The stolen item is automatically equipped. |
| Crazy Eight | Drops eight items around you in a circle (Mushroom, Banana, Green Shell, Red Shell, Bob-omb, Coin, Bomb-omb? Actually includes: Green Shell, Red Shell, Mushroom, Bob-omb, Banana, Coin, Star, and a random bonus item). Instantly activate all by using the item button. | Very rare from item boxes; appears in any position but more common when far behind. | Use in a crowded area to create chaos and get multiple boosts/attacks. The Star gives temporary invincibility. | The items are released sequentially; you can skew the order by pressing the button repeatedly. Danger: a Bob-omb might hit you if you are too close. |
Defensive Items
| Item | Effect | How to Obtain | When to Use | Synergies/Notes |
|---|---|---|---|---|
| Banana | A banana peel that causes racers who drive over it to spin out. | Common from item boxes in any position. | Drop behind you to protect from Red Shells and other projectiles. Also useful to place on narrow paths or just before jumps. | Can be held behind you as a shield. Triple Bananas form a row of three that can block multiple hits. |
| Super Horn | Emits a powerful shockwave that destroys all incoming items in a radius around you. | Rare from item boxes (more common in front positions). | Use when you hear a Blue Shell approaching – the Super Horn can destroy it if timed correctly. Also good for clearing a cluster of items. | Only item that can destroy a Spiny Shell! Also destroys Bob-ombs and other projectiles. |
Speed & Special Items
| Item | Effect | How to Obtain | When to Use | Synergies/Notes |
|---|---|---|---|---|
| Mushroom | Gives a short speed boost. | Common from item boxes in any position. | Use on straightaways to catch up, or just after a drift boost to extend speed. Also can be used to cut across grass or off-road sections without losing speed. | Triple Mushrooms give three successive boosts. Golden Mushroom gives unlimited boosts for a few seconds – mash the item button again and again to chain boosts. |
| Golden Mushroom | Allows unlimited speed boosts for a limited time by repeatedly pressing the item button. | Rare from item boxes (usually when in 4th place or lower). | Use on long straight tracks or when you need to make up many positions. | Best combined with a good racing line – you can boost through every turn with proper drifting. |
| Star | Makes you invincible and faster for a few seconds. Touching an opponent sends them spinning. | Rare from item boxes (lower positions). | Activate just before a series of dangerous obstacles or when surrounded by enemies. Also good for catching up. | Star makes you immune to all items, so you can drive through Blue Shells without harm. |
| Bullet Bill | Transforms you into a Bullet Bill that races automatically at high speed, flying over most obstacles. | Very rare from item boxes (only when in last place). | Use when you are very far behind to catch up to the pack. The Bullet Bill path is predetermined but avoids off-road and holes. | You are invulnerable while in Bullet Bill form. The transformation lasts until you reach the pack or a set distance. |
| Lightning | Shrinks all racers ahead of you (causing them to spin out and lose speed). | Rare from item boxes (only when near last place). | Use when the leader is far ahead to slow them down. Works on all opponents ahead of you, great for shortening the gap. | Shrunk racers also have lower traction, making them more likely to fall off edges. Not effective against racers behind you. |
| Blooper | Sprays ink on the screens of all racers ahead of you, temporarily blinding them. | Appears in middle-to-low positions. | Use just before a tricky corner to cause opponents to miss the turn. | Ink can be wiped off by driving through a boost panel or using a Super Horn (the horn does not remove ink, only prevents damage). The effect is mild but can be disruptive. |
| Coin | Gives you one coin (up to a maximum of 10 coins total). Coins increase your top speed slightly. | Common from item boxes in any position. | Use when you have fewer than 10 coins to max out your speed. Also helps in Coin Runners mode where coins equal points. | Coin is also the game’s currency (see below). The coin item does not consume your stored coins; it adds one. |
Currency
Coins
- Description: Coins are the primary in-game currency. They appear on tracks as glowing yellow objects and can also be obtained from the Coin item. You can carry up to 10 coins at a time, and each coin adds a small speed boost (total +1.5% top speed at 10 coins). When you are hit by an item, you lose up to 3 coins. Coins also serve as a progress currency: every coin earned in races contributes to your total coin count, which is tracked globally. You need coins to unlock vehicle parts in the shop (see below).
- How to Obtain: Drive over coins scattered on tracks, collect them from Coin items, or win them in races. Coins are not consumed upon use; they are stored in your wallet.
- Use: Spend coins in the Parts Shop (accessible from the main menu, then “Customize” > “Parts Shop”) to purchase new kart bodies, wheels, and gliders. Each part costs between 50 and 1,500 coins. There is no other use for coins, but they are essential for unlocking all customization options.
- Synergy: Having 10 coins maximizes your speed, so always try to maintain a full coin count. The Coin item helps refill after being hit.
- Role: Determines the base weight class and strongly influences speed and handling. Heavier bodies (e.g., Koopa Clown, Landship) provide higher weight and top speed but lower acceleration and handling. Lighter bodies (e.g., Pipe Frame, B Dasher) offer better acceleration and handling but lower top speed.
- How to Obtain: Purchase from Parts Shop for 500–1,500 coins per body. There are 39 kart bodies in the base game, plus additional ones from the Booster Course Pass DLC (which adds characters and vehicles, but not new bodies? Actually DLC adds new characters and vehicles, including new kart bodies).
- When to Use: Choose based on your playstyle. Beginners often prefer light bodies for easier handling; advanced players may favor heavy bodies for higher top speed and weight (pushing others).
- Examples:
- Role: Affect traction, handling, and acceleration. Wheels also visually change your kart’s height (affecting collision with low walls). There are three types: Standard, Roller, and Off-Road. Roller wheels give excellent mini-turbo and handling but low traction; Off-Road wheels are best for grass/dirt but reduce acceleration. Standard wheels are balanced.
- How to Obtain: Purchase from Parts Shop for 500–750 coins per set. There are 22 wheel sets in the base game.
- When to Use: Roller wheels are meta for competitive play due to the mini-turbo bonus. Off-road wheels are useful on tracks with many grass or sand sections (e.g., Dry Dry Desert, Wild Woods).
- Examples:
- Role: Determines the time you can glide after a ramp, and also slightly affects acceleration and handling. Gliders do not drastically change performance; the differences are minor. The main consideration is visual preference or slight stat boosts.
- How to Obtain: Purchase from Parts Shop for 500–700 coins each. There are 17 gliders in the base game.
- When to Use: Any glider works; the stat differences are negligible. Choose based on aesthetics or minor acceleration bonuses.
- Examples:
- Coins (as currency and stat booster)
- Vehicle Parts (for customization)
- Defensive stacking: Always carry an item behind you (Banana, Green Shell, etc.) to block Red Shells and other incoming projectiles. The Super Horn is the only defense against a Spiny Shell.
- Using Mushroom boosts: A Mushroom boost combined with a drift mini-turbo (start the mushroom boost just as you finish a drift) yields incredible speed. This is known as a “Mushroom + Mini-Turbo” combo.
- Lightning + Star: If you are in last place, using Lightning to shrink opponents, then activating a Star, allows you to plow through them for an easy comeback.
- Bullet Bill usage: Do not use Bullet Bill if you are close to the pack; it will only carry you a short distance. It is best used when you are at least 8th place and far behind.
- Golden Mushroom on long straight tracks like Mario Circuit 3 or N64 Royal Raceway can net you multiple position gains if you keep boosting.
- Coin management: Losing coins means lower top speed. When you drop below 10, try to collect track coins or use the Coin item to replenish.
---
Vehicle Parts (Equipment)
Vehicle parts are not “items” in the traditional sense but act as equipment that modifies your kart’s stats. They are unlocked by collecting coins and then purchased from the Parts Shop. Each part affects six hidden stats: Speed, Acceleration, Weight, Handling, Traction, and Mini-Turbo. You can mix and match any kart body, wheels, and glider.
Kart Body
- Pipe Frame – Balanced, default for many characters. Good all-around starter.
- B Dasher – Mario’s standard kart; good acceleration.
- Koopa Clown – Heavy body, high speed but poor mini-turbo.
- Flame Rider – Medium weight, balanced stats.
Wheels
- Standard – Balanced for all tracks.
- Roller – Small, gives high mini-turbo. Often paired with light bodies for agility.
- Metal – Heavy, good speed but low mini-turbo.
- Off-Road – Large treads, good for off-road sections but slow on asphalt.
Glider
- Super Glider – Default, balanced.
- Cloud Glider – Slightly better acceleration.
- Wario Wing – Decorative.
Unlocking All Parts
To unlock all 78 vehicle parts (39 bodies + 22 wheels + 17 gliders) in the base game, you need approximately 30,000 coins total. You can farm coins by racing in 150cc Grand Prix or Time Trials. Alternatively, use the Coin Runners mode in Battle Mode for faster coin collection. The Booster Course Pass DLC adds more characters and vehicles, but those are unlocked by completing cups or purchasing the DLC, not by coins.
---
Collectibles
Mario Kart 8 Deluxe does not have traditional collectibles like stamps or puzzles. However, the game tracks your total coins as a form of progress, and there are achievements (badges) that are automatically unlocked. These are not items you can use. The only collectible-like feature is the Completion Percentage for each Grand Prix cup (e.g., unlocking all cups). But for practical purposes, the primary collectibles are:
Additionally, the game includes Mii Racing Suits and Character Unlocks (e.g., Gold Mario, Gold Standard Gold wheels, etc.) which are obtained by reaching certain milestones (e.g., get gold trophies in all 150cc cups, collect 5,000 coins). These are more like unlockable content but not items per se.
---
Important Synergies & Tips
---
Summary Table of All Items and Equipment
| Category | Items/Equipment | Purpose |
|---|---|---|
| Power-Up Items | Green Shell, Red Shell, Bob-omb, Spiny Shell, Boomerang Flower, Fire Flower, Piranha Plant, Boo, Crazy Eight, Banana, Super Horn, Mushroom, Golden Mushroom, Star, Bullet Bill, Lightning, Blooper, Coin | Attack, defend, speed boost, or tactical disruption |
| Currency | Coins | Unlock vehicle parts and increase top speed |
| Vehicle Parts (Equipment) | Kart Bodies (39), Wheels (22), Gliders (17) | Customize kart stats (Speed, Acceleration, Handling, etc.) |
| Collectibles | Coins (track pickups), Unlockable characters/parts | Completion and customization |