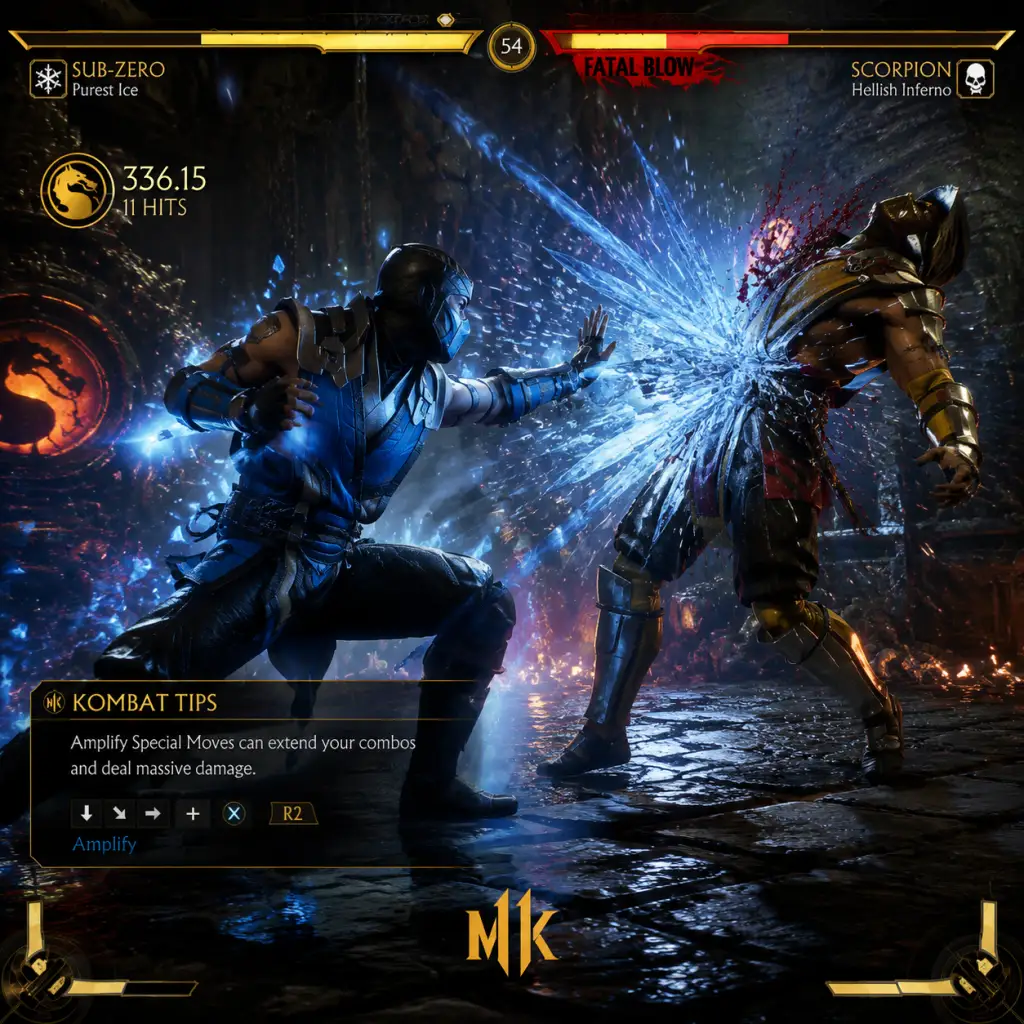
Game Tips
Game Tips for Mortal Kombat 11
This guide offers a comprehensive collection of tips for Mortal Kombat 11, organized by category and skill level. Each tip includes an explanation of why it works and when to apply it. Whether you are a beginner learning the basics or an advanced player optimizing frame data, these strategies will help you dominate the fight.
---
Combat Tips
#### Beginner Level
1. Master Your Main’s Basic Attacks and Strings
- Explanation: Every character has a set of basic punches, kicks, and unique strings. These are your fastest, safest options. Learning them builds the foundation for combos and pressure.
- Why it works: Basics have low startup and recovery, allowing you to react to opponent moves and punish whiffs. Practice in Training Mode until you can execute them without thinking.
- When to use: Always start with basics. Use them to feel out an opponent’s timing, then transition to special moves.
2. Use Crouch Block Often
- Explanation: Holding down-back (down+block) blocks low attacks and most overheads (if you stand block). Mixing between high and low block is essential because many mix-ups come from lows and overheads.
- Why it works: Most players start with high attacks; crouch block covers 90% of unreactable moves. Only stand block when you anticipate an overhead or a throw.
- When to use: Default defensive stance. Switch to standing block only when you see overheads (e.g., Sub-Zero’s flying kick) or to tech throws.
3. Learn to Punish with a Simple Combo
- Explanation: When you block an unsafe move (negative on block), immediately counter with your character’s fastest punish string. Practice one optimal punish combo for each of your main’s punishable ranges.
- Why it works: Unsafe moves leave the opponent vulnerable; a 20% damage punish turns the tide. Without a punish, you lose free damage.
- When to use: After blocking a special move like Scorpion’s Teleport or a raw Krushing Blow attempt. Go to Practice Mode and set the dummy to perform unsafe moves; find your best punish.
#### Intermediate Level
4. Use Cancel into Special Moves to Extend Combos
- Explanation: Most basic strings can be canceled into a special move by inputting the special command during the string’s animation. This lets you convert a normal hit into a full combo.
- Why it works: Cancels increase damage output and provide pressure. They also allow you to end strings safely or create mix-ups (e.g., cancelling into a low special vs. an overhead).
- When to use: Only cancel on hit or block if the special is safe on block. Never cancel on a whiff. Familiarize yourself with each special move’s frame data.
5. Understand Frame Data and Punish Windows
- Explanation: Every move has startup, active, and recovery frames. Moves are “punishable” if they are -10 or worse on block. Knowing this lets you know which of your moves can be safely used and which opponent moves you can exploit.
- Why it works: Frame data is the mathematical core of fighting games. A -12 move can be punished by a 12-frame startup attack, leading to free damage. Without this knowledge, you are guessing.
- When to use: Use frame data to choose safe pokes (e.g., a -2 move leaves you at advantage). In real matches, mentally note your opponent’s unsafe moves and punish them every time.
6. Mix Up Your Timing with Delay and Frame Traps
- Explanation: Instead of pressing buttons continuously, delay your next attack after a string to catch the opponent pressing a button (frame trap). For example, after a +5 on block string, wait 1-2 frames then use a mid or low.
- Why it works: Most opponents try to mash after being blocked. Frame traps convert their mashing into a counterhit combo, often leading to a Krushing Blow.
- When to use: After any string that leaves you plus on block. Common frame trap strings include Liu Kang’s F4,3 and Scorpion’s B1,2.
#### Advanced Level
7. Optimize Kombos for Krushing Blow Conditions
- Explanation: Krushing Blows are triggered by specific conditions (e.g., 2nd hit of a string, punish a certain move, use a move after a flawless block). Each character has multiple KBs that deal bonus damage and sometimes extend combos.
- Why it works: A KB can turn a low-damage starter into a 30%+ combo. Knowing how to intentionally trigger KBs (e.g., using Fatal Blow in certain situations) gives huge payoff.
- When to use: Plan your combo routes to include KB conditions. Example: For Scorpion, use his F3,2 KB (requires hitting with the second hit as a punish) only when you land a raw punish. In neutral, do not fish for it.
8. Utilize Flawless Blocking to Invert Pressure
- Explanation: Flawless Block (press block right before an attack hits) gives you a brief window to launch a Flawless Block Attack (back+front punch or back+front kick). This also makes your opponent’s recovery longer.
- Why it works: It allows you to steal your turn from plus-on-block situations. For example, if the opponent does a +4 move, flawless block lets you counter before they can continue pressure.
- When to use: Predictable strings with large gaps (e.g., Geras’ F1,2). Practice in Training with the dummy set to repeat a string; time your block just before the second hit.
9. Manage Defensive Meters: Offensive and Defensive
- Explanation: You have two gauges: Offensive (for combos, Fatal Blow, and Breakaway) and Defensive (for getup attacks, rolls, and breakers). Learn the cost of each action.
- Why it works: Using Offensive meter for the first hit of a combo (to extend) is usually better than saving for a Fatal Blow that might be blocked. Defensive meter should be saved for breakers (escape combos) when you are being punished heavily.
- When to use: In round 1, usually save Defensive bar for at least one breaker. Use Offensive bar to end rounds with damage. Never burn both bars on a single combo unless it guarantees a win.
---
Resources & Economy
10. Spend Koins on the Krypt Early, but Save Some for Chests
- Explanation: The Krypt is a massive dungeon filled with chests that contain gear, skins, augments, and konsumables. Early on, buy the “Kenshi’s Blindfold” (500 Koins) to see hidden chests. Then spend Koins on inexpensive chests near the entrance.
- Why it works: Hidden chests often contain rare items. Buying cheap chests first builds your collection quickly. Save at least 10,000 Koins for special chests that require forging (like the soul chests).
- When to use: As soon as you enter the Krypt. Keep a reserve of 50,000 Koins for the “Shinnok’s Amulet” quest line.
11. Grind Souls and Hearts for Character Towers
- Explanation: Souls (blue) and hearts (red) are used to unlock Character Towers in Towers of Time. Each character has 5 towers that require certain currencies. Souls are harder to earn; focus on daily challenges and the “Test Your Might” mini-games.
- Why it works: Character Towers unlock exclusive gear (e.g., masks, skins) and augments that provide massive stat boosts in ToT. Prioritize unlocking towers for your main.
- When to use: During the weekly rotation, check which character towers are active. Grind souls from the Gauntlet towers (they give many souls) or by using konsumables that increase soul drops.
12. Use Konsumables Strategically in Towers of Time
- Explanation: Konsumables are single-use items that give buffs (damage, armor, health regen) or debuffs (freeze, poison). They can be equipped before a tower fight.
- Why it works: Some tower modifiers are nearly impossible without konsumables. For example, the “Slow Mo” modifier (slow movement) is countered by the “Haste” konsumable. Using the right konsumable saves frustration.
- When to use: At the start of a difficult tower (marked with skulls). Read the modifier list and match konsumables: e.g., use “Rocky” (armor) against the “Cyrax’s Bombs” modifier. Also, stack multiple konsumables for synergy.
13. Don’t Waste Unlockable Currency on Random Skins
- Explanation: Time Crystals (premium currency) can buy specific skins or gear from the rotating Shop or Premium Shop. Avoid spending Time Crystals on the “Random Skin” option; it usually gives duplicates or low-tier items.
- Why it works: The shop offers direct purchases. Focus on your main’s skins that are exclusive to the premium shop. Save Time Crystals for Kombat League rewards you missed (if they appear).
- When to use: Only spend Time Crystals on something you definitely want. Grind Koins for everything else.
---
Character Customization (Kustom Variations)
14. Build Variations Around Your Playstyle
- Explanation: Each character has 3 ability slots and can use specific gear pieces and skins. Choose special moves that complement your strengths. For instance, if you like zoning, equip projectile-based abilities; if you like rushdown, pick mix-up options.
- Why it works: Custom variations let you tailor the character to your style, unlike presets. For example, Scorpion can use “Death Spin” for anti-air or “Spear” for a low projectile. Experiment.
- When to use: Before entering any mode that allows kustom (all except Kombat League in some towers). Create 2-3 variations: one for neutral, one for pressure.
15. Augments Are Game-Changing in PvE
- Explanation: Augments are passive bonuses that you attach to gear pieces. They range from damage increases to special effects like “Homing Lunge” for Geras. Some augments stack.
- Why it works: In Towers of Time, good augment sets can triple your damage or make you nearly invincible. For example, “Konsumable Boost” augments increase konsumable duration.
- When to use: Equip rarity 4 and 5 augments (purple and gold) only. Build synergy: e.g., use “Jade’s Staff” with “Staff Onslaught” for extra kombo damage. PvP does not use augments, so they are purely for PvE.
---
The Krypt Exploration
16. Always Detonate the Shao Kahn Chests
- Explanation: Shao Kahn’s chests are special chests that require “Shao Kahn’s Hammer” (found in the Krypt) to break. They cost 50 Souls and contain high-level gear.
- Why it works: These chests respawn rarely but each gives a random piece of gear. They are one of the best sources of gear for all characters.
- When to use: After obtaining the hammer from the Forge (requires a sacrifice of 20 items). Then smash every Shao Kahn chest you find.
17. Open All Hidden Chests with Kenshi’s Blindfold
- Explanation: Kenshi’s Blindfold reveals invisible chests and cursed items. It costs 500 Koins and is essential for completion.
- Why it works: Many rare skins and augments are hidden. The Blindfold also shows hidden wall runes (for puzzle doors).
- When to use: Equip the Blindfold as soon as you enter the Krypt. Hold the block button to activate it while exploring.
18. Solve Puzzle Doors for Fast Currency
- Explanation: The Krypt has several puzzle doors (e.g., the “Goro’s Lair” door) that require specific gear or items to unlock. Completing them gives large amounts of Koins, Hearts, and Souls.
- Why it works: Puzzle doors provide a one-time boost that can fund your early exploration. For instance, the “Throne Room” door (requires Shinnok’s Amulet) gives 10,000 Koins.
- When to use: Whenever you have the required item. Check online guides for each door’s solution.
---
Towers of Time Optimization
19. Use AI Fighters for Grinding Towers
- Explanation: You can set your AI to fight towers for you. The AI uses a preset A.I. behavior (30 points max). Make a custom A.I. build with high “Combo” and “Reversal” (or “Zoning” for projectile characters).
- Why it works: The AI can reliably win lower-difficulty towers (up to Hard) while you are away. This saves time for gear and currency. Set the A.I. to “very hard” difficulty in options.
- When to use: For farming character towers or the Gauntlet stages. Do not use AI for boss towers (e.g., Kronika) — they require manual play.
20. Exploit Tower Modifiers with Counter-Konsumables
- Explanation: Each tower has modifiers like “Lava” (floor deals damage) or “Cyrax’s Bombs”. In the pause menu, you can check the modifier list. Prepare your konsumables accordingly.
- Why it works: A well-timed “Ground Freeze” konsumable cancels lava floor permanently for the round. Similarly, “Projectile Shield” negates enemy projectile modifiers.
- When to use: Before starting the tower, equip 3-4 konsumables that directly counter the modifiers. Example: For “Blood Rain”, use “Health Regeneration” potion.
---
Miscellaneous Advanced Tips
21. Frame Data Sheet for Your Main
- Explanation: Write down the startup, active, recovery, and block advantage of each move for your main. Keep a small notebook or use an app.
- Why it works: During a match, you can quickly recall which moves are punishable. For instance, knowing that Sub-Zero’s slide is -18 means you can punish with a 15-frame move.
- When to use: While practicing combos. Refer to the sheet when you see an opponent use that move.
22. Practice Anti-Air Punishes
- Explanation: Many characters have jump-ins that are plus on block. Your character likely has a normal that is a good anti-air (e.g., standing uppercut, forward punch). Learn to react to jumps.
- Why it works: Anti-airing converts the opponent’s momentum into a full combo. It also discourages jump-ins.
- When to use: Stand at a distance where the opponent can jump over your pokes. Use d2 (uppercut) for a Krushing Blow or a standing 1 (fast) to juggle.
23. Set Up Training Mode for Specific Situations
- Explanation: Use the dummy to perform common strings from your online opponents. For example, set it to do Scorpion’s F3,2 then 1,1, Teleport. Learn the gaps and punish windows.
- Why it works: Muscle memory for specific matchups reduces mental load during actual matches.
- When to use: Before entering Kombat League, spend 15 minutes in Training with the current meta character. Focus on punishing their most used strings.
---
By applying these tips progressively, you will improve your combat efficiency, accumulate resources faster, and customize your experience for maximum fun. Remember, Mortal Kombat 11 is deep — revisit this guide as you master each tier.