Game Tips
Game Tips for Age of Empires II: Definitive Edition
Economy & Resource Management
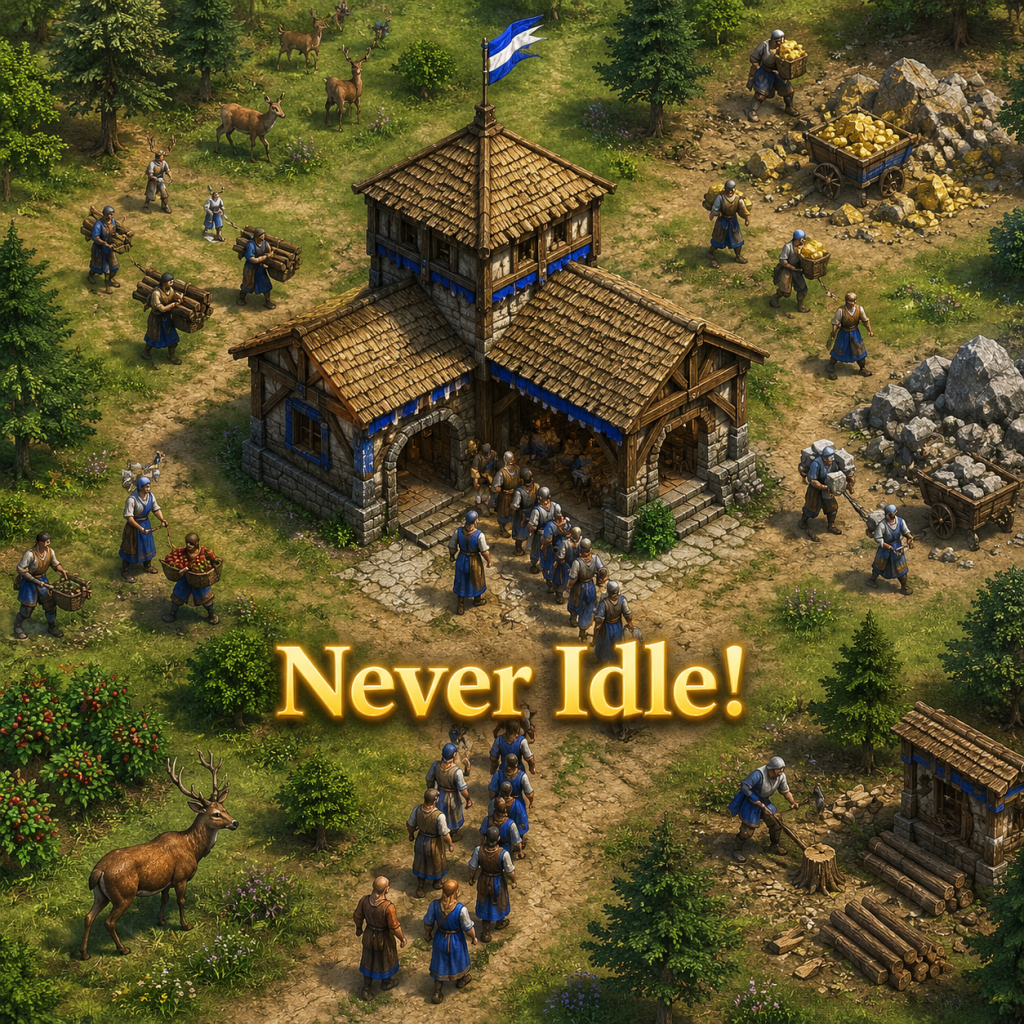
#### 1. Never Idle Your Town Center
- Why it works: The Town Center (TC) is your primary villager production building. Every second it’s not training a villager is lost potential. With 200 food per villager, a single idle minute equals ~3 villagers you could have had.
- When to use: From the very first second of the game until you’re ready to go to Imperial Age and have max population (200). Keep a constant queue of villagers, even if you need to shift resources.
- Advanced optimization: Use the “select all town centers” hotkey (default: `.`) and shift-click the villager button to queue 5+. This keeps TC busy even during fights.
- Why it works: Food is the lifeblood of early game – it creates villagers (200 food), scouts (80 food), and militia. You need a strong food eco to advance to Feudal Age (500 food) and Castle Age (800 food).
- When to use: First 5 villagers on sheep/berries/boar. Don’t skimp – you can always mill berries or hunt deer later.
- Tip: Lure boars with a scout or villager (hit once, run to TC under fire). Boar meat decays slower than sheep. Kill deer with a single scout hit to avoid travel time.
- Why it works: Starting with one mill for berries is efficient. Adding a second mill later (when you have 10+ gatherers on berries) reduces walking distance. But early, building two mills wastes wood (100 wood each) you need for barracks/archery ranges.
- When to use: After you’ve reached Feudal Age and have extra wood from lumberjacks. Place it near a second berry patch or deer carcasses.
- Why it works: Gold is primarily for units (archers, knights) and stone for defensive buildings. In Dark Age, you only need gold for the Feudal Age advance (200 gold) and maybe a market. Stone is only for Feudal towers or Castle Age castles.
- When to use: Assign 1-2 villagers to gold after clicking Feudal Age. For stone, typically after reaching Castle Age (if building a castle). Early stone mining can delay your economy.
- Why it works: The market allows buying/selling resources at fluctuating prices. Selling 100 wood gives ~59 gold initially, but buying back costs more. It can bail you out if you miss a resource for a critical upgrade (e.g., food for Castle Age).
- When to use: In emergencies (e.g., need 50 food for a villager and sheep are gone). Advanced players use market to “pump” economy: sell excess wood for gold to afford Castle Age faster, then buy wood to build production buildings.
- Analysis: The market depreciates with each trade. Avoid heavy reliance; best used for a one-time boost.
- Why it works: Map knowledge dictates your entire strategy – finding enemy base, resources, hills, and choke points. The starting scout (or a scout if you have one) reveals critical info.
- When to use: First command: select scout and explore around your TC in a concentric circle. Then send scout toward likely enemy location (opposite corner on Arabia). Keep moving – never stop scouting until you find them.
- Advanced: Use a scout to follow enemy villagers or find their stone/gold. Also scout for deer patches to lure or hunt.
- Why it works: A boar provides 340 food (same as a sheep) but decays slower. Luring it under TC saves villager walk time (no need to build a mill).
- When to use: After starting with 4-5 villagers on sheep, lure the closest boar (usually visible on mini-map by a small dark spot). Use scout or a villager: hit the boar once, run toward TC, and as it chases, shoot it with villager fire under TC. Ideally do this before first boar runs out.
- Why it works (advanced): Luring two boars early gives a huge food boost for Feudal advance. The timing is tight – do it before 4:30 game time.
- Why it works: The mini-map shows enemy movement (flashing red), resource icons, and potential attack paths. A quick glance can save your base from a rush.
- When to use: Every 10-15 seconds. Especially when you’re busy with economy – you’ll see enemy scouts rushing in.
- Why it works: Patrol (default: `Z`) creates a moving unit path. Use a single scout or a light cavalry to patrol between your base and likely enemy approach. If the enemy comes, you get early warning.
- When to use: After Feudal Age, especially if you suspect an archer or scout rush. Patrol near your gold or wood line.
- Why it works: Build orders are optimized sequences to reach Feudal Age with a strong economy. The 22-pop scouts build (6 on sheep, 4 on wood, then boar, then berries, etc.) produces a stable Feudal with 200 food to spare for two stables.
- When to use: In open maps like Arabia, as beginner. It’s forgiving and sets you up for scout rush.
- Step-by-step:
- Why it works: Feudal Age time (when you click up) should be around 9:00-9:30 for a fast 22-pop build; 10:30-11:00 for a slower boom. Compare with opponents – if their Feudal is earlier than you, they may rush.
- When to use: Check your game clock. If you’re late, consider walling or building defensive towers.
- Why it works: Fast Castle aims to get to Castle Age by 16:00-17:00 without a military in Feudal. This gives early access to knights, crossbows, and trebuchets. It’s powerful on closed maps (Arena, Black Forest).
- When to use: On defensible maps with walls. You need at least 24-26 villagers and 800 food, 200 gold. Use market if needed.
- Risk: You are vulnerable to early Feudal attacks (drush, scouts). If you attempt FC without scouting, you may die.
- Why it works: Ranged units like archers can kite melee enemies by stopping, firing, then moving. The “Stop” hotkey (default: `S`) halts movement instantly, allowing instant shot.
- When to use: When microing archers vs scouts. Click move away, then press `S` to fire, then move again. This maximizes damage while taking minimal hits.
- Why it works: Units clumped together take full damage from mangonels, scorpions, or bombard cannons. Spreading them reduces splash damage.
- When to use: When you see enemy onagers or mangonels. Select all military, then right-click spread formation (or use `F` for flank) and manually spread by clicking across a line.
- Why it works: Cavalry (knights, light cavalry) are fast and can circle around enemy formations to hit archers or siege from behind. Archers are weak in melee.
- When to use: In a ranged vs ranged fight, send cavalry around the side while your archers engage frontally. The cavalry wrecks enemy archers.
- Analysis: Prefer attacking from the rear or sides to avoid enemy pikes/spearmen.
- Why it works: Spearmen cost 35 food / 25 wood and counter cavalry well (bonus damage). But they are slow and weak against archers. Build only enough to counter.
- When to use: If enemy spams scouts or knights, add a barracks and make 3-4 spearmen. Don’t mass them as they become useless in late game.
- Why it works: Siege (mangonels, trebuchets) are fragile and expensive. A few knight hits can destroy them. Always have melee units nearby to intercept.
- When to use: When pushing with siege. Arrange your army: melee in front, siege behind, archers to side. If enemy tries to snipe siege, use patrol to guard.
- Why it works: Trebuchets and bombard cannons can attack ground to damage buildings even if you don’t have vision. Use it to target enemy Town Centers from a safe distance.
- When to use: Sieging an enemy base with a castle or TC. Deploy trebuchet in packed mode near a group of military, then left-click the enemy TC and press `T` to unpack, then right-click the TC. For deny, use onagers to attack ground where villagers are gathering (like a wood line).
- Why it works: A single layer of palisade walls around your eco (wood line, gold, stone) buys time against early rushes. Even a partial wall can force enemy to go around, giving you warning.
- When to use: In open maps, start walling around minute 8-10 (Feudal Age). Use houses as part of walls – they have high HP and can be repaired.
- Advanced: Wall only the vulnerable sides – leave your TC as a chokepoint. Use gates to allow your villagers to exit for resources.
- Why it works: Towers can shoot arrows at enemy units, forcing them to retreat. They also provide line of sight. A tower near your gold mine can defend it from scout rushes.
- When to use: If you see enemy scouts or archers approaching your resources. Build a tower (100 stone) with 5-6 villagers to finish quickly. But don’t over-commit stone – you need a castle later.
- Why it works: Repairs keep walls and towers alive longer. Two villagers can keep a palisade wall standing against many archers. 5-6 villagers can keep a castle operational under trebuchet fire.
- When to use: When enemy is focusing a building. Select villagers and right-click the damaged building (they auto-repair if resources available). Have stone/gold on hand.
- Why it works: Hotkeys reduce mouse movement and split-second decisions. The default ones: H (select TC), `.` (select all TCs), A (Archery Range), B (blacksmith), etc. Customize to your preference.
- Beginner tip: Start with just `H` + villager `A` to make villagers, and `Ctrl+1` for army control groups. Gradually add more.
- Why it works: Control groups (Ctrl+1-9) let you instantly select units. For example, bind all knights to 1, archers to 2, siege to 3. For production, you can bind a stable to 4 and press `4` then `S` to produce scout continuously.
- When to use: Always. Rebind stables, archery ranges, etc. to numbers 4-6 for quick unit production.
- Why it works: Cumans, Tatars, and Mongols have Steppe Lancers – fast, ranged cavalry that can hit-run without taking return damage if microed well. Use them to harass enemy economy.
- When to use: In Castle Age if you have a strong food economy. Their attack animation is short – after hitting, move immediately to avoid melee retaliation.
- Why it works: Every unit has an armor class (e.g., cavalry, infantry, building, archer). Attack bonuses multiply against specific classes. E.g., spearmen have +15 vs cavalry, so 6 attack spearmen deal 21 damage to a knight with 3 pierce armor.
- When to use: Counter enemy composition. If opponent makes cavalry, produce spears. If they switch to archers, then add skirmishers. Knowing this makes countering efficient.
- Why it works: Each relic in a monastery generates 1 gold per minute, passively. Five relics = 5 gold/min – a free gold mine. Relics also provide healing and conversion.
- When to use: Immediately after reaching Castle Age, build a monastery and send a monk (or scout) to pick up relics around the map. Contest them – they are often in neutral areas.
- Why it works: Trash units (skirmishers, spearmen, light cavalry) cost no gold, only food and wood. In late game when gold runs out, they become the only sustainable military.
- When to use: After 40+ minutes in Imperial Age when the map is depleted. Transition from knights/arbalests to hussars and halberdiers. Always have at least one barracks, stable, and archery range pumping trash.
- Why it works: Attack move commands units to attack the nearest enemy, not the one you clicked. This prevents all units attacking the same target (overkill).
- When to use: When engaging multiple enemies. Select army, press `A`, then left-click on the ground near enemy. Units auto-target nearby foes.
- Why it works: Units on patrol will automatically fight enemies within their line of sight. You don’t need to manually click each engagement.
- When to use: At your wood line or gold mine, patrol a few spearmen or a knight. If enemy raids, they engage immediately without your attention.
- Why it works: Age of Empires II: DE has a built-in replay system. Watching your game from the enemy’s perspective shows their build order, scouting, and decision-making.
- When to use: After each loss (or win) – especially when you’re not sure why you lost. Look for idle TC time, ineffective unit composition, or missed scout information.
- Why it works: Byzantines get 25% cheaper counter units (skirmishers, spearmen, camels). This makes them excellent in trash wars.
- When to use: When opponent uses cavalry or archers, mass skirmishers and spearmen. You can win late-game cost-effectively.
- Why it works: Franks have +20% HP on cavalry (knights, paladins). Their knights survive longer and trade well.
- When to use: Spam knights in Castle Age. Combine with a few crossbows or scorpions to handle pikemen.
- Why it works: Mongols’ hunting bonus (2x faster) means deer and boar are gathered almost instantly. This gives a massive food lead early.
- When to use: Immediately lure boars and hunt deer. You can go up to Feudal Age with 25 villagers faster than other civs.
- Why it works: Mayans’ resource bonus (+15% food/gold from farms and mines) means you need fewer farms and miners. Their Eagle Warriors are also fast and strong.
- When to use: In early Castle Age, focus on food to produce Eagles and archers. Transition to plumed archers in Imperial.
- Single-player first: Practice against AI on easy/medium to learn build orders without pressure.
- Watch replays of pros: Look at how they manage eco and micro simultaneously.
- Don’t stop producing villagers: Until you hit 200 pop or are full-up, always train villagers. One idle TC for 1 minute costs ~3 villagers; over 10 minutes that’s 30 lost villagers.
- Adapt: No single strategy works every game. If you see enemy wall up, skip rush and boom. If you see they are booming, rush them.
#### 2. Prioritize Food Early
#### 3. Build a Second Mill Later, Not at Once
#### 4. Gold and Stone – Start Mining Later
#### 5. Use Market Strategically
Exploration & Scouting
#### 6. Scout Immediately, Constantly
#### 7. Lure the Boar Early
#### 8. Check the Mini-Map Often
#### 9. Use Patrol to Scout Defensively
Build Orders & Timing
#### 10. Follow a Standard Dark Age Build Order (22-Pop Scouts)
1. First 6 villagers on sheep (under TC).
2. Next 3-4 on wood (build lumber camp near trees).
3. Lure boar with 7th villager.
4. Send gathered sheep to TC; build a mill on berries with 4 villagers.
5. After boar, send villagers to second boar or deer.
6. When you have 22-24 population (including scout), click Feudal Age.
#### 11. Know Your Feudal Age Time Target
#### 12. Fast Castle (FC) Strategy – When and Why
Combat & Micro
#### 13. Use the “Stop” Command to Patrol Ranged Units
#### 14. Split Your Units When Facing Area Damage
#### 15. Flanking with Cavalry
#### 16. Use Spearmen Against Cavalry, but Don’t Overspend
#### 17. Protect Your Siege Weapons
#### 18. Use “Attack Ground” to Deny TCs
Defense & Walling
#### 19. Wall Off Your Base Early
#### 20. Build a “Watchtower” at Gold/Stone if Rushed
#### 21. Use Villagers to Repair Buildings During Siege
Advanced Tips & Optimization
#### 22. Hotkey Everything
#### 23. Use Control Groups for Army & Production
#### 24. The “Steppe Lancer” Civ-Specific Tip
#### 25. Understand Bonus Damage and Armor Classes
#### 26. Use Relics – Grab Them Early
#### 27. The “Trash” Units – When to Use Them
#### 28. Use Attack Move (A+Click) to Avoid Overkill
#### 29. Minimize Fatigue – Use Patrol for Defenders
#### 30. Learn From Your Losses – Record & Review
Civilization-Specific Tips (Selected)
#### 31. Byzantines: Cheap Counter Units
#### 32. Franks: Powerful Knights
#### 33. Mongols: Hunt Faster
#### 34. Mayans: Extended Resources
Final Beginner Advice
Game tips are endless – focus on four pillars: economy, scouting, military composition, and multitasking. Master these, and you’ll climb the ranked ladder.