Getting Started
First Hour Walkthrough
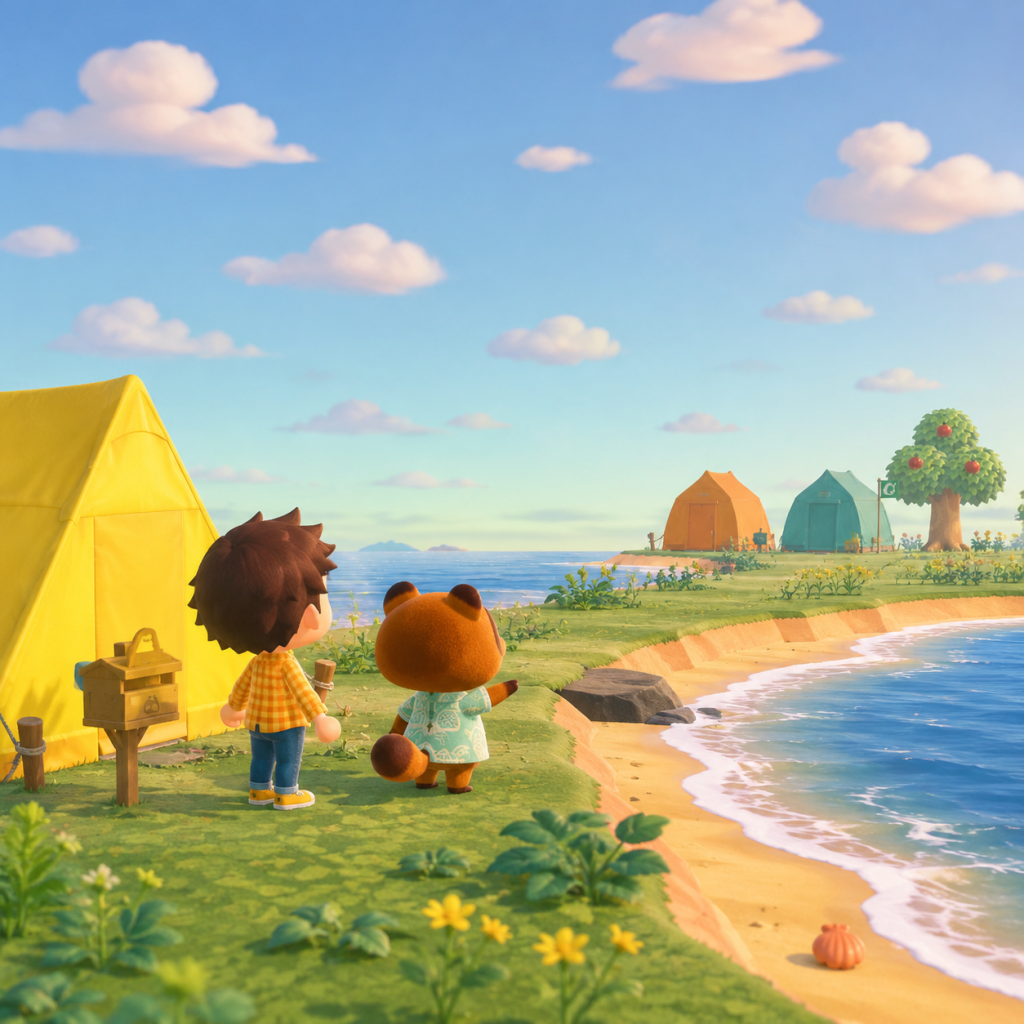
After the opening cutscene where you fly to a deserted island with Tom Nook and two other villagers (one of the two will be a randomly assigned animal, the other is your chosen villager), you will arrive on the island. The game begins on the first day (real-time). You'll meet Timmy and Tommy Nook, and Tom Nook gives you a tent kit. Your primary goals in the first hour are:
1. Choose your island layout: You are presented with four randomly generated island maps. You can select one. Consider:
- The location of the Resident Services (tent) – try to have it central.
- River mouths and ocean access.
- Space for future bridges and inclines.
- Aesthetically pleasing geography.
2. Place your tent (you are forced to place it before anything else). Scope out a flat area; avoid cliffs you can't climb early on.
3. Talk to Tom Nook inside Resident Services tent. He will give you a series of quests: collect 5 bugs or fish, gather 10 wood (from trees), and craft a fishing rod and net.
4. Crafting tutorial: You'll be taught how to craft. Hit trees (shake or use stone axe) to get branches and wood. Pick up weeds for fiber. Craft a flimsy fishing rod and flimsy net from your crafting menu.
5. Complete quests: Return to Tom Nook after meeting requirements. He then gives you a DIY recipe for a flimsy axe and a shovel (you'll get the shovel later from Blathers).
6. Place the second tent: You will be given a tent kit for the second villager (the one you didn't choose). Place it near yours.
7. Sleep in your tent: The first day ends naturally. The next day more elements unlock.
Important: Don't rush through dialogue; read instructions carefully. You cannot undo tent placement after confirmation.
Character Creation
At the very beginning, you choose your character's appearance:
- Name: Up to 10 characters.
- Birthdate: Sets your in-game birthday (special party event).
- Gender: No gameplay difference; purely cosmetic.
- Skin tone: Various tones.
- Facial features: Eyes, nose, mouth, blush, etc.
- Hairstyle: Several options; you can change later with Nook Miles.
- Hair color: Various colors.
After the intro, you cannot change your name or birthdate, so choose carefully. Appearance can be changed later with a mirror or wardrobe. You can skip the customisation and accept defaults.
Controls (All Platforms - Nintendo Switch)
Animal Crossing: New Horizons only supports Nintendo Switch. No cross-platform. Here are key controls:
| Action | Button |
|---|---|
| Move character | Left Stick |
| Look around (camera) | Right Stick |
| Action (talk, pick up, hit) | A |
| Open inventory / tool ring | X |
| Run (hold) | B |
| Equip tool from ring | L or R (open tool ring) then select with left stick, press A |
| Open map | X + direction on D-pad? Actually, press Minus (-) to open map |
| Open Nook Phone | ZL (hold) or press ZL? Actually, press ZL to open phone. |
| Open chat (multiplayer) | ZR |
| Take screenshot | Capture button |
| Record video (hold) | Capture button (hold) |
| Open settings | Plus (+) button |
| Access Nook Stop (ATM-like) | Interact with Nook Stop terminal in Resident Services |
| Swim (when unlocked) | Press A in water |
| Diving mask | Already equipped automatically |
UI Overview
- Top left: Date and time (real-time).
- Top right: Bell counter (in-game currency). Left of that is Nook Miles count (mileage currency).
- Bottom: Inventory slots visible when you press X. Inventory holds up to 30 items (expandable later via upgraded house).
- Middle of screen: Notifications pop up (e.g., "You caught a fish!" or "New recipe learned").
- D-pad shortcuts:
- Nook Phone: Accessed by pressing ZL. Has apps: Map, Camera, DIY Recipes, Critterpedia, Nook Miles, etc.
- Place tent in a convenient central area.
- Collect 10 wood, 5 bugs/fish ASAP.
- Always have a net and fishing rod on hand.
- Hit rocks daily (up to 8 hits per rock if you dig holes behind you to stay in place).
- Donate first 5 creatures to Blathers to unlock museum and shovel.
- Use Nook Stop to redeem Nook Miles for inventory upgrades (pocket expansion) first.
- Do not eat fruit and then break a rock unless you need that rock gone (rocks are limited). Eat fruit only to break rocks you want removed, or to dig up whole trees.
- Do not sell all your native fruit; eat one to keep some for planting.
- Do not shake trees without a net – wasps can fall out (you can catch wasps later with net).
- Do not run through flowers (they will get trampled and need regrowing).
- Do not time travel (change console clock) as it may cause spoiled turnips, weeds, and villager dissatisfaction for beginners.
- Do not sell materials like wood and iron nuggets initially – they are needed for crafting and building projects.
- Up: Activate tool (if holding).
- Down: Open emote menu (unlocked later).
- Left/Right: Cycle inventory tabs (not used initially).
Essential Early Objectives (First 2-3 Days)
1. Day 1: Complete Tom Nook's quests (catch 5 bugs/fish, gather wood). Get tent placed. Collect basic resources (wood, stone, iron nuggets, clay from rocks). Shake trees for fruit and branches. Eat fruit to break rocks (not recommended early on – you need rock resources).
2. Day 2-3: After sleeping, talk to Nook to get Blathers' tent. Blathers will ask you to donate 5 fish or bugs to the museum tent. Do so, then he will set up the museum (permanent building later). While waiting, focus on:
- Paying off your first home loan (5,000 Nook Miles) to get a house upgrade from tent. Use Nook Miles+ tasks.
- Collect all fruits from your island and plant them to grow trees.
- Craft basic tools (flimsy ones break easily; upgrade to sturdy/iron tools when possible).
3. Day 3+: Once museum is open, you can donate more creatures. Nook's Cranny will be built after gathering 30 wood, 30 hardwood, 30 softwood, and 30 iron nuggets. These can be gathered by hitting trees and rocks daily.
What to Do First vs What to Avoid
Do first:
Avoid:
Early Resource Priorities
| Resource | How to get | Priority | Usage |
|---|---|---|---|
| Wood (any) | Hit trees with axe | High | Crafting tools, furniture, Nook's Cranny materials |
| Stone | Hit rocks with shovel or axe | High | Crafting stone tools, fences, outdoor items |
| Clay | Hit rocks | Medium | Crafting furniture, ironwood items |
| Iron Nuggets | Hit rocks (most valuable from daily rocks) | Very High | Crafting tools, building Nook's Cranny, inviting more villagers |
| Weeds | Pick up from ground | Low (early) | Crafting fiber, selling for Bells |
| Native Fruit | Shake trees | High | Selling for Bells (500 each non-native), planting for future |
| Non-native Fruit | Visit other islands via Nook Miles Tickets | Very High | Plant them to earn high Bells (each fruit tree yields 3 fruit, each sells for 500 Bells) |
| Bells | Sell fruit, fossils, creatures | High | Buy tools, home upgrades, infrastructure |
| Nook Miles | Complete Nook Miles+ tasks | Very High | Unlock upgrades, tickets, catalog items |
Common Beginner Mistakes
1. Breaking rocks prematurely: Rocks are limited per day (6 rocks, each can be hit up to 8 times for resources). If you eat fruit and hit them, they break and disappear forever (only one respawns each day). Avoid eating fruit unless you want to break a rock or dig up a tree.
2. Selling all resources: You need wood, stone, clay, iron for crafting. Don't sell them early. Later you may have excess.
3. Planting fruit trees carelessly: Fruit trees require 3x3 space to grow. Do not plant too close to houses, water, or buildings. Leave one empty block around each sapling.
4. Ignoring Nook Miles+ tasks: Daily tasks give you Nook Miles quickly, which are used for essential upgrades (pocket expansion, tool recipes, island designer app later).
5. Not donating to Blathers: The museum is a huge feature. Donate as soon as possible to unlock more fossils, art, etc. You can also get the shovel from Blathers after donation.
6. Hitting rocks without strategy: To get maximum 8 items from a rock, dig two holes behind you (or use a fence/wall) to prevent recoil. Then hit rock rapidly.
Day-One Checklist
- [ ] Watch intro cutscene and name your character/island
- [ ] Select island map (choose wisely)
- [ ] Place your tent in a central flat area
- [ ] Collect 10 wood (hit trees with stone axe from craft menu)
- [ ] Catch 5 bugs or fish (use net/fishing rod crafted from branches)
- [ ] Talk to Tom Nook (inside tent) to receive quests
- [ ] Complete quests and return to Tom Nook
- [ ] Place the second tent (for the other starting villager)
- [ ] Shake all trees on your island (hold net to catch wasps; avoid shaking while holding a tool that isn't net? Better to have net equipped when shaking)
- [ ] Pick up all shells on the beach (sell for Bells)
- [ ] Pick all weeds (save for crafting or sell some)
- [ ] Hit all 6 rocks (without eating fruit) for materials. If you have fruit, don't eat it yet.
- [ ] Craft a flimsy fishing rod and net (if you haven't already)
- [ ] Eat one native fruit to get energy (but don't break rocks – only use to dig up trees if needed)
- [ ] Buy a Nook Miles ticket from the Nook Stop terminal (requires 2,000 Nook Miles – you get 500 from starting, plus tasks) – optional but recommended for additional resources.
- [ ] Check Nook Miles+ tasks (press ZL then Nook Miles app) – complete at least one task to earn miles.
- [ ] Talk to all villagers on island (including Timmy/Tommy/Nook)
- [ ] Open your inventory and equip tools properly using the tool ring (L or R)
- [ ] Save and quit correctly (press - and select save)
- [ ] Sleep in your tent to end the day (save progress before sleeping? Actually sleeping just ends time; save manually)
Pro tip: On day one, focus on collecting resources rather than fishing for long periods. The museum won't be built until day two. Use your time efficiently.
Remember: The game operates in real-time. Things will unlock each day. Don't worry if you can't do everything on day one. Enjoy the slow pace – that's the charm of Animal Crossing.