Getting Started
Overview
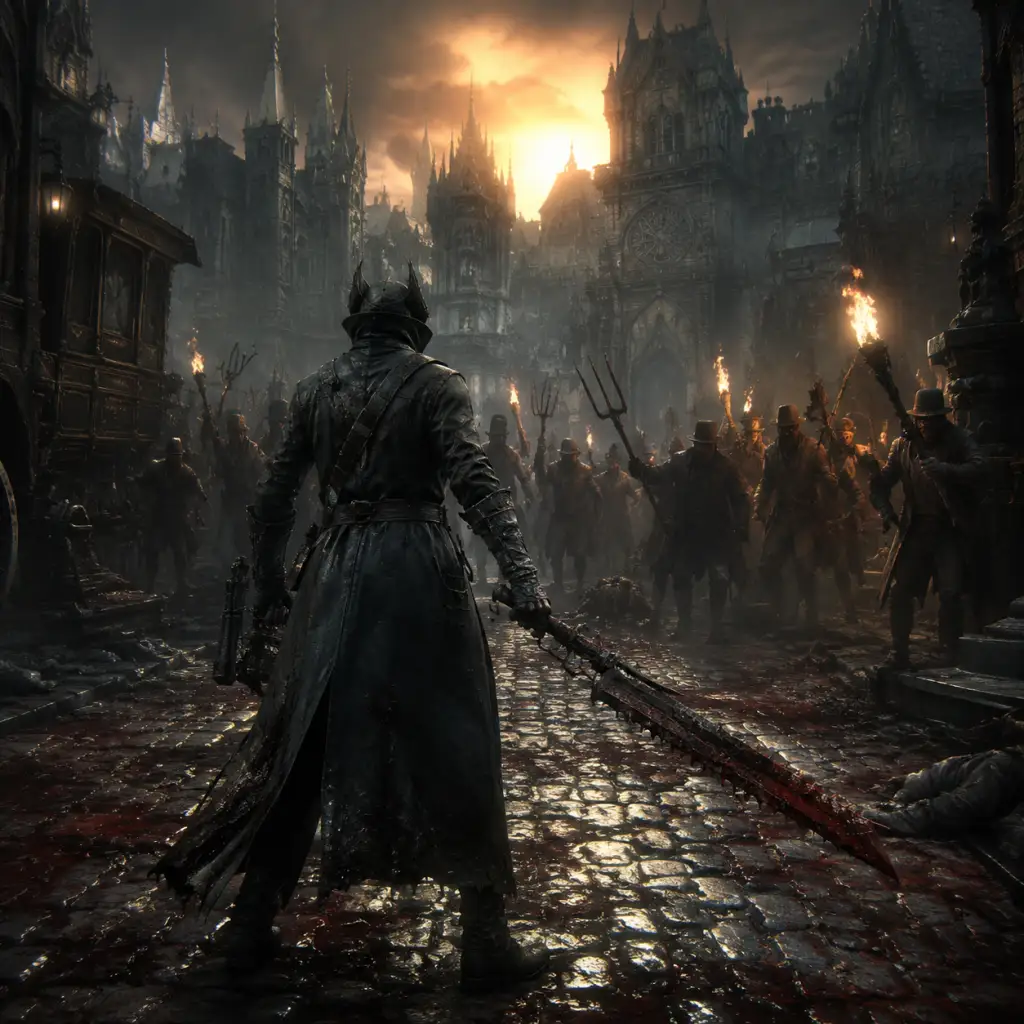
Bloodborne is a punishing action RPG for the PlayStation 4 (also playable on PS5 via backward compatibility). It demands patience, observation, and precision. This guide is designed for absolute newcomers to help you survive your first night in Yharnam. We'll cover character creation, controls, the UI, the critical first hour, early priorities, common mistakes, and a day-one checklist.
---
1. Character Creation (First 10 Minutes)
When you start a new game, you'll create your Hunter. This step is permanent – you cannot respec later. Focus on practical choices:
- Name & Appearance: Cosmetic only. No effect on gameplay.
- Origin (Class): Origins determine starting stats and give a small bonus. For new players, Military Veteran or Troubled Childhood are excellent choices because they offer high Vitality (HP) and Endurance (stamina). Avoid "Cruel Fate" (low starting stats).
- Starting Stats: Your most important stats early:
- Starting Weapon: You can choose between the Saw Cleaver (fast, serrated – good for beasts), Hunter Axe (powerful, long reach – good for crowd control), and Threaded Cane (fast, whip mode – more technical). For beginners, Saw Cleaver is the most forgiving due to its speed and damage output. The Hunter Axe is also great; its charged attack can knock down enemies.
- Starting Gun: Choose the Hunter Pistol (faster, better for parrying) or Blunderbuss (wider spread, easier to hit but slower). For learning parry, the Hunter Pistol is recommended.
- Vitality (HP): Priority #1. More HP means you survive mistakes.
- Endurance (Stamina): Priority #2. More stamina lets you attack, dodge, and run longer.
- Strength/Skill: Invest in these only when you have a weapon you like. Base starting stats are enough for the first area.
- Bloodtinge/Arcane: Ignore these for the first few hours unless you know what you're doing.
Tip: You can preview starting weapons in the character creation screen by selecting them, but you won't see movesets. If unsure, choose Saw Cleaver + Hunter Pistol.
---
2. Controls (PlayStation 4 & PS5)
Bloodborne uses the DualShock 4 (or DualSense on PS5) with the following default controls:
| Button | Action |
|---|---|
| Left Stick | Movement |
| Right Stick | Camera control |
| R1 | Light attack (right hand weapon) |
| R2 | Heavy attack (hold for charged attack) |
| L1 | Transform weapon (switch between two modes) |
| L2 | Fire gun / use left-hand weapon |
| Triangle | Use item in quick slot (heal with blood vial) |
| Circle | Dodge/roll (tap) or sprint (hold) |
| Square | Interact (talk, open doors, pick up items) |
| Cross | Jump (while sprinting) |
| D-Pad Up | Switch quick item (cycling through inventory) |
| D-Pad Down | Use equipped consumable (e.g., Molotov) |
| D-Pad Left | Swap left-hand weapon (e.g., torch or gun) |
| D-Pad Right | Swap right-hand weapon (two main weapons) |
| Touchpad | Open menu / gestures (swipe) |
| Options | System menu (pause, quit, settings) |
- Rally System: After taking damage, attack immediately to recover some health (white portion of HP bar). This encourages aggressive play.
- Parry: Fire your gun just as an enemy's attack is about to hit you. If successful, the enemy will stagger (visceral attack prompt – press R1 near them to deal massive damage). Practice on the big executioner in the first area.
- Backstep & Quickstep: Tap Circle while locked on to sidestep. Tap Circle without lock-on to backstep. Both have invincibility frames.
- Sprint: Hold Circle to run. Use this to escape danger or close gaps.
- Top-left: Health bar (green) and stamina bar (light blue). Below that, your equipped right-hand weapon and left-hand weapon icons.
- Top-right: Blood Echoes (currency/XP) count. Below that, Insight (a second currency gained from bosses, items, or discovering areas).
- Bottom-left: Quick item slots. You have two types: a consumable item (default: Blood Vial) and a quick-use item (default: Blood Vial or Molotov). Cycle with D-Pad Up/Down.
- Bottom-center: Active effects (e.g., "Bold Hunter's Mark" if used).
- Center: Crosshair when locked on (R3 to lock onto an enemy).
- Right: No mini-map! You must learn the layout by memory and landmarks.
- Inventory: View all items, equip weapons/armor, use consumables.
- Status: See character stats, resistances, and active buffs.
- Equipment: Change weapons, guns, attire.
- System: Settings, save/quit.
- In the dream, you can access the Workshop (upgrade weapons later), the Messengers (buy items with Blood Echoes), and the Gravestones (travel to different areas).
- Use the first gravestone to travel to Central Yharnam.
- Explore slowly. Listen for enemy sounds.
- Use pebbles to lure single enemies away from groups.
- Prioritize Vitality and Endurance when leveling.
- Upgrade your weapon (using Blood Stone Shards) at the Workshop in Hunter's Dream once you have the materials.
- Use the Rally mechanic aggressively after taking a hit.
- Open shortcuts – they are permanent progress.
- Read item descriptions for lore and hints.
- Rushing into crowds – you'll get ganked.
- Wasting Blood Vials – try to heal only when safe. Enemies often drop them, but you can run out and be stuck farming.
- Ignoring the parry system – it's crucial for tougher enemies.
- Spending Blood Echoes on consumables early – save for leveling.
- Fighting the giant executioner in the aqueduct (near the wheelchair guy) until you're comfortable with parrying.
- Using the small resonant bell (co-op) if you have low Insight – it costs Insight to summon others.
- Attacking NPCs – you might miss quests or a potential vendor.
---
3. UI Overview
Your screen shows:
Menu Screen (Touchpad):
---
4. First Hour Walkthrough (From the Clinic to the First Lamp)
1. Opening Cinematic: Watch the sequence. You wake up in the Iosefka's Clinic.
2. Initial Room: On the floor is a note: "Seek the Paleblood to transcend the hunt." Pick it up. Interact with the door on the right to exit.
3. First Steps: You are now in the Hunter's Dream – a safe hub. Speak to the doll? (Not yet – she only awakens after you gain Insight).
4. Central Yharnam (The First Area):
- You appear on a path. Immediately ahead is a bonfire with a group of enemies.
- Do not engage the crowd. Instead, turn left and go down the stairs. You'll find a small building with a lantern – this is your first checkpoint (the first lamp). Light it by interacting.
5. Learning the Basics:
- Practice attacking the few scattered enemies near the lamp. Use R1 combos, then R2 for strong hits.
- Learn to dodge (Circle). Enemies have slow but powerful attacks.
- Use your gun to parry the larger church servant (the one in the black cloak). Time the shot just as he swings.
6. Collect Items: In the area near the lamp, there are Blood Vials (healing) and Quicksilver Bullets (for gun). Pick them up. They respawn if you die.
7. Your First Death (Inevitable): Expect to die many times. Each death resets enemies but preserves your progress (opened shortcuts remain).
8. Goal: Reach the Central Yharnam Lamp (the first one you lit). Then return to the Hunter's Dream via the lamp. Now you can level up (if you have 1 Insight from encountering a boss or using a Madman's Knowledge – the first boss you'll see is the Cleric Beast, but you can also gain Insight by seeing the boss for the first time).
9. If you die without lighting a lamp: You'll return to the Hunter's Dream automatically. Use the gravestone to go back to Central Yharnam.
Key Tip: The first area is a maze. Use the trick of "opening shortcuts" (gates, elevators) to make traversal easier. One crucial shortcut: from the central Yharnam lamp, go down the stairs, across a bridge, down more stairs, and you'll find a gate that can be opened from the other side (near the dog kennels).
---
5. Essential Early Objectives
1. Light the first lamp in Central Yharnam.
2. Gain 1 Insight – either by encountering the Cleric Beast (boss) or using a Madman's Knowledge (found in the sewers below the bridge). This unlocks the ability to level up at the doll in Hunter's Dream.
3. Level up your Vitality to at least 20 as soon as possible. Health is your best defense.
4. Learn to parry – practice on the large brick troll near the first lamp. It drops Blood Vials.
5. Find and equip the Hunter Set (armor) – located in the sewers (near the rats). It offers better physical defense than your starting garb.
6. Open all shortcuts – especially the gate from Central Yharnam lamp to the bridge leading to the Cleric Beast. This makes boss runs faster.
7. Defeat the first boss (Cleric Beast or Father Gascoigne) – Cleric Beast is optional but recommended to learn large boss fights. Gascoigne is mandatory. You can summon NPC help (use the Beckoning Bell with Insight).
---
6. What to Do First / What to Avoid
✅ Do:
❌ Avoid:
---
7. Early Resource Priorities
| Resource | Priority | How to Get | Use For |
|---|---|---|---|
| Blood Echoes | #1 | Killing enemies, selling items | Leveling up, buying items, weapon upgrades |
| Blood Vials | High | Enemies drop, item pickups, buy from messengers | Healing – always keep a stock of 20+ |
| Quicksilver Bullets | Medium | Enemies drop, pickups, buy | Parrying and using firearm |
| Blood Stone Shards | High | Enemies (especially in sewers), pickups | Weapon upgrades (+1, +2, etc.) |
| Insight | Medium | Seeing/defeating bosses, Madman's Knowledge items | Leveling up (first point), summoning NPCs, buying special items |
| Pebbles | Low | Pickups, enemies | Luring single enemies |
| Molotov Cocktails | Low | Pickups, craft from Quicksilver Bullets | Ranged damage, especially against beast enemies |
---
8. Common Beginner Mistakes
1. Panic Rolling: Dodging frantically without stamina management. Learn enemy attack patterns and time your dodges (into the attack, not away).
2. Not Using Rally: After taking damage, attack back immediately to recover health. Retreating can be a death sentence.
3. Hoard Blood Vials: Use them. You can carry up to 20 + more in storage. They are meant to be consumed.
4. Spending Echoes on Unimportant Items: Early game, only buy Blood Vials (if you need them) and weapon upgrade materials. Everything else is a luxury.
5. Skipping Shortcuts: Running through the entire area each death is frustrating. Always look for gates and elevators you can open from one side.
6. Not Leveling Vitality: A glass-cannon build is painful for newcomers. Pump Vitality to 20-25 before touching damage stats.
7. Insight Mismanagement: Using Insight to summon help when you have little – save Insight for leveling up purpose (you need 1 to level). You can also use Insight to buy useful items later.
8. Trying to Kill Everything: Some enemies can be run past. Use sprinting (hold Circle) to bypass non-essential fights.
9. Ignoring Weapon Scaling: Check your weapon's stat requirements and scaling letters (S, A, B, etc.). Build your stats to match your weapon's best scaling.
10. Not Exploring the Sewers: The sewers in Central Yharnam contain the Hunter Set (armor), Blood Stone Shards, and a key item. Don't miss it.
---
9. Day-One Checklist
Hour 1-2 Objectives:
- [ ] Create your Hunter (recommend Military Veteran, Saw Cleaver, Hunter Pistol).
- [ ] Light the first lamp in Central Yharnam.
- [ ] Gain 1 Insight (encounter Cleric Beast or use Madman's Knowledge).
- [ ] Return to Hunter's Dream and level up Vitality to at least 12.
- [ ] Find and equip the Hunter Set (sewers).
- [ ] Open the shortcut gate near the central Yharnam lamp.
- [ ] Collect all Blood Stone Shards in the area (at least 4 – enough for +1 upgrade).
- [ ] Upgrade your weapon to +1 at the Workshop.
- [ ] Learn the parry timing on the brick trolls.
- [ ] Defeat at least one boss (Cleric Beast or Father Gascoigne – both are early).
- [ ] Die at least 10 times to understand the flow of combat – it's part of the process.
- [ ] Always keep 20 Blood Vials in storage (top off after each lamp rest).
- [ ] Never discard any item – you never know when it becomes useful.
Progression Check: After the first boss, you will unlock the ability to use Rune Tools and obtain new areas. Do not skip the Hunter's Dream – interact with the doll to level up, use the Bath Messengers to buy items, and upgrade weapons regularly.
---
Final Advice
Bloodborne rewards patience and observation. Don't be afraid to die – each death is a lesson. Read item descriptions, listen to NPCs, and explore every corner. The first area is designed to teach you the core mechanics; once you master the rally system, parry, and shortcut exploitation, the rest of the game becomes manageable.
Remember: You are a Hunter, not a hero. Be cunning, adapt, and never give up. May the good blood guide your way.
---
End of Getting Started Guide