Game Tips
General Strategy & Mindset
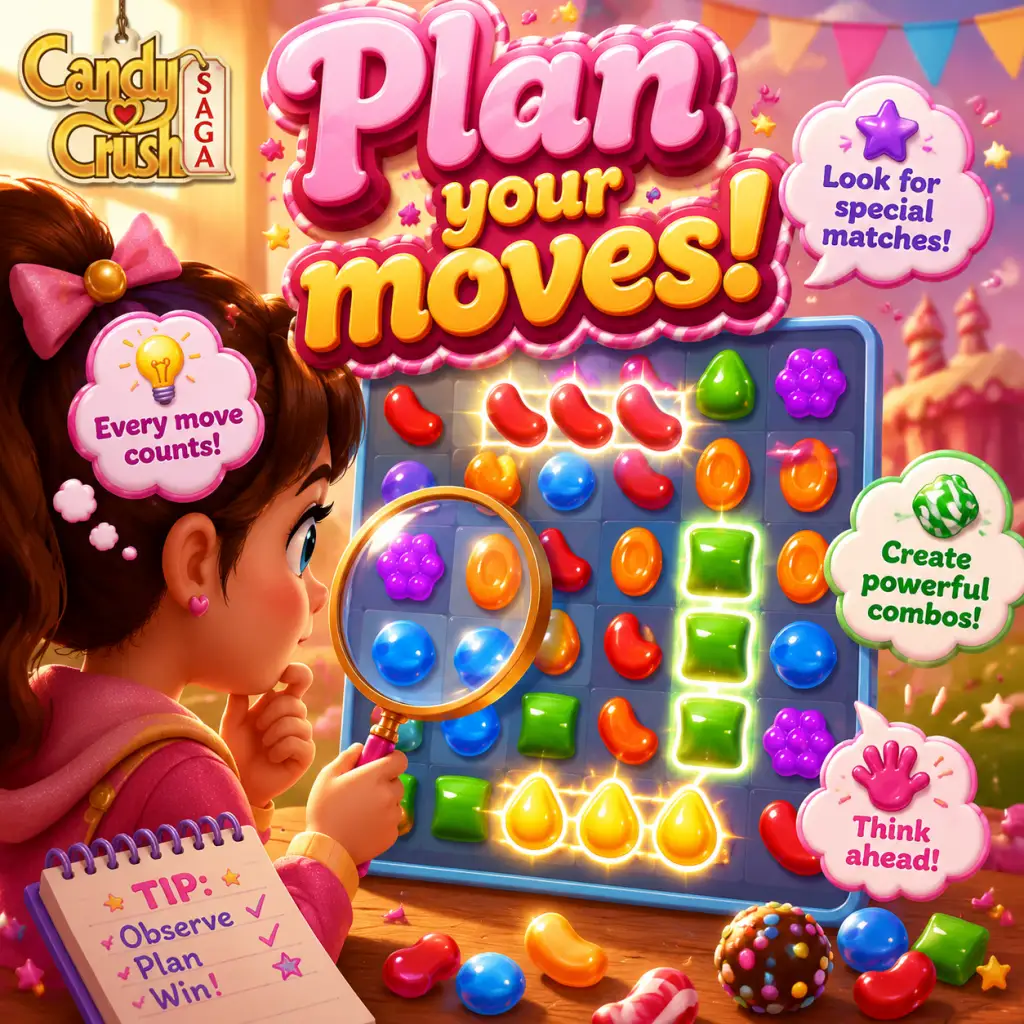
Beginner: The Golden Rule – Always Plan Your Moves
Tip: Before making any swap, scan the entire board for potential matches, special candy combinations, and cascading effects. Look ahead 2–3 moves.
Why it works: Spontaneous swaps often waste moves. By planning, you maximize the number of special candies created (striped, wrapped, color bomb) and set up chain reactions that clear more candies per move.
When to use: Every move, especially on levels with a limited number of moves. Practice this from the beginning to build good habits.
Intermediate: Move First, Boost Later
Tip: Do not use any booster (like Lollipop Hammer or extra moves) until you have made at least 3–5 moves and understand the board’s layout.
Why it works: Many levels are solvable without boosters if you find the right patterns. Using boosters early often wastes them on suboptimal setups. Patience lets you see choke points.
When to use: Levels where you feel stuck after several attempts, or near the end of a level when you are one move short.
Advanced: Master the Art of "Candy Gravity"
Tip: Always make matches on the lower half of the board first. This triggers cascades from above, which often create unexpected matches and special candies without extra moves.
Why it works: Matching at the top causes candies to fall into place, but matching at the bottom pulls candies down, creating new patterns more predictably. The game’s physics favor clearing from below.
When to use: Levels with orders that require clearing specific candies (e.g., jelly, ingredients) – especially when the board is tall.
Special Candies & Combos
Beginner: How to Create Special Candies Consistently
Striped Candy: Match 4 in a row or column. Use them to clear a row or column in that direction.
Wrapped Candy: Match 5 in an L-shape or T-shape. It explodes in a 5x5 cross pattern after 1 move.
Color Bomb: Match 5 in a straight line. Swap with any candy to clear all candies of that color.
Why it works: Special candies are essential for high scores and difficult obstructions. Learning their creation patterns is core to progression.
Intermediate: Explosive Combos (Best Pairings)
Striped + Striped: Creates a massive cross-explosion clearing two full rows or columns. Use for clearing large areas.
Wrapped + Striped: Clears 3 rows and 3 columns – extremely powerful for jelly or checkerboard levels.
Color Bomb + Striped: Clears all candies of that color plus every stripe in that direction – often clears half the board.
Why it works: Combining special candies multiplies their effect. The color bomb + striped combo is one of the strongest moves in the game.
When to use: When you have a large number of moves left and need to clear a lot of jellies or ingredients in one go.
Advanced: The "Matching Chain" Technique
Tip: Set up multiple special candies in a row, then swap one to trigger a chain reaction. For example, line up 4 striped candies vertically, then swap the bottom one to activate all four in sequence.
Why it works: The game processes matches one after another. A chain of special candies can clear the entire board, earning huge points and easily completing objectives.
When to use: On levels with a high target score or many jellies, especially when you have many moves remaining.
Boosters & Power-Ups
Beginner: Save Your Gold Bars for Extra Moves
Tip: Gold bars are the premium currency. The best investment is purchasing extra moves (5 moves for 3 gold bars) right before you fail a level you can almost beat.
Why it works: Extra moves cost less than other boosters and often turn a near-win into a win. Avoid spending gold on extra lives (they regenerate) or unnecessary boosters.
When to use: When you are 1–3 moves away from completing the objective. Never use gold to buy boosters at the start.
Intermediate: Lollipop Hammer – Use Only on Key Obstacles
Tip: The hammer can remove one single candy or blocker. Reserve it for clearing an obstruction that blocks your only path to a special candy or an ingredient.
Why it works: Hammers are rare (often earned through events or bought). Using them to destroy a single candy is wasteful; use them to open a critical path or to remove a hard-to-reach blocker.
When to use: When you have a color bomb or wrapped candy that cannot be swapped because a blocker is in the way, or when an ingredient is stuck above multiple layers of jelly.
Advanced: The Coconut Wheel – A Game-Changer
Tip: The Coconut Wheel drops a large number of striped candies along a row or column. Always aim it at the direction with the most candies of a single color, or where you need to clear jellies.
Why it works: The wheel creates up to 5 striped candies in a line, which can then be combined with other specials. It’s far more efficient than a single striped candy.
When to use: On levels with many jellies or upon starting a level to quickly shape the board. Only use it if you have at least 8 moves left to exploit the striped candies.
Economy & Resources
Gold Bars – Never Spend on Lives
Tip: Lives regenerate 1 every 30 minutes (up to 5 max). Spending gold on lives is wasteful. Instead, send lives to friends on Facebook or wait.
Why it works: You can get unlimited lives through social features. Gold is best used for extra moves or to defeat an extremely hard level (like level 100+).
Collect Daily Rewards & Connect to Facebook
Tip: Log in every day to claim your daily spin/booster. Connect to Facebook to receive free lives from friends and gift boosters.
Why it works: These resources add up over time. A steady supply of free boosters reduces the need to purchase them.
Timing Your Booster Usage
Tip: Save your best boosters (Color Bomb, Coconut Wheel) for levels that require 5 stars or have extremely high difficulty (check the level info).
Why it works: Many early levels are easy to complete without boosters. Hard levels (episodes with orders like “clear all jellies” or “bring down 2 ingredients”) are where boosters provide the biggest advantage.
Level Types & Strategies
Jelly Levels: Prioritize Center Jellies
Tip: Focus on the jellies in the center of the board first. They are often protected by multiple layers.
Why it works: Edge jellies will be cleared by cascades. Center jellies are harder to reach and require targeted special candies.
Pro tip: Use color bombs to swap with the most abundant candy color covering jellies.
Ingredient Levels: Clear a Path, Then Drop
Tip: Always clear the bottom rows first. If ingredients fall into a hole, you lose the level. Work on creating vertical striped candies to push ingredients down.
Why it works: Ingredients only drop when candies below them are cleared. Clearing a vertical column makes them fall faster. Avoid making horizontal matches above ingredients.
Moves-Limited Levels: Efficiency Over Points
Tip: Calculate how many moves each objective will require. For example, if you need to clear 5 jellies and have 20 moves, you can afford 4 moves per jelly. Use one move to make a special candy that clears multiple jellies.
Why it works: Wasting moves on low-value matches leads to failure. Prioritize moves that clear 2+ objectives or create big combos.
Advanced Optimizations
The "No-Swap" Cascade Exploit
Tip: On some boards, just watching the first few cascades can clear 20% of the objective for free. Always let cascades settle before making your first swap.
Why it works: The game spawns candies after each match. Sometimes those spawns create automatic matches, giving you progress without using a move. This is especially useful on levels with many jellies.
Score Multiplier – How to Get 3 Stars
Tip: To achieve 3 stars (high score), you need to create cascades of 10+ matches in a single move. Use color bombs combined with striped candies, or trigger a wrapped candy explosion in a dense area.
Why it works: Each cascade adds to the score multiplier. The more chains, the higher the score per candy. 3 stars give more gold bars on retries.
When to use: On levels where you have already cleared the main objective and have moves left—then focus on creating huge chain reactions.
Time-Limited Levels: Speed vs. Accuracy
Tip: In timed levels (e.g., Candy Order levels), swipe as quickly as possible, but always ensure you are making matches. Mistakes (creating no match) waste time. Use the same board scanning technique but faster.
Why it works: Timed levels reward speed, but a single failed swap costs 1–2 seconds. A well-planned swap that creates special candies can clear many candies in one go, saving time overall.
The "Locked Candy" Strategy
Tip: Some boards have candies locked in place by licorice or jelly. Use a color bomb next to a locked candy of the same color to break the lock in one move.
Why it works: Color bombs clear all candies of that color, including those underneath locks, freeing them without needing multiple moves.
Final Pro Tips
- Play on a large screen or tablet for better visibility of the board.
- Turn off sound effects if you are easily distracted by music—focus on visual patterns.
- Study YouTube videos of top players solving the same level to learn specific patterns.
- Don't be afraid to restart a level early if you see a bad board – it costs no lives within the first few moves (some versions allow restart without penalty).
- Use the in-game boosters sparingly – they are often bait for microtransactions. Stick to freebies from Facebook and daily rewards.
Remember: Candy Crush Saga is a casual game. The real joy comes from solving puzzles through pattern recognition and patience. Use these tips to beat that one level you’ve been stuck on for weeks, and enjoy the satisfying cascades!