Getting Started
Getting Started in DayZ: A Beginner’s Survival Guide
Welcome to DayZ, the unforgiving world of Chernarus (or Livonia). This guide is designed to get you through your first hour, avoid common pitfalls, and give you a clear day-one checklist. DayZ has no tutorials, no hand-holding, and permadeath — every death sends you back to the coast with nothing.
Character Creation & First Spawn
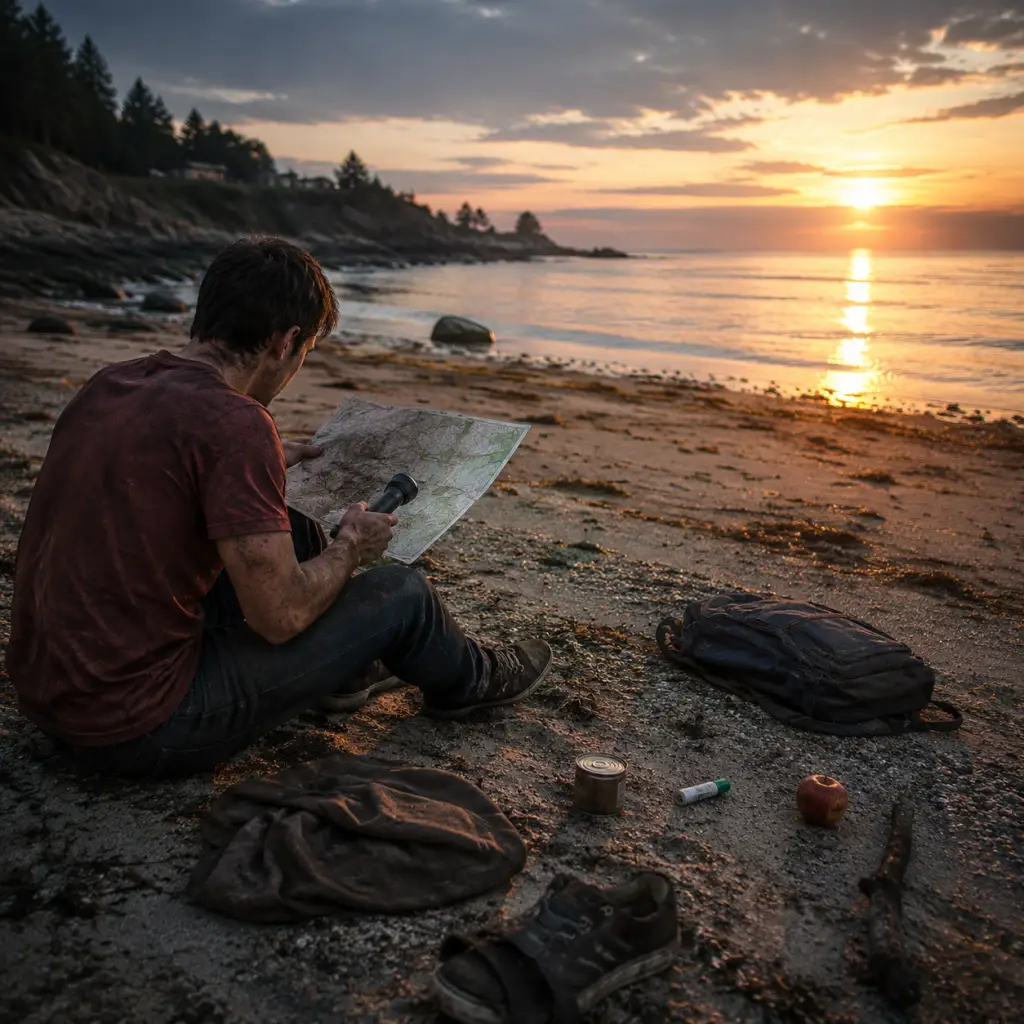
There is no character creation in DayZ. Your survivor’s appearance is randomly generated (gender, face, skin tone). You cannot change it unless you die and respawn. What matters is your spawn location — you begin on the eastern or southern coast of the map, barefoot and in civilian clothes, with a flashlight (if you’re lucky), a glowstick, and a bandana.
Your first task: get your bearings. Press M (PC) or the map button (consoles) to see the map — but it’s blank until you find a physical map in-game. Use the compass in the top-right of your screen (PC) or the on-screen compass (consoles) to navigate. The sun rises in the east and sets in the west. Towns and landmarks are your lifelines.
Controls Overview
#### PC (Keyboard & Mouse)
| Action | Key |
|---|---|
| Move | W/A/S/D |
| Run | Shift + W |
| Sprint / Jump Vault | V (hold) |
| Interact / Pick up | F |
| Inventory | Tab |
| Quick Inventory | I (hold) |
| Map | M |
| Weapon hotkeys | 1-9 (drag items to slots) |
| Raise weapon | Right Mouse Button (hold) |
| Fire | Left Mouse Button |
| Reload | R |
| Melee / Attack | Left Mouse Button (when lowering weapon) |
| Eat/Drink from hands | Scroll wheel up (context menu) |
| Action | Button |
|---|---|
| Move | Left stick |
| Run / Sprint | Press L3 |
| Look / Aim | Right stick |
| Interact | Square |
| Inventory | Touchpad (tap) |
| Quick Inventory | Circle (hold) |
| Map | Touchpad (hold) or Options |
| Weapon swap | D-pad Up/Down |
| Fire | R2 |
| Melee | R1 |
| Reload | Triangle |
| Eat/Drink | Hold Square over item |
| Action | Button |
|---|---|
| Move | Left stick |
| Run / Sprint | Press LS |
| Look / Aim | Right stick |
| Interact | X |
| Inventory | View button (tap) |
| Quick Inventory | B (hold) |
| Map | View button (hold) or Menu |
| Weapon swap | D-pad Up/Down |
| Fire | RT |
| Melee | RB |
| Reload | Y |
| Eat/Drink | Hold X over item |
UI Overview
- Status icons (top-right): Health (blood drop), hunger (apple), thirst (water drop), temperature (thermometer). Heart icon = healthy; grey icons = minor issues; red/flashing = critical.
- Compass (top-center): Shows cardinal directions when equipped.
- Quick inventory (bottom center): Hand slot (carries one item) and belt slots (2-3 item slots).
- Action bar (bottom): Weapon/fists icon indicates combat stance. Context prompts (e.g., “Pick up” or “Eat”) appear when looking at objects.
- Hit indicator (center screen): Red flash tells direction of damage. Black screen = unconscious.
- Health cross (center): Your crosshair; changes color based on target (white = neutral, red = hostile).
- Listen. Sound is vital: infected groan, birds chirp, rain, footsteps. Wear headphones.
- Stick to the coast for the first hour. Inland has tougher infected, less water, and more PvP.
- Check every container: houses, garages, garden sheds, hunting stands.
- Craft rags from clothing to bandage bleeding wounds.
- Eat and drink everything you find until your food/water icons are full white circles.
- Running in the open — you attract infected and get spotted by players.
- Picking a fight with infected — you waste energy and health.
- Drinking from lakes/rivers — you’ll contract cholera (vomiting, dehydration).
- Using firearms in the first hour — the sound carries for 1km, drawing players and hordes.
- Looting military bases early — they’re high-traffic PvP zones.
- Eating with bloody hands — you’ll get sick. Always wash hands at a water source or wear gloves.
First Hour Walkthrough: Step-by-Step
1. Seconds 0–60: Assess your spawn. Look at the sky, landmarks, and any nearby coast signs. Note: spawns are always near water on the east or south. Keep your mouth closed and don’t attract zombies (infected) by running.
2. Minute 1–5: Enter the first town. Walk (don’t run) toward buildings. Your goal: find food, water, a melee weapon, and clothes. Check: houses, sheds, barns, grocery stores (yellow signs), and fishing boats on shore.
3. Minute 5–10: Equip a melee weapon. Any sharp object (knife, hatchet, screwdriver, machete) is gold. If you can’t find one, a pipe or wrench works. Never use bare fists on infected — you’ll lose every time.
4. Minute 10–15: Drink and eat. Find a water fountain in town (blue pipe with handle) or a well (stone structure with pump). Drink until full (about 5-6 gulps). Eat any canned food you find. Never drink pond or river water without purifying — you’ll get sick.
5. Minute 15–25: Find better clothing and a backpack. Look for military or hiker clothing (more inventory slots). Backpacks are rare at first — check houses, clothing stores, and dead zombies.
6. Minute 25–40: Stay off the main roads. Use treelines and avoid open fields. Infected spawn in towns; animals (deer, pigs) provide food if you have a knife. Prioritize staying alive over exploring.
7. Minute 40–55: Locate a weapon (firearm) if possible — but only if you’re comfortable. Pistols are in police station safes (green safe needs lockpick or screwdriver), rifles in hunting stores or military checkpoints. Ammo is scarce.
8. Minute 55–60: Find a safe spot to log out. Crouch in a bush or inside a building with only one entrance. Logging out in the open is a death wish — your body stays in the world for 30 seconds.
Essential Early Objectives
1. Survive the first 30 minutes without dying to environment (hunger/thirst) or infected.
2. Find a knife — not just a weapon; a knife lets you open cans, cut up clothing for rags, craft fires, and fish.
3. Secure clean water — find a well, fill a canteen or soda bottle, drink until hydrated.
4. Get a backpack (even a small one) to increase inventory.
5. Learn to stealth — crouch and move slowly past infected. They have poor eyesight but can hear running, gunshots, and breaking glass.
6. Avoid other players unless you’re prepared to be killed — most fresh spawns are kosher (kill on sight) or bandit. Only trust if they use voice chat and drop a weapon.
What to Do First vs. What to Avoid
DO FIRST:
AVOID:
Early Resource Priorities (1st hour)
| Resource | Priority | Why |
|---|---|---|
| Knife | Critical | Opens cans, cuts rags, prepares food, crafts fishing rod. |
| Water bottle/canteen | Critical | You need to carry water; wells are not everywhere. |
| Melee weapon | Critical | Defense against infected and players without noise. |
| Food (canned, fruit, vegetables) | High | Hunger kills fast. Pick any edible item except unknown mushrooms. |
| Backpack | High | Inventory space. Even a schoolbag helps. |
| Bandages/rags | High | Bleeding is the #1 cause of death after B12 deficiency. Always carry 2+ rags. |
| Warm clothing | Medium | Hypothermia is a slow killer. Avoid being wet/cold. |
| Map | Low | Uncommon to find early; use online maps (community-made). |
| Firearm + ammo | Low | Only pick up if you have space; otherwise, it attracts trouble. |
Common Beginner Mistakes (and How to Avoid Them)
- Running into town without checking surroundings. Always stop, listen (press Left Ctrl to lean), and scan for infected and players before entering a building.
- Opening cans with a screwdriver or knife incorrectly. Only use a knife or can opener. Using a hatchet (if you have one) on a can ruins the food and gives you tetanus? (No tetanus in DayZ, but you ruin the can.) Stick to knife.
- Ignoring the sickness system. If you see the ‘illness’ icon (skull with a drip), you’re sick. Symptoms: vomiting, chattering teeth, blurred vision. Common causes: dirty water, raw meat, bloody hands when eating. Cure: take charcoal tablets (poisoning) or tetracycline (infection) — but as a noob, prevent sickness by being clean.
- Hoarding too much junk. You have limited inventory. Don’t pick up every soda can or pair of shoes. Only carry what you need: food, water, ammo, meds, and one melee weapon.
- Logging out in a heated situation. If you see a player approaching, don’t panic-log. You’ll die in 30 seconds while your body is vulnerable. Either fight, hide, or try to talk (use voice chat — press Caps Lock on PC, or a button on console).
- Not using the ‘interact’ context menu. Use scroll wheel (PC) or D-pad (console) to see options like “Eat,” “Drink,” “Open Can,” “Wear.” You often need to activate an item rather than just picking it up.
- [ ] Survive the first hour without dying.
- [ ] Find a knife (or screwdriver to open cans until you get a knife).
- [ ] Drink clean water until full (well or bottled).
- [ ] Eat until full (canned food, fruit, or cooked meat).
- [ ] Craft at least 3 rags (from any clothing) to stop bleeding.
- [ ] Find a backpack (any type).
- [ ] Secure a full water bottle (canteen, plastic bottle, or jerrycan).
- [ ] Locate a melee weapon that deals decent damage (hatchet, machete, or splitting axe).
- [ ] Learn to stealth: crouch-walk avoid infected in a town without being detected.
- [ ] Find a compass or a map (or use online map such as iZurvive).
- [ ] Never drink from open water sources. (If you must, collect water in a container and use chlorine tablets — found in medical buildings.)
- [ ] Avoid player contact unless you’re ready to shoot or be shot. Use “Friendly” calls cautiously.
- [ ] Find a safe spot (small house, barn) near the coast to establish a temporary base (a stash of extra gear).
Day-One Checklist (First 24 Hours In-Game)
Final Words for New Players: DayZ is about learning, dying, and trying again. Your first dozen lives will be short. Use each death as a lesson. Stick with the coast until you understand the basics: food, water, stealth, and avoiding people. Once you last a whole day (real-time hours, not in-game), you’re ready to venture inland. Good luck — you’ll need it.