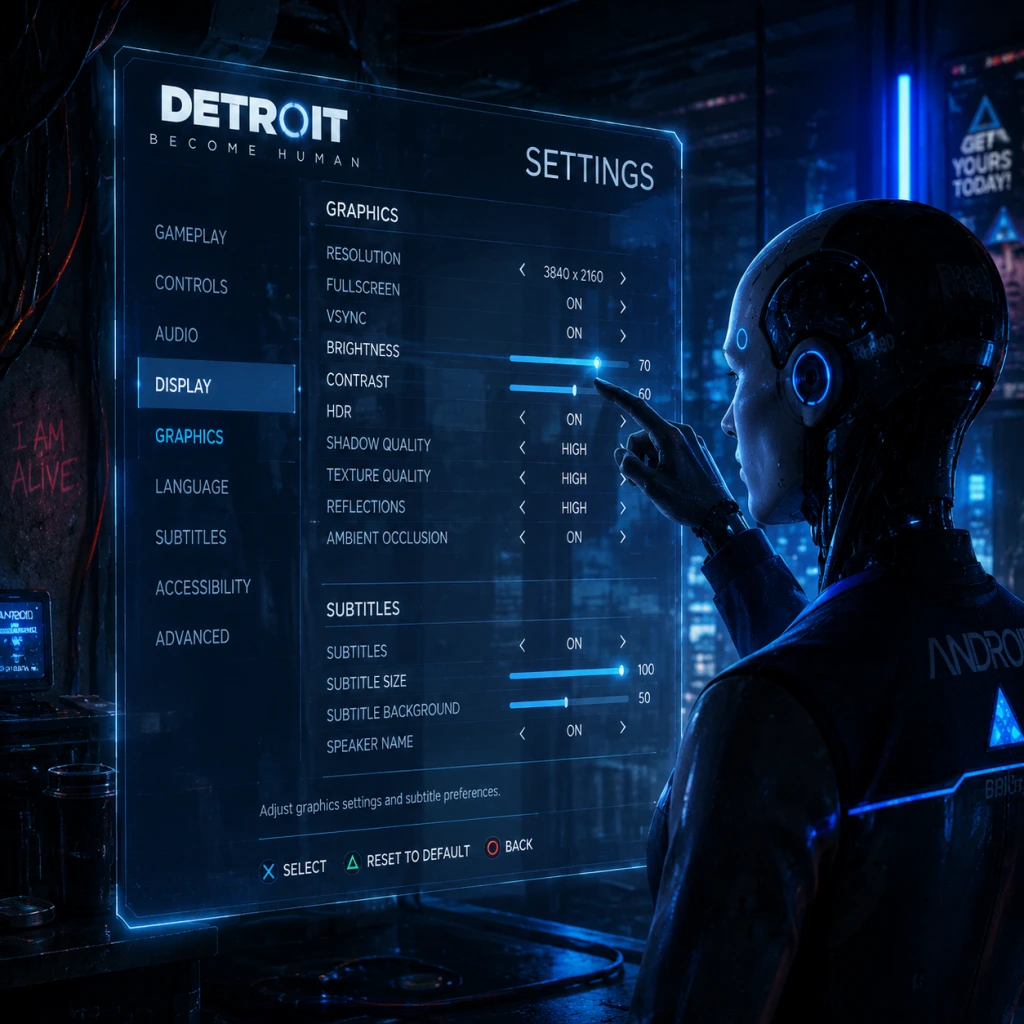
Game Settings
Game Settings Guide for Detroit: Become Human
This section covers all configurable options in Detroit: Become Human and provides recommendations for different platforms and hardware. Pay special attention to Quick Time Event (QTE) difficulty and HUD visibility—these settings can dramatically affect your experience and story outcomes.
1. Graphics Settings
#### Display Options
| Setting | Options | Notes |
|---|---|---|
| Resolution | Native (auto), 1920x1080, 2560x1440, 3840x2160, etc. | Use native monitor resolution. Lower for performance. |
| Display Mode | Fullscreen, Borderless, Windowed | Fullscreen gives best performance. Borderless for multi‑monitor. |
| V‑Sync | On/Off | Off reduces input lag but may cause screen tearing. On for smoothness. |
| Frame Rate Limit | 30, 60, 120, Unlimited | 60 FPS recommended for story games. Unlimited may cause GPU heat. |
| HDR | On/Off | Only if your monitor/TV supports HDR10. Requires in‑game brightness calibration. |
- Low: Playable on older GPUs (GTX 960) at 1080p/30fp.
- Medium: Balanced for mid‑range (GTX 1060 / RX 580).
- High: Recommended for GTX 1070 / RTX 2060.
- Ultra: High‑end (RTX 3070+) with heavy VRAM usage (up to 8 GB).
- Texture Quality: Low/Medium/High/Ultra. Ultra uses ~6–8 GB VRAM. If you have 4 GB or less, keep at High.
- Shadow Quality: Low/Medium/High/Ultra. Shadows are very demanding in this title. Medium is a good trade‑off.
- Post‑Processing: Low/Medium/High. Affects bloom, lens flares, and chromatic aberration.
- Anti‑Aliasing: FXAA (fast), SMAA (better), TAA (best but slightly blurry). TAA is recommended for stills.
- Ambient Occlusion (SSAO): Off/SSAO/HBAO+. HBAO+ looks more realistic but costs performance.
- Motion Blur: On/Off. Off reduces nausea for some players.
- Depth of Field: On/Off. On adds cinematic blur; off improves clarity.
- Texture Filtering (Anisotropic): 1x‑16x. 8x or 16x for sharp textures.
#### Advanced Details
#### Hardware‑Specific Recommendations
| Tier | GPU Example | Resolution | Preset | Adjustments |
|---|---|---|---|---|
| Low‑End | GTX 960 / RX 560 | 1600x900 or 1366x768 | Low | Shadows Low, Textures Medium, AO Off |
| Mid‑Range | GTX 1060 / RX 580 | 1920x1080 | Medium/High | Shadows High, AO SSAO, Motion Blur Off |
| High‑End | RTX 3070 / RX 6800 | 2560x1440 | Ultra | Shadows Ultra, AO HBAO+, TAA, 60 FPS |
| Enthusiast | RTX 4090 | 3840x2160 | Ultra | Same as High‑End but at 4K; may need DLSS (not natively supported) or use in‑game resolution scaling. |
2. Audio Settings
- Master Volume: 0–100. Default 100.
- Music Volume: 0–100.
- Sound Effects Volume: 0–100.
- Dialogue Volume: 0–100. Keep high to catch story cues.
- Sound Output: Stereo / 5.1 / 7.1 / Headphones. Choose according to your setup.
- Subtitles: On/Off. Also available in Language menu.
- Keyboard & Mouse: Use the preset or remap all keys. The WASD movement is standard; plenty of other actions (Interact, Scan, Dodge) can be rebound.
- Controller: Fully customisable on PC (Xbox/PlayStation controllers). On PS4/PS5, the layout is fixed.
- Sensitivity: Adjust controller look speed (1–10) or mouse sensitivity for scanning environments.
- Invert Y‑Axis: On/Off.
- Vibration: On/Off (console & PC if using a controller).
- Normal: Buttons appear with generous timers; tap/hold actions are forgiving.
- Hard: Timers are shorter, button prompts appear closer to the required input, and some actions require precise sequences. Recommended for experienced players; affects survival outcomes.
- Button Prompts: Displays controller glyphs (e.g., □△○).
- Text Prompts: Shows text like “[Press X]”. Good for those unfamiliar with controller icons.
- HUD Size: Small / Medium / Large. Large helps readability on small screens.
- HUD Opacity: 10%–100%. Important: If set too low (<30%), prompts may be invisible during QTEs or exploration.
- Subtitle Size: Small / Medium / Large. Also increase background opacity.
- Colorblind Mode: Off / Deuteranopia / Protanopia / Tritanopia. Alters prompt highlights.
- Camera Shake: On/Off. Off reduces motion sickness.
- Controller Vibration: On/Off.
- Dialogue Choices Time Limit: Off (unlimited) / 30s / 60s. Unlimited removes pressure for story decisions.
- Audio Language: English (default), French, German, Italian, Spanish, Japanese, etc. Full list depends on region.
- Text Language: Separate from audio; choose UI/subtitle language.
- Subtitles: Always on / Only for non‑spoken language / Off.
- Allow Online Features: On/Off. When on, the game will display community choice percentages (e.g., “62% of players chose this”). These are statically downloaded once; no real‑time multiplayer.
- Connection: The game uses minimal bandwidth—only for sync of community data.
- Autosave: Always active. The game saves at chapter boundaries and specific checkpoints. You cannot turn it off.
- Manual Save: Available via the flowchart (pause > Flowchart > select a chapter > Save). Manual saves are independent from autosaves.
- Flowchart: After completing a chapter, you can revisit it. Settings > Flowchart lets you erase decisions and replay parts.
- Difficulty: There is no overall difficulty slider. The only difficulty‑related option is QTE Difficulty (see above).
3. Control Settings
#### Button Mapping (PC & Console)
#### QTE Difficulty (Critical Setting!)
> ⚠ Warning: Changing QTE Difficulty mid‑game does not affect already‑passed chapters, but future ones use the new setting. For a first playthrough, start with Normal to avoid frustration.
#### Interaction Prompt Style
4. Accessibility Settings
5. Language Settings
6. Network Settings
7. Gameplay Settings
8. Special Attention Points During Setup
1. QTE Difficulty: The most misconfigured setting. Start on Normal if you’re new to story‑heavy games or QTEs. Hard mode can lead to early character deaths.
2. HUD Opacity: Do not set below 50% until you are familiar with prompt timings. Many new players miss prompts because the HUD is too faint.
3. Controller vs Keyboard: The game was designed for a controller. K+M works but some QTE sequences are harder due to non‑intuitive key placements. Remap critical actions (Dodge, Escape) to comfortable keys.
4. Motion Blur & Camera Shake: Both are on by default. Disable both if you experience motion sickness.
5. Benchmark Use: Run the benchmark after changing graphics settings. Look for consistent 60 FPS (or 30 for 4K). A single dip can ruin immersion.
6. VRAM Warning: Ultra textures require >6 GB VRAM. If your GPU has 4 GB or less, stick to High or Medium to avoid stuttering.
7. AutoSave & Manual Save: The game does not allow saving during dialogues or QTEs. Manual saves are best done between chapters. Use multiple save slots to keep branches open.
8. HDR Calibration: If you enable HDR, follow the in‑game brightness steps precisely. Incorrect calibration can wash out colours.