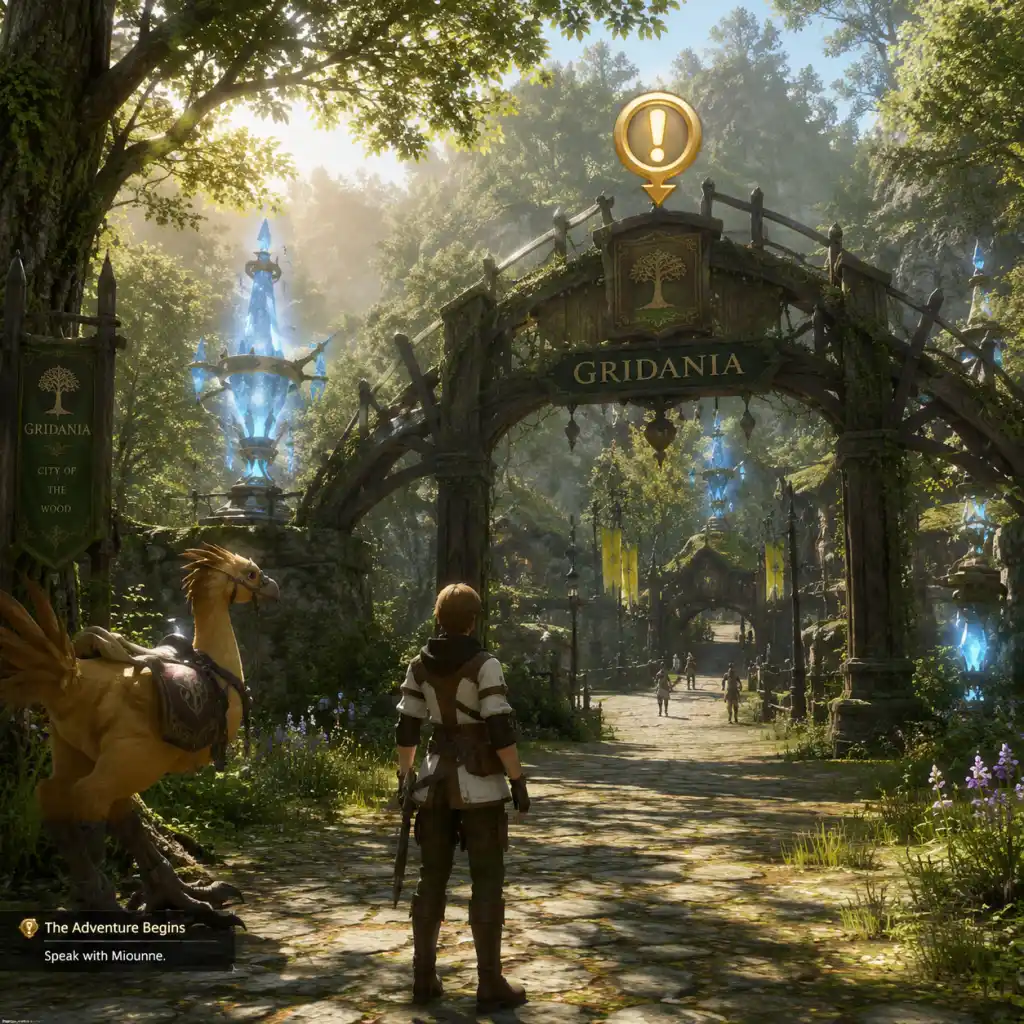
Getting Started
Getting Started Guide for Final Fantasy XIV: A Realm Reborn
This guide is designed to take you from zero to hero in the world of Eorzea. Whether you're a complete MMO newcomer or a veteran looking for a fresh start, follow these steps to avoid common pitfalls and enjoy your first day.
Character Creation: Your First Impression
When you first launch the game, you'll be greeted by the character creator. Don't stress—you can change your appearance later using Fantasia potions (purchasable or obtained through story), but your race, clan, and starting class are more permanent.
Step-by-Step:
1. Choose a Data Center and Server: Select a server that matches your region and language. For beginners, choose a preferred server (marked with a star) for double experience until level 70. New servers (with a flower icon) give bonus rewards for transferring, but starting there is fine too.
2. Create a Character:
- Name: This must be unique on your server. You can’t change it freely later (only via paid rename service). Choose wisely.
- Race & Clan: Race affects only aesthetics and starting attributes (negligible at endgame). Popular choices: Hyur (human), Elezen (elves), Lalafell (small), Miqo'te (cat-like), Roegadyn (big), Au Ra (dragon-horned), Hrothgar (lion-like, expansion required), Viera (rabbit-like, expansion required).
- Gender & Appearance: Customize face, hair, voice, etc. You can preview emotes and animations.
- Guardian: Choose one of the twelve deities. They affect elemental attributes slightly but no real impact—pick whichever looks cool.
- Starting City & Class: Your starting city and class are tied together. New characters can pick one of eight base classes. This matters because the main story quest will take place in that city until roughly level 15. After that, you can freely travel to other cities and unlock other classes. Choose based on the class you want to start with:
- Gridania (forest): Conjurer (healer), Archer (ranged DPS), Lancer (melee DPS).
- Limsa Lominsa (port city): Marauder (tank), Arcanist (magical DPS, can become healer later).
- Ul'dah (desert city): Gladiator (tank), Pugilist (melee DPS), Thaumaturge (magical DPS).
- Tip: If you want to be a tank later, start as Marauder or Gladiator. Healer: Conjurer or Arcanist. DPS: any.
3. Confirm Appearance: Hit "Finish" and watch your opening cinematic.
First Hour Walkthrough: What to Do
After the cinematic, you'll wake up in your starting city. Your main objective is to follow the Main Scenario Quest (MSQ)—the quests with a meteor icon on your map. These are mandatory and unlock almost everything (dungeons, mounts, airships, etc.).
Immediate Steps:
1. Talk to the NPCs with a quest marker (usually a glowing exclamation mark). Accept the MSQ quest.
2. Open your key items (default 'I' on PC, touchpad menu on consoles) and assign your starting weapon and gear.
3. Follow the quest arrow to your first objective. Often it’s talking to another NPC or killing a few enemies.
4. Learn your basic attacks: Press 1 on hotbar, or corresponding controller button. You have one or two abilities initially.
5. Complete the first few quests until you reach level 2-3. You'll be given a quest to join a Grand Company (at level 20, after you leave the starting city).
6. Check your journal (keybind J, or from menu) to track quest progress.
7. Open the map (M) to see all quest markers. The MSQ has a unique icon: a flaming circle with a meteor.
By the end of the first hour, you should be around level 5-7, have completed the first quest chain in your city, and unlocked the ability to teleport between aethernet shards (blue crystals). Use teleport to travel quickly—it costs gil (currency) but very cheap early.
Controls on All Platforms
FFXIV supports PC (keyboard & mouse), console (controller), and a hybrid. You can switch at any time in System Configuration.
PC (Keyboard & Mouse):
- Movement: WASD or arrow keys. Q/E to strafe; R to auto-run.
- Camera: Hold right mouse button and drag; or use mouse wheel to zoom in/out.
- Interact: Left-click on NPC/object, or press F (default).
- Jump: Spacebar.
- Action: Default hotkeys 1-6 for first hotbar, Shift+1-6 for second, etc. You can rebind.
- Menu: Escape key opens main menu.
- Map: M.
- Movement: Left joystick (walk/run). Press down L3 to toggle auto-run.
- Camera: Right joystick.
- Action: Use face buttons (Cross/Circle/Triangle/Square) for hotbar slots. You can have up to 8 hotbars visible via cross-hotbar (R2+L2 combinations). Set up in Character Configuration > Hotbar Settings.
- Interact: Press Circle (PS) or B (Xbox) to talk to NPCs.
- Jump: X (PS) / A (Xbox).
- Menu: Touchpad (PS) or Options button (Xbox).
- Map: Hold touchpad (PS) or press View button (Xbox) and select map.
- On PC, you can enable "Legacy Controls" for movement (camera follows character).
- On controller, use the WXHB (expanded cross-hotbar) for additional abilities. Enable in system menu.
- Top left: Party list (shows health/mana of group members). Solo? Shows your own party (yourself).
- Top center: Enemy HP bar with cast bar (for enemy abilities); also your own HP/MP/TP (now replaced by gauge resources for each job).
- Top right: Minimap. Click to expand full map.
- Bottom center: Your main hotbar(s) with actions. Customizable.
- Left of hotbar: Job gauge (unique to your class, e.g., black mage has Astral Fire/Umbral Ice meter).
- Right side: Buff/debuff icons.
- Lower left: Chat log.
- Lower right: Menu bar (System, Journal, Duty Finder, etc.).
- Center of screen: Notifications, quest progression, loot rolls.
- Follow the MSQ exclusively. It's your ticket to all content.
- Use the aetheryte network: Attune to every crystal you see (they're blue spheres). This allows teleporting later.
- Equip gear slots: You can right-click items in inventory and select "Equip" or drag to character panel. Unequip old gear by clicking and dragging off.
- Repair your gear at any armor repair NPC or via crafting class. Durability loss is small early.
- Pick up the Novice Network invite (chat system for new players). Ask veterans questions.
- Don't grind random mobs for XP; quests and dungeons give far more.
- Don't spend gil on gear from vendors—MSQ and quest rewards give you enough.
- Don't ignore class/job quests. Every 5 levels (2-5, 5, 10, 15, etc.) you get a new job quest from your guild. These unlock essential abilities and gear. Marked on map with a different icon.
- Don't try to gather or craft extensively early—focus on main story first.
- Don't rush to endgame content; enjoy the journey. The game is story-rich.
- Gil: You'll earn plenty from quests. Spend only on teleport fees, repairs, and maybe buying a stack of food (useful for 3% XP buff). Avoid vendor gear.
- Experience: Use the Road to 70 buff if on a preferred server. Always eat food for the 3% XP bonus—buy cheap grilled fish or vendor food.
- Gear: Prioritize weapon upgrades first (highest item level = more damage). Then left side (armor pieces). Use the Market Board for cheap upgrades if you have extreme surplus of gil (but not necessary).
- Inventory: Bag space is limited. Use your Saddlebag (shared storage). Vendor junk items (gray name) or sell on Market Board if tradable. Retainers can store items (unlocked at level 17 through MSQ)
- [ ] Create a character on a preferred server (if possible).
- [ ] Complete the first 5 MSQ quests (until you get the ability to teleport).
- [ ] Attune to every aethernet shard you see in your starting city.
- [ ] Equip all gear from quest rewards and open your inventory.
- [ ] Do your level 5 job quest (if available).
- [ ] Set up your hotbars (PC: assign skills to 1-6, controller: configure cross-hotbar).
- [ ] Unlock the Hall of the Novice (level 15) – you can do this later today if you level enough.
- [ ] Complete the weekend event or daily challenge log (if applicable).
- [ ] Spend any leftover gil on food (stack of grilled popotos from vendor).
- [ ] Take a screenshot of your character—you'll want to remember the beginning.
- [ ] Save your login credentials for easy access.
PlayStation (PS4/PS5) and Xbox (when available):
Customization:
UI Overview
The default HUD (Heads-Up Display) has several key elements:
You can reposition everything via System Configuration > HUD Layout. Recommended: move the job gauge closer to center for easier monitoring.
Essential Early Objectives (Levels 1-15)
1. Complete the Main Scenario Quest until you get a quest called "The Call of the Sea" (around level 10-15). This allows you to leave your starting city and travel to the other two cities.
2. Level up to 15: Do MSQ, plus some side quests if needed. Avoid yellow side quests early unless they give gear upgrades or unlock features (like gear repair).
3. Unlock Chocobo Companion at level 20 (after Grand Company rank 2). Not day one, but soon.
4. Join a Grand Company at level 20 (MSQ gives it). Choose any—you can switch later.
5. Complete Hall of the Novice (level 15) unlocked by talking to Smith in any city. This gives a set of gear good until level 30 and a ring with +30% XP bonus below level 30. Do this immediately upon hitting level 15.
6. Unlock your first dungeon at level 15 or 16 (depending on story). Use Duty Finder to queue.
What to Do First and What to Avoid
Do First:
Avoid:
Early Resource Priorities
Common Beginner Mistakes
1. Skipping Job Quests: You won't learn crucial skills like tank stances or healing oGCDs. Always check for job quests every 5 levels.
2. Ignoring the Hall of the Novice: Missing out on a free XP ring that lasts until level 30.
3. Not Attuning to Aetherytes: You'll have to walk everywhere. Always touch blue crystals.
4. Rushing into Dungeons unprepared: Watch a quick guide or let the group know you're new. Communication helps.
5. Overbuying from NPC vendors: Check Market Board for cheaper prices (though early gear is rarely worth buying).
6. Not customizing UI or hotbars: Spend 10 minutes setting up your preferred layout. It pays off.
7. Trying to solo group content: The Duty Finder will automatically match you – don't try to beat a dungeon boss alone.
Day-One Checklist
Remember: FFXIV is a marathon, not a sprint. Enjoy the story, take breaks, and don't hesitate to ask for help in Novice Network or your chosen Free Company. Welcome to Eorzea!