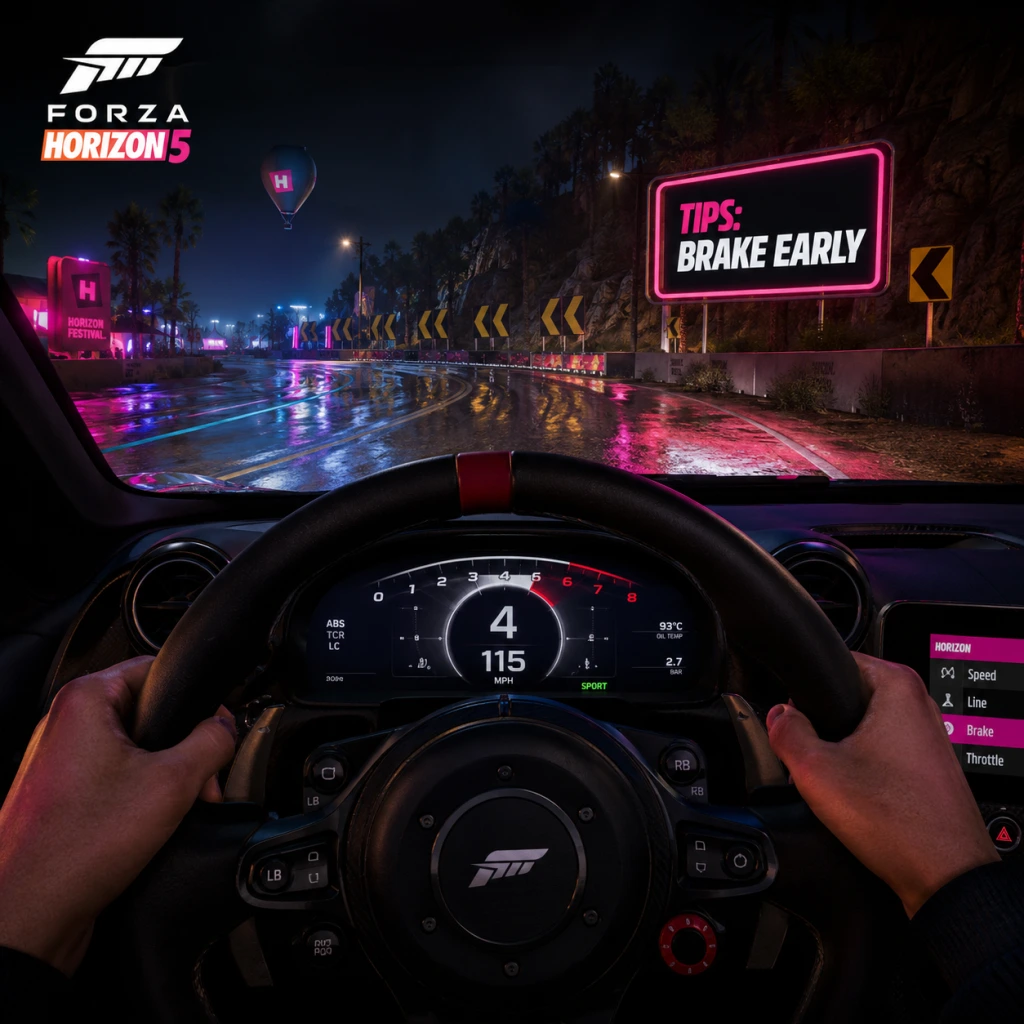
Game Tips
Game Tips for Forza Horizon 5
A comprehensive collection of tips organized by category to help you master the open world of Mexico. Whether you're a beginner or a seasoned veteran, these insights will save you time, credits, and frustration.
---
Beginner Tips
#### 1. Drive to Every Event the First Time
- Why it works: Fast travel is disabled until you discover the road leading to an event. Manually driving there removes the "unexplored" status and unlocks fast travel for free.
- When to use: Early game. Don't waste fast travel tokens—spend 30 seconds driving to a new race to save tokens for later.
- Why it works: Accolades are mini-achievements that reward XP, credits, and even cars. Completing the initial "Welcome to Mexico" accolade chain gives you a free house and a valuable skill.
- When to use: Right after the intro. Open the Accolade menu and focus on the "Horizon" and "Missions" categories.
- Why it works: The telemetry window (visible in Photo Mode or via the HUD toggle) shows real-time grip, tire slip, and braking force. Beginners can use it to understand when they're losing traction.
- When to use: Practice mode or when learning a new car. Turn it on from Settings > HUD > Telemetry.
- Why it works: Your first car (usually a 2019 Ford #25 Mustang) is worth very little credits but can be used in early events. Later, you'll need it for specific seasonal championships or achievements.
- When to use: Keep it forever. Don't auction or delete it.
- Why it works: Manual shifting gives faster acceleration and better control in corners. Clutch adds a small speed boost if timed perfectly.
- When to use: After getting comfortable with braking and steering. Switch in Settings > Controls > Shifting.
- Why it works: Braking while turning causes the car to understeer (plow forward) or oversteer (spin out). The game's physics reward a straight-line brake, then a smooth transition to throttle as you apex.
- When to use: Every corner. For sharp curves, brake hard before the turn, then accelerate out.
- Why it works: Rewinding a few seconds costs nothing and lets you practice a section repeatedly without restarting the whole race.
- When to use: Any time you crash or miss a checkpoint. Default key is Backspace (PC) or Y button (Xbox).
- Why it works: The handbrake (E on PC, X on Xbox) initiates a controlled slide. It's faster than a normal turn on tight city streets or dirt trails.
- When to use: Only on low-grip surfaces (dirt, snow, wet roads) or when you need a 90-degree turn. Practice in the car park near the Horizon Apex festival.
- Why it works: Using the bumper cam or hood cam reduces peripheral distractions, making it easier to spot checkpoints and obstacles. The interior cam has a rearview mirror, but hood cam offers the best visibility.
- When to use: Set it permanently for races. Change in Settings > Camera > Driving Camera.
- Why it works: Full throttle on rain creates wheelspin and loss of control. Short, partial presses keep the tires gripping.
- When to use: Any race with rain, puddles, or wet asphalt. Also effective in cross-country events.
- Why it works: Tires are the only component that affects all four contact patches. Upgrading from street to sport or race tires dramatically improves cornering speed and braking.
- When to use: Before any engine modifications. Even a stock engine will handle better with good tires.
- Why it works: Each event has a Performance Index (PI) cap (e.g., B700, A800, S1 900). Upgrading exactly to the limit without exceeding saves credits and is optimal. Exceeding forces you to detune or select a different car.
- When to use: Before entering a championship. Use the Auto-Upgrade feature to reach the class limit, then tweak manually.
- Why it works: Pre-built upgrades (like the "Drift" preset) often waste PI on unnecessary engine parts. Custom builds let you prioritize tire compound, suspension, and differential lock for the specific discipline.
- When to use: Building a dedicated drift car (e.g., Formula Drift #64 Corvette) or a rally car (e.g., Subaru WRX STI).
- Why it works: Lower psi (in tuning settings) increases the tire contact patch, which digs into sand, mud, and gravel. Higher pressure is better for smooth asphalt.
- When to use: For cross-country or dirt races. Start at 22 psi front/22 psi rear and adjust based on understeer/oversteer.
- Why it works: A roll cage reduces body roll and slightly stiffens the chassis, but it adds weight and costs PI. Only install it if you're experiencing excessive body roll in high-speed corners.
- When to use: For heavy cars (SUVs, trucks) or when tuning for high-speed stability. Skip it on lightweight sports cars.
- Why it works: 90% of cars can be won via wheelspins, accolade rewards, or seasonal championships. Buying from Autoshow is a waste of credits that could be spent on upgrades.
- When to use: Only buy a car from Autoshow if it's required for a seasonal championship and you don't own it (e.g., rare cars like the 1998 Toyota Supra).
- Why it works: Some cars are listed below market value (e.g., hard-to-get cars from last season). Buy them at a low price and wait a few days until the supply dries up, then resell for profit.
- When to use: Check the Auction House weekly for cars that were seasonal rewards 2-3 weeks ago. Example: Buy a 2019 Porsche 911 GT3 RS at 150k, sell for 400k once it's no longer available.
- Why it works: The Goliath is a massive circuit race that pays out huge XP and credits per minute. With a fast S2 car (e.g., Mosler MT900S), you can finish in under 10 minutes for ~50k credits (on Highly Skilled difficulty).
- When to use: Once you've unlocked the Goliath (by completing the main Horizon story). Set difficulty to Pro for even higher payout.
- Why it works: Super wheelspins contain three rewards (compared to one) and often include cars, exclusive cosmetics, or large credit stacks (100k+).
- When to use: Earn them from Accolades, seasonal events, or buying the "VIP" membership. Save all your regular wheelspins until you have many, then open them for a dopamine rush.
- Why it works: Keeping two of the same car is pointless unless it's a different tune. Selling duplicates in the Auction House (not Autoshow) earns you credits without losing garage space.
- When to use: Any time you receive a duplicate from a wheelspin. Check the current auction price first—some duplicates are worth more than Autoshow value.
- Why it works: This expedition unlocks the ability to fast travel to any road you've discovered. Removing the fast travel cost saves tens of thousands of credits over the course of the game.
- When to use: As soon as you reach the main festival. It's part of the "Vocho" story.
- Why it works: Every week (Thursday reset), the game offers new seasonal events with rare cars that may never return. Even if you're not a completionist, these cars can be sold for millions later.
- When to use: Weekly after the reset. Use the in-game "Seasonal Events" tab in the pause menu.
- Why it works: The Series Progress (bottom of the screen) shows how many points you need to reach the next season reward. Each seasonal activity gives a set value (e.g., 1 point for a daily, 3 for a championship).
- When to use: Check before doing random events. Focus on high-value activities first (e.g., The Trial, Playground Games).
- Why it works: The Trial is a co-op vs. AI event where you and up to 5 other players race against unbeatable AI. A good team blocks AI cars and drafts each other. If your team is bad, it's very hard to win.
- When to use: Only attempt The Trial when you have a fully upgraded car for the class. Join a big team (use LFG on Xbox or Discord) rather than solo queue.
- Why it works: Arcade events are open-world mini-games (e.g., Chaos, Air, Wreckage) that spawn every 15 minutes. They give massive XP (up to 60k for completing all rounds).
- When to use: Between races or when you need a break from competitive driving. Activate from the map with pink icons.
- Why it works: When joining a co-op session (Convoy), you can filter players by whether they have custom tunes. This ensures you're matched with people who know how to build, not just stock car users.
- When to use: Before starting a convoy for The Trial or Horizon Tour. Set filter in the Convoy menu.
- Why it works: Drafting (slipstream) behind another car reduces drag and gives a speed boost up to 10 mph. In a straight line, a well-timed draft can overtake a faster car.
- When to use: Always in public lobbies. Stay within one car length behind an opponent. Also works in co-op convoy races.
- Why it works: The Eliminator is a battle royale style mode where you start in a low-tier car and collect upgrades. The key is to avoid early confrontations and use the terrain (hills, forests) to hide until you have a strong vehicle.
- When to use: If you want a change of pace. Stay near the edge of the shrinking circle. When you have a Tier 6+ car, challenge others directly.
- Why it works: In The Trial or Horizon Tour, calling out turns, obstacles, or AI position can save seconds. The in-game voice chat is enabled by default.
- When to use: Mute if there's toxic players, but otherwise it's helpful. Push-to-talk (set in settings) prevents background noise.
- Why it works: In Ranked Adventure, hitting walls or other cars reduces your skill score. Clean driving is rewarded with more points towards the next rank.
- When to use: In every ranked race. Avoid aggressive ramming; instead, hold your line and let the opponent make a mistake.
- Why it works: Fast travel boards are breakable signs that reduce the cost of fast travel. Smashing 50 of them eliminates the cost entirely. The earlier you start, the more you save.
- When to use: Dedicate 30 minutes to finding boards (use the in-game map filter). Focus on the main highway areas where multiple boards are clustered.
- Why it works: There are 20 solar collectibles hidden across Mexico. Each one grants a wheelspin (regular) and the full set gives a super wheelspin. They're easy to spot as glowing spheres.
- When to use: While free-roaming. Look for them near ruins, pyramids, and beaches. Use a fast off-road car (e.g., Ford Bronco) to traverse rough terrain.
- Why it works: Each of the 5 festival sites (Apex, Baja, etc.) has a fast travel point. Unlocking them by completing their associated expeditions gives you 5 free fast travel points across the map.
- When to use: As part of the main story progression. Do not skip expeditions.
- Why it works: There are 100 "bonus board" collectibles (white circles on mini-map) that give 5,000 XP each. They are scattered everywhere, and collecting all 100 gives a massive XP boost (500k total).
- When to use: During a double XP weekend (if available). Use a fast car (e.g., Rimac Nevera) to zip between them.
- Why it works: In photo mode, you can zoom out and rotate the camera to see behind buildings or over hills. This helps spot hard-to-reach hidden barn finds or bonus boards.
- When to use: When the ping on the map suggests a collectible is nearby but you can't see it. Toggle photo mode with Pause > Photo Mode.
- Why it works: A clutch kick (pressing the clutch while on throttle) briefly over-revs the engine and breaks rear tire traction. Useful for initiating a drift in an AWD car or for tight hairpins.
- When to use: In drift zones or during rally races. It's an advanced skill—practice in a low-power RWD car like the Mazda RX-7.
- Why it works: Race tires have the highest grip in all conditions. Even in dry weather, race tires outperform standard sport tires on most tracks. The minor PI cost is worth it.
- When to use: For any all-weather event (e.g., The Colossus). Only switch to off-road tires when doing cross-country events.
- Why it works: In Forza Horizon 5, most circuits have short straights, so acceleration is more valuable than a high top speed. Shorten the final drive ratio to 3.5-3.8 for faster 0-60 times.
- When to use: For sprint races (like "The Heights") or tight circuits ("Mountain View"). For highway races, lengthen the final drive to 3.0-3.2.
- Why it works: The game's aerodynamics model is simplified; no livery affects physics. However, using a heavily damaged car can increase drag? Actually, visual damage doesn't affect performance. Instead, this tip reminds you that liveries are purely cosmetic—focus on parts upgrades for real performance.
- Why it works: Shifting at lower RPM (e.g., at 6000 rpm instead of redline) reduces wheelspin in low gears and keeps the car in a higher torque band. This is crucial for RWD cars spinning out.
- When to use: In rain or on dirt. Also when driving a powerful hypercar like the Koenigsegg Jesko.
- Why it works: Entering a drift zone while already in a slide from the previous turn maintains momentum. You can build a longer chain by reversing the steering direction mid-slide.
- When to use: In the Drift Club events. It's the key to high scores in "Drift Zone" speed traps.
- Why it works: The community has identified optimal cars for each PI class. For example:
- When to use: For competitive online racing or high-difficulty AI (Pro/Unbeatable). Use these builds from the Community Tunes (search by Gamertag "Nalak28" or "Duce" for popular tunes).
- Why it works: Instead of tuning from scratch, you can import a tune from the Community Content menu using a share code. This saves hours of testing.
- When to use: Whenever you need a competitive tune. Browse the top tunes for your car and apply one with a high download count.
- Why it works: Higher difficulty gives an XP and credit multiplier: Highly Skilled (1.4x), Expert (1.6x), Pro (1.8x), Unbeatable (2.0x). If you can consistently win on Pro, the payout difference is massive over time.
- When to use: After you've learned braking and racing lines. Start on Expert, then move up. Also, disable "Car Damage" in settings (it doesn't affect difficulty multiplier) to allow full aggression.
- Why it works: EventLab allows you to create custom tracks. You can build a short, high-reward circuit (e.g., 1-minute laps) to grind XP and credits quickly. Share it and farm downloads for even more influence.
- When to use: When you need to farm for a specific car or seasonal event. Search for "Credit Farm" EventLab blueprints (e.g., "B-Class Farm" by user "Mx5_SimRacer").
#### 2. Complete the Accolade System Early
#### 3. Use the Abero Telemetry App (in-game)
#### 4. Never Sell Your First Car
#### 5. Learn Manual with Clutch (Optional but Rewarding)
---
Driving & Handling Tips
#### 1. Brake in a Straight Line, Turn with Throttle
#### 2. Use the "Rewind" Feature Liberally
#### 3. Master the "Handbrake Turn" for Tight Corners
#### 4. Adjust Your Rearview Camera for Better Awareness
#### 5. Feather the Throttle on Wet Roads
---
Upgrades & Tuning Tips
#### 1. Always Install the Best Tires First
#### 2. Know Your PI Class Limits
#### 3. Use Custom Upgrades for Drift / Offroad
#### 4. Lower Tire Pressure for Off-Road Traction
#### 5. Invest in a Roll Cage Only When Needed
---
Economy & Credits Tips
#### 1. Never Buy Cars from the Autoshow if You Can Earn Them
#### 2. Auction House Arbitrage (Buy Low, Sell High)
#### 3. Do the "Goliath" Race for Fast Credits
#### 4. Super Wheelspins Are Better Than Regular Wheelspins
#### 5. Sell Duplicate Cars Immediately
---
Events & Progression Tips
#### 1. Complete the "Horizon Wilds" Expedition First
#### 2. Do Seasonal Championships for Exclusive Cars
#### 3. Use the "Series Progress" Tab to Plan Your Grind
#### 4. The Trial Is Easier with a Coordinated Team
#### 5. Horizon Arcade is Great for XP and Fun
---
Multiplayer & Co-op Tips
#### 1. Use "Tuning and Upgrades" Filter in Convoy Search
#### 2. Drafting is Critical in Online Races
#### 3. Playground Games (The Eliminator) Tips
#### 4. Use Voice Chat for Team Coordination
#### 5. Respect the Collision Penalty in Ranked
---
Exploration & Collectibles Tips
#### 1. Use Fast Travel Boards Early
#### 2. Solar Collectibles Give Bonus Wheelspins
#### 3. Unlock All Festival Sites for Free Travel
#### 4. Look for "Chipped" Collectibles (Bonus Boards)
#### 5. Use "Photo Mode" to Find Hidden Collectibles
---
Advanced Optimizations
#### 1. Master the "Clutch Kick" Technique
#### 2. Use Race Compound Tires for Wet Track (Even in Dry)
#### 3. Optimize Gearing for Acceleration vs. Top Speed
#### 4. Use a Custom Livery to Reduce Drag (Visually)
#### 5. Practice the "Short Shift" Technique on Manual
#### 6. Use the "Reverse Entry" Technique for Drift Zones
#### 7. Know the "Meta" Cars for Each Class
- A800: 2019 Honda Civic Type R (AWD swap, race tires)
- S1 900: 2018 Mercedes-AMG GT 4-Door Coupe (Hoonigan version)
- S2 998: Mosler MT900S (tuned to 9.6 PI)
- X999: Rimac Concept Two (electric AWD, highest top speed)
#### 8. Use the "Share Codes" Feature to Copy Tunes
#### 9. Adjust Your Difficulty Settings for Maximum Credits
#### 10. Use the "EventLab" to Create Custom Grind Races
---
Summary Table: Key Tips by Category
| Category | Top Tip | Best For |
|---|---|---|
| Beginner | Drive to every event first | Saving fast travel tokens |
| Driving | Brake straight, turn with throttle | Faster cornering |
| Upgrades | Install best tires first | Maximum grip per PI |
| Economy | Never buy cars from Autoshow | Saving credits |
| Events | Complete Horizon Wilds expedition | Unlock free fast travel |
| Multiplayer | Draft in online races | Quick overtakes |
| Exploration | Smash fast travel boards | Reduce fast travel cost |
| Advanced | Use meta cars and share codes | Winning high-difficulty races |
Final Thoughts
Forza Horizon 5 rewards both skill and knowledge. Use these tips to accelerate your progression, dominate races, and build an enviable car collection. Remember that the game is meant to be fun—take breaks to enjoy the scenery, maybe even use Photo Mode to capture your favorite moments. Happy driving!