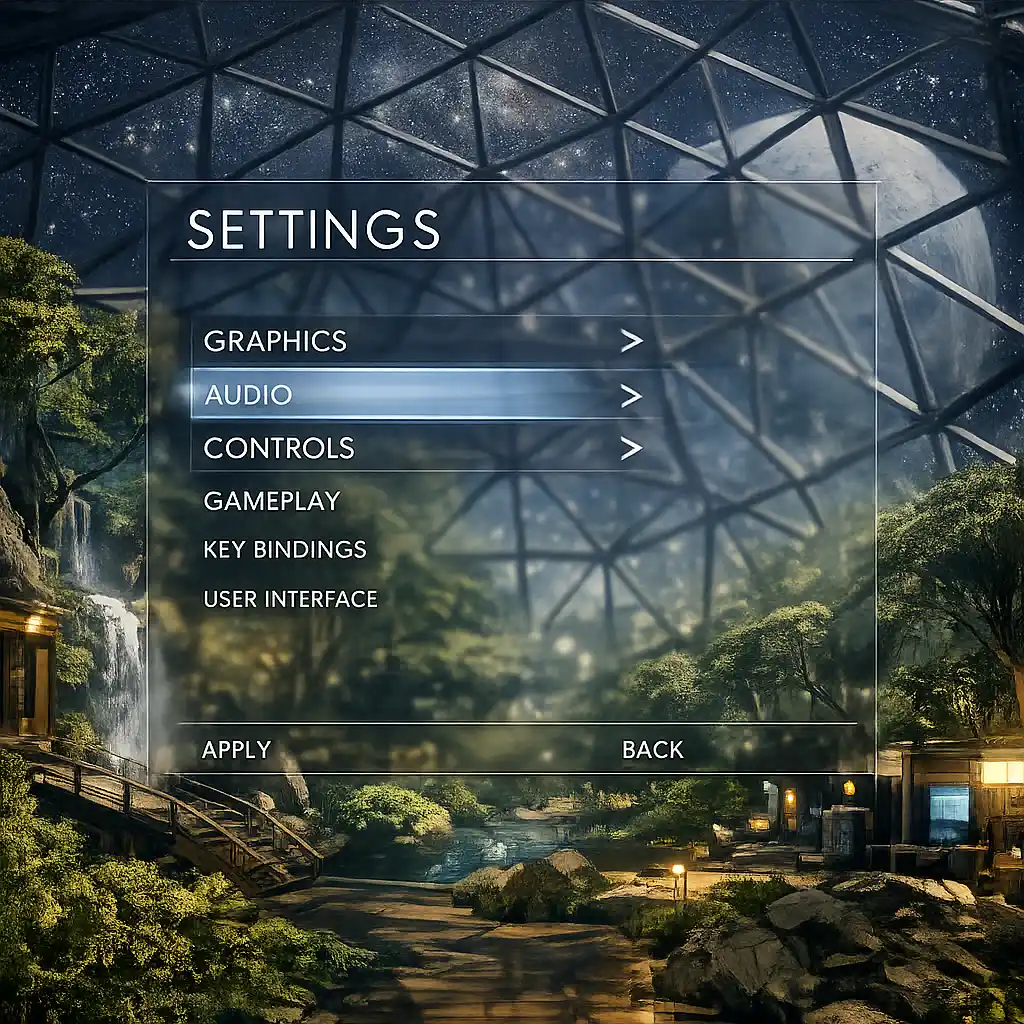
Game Settings
Prey (2017) – Game Settings Guide
This guide covers all configurable settings in Prey (2017) across graphics, audio, controls, accessibility, language, network, and gameplay. It provides optimal settings for different hardware tiers and highlights settings that are often misunderstood. All recommendations are based on the PC version (Steam/Epic/GOG) unless noted; console settings are simpler but comparable.
---
1. Graphics Settings
Prey runs on the CryEngine and is generally well-optimized, but certain settings heavily impact performance. Below is a breakdown of every graphics option.
#### 1.1 Display Mode & Resolution
- Display Mode: Fullscreen (best performance and input latency), Windowed Borderless (useful for multi-monitor), Windowed (not recommended).
- Resolution: Set to native monitor resolution. Lowering resolution can improve performance but makes UI too small.
- Refresh Rate: Match monitor max (e.g., 60Hz, 144Hz).
- VSync: Off (unless screen tearing is noticeable; use Fast Sync or G-Sync if available).
#### 1.2 Graphics Presets
Prey offers presets: Low, Medium, High, Very High. Customize individual options for best balance.
#### 1.3 Individual Graphics Options
| Setting | Low | Medium | High | Very High | Performance Impact | Notes |
|---|---|---|---|---|---|---|
| Anti-Aliasing | Off | FXAA | SMAA 1x | SMAA 2x | Low | Use SMAA 1x for best quality/performance trade-off. FXAA causes blur. |
| Texture Quality | Low | Medium | High | Very High | Medium (VRAM) | Higher uses more VRAM. Set to High (4GB VRAM), Very High (6GB+). |
| Shader Quality | Low | Medium/High | High | Very High | Medium | Affects lighting and material detail. High is good for most GPUs. |
| Shadow Quality | Low | Medium | High | Very High | High | Very High has shadows at full resolution; High is almost identical. |
| Object Quality | Low | Medium | High | Very High | Medium | Controls draw distance for small objects. High is fine. |
| Water Quality | Low | Medium | High | Very High | Low | Minimal impact on framerate. High looks nice in areas like Arboretum. |
| Ambient Occlusion | Off | SSAO | HDAO | HBAO+ | Medium-High | HBAO+ provides best depth effect but costs performance. SSAO is good. |
| Motion Blur | Off | On | – | – | Low | Personal preference; off for clarity. |
| Depth of Field | Off | On | – | – | Low | Blurs distant objects; can hide pop-in but also reduce visibility. |
| Lens Flares | Off | On | – | – | Very Low | Visual flair only. On recommended. |
| Bloom | Off | On | – | – | Very Low | Affects bright light halos. Keep on. |
| FOV (Field of View) | 60-90 (default 70) | – | – | – | Negligible | Increase to 80-90 for better peripheral vision. Higher FOV may reduce performance slightly but not much. |
For PC users, advanced tweaks can be made via `prey.cfg` in `%USERPROFILE%\Saved Games\Prey\GameData\`. Options like `r_TexMaxAnisotropy` (16 for best filtering), `r_VSync` (0=off), `r_Gamma` (adjust brightness). Editing these is optional and not recommended for novices.
#### 1.5 Optimal Settings by Hardware Tier
Benchmark Note: Use the in-game area near the Arboretum or during Typhon combat for testing.
Entry-Level PC (e.g., GTX 1050 / RX 560, 8GB RAM, 1080p):
- Preset: Low → Custom
- Resolution: 1080p (or 900p if needed)
- Anti-Aliasing: Off
- Texture Quality: Medium
- Shader Quality: Low
- Shadow Quality: Low
- Ambient Occlusion: Off
- All other effects: Off/Low
- Expected: 30-45 FPS, playable with some stutter.
- Preset: High → Custom
- Anti-Aliasing: SMAA 1x
- Texture Quality: High
- Shader Quality: High
- Shadow Quality: High
- Ambient Occlusion: SSAO
- Water Quality: High
- Motion Blur: Off
- Expected: 60 FPS stable.
- Preset: Very High → Custom
- Anti-Aliasing: SMAA 2x
- Texture Quality: Very High
- Shader Quality: Very High
- Shadow Quality: Very High
- Ambient Occlusion: HBAO+
- Everything else: On
- Expected: 60-90 FPS.
- Preset: Very High, all max
- Anti-Aliasing: SMAA 2x (or off, use DSR/FSR)
- Expected: 60+ FPS at 4K with minor dips.
- Anti-Aliasing: SMAA is preferable over FXAA. Many players leave it on FXAA and wonder why everything looks blurry.
- Ambient Occlusion: HBAO+ is high quality but heavy; SSAO is a good middle ground. Not recommended to turn off completely.
- VSync: Leave off unless screen tearing is an issue; it adds input lag.
- FOV: Default 70 is narrow for an immersive sim; increase to 80-90 for better situational awareness but may cause slight performance drop on low-end PCs.
- Master Volume: 80% (default). Adjust to taste.
- Music Volume: 70% – music is atmospheric but can obscure enemy sounds.
- SFX Volume: 100% – crucial for hearing Typhon footsteps, mimics rustling, and weapon sounds.
- Voice Volume: 100% – dialog is important for story and clues.
- Dynamic Range: Select “Headphones” or “Speakers” based on output. “Headphones” enhances positional audio for stereo headsets.
- Audio Language: See Language section.
- Subtitles: On (recommended) – helps with ambient dialog and foreign phrases.
- Closed Captions: Off (unless hearing impaired).
Mid-Range PC (e.g., GTX 1060 / RX 580, 16GB RAM, 1080p):
High-End PC (e.g., RTX 2060 Super / RX 5700, 16GB RAM, 1440p):
Ultra PC (e.g., RTX 3080 / RX 6800 XT, 32GB RAM, 4K):
#### 1.6 Settings Easy to Misconfigure
---
2. Audio Settings
Special Note: Prey’s sound design is exceptional. Use a good headset for directional audio to detect mimics and enemies behind walls. The game uses 7.1 surround; if you have a 7.1 headset, enable it in Windows sound settings.
---
3. Controls Settings
#### 3.1 Keyboard & Mouse (PC)
Prey allows full remapping. Default controls are standard for FPS, but some actions are unique:
| Action | Default Key | Recommended Rebinding | Reason |
|---|---|---|---|
| Sprint | Left Shift | Keep | Standard |
| Crouch | C | Keep or use Ctrl | Mimics often require crouching under vents. |
| Jump | Space | Keep | |
| Interact | E | Keep | |
| Use Item | Q | Keep (quick access medkits) | |
| Weapon Wheel | Tab | Keep | Pauses game for hot-swapping |
| GLOO Cannon | 3 | Keep | Primary tool |
| Psychoscope | F | Keep | Essential for scanning |
| Lever Action | Mouse 4 (if available) | Optional | Quick melee |
| Look Around | Mouse movement | Adjust sensitivity: 3-5 for most players | Higher sensitivity may cause micro-errors during precise gloo aiming. |
- Mouse Sensitivity: 3-5 (default 5) – lower for precise shooting.
- Invert Y: Off
- Mouse Smoothing: Off (adds input lag).
- Enable Raw Mouse Input: On (bypasses OS acceleration).
- Vibration: On (enhances immersion, especially when mimic appears).
- Aim Assist: Medium (default) – Prey has slight aim assist on consoles; set to High if struggling.
- Controller Sensitivity: 2-4 (default).
- Invert Y: Off.
- Mouse Smoothing: Often overlooked; having it on introduces input lag that feels floaty. Turn off.
- Weapon Wheel Behavior: By default, pressing Tab opens the wheel and pausing the game (single-player). Some users prefer it to not pause; the option “Pause with Weapon Wheel” is toggleable in Gameplay settings. For less interruption, set to “Only in Menu” (but then wheel doesnt pause). Recommended: Keep default (pause) for tactical swaps.
- Quick Save / Load: Map F5 (quicksave) and F9 (quickload) – Prey auto-saves frequently, but manual quicksave is vital before dangerous encounters.
- Subtitles: On (improves comprehension for hearing impaired).
- Closed Captions: Not available natively; only subtitles for spoken dialog.
- Difficulty Level: Affects damage taken, enemy health, resources. Accessible through New Game or anytime via options? (Cannot change mid-game without restart). Choose Story mode for minimal combat challenge.
- FOV: Wider FOV helps motion-sickness prone players. Set to 80-85.
- Motion Blur & Depth of Field: Turn off to reduce nausea.
- Color Blindness: No specific settings; rely on visual cues (mimics glow slightly) and audio.
- Control Remapping: Full keyboard/mouse remapping helps with mobility issues.
- Audio Cues: Essential for enemies – keep SFX high.
- Saving: Prey has quicksave (F5 on PC) and manual saves. Use frequently.
- Text Language: Choose from available languages (English, French, German, Spanish, Italian, Polish, Russian, etc.). This changes all menus, dialog subtitles, and UI.
- Audio Language: Usually only English voiced; other languages may have subtitles only. Check on Steam before purchase.
- Subtitle Mode: On/Off; also choose “Subtitles Only” for deaf players.
- Online Features: Achievements, cloud saves (if supported by platform).
- Steam Cloud: Enable to sync saves across PCs.
- Bethesda.net Account: Not required for offline play, but needed for rewards? (If you bought through Bethesda launcher). Ignore if playing on Steam.
- No dedicated server options. Disable internet connection for purely offline play.
- Difficulty: Normal is balanced. Hard increases enemy damage and reduces resources. Story mode makes combat trivial.
- Objective Marker: On (default) – shows current mission waypoint. Off for immersive exploration.
- HUD Transparency: Adjust from 0% (opaque) to 100% (invisible). 20% recommended for minimal distractions.
- Weapon Wheel Pause: Pauses game while selecting weapons. Enables safe weapon swapping; disable for more action-oriented gameplay (but risky).
- Quick Switch: Enable to instantly switch to last weapon without wheel.
- Reticle: Show/Hide. Keep show for aiming.
- Damage Numbers: Off (by default). Can be enabled in .cfg? Not in options. Not recommended.
- Auto-Save Frequency: Can’t adjust directly, but the game saves at checkpoints. Manual save often.
- Camera Shake: Not toggleable in menu; reduce motion sickness by lowering sensitivity or enabling mods.
- Difficulty cannot be changed mid-game – choose wisely.
- Weapon Wheel Pause: Many players dislike the pause, but it’s very useful for swapping between GLOO, shotgun, and wrench quickly. Keep on unless you prefer frantic switching.
- Objective Marker: Turning it off increases immersion but may cause confusion for first-time players. Recommend leaving on until you know Talos I layout.
#### 3.2 Gamepad (Console & PC)
Important: Gamepad controls on PC have some delay; for competitive feel, use keyboard/mouse.
#### 3.3 Easy-to-Misconfigure Control Settings
---
4. Accessibility Settings
Prey (2017) has limited dedicated accessibility options compared to modern titles, but several settings help:
Recommendation: For players with visual impairments, increase brightness slightly (Gamma 0.7-0.8) and turn off HUD transparency below.
---
5. Language Settings
Platform Note: On console, language is typically tied to system language. On PC, set via game launcher or options menu.
---
6. Network Settings
Prey (2017) is a single-player game with no multiplayer, so network settings are limited to:
---
7. Gameplay Settings
These affect how the game behaves beyond graphics/controls.
#### 7.1 Special Attention Points
---
Final Setup Checklist
1. Set display to fullscreen at native resolution with proper refresh rate.
2. Adjust graphics preset based on hardware; fine-tune Anti-Aliasing to SMAA, Ambient Occlusion to SSAO, Texture to High.
3. Increase FOV to 80-85.
4. Disable Motion Blur and Depth of Field if prone to motion sickness.
5. Audio: SFX 100%, Music 70%, Voice 100%, Dynamic Range = Headphones, Subtitles On.
6. Controls: Raw mouse input, disable mouse smoothing, adjust sensitivity to 4, rebind quick melee to thumb button.
7. Gameplay: Difficulty Normal, Weapon Wheel Pause On, Objective Marker On, HUD Transparency 20%.
8. Save your settings, then test in the first area (lobby).
With these settings, you will enjoy optimal performance, clear visuals, responsive controls, and an immersive audio experience tailored to Prey’s atmospheric horror.