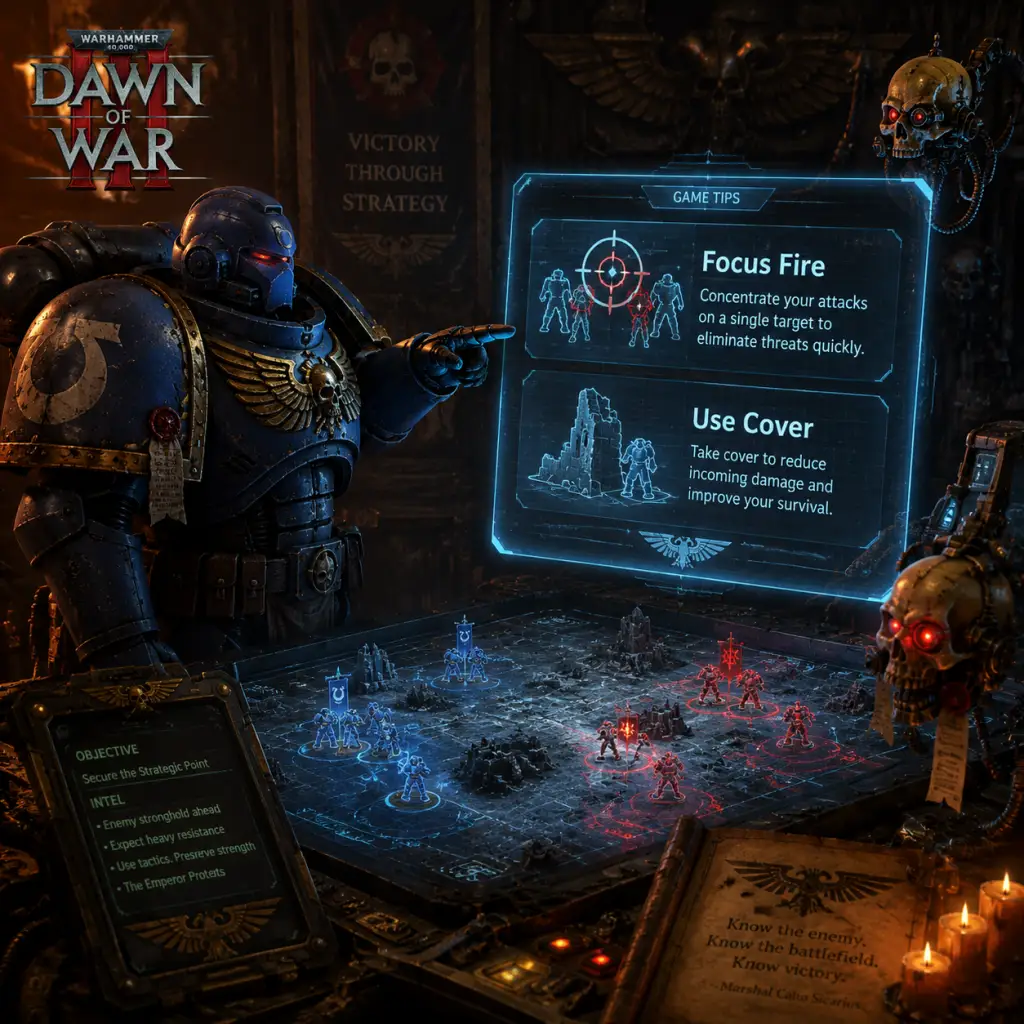
Game Tips
Overview
Warhammer 40,000: Dawn of War II (DOW2) is a tactical real-time strategy game that emphasizes small squad combat, cover mechanics, and unit abilities. Unlike traditional RTS games, you have no base-building in the single-player campaign; instead, you manage a roster of squads that level up and gain wargear. In skirmish/multiplayer, you capture strategic points to generate resources. This guide covers essential tips across all major categories, from combat tactics to advanced optimizations.
---
Combat
1. Always Use Cover
- Why it works: Units in cover take drastically reduced damage (especially from small arms fire) and gain suppression resistance. Heavy cover (walls, ruins) provides a 50% damage reduction, while light cover (sandbags, crates) gives 25%.
- When to use: From the very first engagement. Move your squads from cover to cover using the "move and hold fire" command (default: M + shift+right click). Never leave a squad exposed in the open unless retreating.
- Why it works: Heavy weapons squads (e.g., Heavy Bolter, Autocannon) can pin enemy infantry, preventing them from moving or firing while taking extra damage.
- When to use: Deploy heavy weapons on high ground or chokepoints. Combine with grenades to wipe out pinned enemies. In campaign, use Tactical Marine squads with heavy bolter upgrades.
- Why it works: Grenades (frag, krak, plasma) and hero abilities (e.g., Force Commander’s Charge) can break enemy formations, destroy cover, and finish off retreating units.
- When to use: Right-click grenade icons or press the hotkey (default: G for grenades). Save abilities for clustered enemies or when you need to breach a fortified position.
- Why it works: DOW2 uses a morale system – as units take damage, they lose morale and eventually break and run. Focus fire one squad at a time to cause morale collapse quickly.
- When to use: When engaging multiple enemy units, select all squads and attack one target. Right-click an enemy to attack-move; press R to retreat a squad when it’s low on health or morale.
- Why it works: Melee troops (e.g., Assault Marines, Terminators) are powerful in close quarters but vulnerable to ranged fire while approaching.
- When to use: Use them to flank or counter enemy melee units. Always have them use charge abilities to close distance. In campaign, upgrade them with jump packs or teleportation for mobility.
- Why it works: Units on high ground have increased accuracy and range, while those below suffer penalties.
- When to use: Always position ranged squads on raised platforms (e.g., ruins, ridges). In skirmish, control sensor towers to gain detection and sight range.
- Why it works: Each mission map is filled with randomly placed loot containers, wargear, and soulstones. Loot provides permanent upgrades for your squads.
- When to use: Before completing objectives, explore all side paths. Use the Force Commander’s “scan” ability (if available) to reveal hidden items. Collect everything – even duplicates give XP.
- Why it works: Shields (e.g., Storm Shield, Force Field) give extra protection and health regen. Wargear that adds abilities (e.g., Teleport Homer) greatly expands tactical options.
- When to use: Equip shields on front-line squads like Tactical Marine or Terminator. Always pick up wargear that grants active abilities – they can turn battles.
- Why it works: Scout squads (Sniper Scouts, Scout Bikes) can cloak, allowing you to scout enemy positions without being seen.
- When to use: Send stealth units ahead to reveal enemy troop placement before committing main force. In skirmish, cloak units to capture points undetected.
- Why it works: Requisition is spent on infantry and upgrades; Energy is used for abilities and vehicle construction. Each capture point generates 5 req/sec or 1 energy/sec (depending on type).
- When to use: Always capture the nearest resource points first. Build listening posts on nodes to increase generation and provide defense. Balance between req and energy nodes based on your army composition.
- Why it works: Global abilities (like Orbital Bombardment) cost energy but can wipe out entire squads or heavy positions.
- When to use: Save energy for game-changing abilities during critical pushes. Don’t spam cheap abilities if you’re saving for Orbital Bombardment.
- Why it works: In The Last Stand mode, picking up items on the map boosts your hero’s power. Vital for survival.
- When to use: Always grab items before engaging mini-bosses. Coordinate with teammates to share loot.
- Why it works: Each squad has a role – Tactical Marines (generalist), Assault Marines (close combat), Scout Snipers (anti-infantry). Spreading upgrades too thin makes all squads weak.
- When to use: Choose a primary role for each squad and invest in its unique wargear. For example, give your Tactical Sergeant a Power Sword and Melty-Gun for anti-armor; keep your Assault Sergeant with a Thunder Hammer.
- Why it works: Heroes (Force Commander, Techmarine, Apothecary, Librarian) gain XP from kills and objectives. Higher levels unlock powerful abilities.
- When to use: Let heroes get the last hit on high-value enemies (e.g., Carnifexes, Chaos Dreadnoughts) using their abilities. Use the Apothecary’s healing to keep your army alive while farming XP.
- Why it works: The Apothecary provides healing, Techmarine can repair/heal vehicles, Librarian offers crowd control and buffs. They are essential for keeping your main squads alive.
- When to use: Always bring at least one support hero in every mission. Keep them behind the front line and use their abilities on cooldown.
- Why it works: Some items boost specific abilities. For example, the “Burning Blade” relic increases melee damage and adds fire damage that reduces enemy armor.
- When to use: Pair wargear that complements a squad’s role. If you have a flamer-specialized squad, gear them with items that increase fire damage or reduce heat buildup.
- Why it works: A listening post costs 100 req and 25 energy but doubles the resource generation of a node and provides a defensive turret.
- When to use: As soon as you capture a node, build a listening post immediately. Prioritize energy nodes if you plan heavy ability usage.
- Why it works: Points in the center of the map usually have high resource values or provide strategic bonuses (like sensor towers).
- When to use: Contest central nodes early with fast units like Scout Bikes. Use territory control to starve your opponent of resources.
- Why it works: Tier 1 upgrades (e.g., unit health, weapon damage) are cheap but critical. Tier 2 upgrades (e.g., vehicle armor) are expensive and delay your army size.
- When to use: Buy only necessary upgrades until you have a solid army. In 1v1, two squads with basic weapons are often better than one with full upgrades.
- Why: The game teaches cover, abilities, and retreating. Skipping it will leave you confused.
- How: From the main menu, select Campaign and follow the first missions. Pay attention to tooltips.
- Why: DOW2 can be hectic. Use the pause button (default: F10) in single-player to survey the battlefield and issue commands without pressure.
- When to use: During large engagements, pause to plan next moves, especially ability usage.
- Why: Fast micro is key. Set hotkeys for all squad abilities (default: 1-0 for squads, Q,W,E,A,S,D for abilities).
- How: Go to Options > Key Bindings and customize. For example, map Retreat to a mouse button.
- Why: You cannot manually save mid-mission, but the game auto-saves at checkpoints. Use quicksave (F5) before major fights.
- When to use: Before engaging a boss or after collecting loot.
- Why: Synergies can wipe out enemies. For example, Librarian’s “Force Dome” slows enemies, then Apothecary’s grenades or Assault Marines’ charge shred them.
- How: Coordinate two heroes’ abilities simultaneously. Use Techmarine’s “Beacon” to buff damage, then attack with all squads.
- Why: Orks rely on melee; Eldar have mobility; Tyranids swarm; Chaos uses powerful spells. Tailor your squad loadout.
- How: Against Tyranids, bring heavy bolters and flamers. Against Chaos, bring Librarian for anti-psyker. In skirmish, scout enemy build order and adapt.
- Why: Vehicles like the Rhino, Razorback, or Predator can transport infantry while providing heavy firepower.
- When to use: In campaign, upgrade a Rhino for squad transport to move quickly. In skirmish, a single vehicle can break a stalemate.
- Why: You can have up to 4 squads active per mission, but you can swap out wounded squads for fresh ones between missions.
- How: In the armory, maintain a pool of at least 6 level-appropriate squads so you can rotate out injured ones.
- Why: Morale affects accuracy and damage. Squad leaders can use Rally to restore morale. Retreating early prevents squad wipe.
- How: Watch morale bars (yellow diamonds). When they turn red, retreat immediately. Use Rally on squads that are pinned but not yet broken.
- Why: Units can physically block enemy movement, especially in narrow corridors. Use melee squads to create a wall.
- How: Position Assault Marines in doorways to slow larger enemies like Carnifexes. This gives ranged squads free shots.
- Why: Bosses have energy shields and powerful attacks. Chain your abilities to burst them down quickly.
- How: Start the fight with a damage-over-time ability (e.g., Techmarine’s flamer), then use a stun (Force Commander’s Hammer of Wrath) followed by all heavy weapons.
- Why: Loot containers are randomly seeded. If you don’t get a good item, reload save to reroll.
- How: Quicksave before opening a container. If it’s duplicate junk, load save. This ensures you get the best wargear for each mission.
- Why: Sometimes you want a squad to stay hidden or conserve ammo (for heavy weapons). The Stop command (default: S) cancels all orders.
- How: When scouts are in cloak, press S to remain stationary. Then right-click an enemy to attack without breaking cloak until they fire.
- Why: Grenades have a travel time and can be dodged. Throwing a grenade just as an enemy starts a retreat animation ensures maximum damage.
- How: Practice timing. When an enemy squad’s morale breaks and they turn to flee, hit grenade hotkey – it will land among them.
- Why: Controlling only two nodes each is common in early game. If you can kill the construction worker or attack the incomplete listening post, you delay their economy.
- How: Send a fast squad (e.g., Scout Bikes) to harass the enemy’s second capture point. If they build a listening post, attack it before completion.
- Why: The Techmarine can repair vehicles rapidly. When players see a low-health vehicle, they may overcommit to finish it.
- How: Withdraw a damaged Predator to cover and start repairing. When the enemy follows, spring an ambush with hidden squads.
2. Exploit Suppression
3. Use Grenades and Abilities Liberally
4. Focus Fire and Micro-Manage Retreats
5. Melee Units Are Situational
6. Terrain Elevation Matters
---
Exploration
7. Scour Every Map for Resources (Campaign)
8. Prioritize Shield Relics and Wargear
9. Use Camouflage and Stealth
---
Resources
10. Manage Requisition and Energy (Skirmish)
11. Use Energy Abilities Wisely
12. Collect Wargear and Relics in Multiplayer (Last Stand)
---
Builds (Campaign)
13. Specialize Your Squads
14. Level Up Heroes Efficiently
15. Don’t Ignore Support Squads
16. Wargear Synergies
---
Economy (Skirmish)
17. Build Listening Posts on All Nodes
18. Control Neutral Points for Map Advantage
19. Don’t Over-Invest in Early Upgrades
---
Beginner Tips
20. Complete the Tutorial Missions
21. Pause and Issue Orders
22. Bind Hotkeys for Common Actions
23. Save Often (Campaign)
---
Intermediate Strategies
24. Combine Abilities for Combos
25. Counter Specific Enemy Types
26. Use Vehicles as Fire Support
27. Create a Secondary Squad Roster (Campaign)
---
Advanced Optimizations
28. Master Micromanagement of Morale
29. Exploit “Body Blocking” for Pathing
30. Timing Ability Cooldowns for Boss Fights
31. Save Scum for Loot (Campaign)
32. Use the “Stop” Command to Hold Fire
33. Frame-Perfect Grenade Throwing
34. In Skirmish, Deny Your Opponent’s Second Expansion
35. Use Repairing to Bait Enemies
---
Summary
These tips cover the core of Warhammer 40,000: Dawn of War II gameplay. Remember that the campaign rewards patience and exploration, while skirmish demands aggressive resource control and tactical micro. Practice using cover, abilities, and retreating to minimize losses. Good luck, Commander!