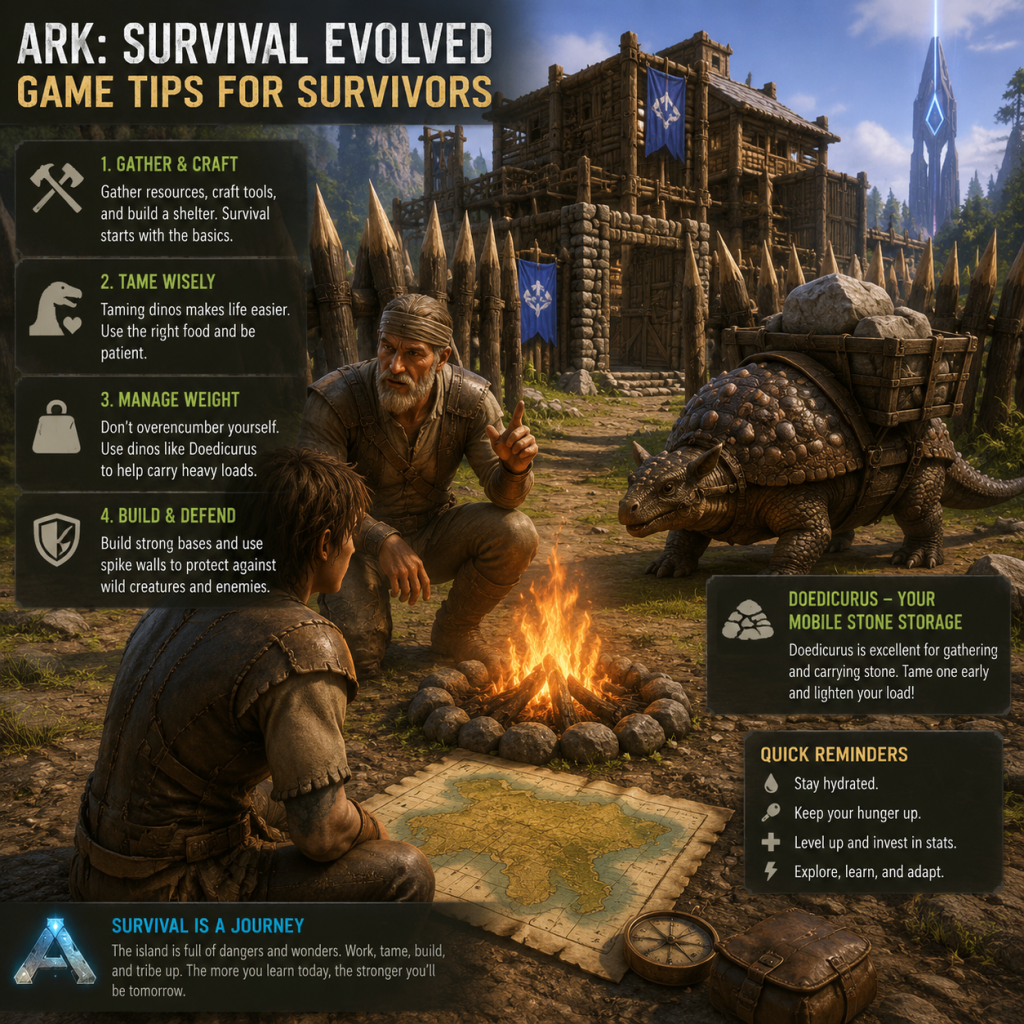
Game Tips
Overview
Welcome to the ultimate tips guide for ARK: Survival Evolved. Whether you're a fresh survivor or a seasoned veteran, these tips will help you survive, thrive, and dominate the island. The guide is organized by category, covering combat, exploration, resource gathering, base building, economy/trading, taming, and advanced optimizations. Each tip includes a clear explanation and deeper analysis of why it works and when to use it.
---
Combat Tips
Beginner: Use Melee and Ranged Wisely
- Tip: Start with a simple spear or bow. For early dinosaurs (Dilos, Dodos), kiting and headshots work best.
- Why: The spear has a thrown attack that deals high damage. The bow allows safe distance. Headshots on most creatures deal extra damage.
- When: First few days on the beach. Avoid taking on Raptors or larger creatures without a bola.
- Tip: Craft bolas early. They immobilize small to medium creatures (like Raptors, Pteranodons) for 30 seconds.
- Why: Bolas are cheap (fiber, hide, thatch) and give you time to land arrows or run. They are essential for taming and escape.
- When: Use against pack hunters, fleeing threats, or to pin down a tame. Always carry 5+.
- Tip: Larger creatures have blind spots (e.g., under a Bronto or behind a Trike). Use sprint and slide to dodge attacks.
- Why: Many creatures have slow turning speed. Circle strafing with a fast mount (e.g., Raptor) lets you avoid damage while dealing melee hits.
- When: Fighting Rexes, Spinos, or Golems. Use terrain (rocks, trees) to block charges.
- Tip: Tame a high-level utility mount for combat (e.g., Baryonyx for its stun attack, Thylacoleo for leaping, or Mantis for tools).
- Why: These mounts have unique abilities that turn fights in your favor. Baryonyx stun locks aquatic enemies; Thylacoleo can climb and pin.
- When: After establishing a small base and a flyer. Use these for caves, deep sea, or PvP.
- Tip: The southern beaches (e.g., the easy zones on The Island) are safest. Avoid swamps, snow, and redwoods early.
- Why: Fewer aggressive predators; abundant resources (berries, wood, stone, fiber).
- When: First 10–20 levels. Venture inland only when you have flak armor and a ranged weapon.
- Tip: Enable coordinates in settings (hold H on PC, or use a GPS mod). Learn to recognize key landmarks: red obelisk, green obelisk, volcano, mountain peaks.
- Why: The island is huge and easy to get lost. Coordinates help you return to base or meet friends.
- When: Always. For multiplayer, place sleeping bags or beds at strategic spots.
- Tip: Use the "jump" feature with an Otter or a flying mount to reach hidden crates (loot crates) on cliffs. For underwater caves, wear SCUBA and use a Baryonyx or Basilosaurus.
- Why: Deep sea loot crates and cave artifacts give high-tier blueprints and resources.
- When: After you can craft quality weapons and armor. Bring grappling hooks and cryopods for escape.
- Tip: Essential items: 2× water jars, cooked meat stack, sleeping bag, parachute, spyglass, grapnel, stimulants (for torpor), and a ranged weapon with ammo.
- Why: Parachute saves you from falling; grapnel lets you climb cliffs; stims keep you awake if attacked by troodons.
- When: Every trip outside your base.
- Tip: Use the stone pick for thatch and flint; the stone axe for wood and hide. Punch trees for berries (or use a trike for mass berry).
- Why: Tools give different yields. Picking right reduces wasted stamina.
- When: Early levels until you tame a resource dino.
- Tip: Tame an Ankylosaurus for metal/flint/crystal, a Doedicurus for stone, a Mammoth or Castoroides for wood, and a Therizinosaurus for fiber/berries/wood.
- Why: These dinos multiply your gather rate and carry weight. Anky can gather metal in one swing equal to 20 pickaxes.
- When: As soon as you can craft a saddle (usually level 30–60).
- Tip: Metal nodes are primarily on mountains and in caves (e.g., Volcano, Frozen Fang). The best metal spawns are at the top of the volcano. Use a Quetzal or a skiff to transport.
- Why: Mountains have rich nodes that respawn quickly. Setting up a small outpost on the volcano lets you grind metal without hauling far.
- When: Mid-game; after you have an argy (Argentavis) for long-distance carry.
- Tip: Use a fishing rod with leech blood or honey as bait. Fishing can give you prime fish meat, high-level blueprints, and rare resources (silica pearls, black pearls).
- Why: Fishing is a passive but powerful way to get rare items. Best done in deep water.
- When: After you have a raft or water mount. Fish in the ocean or rivers.
- Tip: Build a 2×2 thatch hut with a refining forge and bed. Upgrade to wood, then stone, then metal as you level.
- Why: Early resources are limited. Thatch huts are quick to place but weak. Stone is explosion resistant. Metal is near impenetrable.
- When: First base at level 1–20. Move to stone around level 30.
- Tip: Build near water and resources, but not directly on a beach (Tsunami). Common spots: Herbivore Island (safe), Hidden Lake (beautiful, defensible), or the rocky hills near the volcano.
- Why: Proximity to water for thirst and farming; resources reduce travel time. Defensible locations (cliffs, islands) reduce raiding risks.
- When: When you decide on a permanent base (around level 40+).
- Tip: Use multiple layers of walls, plant turrets (species X), and automatic turrets. Build a "pillar base" to prevent foundation spam.
- Why: Layers slow raiders. Species X slows enemies. Turrets kill players and tames. Pillars prevent others from building on your claim.
- When: For PvP or high-value servers. In PvE, focus on aesthetics and functionality.
- Tip: Always build foundations at least 2 tiles high off the ground with pillars. Use foundations to snap ceiling for upper floors.
- Why: Prevents creatures from clipping through, adds stability, and allows water pipes/cables below.
- When: All builds, especially multi-story.
- Tip: Upload items and creatures to the Ark Data or creature terminals at the obelisks (or supply drops). This allows cross-ARK transfer in official clusters.
- Why: Move resources between maps or store items safely for later.
- When: When you plan to move bases or transfer to another server.
- Tip: Craft kibble using specific eggs. Each kibble is used to tame certain creatures faster. Trade extra kibble with other players.
- Why: High-tier kibble (e.g., Rex kibble) is valuable. You can trade it for metal ingots, polymer, or blueprints.
- When: Mid-game after you have a dino farm (several females for eggs).
- Tip: Farm swamp cave or deep sea loot crates for high-level saddles, weapons, and armor blueprints. Trade duplicates for bullets, materials, or tames.
- Why: Rare blueprints (e.g., Ascendant Sword, Mastercraft Flak) are end-game currency. Many players will overpay for them.
- When: After you have a reliable farming route.
- Tip: Metal ingots are the universal currency. Gather metal, smelt it, and use it as trade. Bulk selling 10k ingots can net you a good tame or base materials.
- Why: Everyone needs metal. It doesn't spoil, and it's used for all advanced structures.
- When: Always, but especially during server events or new map releases.
- Tip: Use a slingshot or tranq arrows (narcotic arrows) for early tames. Make narcotics from spoiled meat and narco berries.
- Why: Tranq darts (for crossbow) are more efficient but require higher level. Slingshot is free but low damage.
- When: For Dodos, Dilos, Parasaurus, or Pteranodon.
- Tip: Bola a creature, then shoot it with tranq arrows from a crossbow. For larger creatures, use a trap (two gateways with doorways).
- Why: Bolas immobilize, preventing escape. Traps allow safe taming of Rexes, Spinos, etc.
- When: Taming Raptors, Sabertooths, etc. For Rexes, build a 3×3 stone pen with ramps.
- Tip: Some creatures (e.g., Oviraptor, Moschops) must be passive-tamed by dropping favorite food (e.g., rare flowers, honey). For fast taming, use a high-level tame with kibble and a tribe mate to guard.
- Why: Passive tames require patience; your presence must stay steady. Tribe mates can fend off threats while you feed.
- When: For utility tames that are otherwise difficult to knock out.
- Tip: Keep the creature unconscious and eat the preferred kibble or food. Avoid letting it wake up or take damage. Use narcotics regularly (every 30–60 seconds for large tames).
- Why: Higher effectiveness means more levels added and better stats after tame. A perfect tame (with best food & no damage) yields the most levels.
- When: Always, especially for combat mounts. Use a taming calculator (online) to time narcotics.
- Tip: Breed high-stat parents (HP, Stamina, Melee) to get mutations. Mutations give bonus levels and color changes. Focus on a male with all best stats and breed with many females.
- Why: Stacking mutations produces dinos with 50+ extra levels, perfect for boss fights. Each mutation adds either a stat increase or a color region.
- When: End-game, after you have a breeding pair with desired stats.
- Tip: Craft cryopods and a cryofridge. Cryopods store dinos in your inventory; cryofridge charges them. Use them to carry multiple tames easily.
- Why: Cryopods let you transport tames without mounting or flying slow. They are essential for cave runs, boss arenas, and PvP raids.
- When: After you unlock engrams (level 50+). Always keep a charged pod.
- Tip: Defeat bosses (Broodmother, Megapithecus, Dragon) to earn element. Use element to craft Tek structures, armor, and saddles. Tek allows flight, teleportation, and super weapons.
- Why: Tek rex saddle with shield, Tek chest with jetpack – these make you nearly invincible. Teleporters let you travel instantly between locations.
- When: After you have a good boss battle team (e.g., 19 Rexes + 1 Yuty).
- Tip: On PC, install Super Structures mod (S+) for better building: snapping, pull system, automated crafting, and stacking storage. On console, use structure placement preview and toggle snap points.
- Why: Reduces frustration and saves hours. S+ also includes a gardener that auto-fertilizes crops.
- When: Immediately after setting up your server or single-player game.
- Tip: Use a Tek Helmet with element to see creature stats and taming effectiveness percentage. Or use a mod like "Dino Tracker" (PC) to find lost tames.
- Why: Knowing the exact stat values helps with breeding decisions.
- When: Late mid-game onward.
- Never leave your base without a sleeping bag in your inventory. Place it at your destination to avoid long corpse runs.
- Always carry a spyglass. It reveals creature level and gender (for breeding).
- Use the "Hide HUD" key (default: Backspace) to take screenshots or spot enemies better.
- Build a greenhouse for crop plots. Greenhouse effect (+300%) yields massive amounts of narco berries and crops.
- In PvP, hidden storage crates are your friend. Dig a hole with a shovel (if modded) or place a vault inside a hidden room behind a bookshelf.
- Learn the command "EnableCheats" (single-player) or "Cheat God" for testing builds. On official, stick to the rules.
- Watch your temperature! Desert and snow biomes require insulation. Craft ghillie (cool) or fur (warm) armor.
Intermediate: Master the Bola
Advanced: Exploit Hitboxes and Movement
Advanced: Taming Combat Mounts
---
Exploration Tips
Beginner: Stick to the Beach and River Valleys
Intermediate: Use Landmarks and Coordinate Systems
Advanced: Map Exploitation and Cave Runs
Exploration General: Always Carry Survival Kit
---
Resource Gathering Tips
Beginner: Gather by Hand and with Basic Tools
Intermediate: Use Dinos for Bulk Harvest
Advanced: Resource Node Locations and Trips
Ultimate Resource Tip: The Fishing Basket
---
Base Building Tips
Beginner: Start Small and Expand Gradually
Intermediate: Choose Location Wisely
Advanced: Design and Defense
Building General: The 2+1 Rule
---
Economy & Trading Tips
Beginner: Use the Obelisk for Transfers
Intermediate: The "Kibble" Economy
Advanced: Structure and Blueprint Trading
Economy General: The Value of Metal
---
Taming Tips
Beginner: Knockout Taming Basics
Intermediate: The Bola & Crossbow Method
Advanced: The "Passive Tame" & "Tribe Taming"
Taming General: The Taming Effectiveness
---
Advanced Optimizations
1. Breeding: The Superstats
2. Cryopods: Portable Dinos
3. Tek Tier: End-Game Power
4. S+ Mods (PC) or QoL+ Settings
5. Dino GPS and Telemetry
---
Final Pro Tips
This guide covers the most impactful tips for every stage of ARK. Remember: the island is unforgiving, but with these strategies you’ll conquer it. Good luck, survivor!