Getting Started
Getting Started
Welcome to Assassin's Creed Odyssey! This guide will help you survive your first few hours, avoid common pitfalls, and set you on a path to become a true Spartan warrior. We'll cover everything from character creation to your first day checklist.
Character Creation
At the very start you choose between Alexios and Kassandra. This choice determines the protagonist; the other sibling becomes a major antagonist. Both have the same gameplay and dialogue options, so pick whichever you prefer.
- Alexios: Male, slightly bulkier.
- Kassandra: Female, slightly more acrobatic animations.
After choosing, you make no further customization; the character's appearance is fixed.
First Hour Walkthrough
1. Prologue (The Battle of Thermopylae) – You control King Leonidas in a tutorial fight. Learn basic combat: light attack (square/X/A button), heavy attack (triangle/Y/B button), dodge (circle/B), and block/parry (L1/LB). After the battle, you get the Spear of Leonidas – your main artifact.
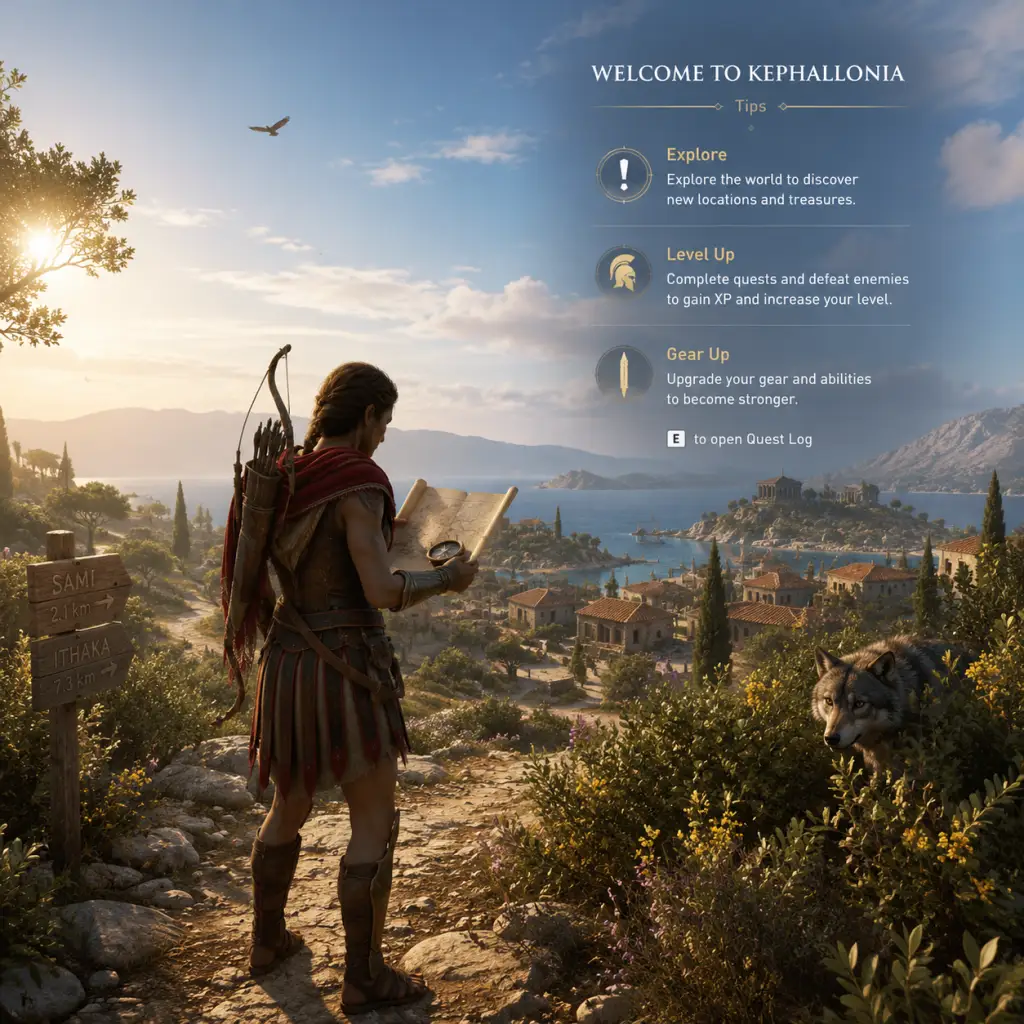
2. Kephallonia Island – You are now a young misthios (mercenary) named Alexios/Kassandra. Follow the main quest marker (yellow diamond) to meet Markos. Complete his quests: "Debt Collector" and "An Eye for an Eye". These teach you looting, assassination, and combat.
3. First Assassination – The cultist Kouris is marked. Use stealth: crouch (L3/left stick click), approach from behind, and press triangle/Y (or equivalent) to assassinate. This introduces the Adrestia (your ship) and the cult system.
4. Escape Kephallonia – After revealing your true identity, you must flee. Complete "The Big Break" quest to set sail with Barnabas. You’ll now control the Adrestia. Learn naval combat basics – ramming, javelins, and boarding.
5. Arrival in Megaris – Your first mainland region. The main quest "The Taxman Cometh" starts here. Meet Barnabas’s friend and get your first real foothold.
By the end of the first hour, you should be on the Adrestia heading to Megaris. If you explore too much on Kephallonia, you may take longer – that’s fine.
Controls (All Platforms)
#### PC (Keyboard + Mouse)
| Action | Key |
|---|---|
| Move | WASD |
| Light Attack / Confirm | Left Mouse Button |
| Heavy Attack | Right Mouse Button |
| Parry / Block | Q |
| Dodge | Space |
| Sprint | Shift |
| Crouch | Ctrl |
| Interact / Assassinate | E |
| Call Horse | X |
| Use Ability | 1,2,3,4 (or assign in menu) |
| Map | M |
| Inventory | I |
| Weapon Wheel (hold) | Tab |
| Action | Button |
|---|---|
| Move | Left Stick |
| Light Attack / Confirm | Square |
| Heavy Attack | Triangle |
| Parry / Block | L1 |
| Dodge | Circle |
| Sprint | R2 (hold) |
| Crouch | L3 (click) |
| Interact / Assassinate | Triangle (near enemy) or Square (loot) |
| Call Horse | Right on D-Pad |
| Use Ability | R1 + Face Button |
| Map | Touch Pad |
| Inventory | Options |
| Weapon Wheel (hold) | L2 |
| Action | Button |
|---|---|
| Move | Left Stick |
| Light Attack / Confirm | X |
| Heavy Attack | Y |
| Parry / Block | LB |
| Dodge | B |
| Sprint | RT (hold) |
| Crouch | L3 (click) |
| Interact / Assassinate | Y (near enemy) or X (loot) |
| Call Horse | Right on D-Pad |
| Use Ability | RB + Face Button |
| Map | View Button (two squares) |
| Inventory | Menu Button (three lines) |
| Weapon Wheel (hold) | LT |
UI Overview
- Health Bar: Top-left (green line). Red damage numbers appear.
- Adrenaline Segments: Below health – up to 3 segments (gain by attacking). Used for powerful abilities.
- Quest Tracker: Right side – shows current objectives. Yellow diamond = main, white = side, blue = world event.
- Minimap: Top-right corner. Shows nearby points of interest, enemies (red dots), and quest markers.
- Compass: Above minimap – cardinal directions and far quest markers.
- Resource Counter: Bottom – Drachmae (money), wood, leather, iron, etc.
- Level & XP Bar: Center bottom – shows current level and progress to next.
- Ability Wheel: Hold L2/LT/Tab to choose equipped abilities.
- Follow the main story until you reach Megaris (region just past Kephallonia).
- Complete at least one side quest per region to level up.
- Sync every Viewpoint you see.
- Loot everything – wood, leather, iron are abundant but needed for upgrades.
- Kill the first mercenary that finds you (they drop gear).
- Selling valuable materials – You’ll need wood for ship upgrades and leather/iron for gear upgrades. Break down unwanted gear instead of selling it.
- Fighting mercenaries above your level – They will destroy you. If pursued, run away or pay the bounty.
- Ignoring the ship – Upgrade the Adrestia early (hull, ram, storage). It helps with fast travel and naval battles.
- Over-leveling gear – Only upgrade gear that you’ll use for 5+ levels. Use resources to upgrade the spear instead.
- Wasting Drachmae on cosmetics or expensive horses – Save money for ship upgrades and legendary gear from blacksmiths.
- Drachaem (Gold): Spend on ship upgrades (first priority), then on upgrading the spear, then on good weapons from blacksmiths.
- Wood: Crucial for ship upgrades (hull, ram). Prioritize looting warships and breaking down wooden furniture in houses.
- Leather: Needed for armor upgrades. Skim animals (boars, deer, wolves) and loot human enemies.
- Iron: Used for weapon upgrades. Mine iron deposits (blue rock veins) and loot chests in forts.
- Ancient Tablets: Rare – found in forts and military camps. Use them to upgrade the Spear of Leonidas at any forge.
- [ ] Complete the prologue and choose your sibling (Alexios or Kassandra).
- [ ] Finish all quests on Kephallonia (including side quests from locals).
- [ ] Synchronize the Viewpoint in Kephallonia (top of Zeus statue).
- [ ] Defeat the first mercenary (Bounties trigger after killing civilians – avoid civilian kills).
- [ ] Get the Adrestia and sail to Megaris.
- [ ] In Megaris, meet Barnabas’s contact and start the main quest.
- [ ] Sync at least two Viewpoints on Megaris.
- [ ] Loot 5 chests and 10 resources (wood/leather/iron).
- [ ] Upgrade your spear of Leonidas once (find a forge in Megaris – near the big military camp).
- [ ] Equip a full set of armor (doesn't matter rarity – just fill slots).
- [ ] Save the game manually (Pause → Save) before taking on any fort or ship battle.
- [ ] Explore your first region (Megaris) for side quests – accept a few from locals.
- [ ] If you find a blacksmith, sell any broken weapons you don't need (keep good ones).
- [ ] End your first session after reaching level 3-4 and having completed at least two main quests.
Essential Early Objectives
1. Complete the Kephallonia quests – Do not skip. They teach core mechanics.
2. Get the Adrestia – Your ship unlocks fast travel between regions and naval gameplay.
3. Sync Viewpoints – Climb high spots (white icon) and synchronize to reveal the map and unlock fast travel points.
4. Start the Cultist Hunt – After meeting Barnabas, you get the first cultist clue. Investigate when you can.
5. Visit a Blacksmith – Buy/kill for better gear. Focus on weapons with engravings that suit your playstyle.
6. Upgrade the Spear of Leonidas – This unlocks more ability slots. Find Ancient Tablets (in forts) to upgrade.
What to Do First and What to Avoid
#### Do First:
#### Avoid:
Early Resource Priorities
Common Beginner Mistakes
1. Trying to fight too many enemies at once – Use assassination and stealth to thin the herd. Tag enemies with Ikaros (eagle) before engaging.
2. Ignoring Ikaros – Scout every location first. Press right stick (click) or equivalent to send Ikaros to mark enemies, treasures, and objectives.
3. Not fast traveling – Once you synchronize a Viewpoint, you can fast travel to it from the map. Press M/Map and hold Square/X to confirm.
4. Neglecting ship lieutenants – Recruit mercenaries and named NPCs (knock out rather than kill) to assign them as lieutenants – they boost ship stats.
5. Skipping side quests – They provide XP, gear, and story context. The game expects you to do some to stay on-level.
6. Using only one type of weapon – Experiment with swords, spears, heavy blades, and daggers. Each has different combos and reach.
7. Forgetting to use abilities – Early abilities like Spartan Kick (R1 + Circle/L1+B) can knock enemies off cliffs, saving you a fight.
Day-One Checklist
By following this guide, you’ll avoid frustration and build a strong foundation for the 100+ hour journey ahead. Good luck, misthios!