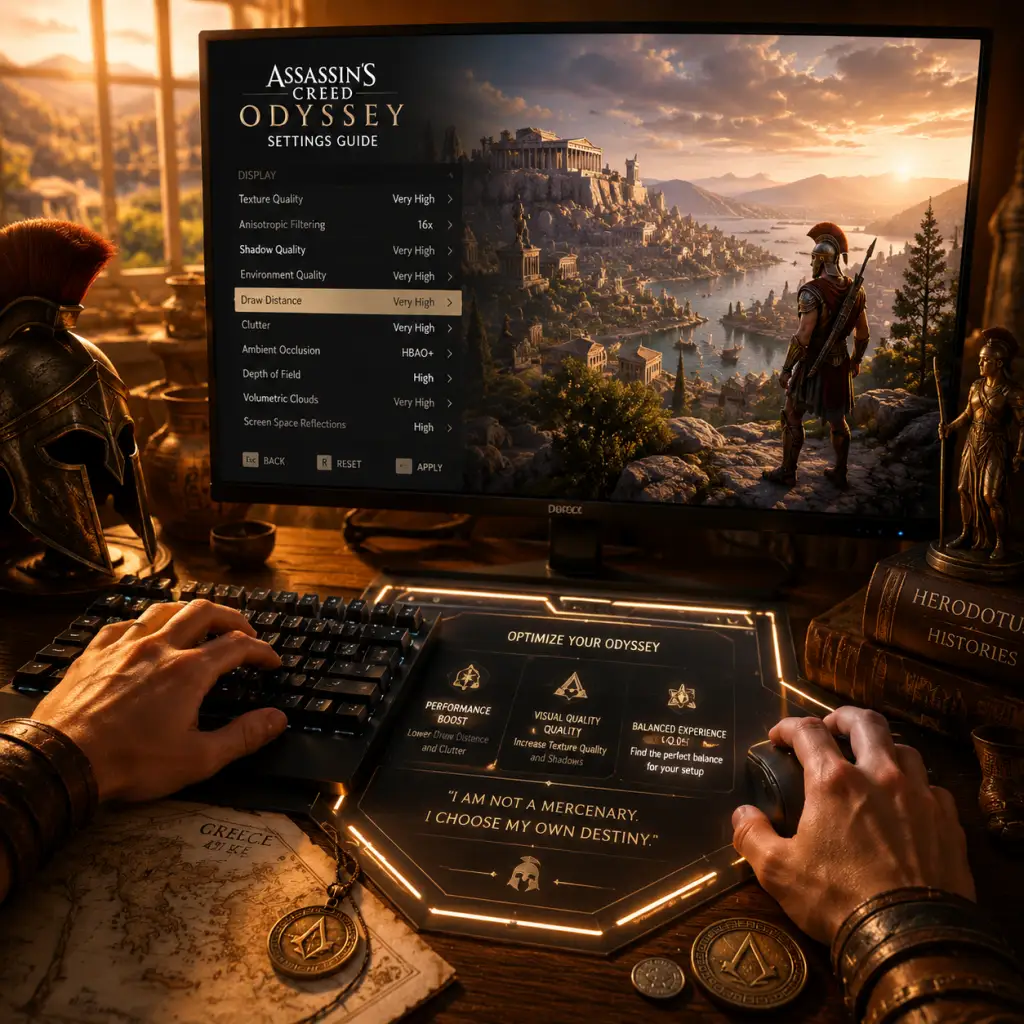
Game Settings
Assassin's Creed Odyssey: Complete Game Settings Guide
Properly configuring your settings in Assassin's Creed Odyssey can drastically improve performance, visual quality, and overall enjoyment. This guide covers every settings category: Graphics, Audio, Controls, Accessibility, Language, Network, and Gameplay. Whether you're on a low-end PC or a high-end rig, we'll help you find the best balance.
---
Graphics Settings
The graphics menu includes presets (Low, Medium, High, Ultra, Custom) as well as individual toggles. These settings have the largest impact on performance and image quality.
Resolution & Display
- Resolution: Set to your monitor's native resolution (e.g., 1920x1080). Lowering this improves performance but reduces sharpness.
- Display Mode: Fullscreen (best performance), Windowed, or Borderless. Fullscreen recommended for exclusive access to GPU.
- Resolution Scale: Range 50-200%. Above 100% (supersampling) looks sharper but hits performance hard. Use only on extreme hardware. On low-end, drop to 90% for a small FPS boost with minimal quality loss.
- V-Sync: Off (reduces input lag but may cause screen tearing), On (capped to monitor refresh rate, may add input lag), or Adaptive (syncs only when FPS exceeds refresh rate). Easy to misconfigure: Adaptive is often best; if you have a G-Sync/FreeSync monitor, set V-Sync to Off in-game and enable it in driver settings.
- Frame Rate Limit: Cap FPS to your monitor's refresh rate (e.g., 60, 144) to avoid tearing and reduce GPU load. Set to Off only if you want uncapped FPS.
- Field of View (FOV): Slider from 85 to 115 (vertical degrees). Higher FOV shows more periphery but can reduce performance and cause fisheye distortion. Recommended: 100-105 for a good balance. Tricky: Some players miss this slider; a higher FOV is vital for seasick-prone players.
- Low: For very old hardware (e.g., GTX 960, 2GB VRAM). Expect blurry textures, shadows, and 30-45 FPS.
- Medium: Mid-range (GTX 1060, 4GB VRAM). 45-60 FPS at 1080p.
- High: Recommended for RTX 2060/3060 and up. 60+ FPS at 1080p.
- Ultra: Requires RTX 3080/4080 for 60+ FPS at 1440p. Upscales well to 4K with some compromises.
- Custom: Tweak individual settings (see table below).
Quality Presets
If you don't want to tweak individually, use a preset as a starting point:
Individual Graphics Settings (Performance Impact & Recommendations)
| Setting | Low Impact | Medium Impact | High Impact | Recommendations |
|---|---|---|---|---|
| Anti-aliasing | Off | FXAA (medium) | TAA (high) | TAA is best for quality; FXAA is lighter. Do not use OFF unless desperate — edges will be jagged. |
| Ambient Occlusion | Off | SSAO (Medium) | HBAO+ (High) | HBAO+ adds depth but hits FPS by 5-10%. Use SSAO on mid-range. |
| Shadows | Low | Medium | High/Ultra | Shadows have moderate impact. Low=blob shadows; Ultra=sharp, high-resolution shadows. Medium is a good trade-off. |
| Textures | Low | Medium | High/Ultra | VRAM heavy. High requires 4GB VRAM; Ultra needs 6-8GB. If VRAM limited, set to Medium to avoid stutter. |
| Draw Distance | Low | Medium | High/Ultra | Affects pop-in of foliage and structures. High impact on CPU. Medium is usually fine. |
| Terrain | Low | Medium | High/Ultra | Similar to draw distance. Low reduces detail at distance. Medium recommended. |
| Volumetric Clouds | Off | Low | High/Ultra | Very heavy on GPU. Turn to Low or Off on low-end; High adds dramatic sky but costs 10-15 FPS. |
| Screen Space Reflections | Off | Low | High/Ultra | Computationally expensive. Medium looks decent; Ultra not worth the cost. |
| Bloom, Depth of Field, Motion Blur, Chromatic Aberration | Off or On | Off or On | Off or On | These are post-processing effects. Disable them for clarity and performance (saves 3-5 FPS total). Motion Blur especially can cause nausea — turn it Off. |
| Adaptive Quality | Off | On | On | Dynamic resolution scaling. When enabled, game lowers resolution to maintain target FPS. Useful for consoles but on PC it can cause sudden blurriness. Recommend Off for consistent image quality. |
Optimal Settings by Hardware Tier
Low-End (e.g., GTX 960 2GB, i5-4460, 8GB RAM)
- Resolution: 1600x900 or 1280x720
- Preset: Low (then tweak)
- Textures: Medium (to avoid blur) but keep VRAM in check
- Shadows: Low
- Volumetric Clouds: Off
- Anti-aliasing: FXAA
- V-Sync: Off (use driver cap at 30 or 45 FPS)
- Expect 30-45 FPS average.
- Resolution: 1920x1080
- Preset: High then adjust down
- Textures: High (4-6GB VRAM)
- Shadows: Medium
- Volumetric Clouds: Low
- Anti-aliasing: TAA
- V-Sync: Adaptive (or Off with FPS cap at 60)
- Expect 50-60 FPS average.
- Resolution: 2560x1440
- Preset: Ultra, then tune
- Textures: Ultra
- Shadows: High
- Volumetric Clouds: High
- Anti-aliasing: TAA
- Resolution Scale: 100%
- V-Sync: Off (use G-Sync/FreeSync)
- Expect 60-70 FPS average.
- Resolution: 4K (3840x2160)
- Preset: Ultra (all maxed)
- Textures: Ultra
- Shadows: Ultra
- Volumetric Clouds: Ultra
- Anti-aliasing: TAA
- Resolution Scale: 100% (or 80% if struggling)
- V-Sync: Off (use adaptive sync)
- Expect 60 FPS (adjust settings for stable 60).
- Master Volume: Overall volume, default 100%. Adjust to taste.
- Sound Effects: Volume of combat, footsteps, abilities. Keep high for environmental awareness.
- Dialogue Volume: NPC and player voice lines. Turn up if subtitles are off or for immersion.
- Music Volume: Epic soundtrack. Lower if it overwhelms dialogue.
- Cinematic Volume: Volume during cutscenes. Keep equal to dialogue.
- Sound Quality: Low/Medium/High. High uses more memory but provides better positional audio. Set to High if your system can handle it; low sounds compressed.
- Dynamic Range: Headphones (small), TV (large), or Dynamic. Headphones recommended for stereo immersion; TV for surround sound systems.
- Subtitles: On/Off. Also toggle for spoken language subtitles separately.
- Hard of Hearing Subtitles: Adds speaker names and sound descriptions (e.g., [sword clang]). Accessibility essential — turn On.
- Controller Layout: Default (Ubisoft) or Classic (similar to older AC games). Default recommended for new players.
- Invert Vertical Look: Off (pushing up looks up) — change if you prefer flight-sim style.
- Invert Horizontal Look: Rarely used, keep Off.
- Stick Sensitivity: Horizontal/Vertical (0-100). Default 50 is balanced. Increase if turning feels sluggish; decrease if too twitchy.
- Aim Sensitivity: Separate from look sensitivity. Default 50. Lower for more precise bow aiming.
- Aim Assist: On/Off. Highly recommended On for controller users — helps lock onto enemies for bow shots and melee.
- Deadzone: Left/Right stick. Default moderate. If sticks drift, increase deadzone; if unresponsive, lower. Worth tweaking if you have an older controller.
- Vibration: On/Off. Turn Off to save battery or if you dislike feedback.
- Button Mapping: Full remapping allowed. Common changes: swap jump and crouch, or assign phobos call to a pad button.
- Mouse Sensitivity: Overall look sensitivity (0-100). Default 50. Adjust to your DPI.
- Mouse Smoothing: Off (recommended) or On. On adds latency and artificially smooths movement. Turn Off for raw input.
- Invert Mouse: Off.
- Aim Sensitivity (Mouse): Separate slider for bow aiming. Default 50. Lower for precision.
- Key Bindings: Nearly every action can be rebound. Important: Sprint is default Shift, but you might want to rebind to a mouse button. Parry (default Q) is critical — ensure easy access.
- Quick Weapon Swap: Default middle mouse. Can be clunky; assign to a side mouse button.
- Camera Shake: On/Off. Strongly recommended Off if you suffer from motion sickness or epilepsy.
- Motion Blur: On/Off. Off preserves clarity and reduces nausea. Tricky: This setting is often overlooked — find it under Graphics > Post Effects.
- Screen Effects: Blood, dust, lens flare. Can be disabled for a cleaner view.
- Colorblind Modes: Protanopia, Deuteranopia, Tritanopia, or Off. Changes UI colors for markers, health bars, etc. If you have mild color vision deficiency, use the appropriate mode.
- Subtitle Background: Opaque, Semi-transparent, or Off. Opaque improves readability.
- Subtitle Size: Normal or Large. Large helps readability on small screens or for visually impaired.
- High Contrast UI: On/Off. Makes icons and text more visible. Good for low-vision players.
- Objective Marker Navigation: Can be set to Show Always, Show on Compass, or Off. If you prefer exploration without arrows, turn off.
- Guided Mode vs Exploration Mode: This is a Gameplay setting (see below) but impacts accessibility — Exploration Mode requires you to find quest locations via dialogue and map clues, which can be challenging for some. Easy to misconfigure: If you get lost easily, keep Guided Mode on.
- Text Language: The language of menus, subtitles, and UI. Choose from available region options (e.g., English, French, German, Spanish, Italian, Portuguese, Russian, Arabic, Japanese, etc.)
- Voice Language: Spoken dialogue language. Separate from text. You can have English text with German voices, for example.
- Subtitles: On/Off. Independent of language.
- Subtitle Language: Override text language for subtitles only? Usually inherits from Text Language.
- Enable Online Features: On/Off. Disabling improves load times and prevents interruptions but also removes other players' ship encounters, leaderboards, and photo mode sharing. If you have slow internet, turn Off.
- Automatic Uploads: On/Off. Uploads screenshots from Photo Mode to Ubisoft servers. Off if privacy is concern.
- Leaderboards: Choose which leaderboards to display (e.g., Weekly Quests). Can be filtered to Friends or Worldwide.
- Data Sharing: Opt in/out. Ubisoft collects anonymous telemetry for game improvement. Optional.
- Cross Platform Saves: Available only if you have an Ubisoft Account and linked platforms (PC, Stadia? Not active anymore). Use the Ubisoft Connect overlay to enable cloud saves.
- Easy: Enemies deal less damage, AI less aggressive. Recommended for story-focused players or newcomers.
- Normal: Balanced. Default experience.
- Hard: Enemies tougher, more aggressive, parry timings tighter. For experienced gamers.
- Nightmare: (Unlocked after completing the game once?) Very punishing. Only for masochists or high-level experts.
- Guided Mode (original): Quest markers automatically appear on map and compass. Objectives are clear and direct.
- Exploration Mode: You must find quest locations by listening to dialogue and reading clues. Markers only appear when you are near the target. Easy to misconfigure: Many players unknowingly enable this and become frustrated. If you want classic hand-holding, stick to Guided.
- Default: Enemies scale to your level (slightly weaker).
- Heavy: Enemies always your level or higher.
- Light: Enemies stay lower level (easier).
- None: Enemies are fixed level (makes some areas trivial or impossible).
- Aim Assist: On/Off (affects aiming with bow — mostly for controller).
- Lock On: On/Off. If On, pressing target lock focuses camera on one enemy. Off allows free aim. Recommended On for melee focus.
- Auto-Loot: Off, Common, All. Auto-Loot picks up items automatically after combat. Very useful — set to All to avoid spamming loot button.
- Auto-Advance Dialogue: On/Off. If On, cutscene dialogue automatically proceeds without button prompt. Off requires button press to advance each line. Personal preference.
- HUD Presets: Default, Light, Minimalist, Custom. Default shows everything; Light hides some elements; Minimalist removes most HUD for immersion. Custom lets you toggle each element individually (compass, health bar, stamina, quest log, etc.)
- Damage Numbers: On/Off. If you want to see precise damage, keep On. Disable for cleaner combat screen.
- Photo Mode Hints: On/Off. If Off, hides tutorial prompts when entering Photo Mode.
- Allow Alternative Controls: For mixing control schemes (e.g., hold vs toggle for sprint). Check the Controls menu for specific toggles.
- Quick Time Events (QTE): In cutscenes (e.g., boss kills). Cannot be disabled, but you can set QTE animations to simplified prompts.
- Photo Mode: Accessible during gameplay (not in cutscenes). Settings include focal length, aperture, filters, etc. Pausing the game with Photo Mode might break immersion but is useful for screenshots.
Mid-Range (e.g., GTX 1060 6GB, Ryzen 5 2600, 16GB RAM)
High-End (e.g., RTX 2070 Super, i7-9700K, 16GB RAM)
Ultra (e.g., RTX 3080/4080, i9-12900K, 32GB RAM)
Special Note: Assassin's Creed Odyssey is CPU-intensive, especially in cities like Athens. Even on high-end, you may see dips. Lower Draw Distance and Terrain if CPU bound.
---
Audio Settings
Easy to misconfigure: Many players forget to set Dynamic Range according to their audio setup, leading to muddy sound. Also, if using a headset, choose Headphones for best surround simulation.
---
Controls Settings
This menu lets you rebind keyboard, mouse, and controller buttons. There are also sensitivity and aiming options.
Controller (Xbox / PlayStation / Others)
Keyboard & Mouse
Special attention: The controls menu has a separate tab for Vehicle (Phobos) controls. You can invert the camera or adjust sensitivity for horse riding.
---
Accessibility Settings
Assassin's Creed Odyssey offers several accessibility features, though not as extensive as newer titles. These are found under Interface or Gameplay tabs.
---
Language Settings
Region lock note: Some versions (especially on consoles) tie language to system language. On PC, you can change within the game launcher (Uplay/Steam) as well. If you buy a different region key, you may be locked out of certain language packs. Check before purchasing.
---
Network Settings
Special attention: If you play offline (e.g., no internet), disable Online Features to prevent constant login attempts.
---
Gameplay Settings
These settings affect how the game plays, from difficulty to exploration style.
Difficulty
You can change difficulty at any time from the pause menu. No achievement lock.
Exploration Mode
Enemy Auto-Level Scaling
Tricky setting: If you like to overlevel and steamroll, set Light or None. But if you want balanced challenge, keep Default or Heavy. Changing this mid-game can break the intended pacing.
Combat Assistance
User Interface
Special attention: The Custom HUD settings are hidden behind a separate sub-menu. You can turn off the compass entirely, or keep only health bars. This is a great way to customize your experience without using a preset that removes too much.
Other Gameplay Toggles
---
Final Tips for Configuration
1. Start with a preset that matches your hardware, then tweak down one by one until you reach your target FPS. Don't max everything immediately.
2. Always restart the game after changing graphics settings for them to take full effect (especially resolution and anti-aliasing).
3. Save your custom preset once you're happy — the game stores it in the settings file (documents\Assassin's Creed Odyssey\). Back this up if you reinstall.
4. Check for driver updates — Odyssey benefits from recent NVIDIA/AMD drivers that include day-one patches.
5. If using an overclocked GPU, stability can cause crashes. Lower graphics settings slightly to reduce load if you experience crashes.
6. Test Exploration Mode after you're comfortable with the world — it adds a rewarding sense of discovery.
Now that you have your settings dialed in, you're ready to conquer ancient Greece with the best possible experience!