Game Tips
Combat Tips
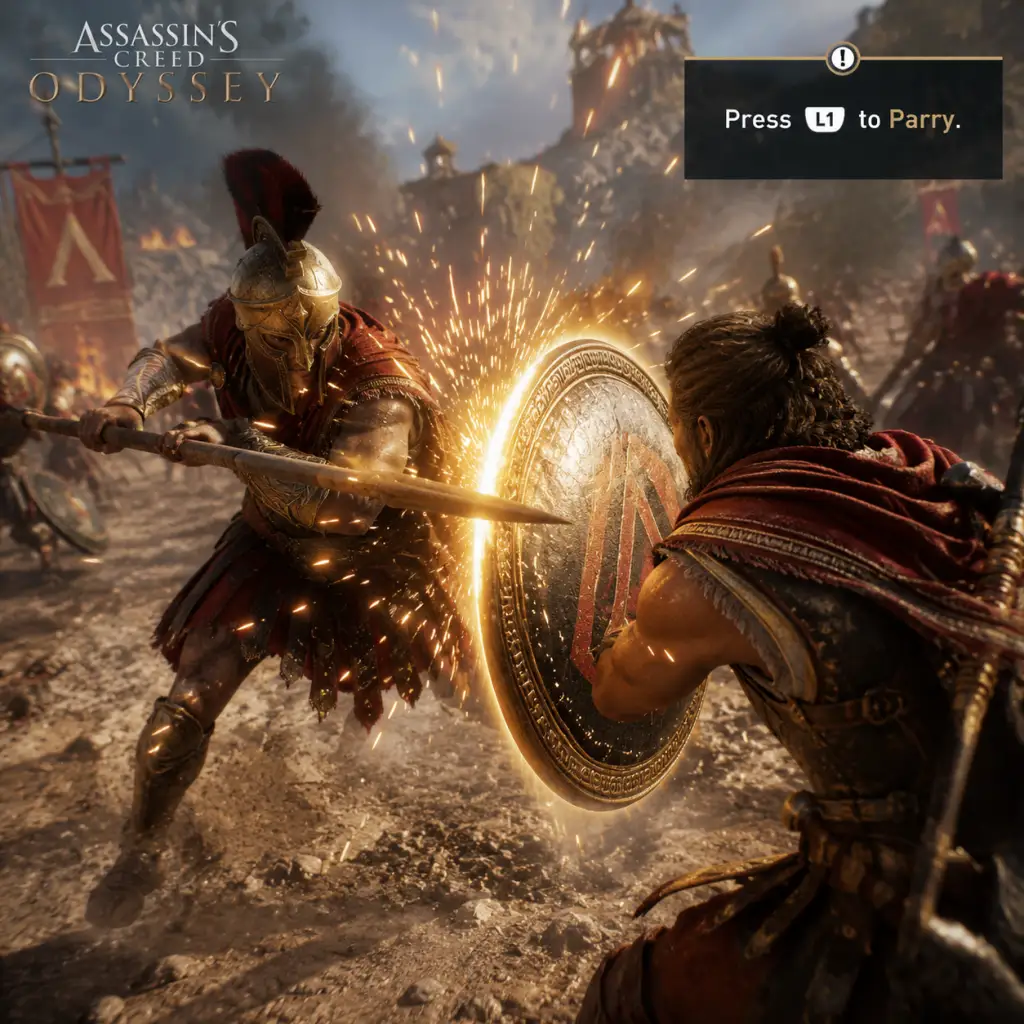
Learn to Parry (L1/LB)
- Explanation: Tap L1/LB just before an enemy's attack lands to parry, stunning them and leaving them open for a powerful counterattack.
- Why it works: Parrying breaks enemy combos, prevents damage, and creates a window for Hero Strike or a heavy attack. It's essential against tough enemies like mercenaries and polemarchs.
- When to use: Against any enemy with telegraphed attacks; avoid against large groups where dodging is safer.
- Explanation: Dodge (circle/B) has invincibility frames (i-frames) that let you evade all damage even if the attack animation touches you.
- Why it works: Perfect dodges slow down time, allowing free hits. crucial for avoiding unblockable attacks (red glow).
- When to use: Always vs. red-glint attacks; use to reposition in crowded fights.
- Explanation: Hold the ability button to unleash an Overpower attack, dealing massive damage at the cost of one adrenaline segment.
- Why it works: Overpower attacks can stagger enemies and deal significant burst damage, especially with single-target abilities like Overpower Bow Shot or Overpower Shield Bash.
- When to use: When you need to quickly eliminate a priority target or break an enemy's guard.
- Explanation: Kick enemies (press square/X while sprinting or with ability) to send them flying backward.
- Why it works: Instantly kills any enemy thrown off a cliff, mountain, or ship. Also interrupts attacks and creates space.
- When to use: Near any edge or while fighting on fortress walls; also useful to knock enemies into fire pits.
- Explanation: Apply fire or poison to your weapon (via abilities or perks) to add a damage-over-time (DoT) effect.
- Why it works: DoT ignores armor and continues draining health even when you're not attacking. Fire spreads between enemies; poison reduces their damage output.
- When to use: For crowd control or against heavily armored foes. Fire is great for area denial; poison for sustained single-target pressure.
- Explanation: Use Ring of Chaos (warrior tree) to knock back surrounding enemies, or Hero Strike (assassin tree) to deal huge damage to a single target while making you briefly invulnerable.
- Why it works: These abilities give you breathing room in tight spots. Ring of Chaos clears space; Hero Strike is a godsend against mercenaries who won't flinch.
- When to use: Ring of Chaos when surrounded; Hero Strike vs. elites or when you need a quick burst during cooldowns.
- Explanation: Climb high points and synchronize to reveal a large portion of the map and unlock fast travel points.
- Why it works: Fast travel saves enormous time; viewing the map from above reveals nearby points of interest.
- When to use: Whenever you reach a new region; prioritize viewpoints over questing.
- Explanation: Send Ikaros (eagle) to fly over areas. Tag enemies, treasures, quest items, and elite enemies.
- Why it works: Knowing enemy positions lets you plan stealth approaches or avoid unnecessary fights. Tagging also helps you track targets.
- When to use: Before entering any fort, camp, or city. Also use in open fields to spot animal packs.
- Explanation: Main roads often lead to towns, quest givers, and interesting locations. Off-road paths sometimes lead to hidden caves or ruins.
- Why it works: The game's world is historically accurate; following roads ensures you don't miss key locations.
- When to use: When travelling between regions without a specific quest marker.
- Explanation: Swim at shipwrecks or underwater caves to find chests with gear and resources. Watch for sharks (they attack on sight).
- Why it works: Underwater loot is often high-quality or contains unique engravings. sharks can be killed with a few spear throws.
- When to use: When you see a submerged location on the map; bring a ranged weapon for sharks.
- Explanation: Sprinting up mountains drains stamina quickly. Use ledges, small bushes, or t instead climb diagonally to conserve stamina.
- Why it works: If stamina depletes you fall, taking damage. Slower climbing prevents falls.
- When to use: For any vertical climb longer than 20 meters.
- Explanation: Pick up all weapons and armor from enemies, chests, and bodies. Even common items can be sold for drachmae.
- Why it works: Early game money is tight; selling junk funds gear upgrades and ship improvements.
- When to use: For the first 20 levels, loot everything. Later you can be more selective.
- Explanation: Upgrade weapons and armor only at every 10 levels (e.g., level 20, 30, 40) because upgrade costs scale with level difference.
- Why it works: Upgrading every 2-3 levels is wasteful; waiting 10 levels gives you a big power spike while keeping costs predictable.
- When to use: When you have a piece of gear with perfect engravings for your build. Sell or dismantle the rest.
- Explanation: Use your ship to ram and destroy enemy ships for wood, or sail near coastlines to collect floating crates.
- Why it works: Ship upgrades require large amounts of wood and iron. Naval combat is the fastest way to gather these.
- When to use: Whenever you need to improve the Adrestia (ship) for story progression.
- Explanation: Visit blacksmiths to engrave legendary perks onto your gear. You can also remove engravings for a fee.
- Why it works: Engravings stack with gear stats, allowing powerful synergies (e.g., +50% crit damage).
- When to use: Once you've settled on a build (around level 30+), invest in engravings that complement your playstyle.
- Explanation: The game has three skill trees: Warrior, Assassin, Hunter. Focus on one to maximize damage output.
- Why it works: Spreading points thin dilutes effectiveness. A specialized build deals significantly more damage than a hybrid.
- When to use: Decide before level 20. Warrior for brawling, Assassin for stealth, Hunter for ranged. Respec later if desired.
- Explanation: Unlock Second Wind (heal and remove fire/poison), Spartan Kick, and Hero Strike as soon as possible.
- Why it works: Second Wind is a lifesaver; Kick is versatile; Hero Strike is the best assassin damage.
- When to use: These abilities should be in your active loadout from level 1-30.
- Explanation: Visit a mercenary ship or any town to reset all ability points for a few thousand drachmae.
- Why it works: Mistakes in early builds aren't permanent. Experiment freely.
- When to use: Whenever you feel your build isn't working or you want to try a new playstyle.
- Explanation: Some gear sets (e.g., Pilgrim Set for invisibility, Demigod Set for warrior) grant powerful set bonuses.
- Why it works: Set bonuses often define a build: Pilgrim Set makes you permanently invisible while crouched; Demigod Set boosts all damage.
- When to use: Aim to complete one full set before mixing pieces. Use set bonuses in conjunction with engravings.
- Explanation: Killing mercenaries raises your mercenary tier, unlocking discounts at blacksmiths, better bounties, and gear rewards.
- Why it works: Higher tiers give 5% discount per tier (up to 20%), reducing upgrade costs dramatically.
- When to use: Actively hunt mercenaries (especially those near your level) to climb tiers. Use bounties to lure them out.
- Explanation: Participate in conquest battles (available after weakening a nation by killing leaders, burning supplies, etc.) for huge XP and epic gear.
- Why it works: Conquest battles are repeatable and give high-tier loot even at low levels.
- When to use: Before leveling up to bridge a gap; also to farm legendary weapons.
- Explanation: Message board bounties (animal kills, ship sinking, etc.) are easy and reward XP and drachmae.
- Why it works: They often stack with other activities, giving bonus rewards for things you'd do anyway.
- When to use: Always pick up bounties before exploring or going to a new region.
- Explanation: Early game sell everything for money. Later, dismantle epic/rare duplicates for resources (wood, leather, iron, obsidian glass).
- Why it works: Money is scarce early; resources become scarce later when upgrading legendary gear.
- When to use: Sell all common/uncommon until level 30. After that, dismantle duplicates and sell only if you need cash.
- Explanation: Pause and enter photo mode to get an overhead view of an area. It also shows enemy positions if you angle correctly.
- Why it works: Photo mode has no restrictions and can reveal hidden locations or enemies behind walls.
- When to use: When you suspect a hidden path or want to check a fortress before entering.
- Explanation: In settings, set exploration mode to "high" to rely on quest descriptions and road signs instead of markers.
- Why it works: Mode forces you to engage with the world, leading to organic discoveries and side quests. It's more immersive.
- When to use: For a truly immersive playthrough; if you get lost, switch back to guided mode anytime.
- Explanation: Main story quests give fixed XP; side quests offer large XP rewards and unique gear/engravings.
- Why it works: Many side quests are part of character arcs (e.g., the Lost Tales of Greece) and provide lore. XP is crucial for leveling.
- When to use: Always accept side quests; complete them before main missions to stay on-level.
- Explanation: The Adrestia can fast travel between towns and synchronize points near coasts.
- Why it works: When land fast travel is far away, sailing is quicker than riding across the entire island.
- When to use: When traveling between different islands or across large bodies of water.
- Explanation: Stack crit chance engravings (up to 25%) and crit damage engravings (up to 100%). Combine with the Sword of Damokles for massive critical hits.
- Why it works: With high crit chance, almost every hit is a crit. Damage multiplies by 3-4x. This is the highest DPS build.
- When to use: Once you have access to legendary engravings (level 35+). Use it for conquest battles and mercenary killing.
- Explanation: The Falx of Olympos engraving reduces health by 75% but increases all damage by 100%.
- Why it works: With such high damage, you can one-shot most enemies. Combined with Second Wind and dodge master, survivability is manageable.
- When to use: For experienced players who never get hit. Avoid if you take damage often.
- Explanation: Practice parrying repeatedly at the moment of an enemy's swing. Perfect parries grant a longer stun window and a temporary damage buff.
- Why it works: This is the skill ceiling for combat; it allows you to chain enemy assassinations even in open combat.
- When to use: Against solo mercenaries or in high-level arenas. Use the training area at Phokis to practice.
- Explanation: Use abilities that generate adrenaline (e.g., Shield Bash restores adrenaline). Pair with gear that reduces adrenaline cost.
- Why it works: If you can generate adrenaline faster than you spend it, you can spam abilities endlessly.
- When to use: For builds centered around Hero Strike or Overpower shots. Requires specific gear and skill investment.
- Explanation: Equip gear that boosts fire/poison damage and duration. Then use one element exclusively.
- Why it works: Elemental effects stack powerfully; a fully specced fire build can burn even legendary beasts.
- When to use: Against mythical creatures or large groups. Pair with the Prometheus's Sika sword for extra fire damage.