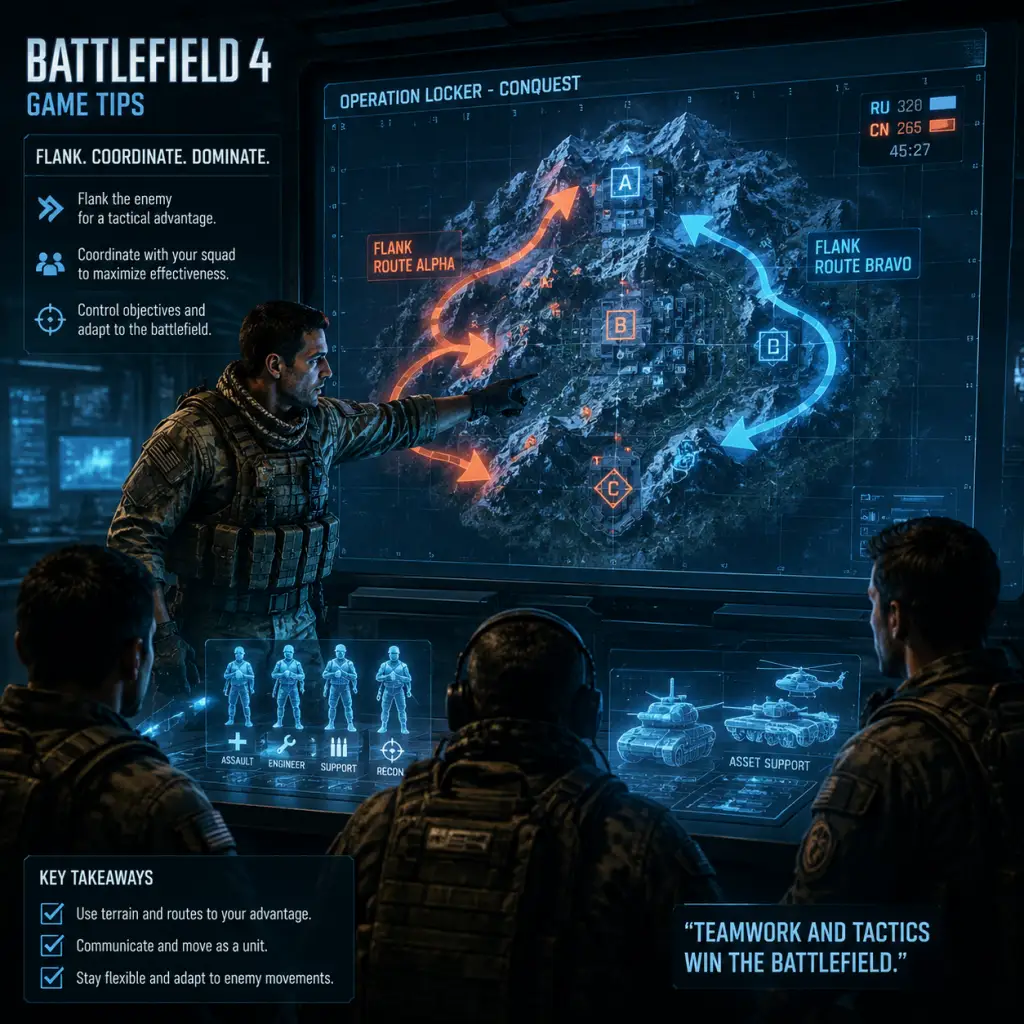
Game Tips
Battlefield 4: Complete Game Tips Guide
This guide compiles essential tips for Battlefield 4, from beginner basics to advanced optimizations. Each tip includes a clear explanation and deep analysis of why it works and when to apply it.
Beginner Tips
#### 1. Stick with Your Squad
- Tip: Always spawn on a squadmate and move as a unit. Lone wolves die quickly.
- Why it works: Spawning on teammates lets you rejoin the fight faster and provides mutual cover. Squads that stick together capture objectives faster, share ammo/health, and can revive you.
- When to use: At the start of a round, choose a squad that is actively attacking an objective. Use the spawn beacon gadget (Recon) to create rally points.
- Tip: Press the spot button (Q on PC, R1/RB on console) every time you see an enemy, even before you shoot.
- Why it works: Spotted enemies appear as red triangles on the minimap and on teammates’ screens. This helps your entire team, especially snipers and vehicle gunners. Spotting also marks enemies for air strikes.
- When to use: While scouting, when engaging multiple enemies, and before calling in mortar strikes or javelins.
- Tip: Always stay behind cover and use the “head glitch” – hiding your body while only your helmet shows.
- Why it works: Battlefield 4 has bullet penetration, so thin walls protect you from small arms but not explosives. Using cover reduces your hitbox exposure.
- When to use: In firefights, peek around corners instead of standing in the open. Learn common head glitch spots on each map.
- Tip: Burst fire at medium to long range; don’t hold the trigger. Pull down slightly to counter vertical recoil.
- Why it works: Battlefield 4’s recoil patterns are predictable. Burst fire keeps bullets on target. Compensating for recoil improves accuracy.
- When to use: Engage enemies at >20 meters with 3-5 round bursts. Up close, full-auto is fine. Practice on the test range.
- Tip: At least take medpacks (Assault), ammo boxes (Support), repair tool (Engineer), or spawn beacon (Recon).
- Why it works: Team play is the core of Battlefield. Medpacks and ammo boxes score points and keep your squad alive. Repairing vehicles wins tank duels. Beacons allow squad to spawn behind enemy lines.
- When to use: Equip before spawning. Swap gadgets only when needed (e.g., switch to repair tool when near friendly vehicles).
- Tip: Aim for the head, especially with DMRs and sniper rifles. Use the target headshot multiplier.
- Why it works: Headshots deal 2x damage for most weapons. One headshot with a bolt-action sniper can kill instantly. For assault rifles, a headshot reduces TTK significantly.
- When to use: At medium range when you have time to aim. Up close, hipfire is faster. Use laser sight for better hipfire accuracy.
- Tip: Throw grenades, use M320, or RPG into buildings before entering. Always check corners.
- Why it works: Explosives kill enemies behind cover and flush them out. Destruction also creates new sightlines. Clearing rooms reduces risk of ambush.
- When to use: Before entering a capture point, after spotting enemies inside, or when breaching a hallway.
- Tip: Move after every shot, use camouflage, and equip a suppressor for sniper rifles (though it reduces bullet speed).
- Why it works: Enemy snipers will see your scope glint. Moving prevents counter-sniping. Suppressor hides you from minimap but increases bullet drop.
- When to use: When engaging from a known sniper hill. Switch to a non-glint scope (like the 4x) for aggressive recon play.
- Tip: Hipfire when within 10 meters; ADS for anything beyond. Use laser sight to tighten hipfire spread.
- Why it works: ADS slows movement and reduces peripheral vision. Hipfire is accurate up close, especially with PDWs and shotguns.
- When to use: In CQB (indoor areas of Zavod 311), hipfire. Outdoors, ADS.
- Tip: Never take a main battle tank (MBT) alone. Wait for a dedicated gunner or have an Engineer repair from the passenger seat.
- Why it works: Tanks are vulnerable to C4 from infantry and to enemy tanks. A gunner can spot and shoot threats while you drive. Repairs from passenger or external Engineer keep you alive.
- When to use: Always when spawning a tank. If no one joins as gunner, consider using a lighter vehicle instead.
- Tip: Use the hover mode (press S to slow down) to stationary shoot. Learn to “circle strafe” using rudder and collective.
- Why it works: Stationary hovering allows accurate shots but makes you an easy target. Circle strafing (moving sideways while turning) minimizes enemy hit chance.
- When to use: Attack Helicopter – when engaging armor from a distance. Scout Helicopter – use speed to evade lock-ons.
- Tip: Pop flares/ECM just before the missile hits, not immediately. Learn to judge incoming threats.
- Why it works: Flares have a very short duration; using them too early leaves you vulnerable. ECM jams the lock but has a cooldown. Wait for the beep to become rapid.
- When to use: When you hear the lock tone change to rapid beeps. Against multiple Stingers, pop flares then quickly fly behind cover.
- Tip: As Engineer, prioritize repairing friendly vehicles over engaging infantry. Use the repair tool (hold fire button).
- Why it works: A damaged tank is useless; a repaired one can dominate. Repairing gives points and helps the team push objectives.
- When to use: After a tank engages enemies, repair behind cover. In contested areas, repair while the tank is moving.
- Recommended Build: M416 (or AEK-971) + Coyote/RDS + Angled Grip + Heavy Barrel. Gadgets: Med Kit + Defibrillator.
- Why it works: M416 is versatile with low recoil. Defibs allow instant revive. Med kit heals multiple allies. This build keeps your squad in the fight.
- When to use: On infantry-focused maps like Operation Locker. If you want to reach higher K/D, swap defibs for a grenade launcher.
- Recommended Build: PDW (like the MP7) + Laser Sight + Reflex Sight. Gadgets: SMAW (or RPG) + Repair Tool.
- Why it works: PDWs are deadly in CQB; you’ll often be close to vehicles. SMAW/RPG can one-hit kill helicopters and deal massive damage to tanks. Repair tool helps friendlies.
- When to use: On vehicle-heavy maps (Golmud Railway, Siege of Shanghai). Always have anti-tank mines or slams as secondary.
- Recommended Build: M249 SAW (or MG4) + 3.4x Scope + Bipod + IRNV (optional). Gadgets: Ammo Box + C4.
- Why it works: LMGs with bipod become laser beams at long range. Ammo box keeps teammates supplied. C4 allows you to destroy vehicles and campers.
- When to use: Defensive maps like Hainan Resort. Set up bipod on choke points. Drop ammo near snipers and engineers.
- Recommended Build: CS-LR4 (or M40A5) + 4x Scope (no glint) + Straight Pull Bolt + Laser Sight. Gadgets: Spawn Beacon + T-UGS or C4.
- Why it works: Straight pull bolt allows you to stay scoped after firing. 4x scope has no glint, keeping you hidden. Spawn beacon provides squad forward spawn. T-UGS detects enemies on minimap.
- When to use: When you want to PTFO (play the objective) as Recon, not just camping. Place beacon behind enemy lines.
- Tip: Call out enemy positions using cardinal directions (“Enemy tank, north of B”) or minimap grid coordinates.
- Why it works: Clear communication prevents friendly fire and allows quick reaction. Squad leaders can set attack orders.
- When to use: When you spot a crucial threat (e.g., a repairing tank). In competitive play, always use third-party VoIP like Discord.
- Tip: As Support/Assault, press the gadget button to throw ammo/medic packs near teammates. Do this even if they don’t ask.
- Why it works: Many players forget to request supplies. Proactive drop helps your team survive longer and maintains firepower.
- When to use: After a firefight, when you see a group of teammates, or when you are near a capture point.
- Tip: Only revive if it’s safe. If the area is under fire, throw smoke first. Use defibrillator from cover.
- Why it works: Reviving in the open gets both you and the revived soldier killed. Smoke blocks vision and gives cover. A safe revive is more valuable than a fast one.
- When to use: When the downed teammate is behind solid cover or when you have cleared the immediate threat.
- Tip: Squad leaders should set attack/defend orders on objectives. Soldiers get extra points for following orders.
- Why it works: Orders guide the squad’s focus. Bonus XP encourages team-play. Good squad leaders can direct the flow of battle.
- When to use: At the start of the round, attack the nearest flag. When in doubt, order to defend a lost flag.
- Tip: On every map, memorize the main corridors and common flanking routes. Use them to predict enemy movement.
- Why it works: Predicting enemy paths allows you to set up ambushes or avoid being flanked. Common chokepoints include bridges, tunnels, and central buildings.
- Examples: On Siege of Shanghai, the central skyscraper (D flag) is a constant fight. On Golmud Railway, the railway tunnel between B and A is a sniper hotspot.
- Tip: Always seek higher ground – rooftops, hills, towers. Overlooking an objective gives you visibility and cover.
- Why it works: Height advantage provides a better view of enemies and more cover from ground fire. It’s harder for enemies to see you from below.
- When to use: When defending an objective. On Paracel Storm, the wind turbines provide excellent sniping spots.
- Tip: Certain walls, floors, and pillars can be destroyed. Use explosives to create new sightlines or block enemy access.
- Why it works: Destruction changes the map dynamic. Blowing a hole in a wall can give you a surprise attack angle. Collapsing a building can deny cover to enemies.
- When to use: Use RPG on a concrete wall between two rooms on Zavod 311 to create a kill lane.
- Tip: Battlepacks contain weapon attachments, XP boosts, and camos. Open them regularly. Use XP boosts during double XP weekends.
- Why it works: Attachments improve weapon performance. XP boosts accelerate class progression, unlocking more options faster.
- When to use: Save rare boosts for high-score games (e.g., when playing with a full squad on Operation Locker).
- Tip: Many weapons require completing specific assignments (e.g., “50 kills with DMR”). Check the assignment menu and prioritize ones that suit your playstyle.
- Why it works: Unlocks like the M249 SAW or SRR-61 are top-tier weapons. Completing assignments gives you access without requiring high class rank.
- When to use: If you want a specific weapon early, grind its assignment. For example, the DBV-12 shotgun assignment is easy if you play Support.
- Tip: Use in-game currency (battlepacks are earned via gameplay) – don’t buy them with real money. The items are cosmetic or attachments you can earn anyway.
- Why it works: Pay-to-win is minimal in BF4; all performance attachments are earnable. Buying battlepacks is unnecessary.
- When to use: Never. Just play the game.
- Tip: On PC, turn down settings like “Mesh Quality” to Ultra (for seeing enemies far) and “Effects” to Low (reduce smoke lag). Set FOV to 90-100.
- Why it works: Higher mesh quality renders distant objects, especially players. Lower effects reduce screen shake and smoke performance hit. Wider FOV gives better peripheral vision.
- When to use: Before entering multiplayer. Disable V-Sync to reduce input lag. Use the config file to adjust mouse sensitivity beyond in-game limits.
- Tip: Every map has a “Levolution” – a large-scale destruction event (e.g., collapsing the skyscraper in Shanghai). Triggering it changes the map significantly.
- Why it works: Levolution can open new paths, block others, or alter objective capture zones. Controlling the event can give your team a strategic advantage.
- When to use: Trigger it when your team is losing control of the central flag (e.g., collapse the tower on Siege of Shanghai to deny enemy rooftop campers). Or avoid triggering it if your team benefits from the current layout.
- Tip: On maps with trains (e.g., Golmud Railway), the train moves around the perimeter. You can ride it as safe transport to the enemy base.
- Why it works: The train provides mobile cover and allows you to bypass the frontline. It’s also a great way to get behind snipers.
- When to use: At the start of a round, jump on the train heading towards the enemy side. Be aware that the train can be destroyed.
- Tip: As Engineer, use the Stinger or IGLA against aircraft. For vehicles, use Javelin with a laser designator (recon can provide). Use PLA or SRAW for manual guidance.
- Why it works: Lock-on missiles are effective but can be countered by flares. The SRAW is wire-guided; you can hit moving targets by leading the projectile. The RPG is unguided but does high damage.
- When to use: Against helicopters – Stinger is best. Against MBTs – Javelin with laser designator ensures hit. For skilled players, use SRAW for mobility kills.
- Tip: Sprint + crouch to slide. Combine slide with jump to maintain speed. Use it to evade fire or quickly cross open ground.
- Why it works: Slide-jumping breaks enemy aim and covers ground faster than sprinting. It’s essential for CQB.
- When to use: When peeking a corner, when disengaging from a firefight, or when rushing to cover.
- Tip: In the options menu, set “Network Smoothing” to 0% (reduces interpolation, giving you more accurate hit detection). Set “High Frequency Network” to On.
- Why it works: Lower smoothing reduces lag compensation delays, making kills feel more precise. High frequency updates your position faster, reducing “dying around corners.”
- When to use: Always. Test on your network; if you experience packet loss, adjust smoothing by 10-20%.
- Tip: The knife has a lunge that extends repair. Use it when sprinting at an enemy – you’ll lunge forward about 2 meters.
- Why it works: Quick knife is a one-hit kill at close range. Mastering the lunge helps you win unexpected encounters.
- When to use: When you surprise an enemy from behind or when you run out of ammo. Avoid knifing in the open; it leaves you vulnerable.
#### 2. Spot Enemies Constantly
#### 3. Use Cover and Head Glitches
#### 4. Learn Basic Weapon Recoil Control
#### 5. Always Equip a Gadget That Helps Your Team
Combat Tips
#### 1. Master the Headshot
#### 2. Use Explosives to Clear Rooms
#### 3. Counter Sniper Tactics
#### 4. Hipfire vs. ADS Decision
Vehicle Tips
#### 1. Do Not Be a Solo Tanker
#### 2. Master Helicopter Hovering
#### 3. Use Countermeasures Wisely
#### 4. Always Repair Vehicles
Loadout & Builds Tips
#### 1. Assault Class: Balanced Healer
#### 2. Engineer Class: Tank Buster
#### 3. Support Class: Ammo Provider
#### 4. Recon Class: Aggressive Spotter
Teamwork & Communication Tips
#### 1. Use VOIP or Chat to Coordinate
#### 2. Always Drop Ammo and Health
#### 3. Revive Wisely
#### 4. Squad Leader Orders
Map Knowledge & Exploration Tips
#### 1. Learn High-Traffic Chokepoints
#### 2. Use Elevation to Your Advantage
#### 3. Know Destruction Points
Economy & Progression Tips
#### 1. Focus on Battlepack Tacticals
#### 2. Unlock Weapons Through Assignments
#### 3. Don’t Waste Money on Battlepacks
Advanced Tips & Optimizations
#### 1. Edit Your Settings for Better Performance
#### 2. Master the “Levolution” Events
#### 3. Use the “Train” for Quick Flanks
#### 4. Counter-Electronic Warfare
#### 5. Advanced Movement: Slide-Jumping
#### 6. Use the “Netcode” Settings
#### 7. Learn the “Quick Knife” Range
Conclusion
Battlefield 4 rewards teamwork, map knowledge, and mechanical skill. Combine these tips with practice on the test range and in matches. Adapt your playstyle to the map and team composition. Remember: PTFO (play the objective) and you’ll help your team win. Good luck, soldier!