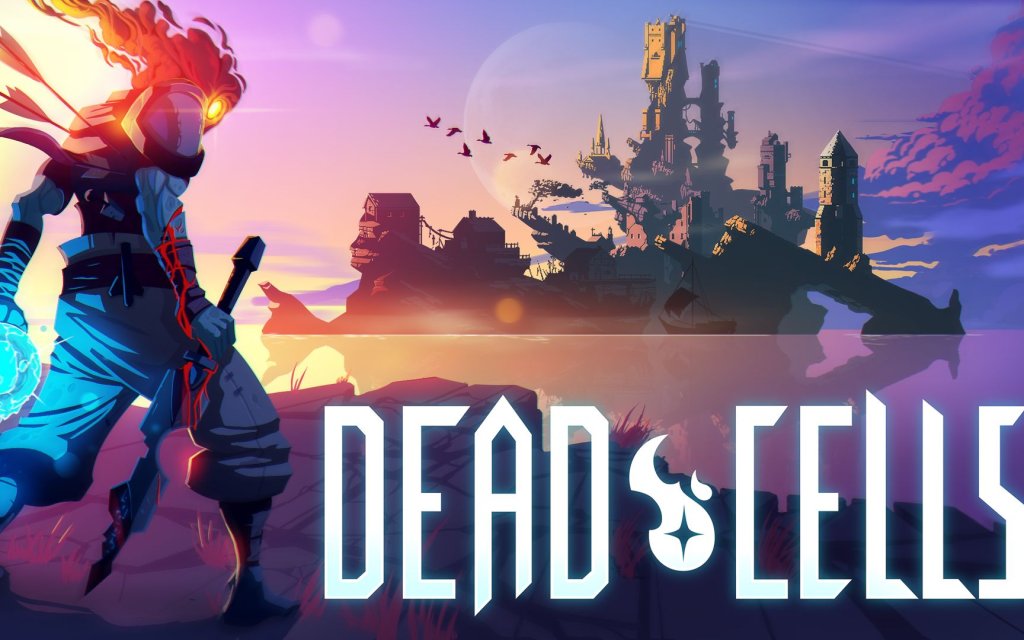
All Game Items
Dead Cells: Complete All Game Items Guide
This guide catalogs every major item category in Dead Cells. Items are grouped by type, with descriptions, acquisition methods, use cases, and synergies. Note that many items are unlocked via Blueprints dropped by specific enemies or found in secret areas.
---
1. Weapon Categories
Dead Cells has three main equipment slots: two weapon slots (one melee, one ranged) and a shield slot. Weapons have levels (I to XII+) and quality (Common to Legendary). The same weapon can have random affixes that modify damage, apply status effects, or grant synergy bonuses.
#### 1.1. Melee Weapons
Melee weapons are divided into four main classes:
- Swords: Fast, balanced damage. Examples: Rapier (critical on dodge), Broadsword (slow, high damage, critical on last hit).
- Brutal Weapons: Scales with Brutality stat; often inflict bleeding or poisoning. Examples: Assassin's Dagger (critical on backstabs), Blood Sword (bleeds enemies).
- Survival Weapons: Scale with Survival; slower but tanky. Examples: Shovel (can crit on stunned enemies), Flawless (low damage but no crit requirement).
- Tactics Weapons: Scale with Tactics; faster with utility. Examples: Double Daggers (crit on airborne), Shock Grenade (ranged weapon that crits on electrified).
- Bows: Simple projectile weapons. Infantry Bow (fast, cheap), Multi-kill Bow (pierces multiple enemies).
- Crossbows: Slower but harder hitting. Magician's Orb (homes, crits on immobile).
- Throwing Weapons: Knife Thrower (bleeds), Firebrands (burns area, good for synergies).
- Magic Staffs: Magic Missiles (auto-aim, crit on rolled enemies).
- Basic Shields: e.g., Starter Shield, Spiked Shield (reflects damage on parry).
- Rampart: Creates a force field after parry (grants invincibility).
- Cudgel: Stuns on parry (great for control).
- Punishment: Deals damage to nearby enemies on parry (high Tactics synergy).
- Fire Grenade: Burns area, good for area denial.
- Ice Grenade: Freezes enemies, allowing critical hits.
- Stun Grenade: Stuns, breaks shields.
- Cluster Grenade: Splits into smaller bombs, great for crowd control.
- Hunter's Grenade: Used on elite enemies to force blueprint drop (consumable, does not respawn per run).
- Double Crossb-o-Matic: Fires arrows at enemies, good for area control.
- Heavy Turret: Slow but high damage, scales with Survival.
- Tesla Coil: Deals area lightning damage.
- Crusher: Drops a heavy block that stuns.
- Lacerating Aura: Melee aura that deals damage as you move.
- Phaser: Teleport behind an enemy (critical trigger for Assassin's Dagger).
- Grappling Hook: Pulls enemies toward you or you toward them (Scales Brutality).
- Wave of Denial: Pushes enemies back and deals damage, good for knock-backs.
- Disengagement: Passive mutation that triggers invincibility once per run when health drops below 15%. (Not a skill, but a mutation.)
- Tornado: Damages and pulls enemies (Synergies with crowd control).
- Brutality: Damage-oriented (e.g., Vengeance: increased damage after taking hit, Combo: resets attack chain on kill).
- Tactics: Skill cooldown reduction (e.g., Transference: 50% cooldown on headshot kill, Networking: traps spread damage).
- Survival: Health and defense (e.g., Soldier's Resistance: more health, Armadillopack: roll becomes a parry).
- Colorless: Versatile (e.g., Dead Inside: max health +30%, Disengagement: invincibility once per run).
- Health Flask: Refills a portion of HP. Can be upgraded via blueprints found throughout the game (maximum 4 charges).
- Food: Random drops from enemies or breakable walls:
- Potions: Rare consumables like Golden Potion (restore gold), Invisibility Potion (temporary stealth).
- Cough Syrup: Temporary speed boost.
- Gold: Primary currency for buying items, refilling health flask, and opening shops. Lost on death.
- Cells: Permanent progression currency. Spent at the Collector to unlock blueprints, mutations, and upgrades. Carried over between runs.
- Blueprints: Dropped by enemies or found. Must be turned in to the Collector to unlock the item.
- Legendary Blueprint: Special blueprint for legendary version of an item (always highest level, with a special affix). Dropped by elite enemies or boss chests.
- Forge: Uses cells to upgrade weapon quality probabilities (unlocked after first Boss Cell).
- Aspect Crystals: Used in Boss Rush mode to unlock legendary versions.
- Runes: Permanent abilities that unlock new paths:
- Keys: Used to open locked doors or chests (e.g., Timed Door Key from elite enemies).
- Boss Stem Cells: Dropped by bosses on higher difficulty. Increase difficulty and unlock new items and mutations.
- Lore Items: Random notes, diaries that tell the story. No gameplay effect.
- Brutality Bleed Build: Blood Sword + Scorpio (ranged bleed) + Open Wounds mutation + Vengeance + Phaser.
- Tactics Turret Build: Heavy Turret + Double Crossb-o-Matic + Support + Networking + Tranquility (no melee punishment).
- Survival Tank Build: Flawless (never miss crits) + Rampart shield + Armadillopack mutation + Soldier's Resistance + Dead Inside.
- Flask Upgrade Cells: Spend cells to increase flask capacity (up to 4).
- Random Modifiers: Can be bought from The Collector after unlocking all items in a category.
- Seeds: Used in Mushroom Boi (DLC content).
Each weapon has a unique critical hit condition. Learn these to maximize damage.
How to Obtain: Blueprints are dropped by specific enemies (e.g., Rapier from Inquisitors) or found in timed/exploration doors. Use Hunter’s Grenade to force blueprint drops from elite enemies.
Synergies: Pair bleeding weapons with Open Wounds mutation (bleed on melee hit). Use Barbed Tips mutation with fast weapons for extra damage.
#### 1.2. Ranged Weapons
Scaling is usually Tactics, but some Survival-scaling ranged weapons exist (e.g., War Javelin).
How to Obtain: Blueprints from enemies (e.g., Quick Bow from Bats) or from bosses (e.g., Militia Crossbow from Concierge).
Synergies: Apply oil with Ice Bow then ignite with fire weapons for bonus damage. Hokuto's Bow marks enemies, doubling damage from other sources.
#### 1.3. Shields
Shields provide damage reduction when held (passive) and parrying active. Parrying negates damage, staggers enemies, and can trigger affixes (e.g., spread bleeding, stun).
How to Obtain: Blueprints from enemies (e.g., Rampart from Shieldbearer). All can be found as loot.
Use Cases: Essential for Survival builds. Parrying is key for bosses (e.g., Time Keeper, Hand of the King). Shields also block projectiles.
Synergies: Parry shield with Counterattack mutation (increases next attack damage after parry). Punishment works well with Stun affixes.
---
2. Skills (Powers & Grenades)
Skills are equipment in the third slot, with cooldowns. They are categorized into:
#### 2.1. Grenades
Scaling: Usually Brutality or Survival (for some).
Synergies: Combine Ice Grenade with Fire Grenade for vaporization synergies (oil + fire). Cluster Grenade with Point Blank mutation.
#### 2.2. Turrets & Traps
Scaling: Primarily Tactics, but some Survival.
Use Cases: Excellent for Tactics builds. Place turrets to create safe zones. Lacerating Aura is melee-centric.
Synergies: Support mutation increases damage to enemies near traps/turrets. Acrobatipack with turret mods.
#### 2.3. Powers (Active Abilities)
How to Obtain Skills: Blueprints from enemies, chests, or secrets (e.g., Phaser blueprint from a hidden area in Promenade of the Condemned).
---
3. Mutations (Passive Upgrades)
Mutations are permanent unlocks that you can equip up to three at a time (more with certain legendaries). They are unlocked with cells and provide powerful bonuses.
Categories:
How to Obtain: Spend cells at the Collector in the Prisoners' Quarters. Some mutations are unlocked after beating bosses (e.g., Emergency Door from Concierge).
Synergies: Build your mutation loadout around your weapon stats. For a Tactics build, take Support (bonus damage near turrets) and Networking (trap spread).
---
4. Consumables & Healing Items
- Roasted Chicken (+35% health)
- Bread (+25% health)
- Mushroom (+10% health, but random status effect)
- Stale Bread (low heal)
How to Obtain: Health flask upgrades from Boss Cells (difficulty levels) and specific blueprints (e.g., Flask +1 from Hand of the King). Food is everywhere.
---
5. Currencies & Materials
How to Obtain: Gold from enemies, chests; cells from enemies, bosses; blueprints via Hunters Grenade or random drops.
---
6. Collectibles & Key Items
- Vine Rune (Prisoners' Quarters): Vine wall climb.
- Teleportation Rune (Promenade): Use teleporters.
- Ram Rune (Ramparts): Break cracked floors.
- Homunculus Rune (Graveyard): Control a bird to activate switches.
- Explorer Rune (newer DLCs): Reveal hidden walls.
How to Obtain: Runes are found in specific biome locations; keys from timed/open doors; Boss Cells from bosses (Concierge, Time Keeper, Hand of the King, etc.).
---
7. Upgrades & Forge
The Forge (unlocked after obtaining first Boss Cell) allows you to spend cells to increase the chance of finding higher quality items (Common -> Uncommon -> Rare -> Legendary). Upgrades are permanent.
Also, the Legendary Forge (from the 2nd Boss Cell onward) lets you apply a special affix to your weapons.
Tip: Prioritize Forge upgrades over unlocking all blueprints early, as higher quality items drastically improve runs.
---
8. Important Synergies & Build Examples
---
9. Legendary Items
Legendary items are always the highest level for your current difficulty and have a unique affix (e.g., Infinite arrows for bow, No cooldown for shield). They also count as all three colors for stat scaling, giving flexibility.
How to Obtain: Random drop from elite enemies, legendary chests, or boss chests. Can also be crafted via Legendary Forge.
---
10. Consumable & Utility Items (Non-Equipment)
---
11. Tips for Item Collection
1. Unlock blueprints methodically: Focus on weapons that match your preferred stat (Brutality, Tactics, or Survival).
2. Use Hunter's Grenade: To force an elite enemy to drop its blueprint.
3. Check your journal: Track which blueprints you still need from each enemy type.
4. Don't neglect the Forge: Quality > quantity of unlocked items.
5. Explore hidden areas: Many runes and unique items are off the main path.
This guide covers the core items. With DLCs (Bad Seed, Fatal Falls, Queen and the Sea), new items like Serenade, Mushroom Boi, and Flawless are added. Adapt your builds accordingly.
---
Remember: In Dead Cells, knowledge of item synergies and acquisition is key to successful runs. Good luck, Beheaded!