Getting Started
Overview
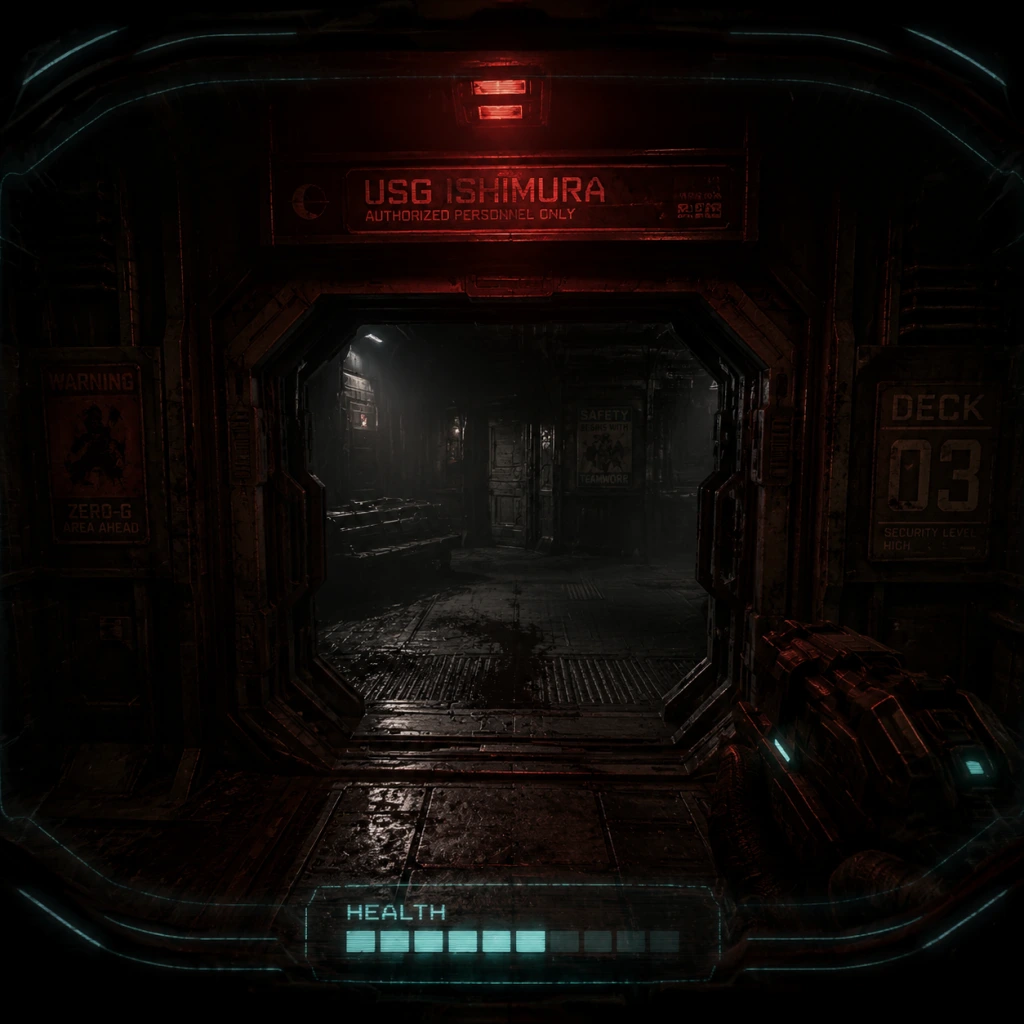
Dead Space (2023 Remake) is a third-person survival horror game where you play as engineer Isaac Clarke aboard the USG Ishimura. There is no character creation – Isaac’s appearance, name, and backstory are fixed. Your only choices are difficulty mode (Story, Medium, Hard, Impossible) and gameplay options like aim assist and subtitles. For beginners, Medium is recommended: it offers a fair challenge without being punishing.
First Hour Walkthrough (Spoiler-Free)
1. Prologue – USG Ishimura
- The game opens with Isaac and his crew docking. A distress beacon leads to chaos. Follow the linear path: walk through the hangar, witness the first Necromorph attack, and receive the Plasma Cutter from your companion, Zach Hammond.
- Tip: The Plasma Cutter is your best weapon for the entire game. Use it liberally.
2. Tutorial – Combat Basics
- Your first enemy is a lonely Slasher. The game teaches dismemberment: aim for the limbs (arms/legs) to kill quickly. Shooting the torso wastes ammo and enrages enemies.
- Use Stasis (L2/LT/Right-Click) to slow down fast enemies – it’s invaluable.
- Kinesis (R2/RT/Left-Click) lets you grab objects; later you can impale Necromorphs with sharp debris.
3. First Objective – Reach the Tram
- Follow the objective marker to the tram station. Along the way, you’ll find lockers, save stations, and a store. Always check corners – loot and ammo are scarce.
- Save often (save stations are glowing blue holograms). The game has no autosave during combat sequences.
4. Arrival at the Medical Deck
- The tram drops you on the Medical Deck. Here you get a Security Stasis Module and your first real puzzle (rotating the gravity panel). The Oxygen Timer appears when you enter vacuum segments – always look for oxygen refill stations (large blue cylinders).
Controls on All Platforms
| Action | PC (Mouse+Keyboard) | PlayStation 5 | Xbox Series X/S |
|---|---|---|---|
| Move | W/A/S/D | Left Stick | Left Stick |
| Look/Aim | Mouse | Right Stick | Right Stick |
| Shoot | Left Mouse Button | R2 | RT |
| Alternate Fire | Right Mouse Button | L2 (Aim) then R2 | LT then RT |
| Melee | V | R3 (press right stick) | R3 |
| Stasis | Q | L2 + R2 (hold) | LT + RT (hold) |
| Kinesis | E | R1 (press) toggle | RB (press) toggle |
| Use/Interact | F | Square | X |
| Reload | R | Triangle | Y |
| Switch Weapon | 1-4 | D-Pad Up/Down | D-Pad Up/Down |
| Inventory/Map | Tab | Touchpad (hold) | View button (hold) |
| Sprint | Left Shift | Click Left Stick | Click Left Stick |
UI Overview
- Health Bar (RIG): Blue spine down Isaac’s back. Green = full, yellow = caution, red = critical. Flashing arrows point to damage source.
- Oxygen Gauge: Only appears in vacuum or underwater; slowly depletes. Turn back when it reaches 25%.
- Stasis Energy: Blue bar under the health RIG. Recharges automatically over time or at recharge stations.
- Weapon & Ammo: Bottom-right corner shows current weapon, ammo count, and fire mode.
- Objective Marker: Yellow diamond on the floor/wall. Follow it for main story; optional markers are blue.
- Map & Inventory: Hold Tab/View/Touchpad to open the detailed map (shows locked doors, loot). Press to open inventory for healing, ammo, and schematics.
- Save Station: Glowing blue hologram disc. Interact to save; you can also heal here for free (if health is low).
- Explore thoroughly. Every corridor might hide credits, ammo, or health packs. Break wooden crates and search ventilation shafts.
- Stomp every dead body. After killing a Necromorph, stomp on it (R3/Melee on ground) to make it drop additional loot. This is called "loot stomping" and is 100% intentional.
- Use Stasis frequently. It recharges over time. Freeze a charging Slasher to buy seconds.
- Upgrade your Plasma Cutter first. Spend the first two Power Nodes on its Damage and Capacity. This weapon can carry you to the end.
- Purchase the Large Med Pack from the first store. It costs 3,000 credits, but emergency health is precious.
- Check every monitor and audio log. They add lore and sometimes reveal safe codes or hidden rooms.
- Don't shoot the arms off explosive enemies too close. Exploders detonate when their glowing arm is severed – back away first.
- Don't waste ammo on limbs that are already severed. Focus on the remaining limbs or head (though headshots are less effective).
- Don't sell your Plasma Cutter. It’s the most versatile weapon. You can always buy back sold items at a store, but it’s a waste of credits.
- Don't ignore oxygen. In vacuum zones, you have about 30 seconds of oxygen. If you run out, you die quickly. Memorize refill locations.
- Don't rush through doors without checking. Necromorphs can pop out of vents or grab you from behind.
- Don't hoard Health Packs. You can carry a maximum of 5 Small + 3 Medium + 1 Large. Use them before reaching the cap.
Essential Early Objectives (Chapters 1–3)
1. Acquire the Plasma Cutter – It’s given to you in the first 5 minutes. Do not sell or discard it.
2. Upgrade Your RIG – At the first store (kiosk), buy a Node (Power Node) and upgrade your health or weapon damage at a Bench (found in safe rooms).
3. Find the Security Stasis Module – Necessary for progressing through the Medical Deck.
4. Activate the Tram – Required to reach other decks. Complete the tram alignment puzzle.
5. Collect the first Weapon Schematic (Line Gun or Pulse Rifle) – Optional but helpful. The Line Gun offers vertical or horizontal alt-fire for crowd control.
What to Do First & What to Avoid
✅ Do First
❌ Avoid
Early Resource Priorities (Chapters 1–3)
| Resource | Priority | Notes |
|---|---|---|
| Credits (Credits) | High | Buy Power Nodes (5,000 credits each) first and Large Med Packs. Save 10,000 for the Circuit Breaker upgrade later. |
| Power Nodes | Very High | Use every node on Plasma Cutter damage/capacity and your RIG health. Never spend on non-essential weapons early on. |
| Ammo | Moderate | Plasma Cutter ammo is abundant. Only buy ammo if you fall below 30 rounds. |
| Health Packs | High | Always keep at least 2 Large Med Packs. Use Small ones quickly since they have lower capacity. |
| Schematics | Low initially | Only buy the Stasis Module Upgrade (unlocks later) and the Schematic for Pulse Rifle if you want a backup weapon. |
Common Beginner Mistakes
1. Panic Shooting – Spraying bullets into a Necromorph’s torso does very little damage and wastes ammo. Always aim for legs or arms.
2. Ignoring Stasis – The game gives you a tool to slow enemies. Use it! Especially against the first Brute (Chapter 2).
3. Not Looting Bodies – Stomping corpses yields extra credits and items. The game encourages this; it’s not a glitch.
4. Selling the Plasma Cutter – You might think another weapon is better. It’s not. Keep it until you get the Force Gun or Contact Beam.
5. Running past enemies – Some corridors are arena-style; the door locks. You must kill everything. Check for vents where enemies spawn.
6. Forgetting to Save – The game has no autosave during combat. You can lose 30–60 minutes of progress if you die between saves. Use every yellow save station.
Day-One Checklist
- [ ] Complete the prologue (first 15 minutes).
- [ ] Take the tram to Medical Deck.
- [ ] Upgrade the Plasma Cutter’s damage with a Node.
- [ ] Purchase a Large Med Pack.
- [ ] Learn to stomp every dead Necromorph.
- [ ] Master Stasis usage on at least one Slasher.
- [ ] Find the first save station and create a manual save.
- [ ] Collect the Security Stasis Module (Chapter 2).
- [ ] Read the first three log files (they unlock lore achievements).
- [ ] Check the map for any missed loot rooms (red dots).
- [ ] Set difficulty to Medium for a balanced experience.
- Play with headphones. Sound design is critical – you’ll hear enemies in vents.
- Explore the ship’s lore. The story is revealed through logs, holograms, and environmental storytelling.
- Don’t be afraid to die. Death is common; reload your last save and try a different approach (use Stasis!).
- Save every Power Node until you decide what to upgrade. A safe bet: Plasma Cutter damage → RIG health → Plasma Cutter capacity.
- When in doubt, cut off their legs. A legless Necromorph slides on the ground, easy to finish with a stomp.