Getting Started
Getting Started in Elden Ring: A Newcomer's Guide
Welcome to the Lands Between. This guide is designed to help brand-new players survive the first few hours, avoid common pitfalls, and build a solid foundation for your journey. Follow this step-by-step to make your start as smooth as possible.
1. Character Creation: Your First Decision
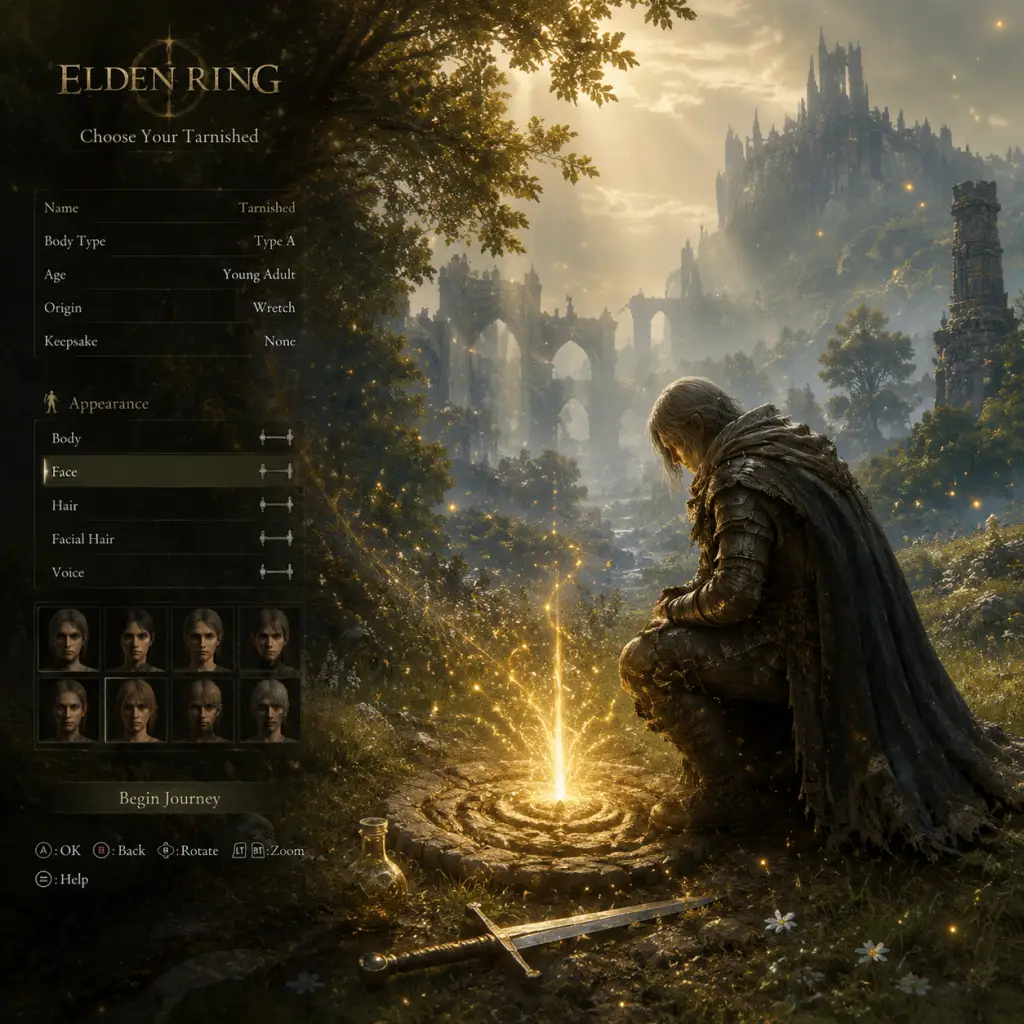
When you start a new game, you'll go through a brief cinematic and then the Character Creation menu. This allows you to customize your appearance, but more importantly, choose a Starting Class and a Keepsake (starting gift).
#### Starting Classes (Recommended for Beginners)
| Class | VIG | MND | END | STR | DEX | INT | FAI | ARC | Weapon | Key Stats | Best For |
|---|---|---|---|---|---|---|---|---|---|---|---|
| Vagabond | 15 | 10 | 11 | 14 | 13 | 9 | 9 | 7 | Longsword + Heater Shield | STR/DEX, high VIG | Easiest start: tanky, good shield, versatile sword |
| Warrior | 11 | 12 | 11 | 10 | 16 | 10 | 8 | 9 | Scimitar (dual) | DEX, good stamina | Fast dual-wielding; requires rolling skill |
| Hero | 14 | 9 | 12 | 16 | 9 | 7 | 8 | 11 | Battle Axe | STR, high VIG | Strong early damage, simple playstyle |
| Samurai | 12 | 11 | 13 | 12 | 15 | 9 | 8 | 7 | Uchigatana + Longbow | DEX, reach, ranged option | Great starting weapon (bleed), solid all-rounder |
| Astrologer | 9 | 15 | 9 | 8 | 12 | 16 | 7 | 9 | Glintstone Staff + Short Sword | INT, ranged spells | Magic from the start; careful with low HP |
| Prisoner | 11 | 12 | 11 | 11 | 14 | 14 | 6 | 9 | Estoc + Glintstone Staff | INT/DEX hybrid, magic + melee | Flexible but requires managing two stats |
| Confessor | 10 | 13 | 10 | 12 | 12 | 9 | 14 | 9 | Broadsword + Finger Seal | FAI, incantations, stealth | Good for faith builds; balanced |
| Wretch | 10 | 10 | 10 | 10 | 10 | 10 | 10 | 10 | Club (no armor) | None, all stats 10 | Hard mode; not recommended for first playthrough |
#### Keepsake (Starting Gift)
Choose Golden Seed. This gives you an extra Flask charge for healing, which is invaluable early on. Other options like Stonesword Keys (unlock fog doors early) are good but less critical. Do not pick the Imp's Head or Bewitching Branch – they're niche and won't help a beginner.
#### Appearance
You can change your appearance later with a rare item (Rennala's Rebirth), so don't stress. Just make something you like and move on.
2. First Hour Walkthrough (Spoiler-Free)
After creation, you awaken in the Chapel of Anticipation. Follow the path, fight the first enemy (very easy), then go outside. A massive boss, the Grafted Scion, will appear. Do not fight it. You are meant to die here – that triggers a cutscene that transports you to Limgrave. Accept death; you lose nothing.
You'll wake up in the Cave of Knowledge. This is the tutorial area. Follow these steps:
1. Interact with the corpse on the ground to get your first weapon and shield (if you didn't start with them).
2. Proceed forward – a glowing message tells you how to attack (R1/RB).
3. Kill the single enemy ahead. Then stop at the Site of Grace (golden glowing tree) – interact with it to rest and trigger a message explaining how to use Flasks.
4. Continue: you'll see a narrow hallway with a message reading "Try jumping". Jump over the gap (press L3 on controller while running).
5. Further on, you'll encounter a spectral tree sentinel – sneak past or kill it (it's weak).
6. At the end, a golden fog door leads to the first real boss: Soldier of Godrick. This is a basic enemy; learn to block, dodge, and attack. Defeat him easily.
7. Exit the fog door into the open world. You'll see a massive golden tree ahead. Follow the path to meet your first Merchant and eventually reach the First Step Site of Grace.
Tip: Loot every corpse and glowing item you see. Collect Runes (currency/XP) from defeated enemies.
3. Controls (All Platforms)
Elden Ring uses a similar control scheme across platforms. Here's a quick reference. Customize in Settings > Controls.
| Action | PlayStation (PS4/PS5) | Xbox (One/Series X | S) | PC (Keyboard + Mouse) |
|---|---|---|---|---|
| Move | Left Stick | Left Stick | W/A/S/D | |
| Camera | Right Stick | Right Stick | Mouse movement | |
| Light Attack | R1 | RB | Left Mouse Button | |
| Heavy Attack | R2 | RT | Hold Left Mouse + release OR Shift + Left Click | |
| Guard / Block | L1 (hold) | LB (hold) | Right Mouse Button (hold) | |
| Weapon Skill / Parry | L2 | LT | Shift + Right Mouse Button | |
| Interact | Triangle | Y | E | |
| Use Item (D-Pad up) | D-Pad Up | D-Pad Up | 1-4 keys as assigned | |
| Use Flask (Quick Pouch) | Square + D-Pad? Actually default Flask is on D-Pad Down | D-Pad Down | Assigned key (default not set; use Pouch) | |
| Jump | L3 (press left stick) | L3 | Space | |
| Sprint / Dodge | Circle (hold) / Circle (tap) | B (hold) / B (tap) | Shift (hold) / Space (tap) | |
| Lock-On / Switch Target | R3 (press right stick) | R3 | Middle Mouse Button (click scroll wheel) | |
| Two-hand Weapon | Triangle + R1/L1 (hold) | Y + RB/LB | E + Left/Right Mouse | |
| Open Map | Touchpad (hold) | View Button (two overlapping squares) | G | |
| Pouch (holds Flask, Torrent whistle) | Triangle + D-Pad direction | Y + D-Pad direction | F + 1-4 (set in Options) | |
| Inventory | Options | Menu Button | Esc |
4. UI Overview
Your screen has:
- Top-left: HP bar (red), FP bar (blue, for spells/skills), Stamina bar (green). Below those are equipped weapons/items.
- Bottom-left: Rune count (currency/XP) and equipped Talismans (if any).
- Bottom-right: Quick Items (D-Pad up/down cycles them; Flask is usually on D-Pad Down). Also shows equipped weapons.
- Center: Lock-on reticle, compass with markers (Sites of Grace, etc.).
- Explore Limgrave thoroughly. Stick to the starting area (Limgrave) before going to the Weeping Peninsula or Caelid.
- Follow the golden arrows on the map (guiding light) towards the first major dungeon – Stormveil Castle. But don't rush inside; clear the surrounding areas first.
- Collect Golden Seeds (look like glowing golden saplings on the ground) and Sacred Tears (found in churches). Use these at Sites of Grace to upgrade your Flask of Crimson Tears (HP) and Flask of Cerulean Tears (FP).
- Summon help: Use co-op by consuming a Furlcalling Finger Remedy (crafted from Erdleaf Flowers) to see summon signs. NPC summons are often near boss fog doors.
- Upgrade your weapon. Find the Smithing Table at the Church of Elleh (behind the merchant) or, better, find the Smithing Master Iji in Liurnia (later). Use Smithing Stones to upgrade weapons at a site of grace (select "Upgrade Weapon"). Focus on one main weapon.
- The Tree Sentinel – the golden knight on horseback near the First Step. He will destroy you at low level. Skip him and come back later (level 30+).
- The Dragon Agheel – in the lake north of Limgrave. Also a high-level area; avoid until you have the horse and some levels.
- The Caelid region (east of Limgrave) – enemies are far stronger. The giant dogs and birds will one-shot you. Stay out until at least level 40+.
- Using Larval Tears to respec before understanding your build – you get limited respecs, so experiment later.
- Killing NPCs – especially merchants and quest givers (e.g., Melina, Roderika, Alexander). They offer vital services and quests. If you accidentally hit one, run away and visit the Church of Vows (later) to absolve sins.
- Runes: Use them to level up frequently. Don't hoard them – you will die and lose them. Spend them at Sites of Grace.
- Smithing Stones: Found in mines (marked by small orange circles on the map). Prioritize upgrading your weapon to +3 as soon as possible.
- Golden Seeds: There are 30+ in the game. Find at least 3-4 in Limgrave to increase your Flask charges to 4-5.
- Sacred Tears: 12 total. Find at least 1 from the Third Church of Marika (northwest Limgrave) to improve heal amount.
- Crafting Materials: Erdleaf Flowers (craft Furlcalling Finger Remedies for co-op), Rowa Fruit (craft boluses for status cures), Thin Beast Bones (useful later for arrows). Always pick them up.
- [ ] Complete Cave of Knowledge (tutorial).
- [ ] Defeat Soldier of Godrick.
- [ ] Reach the First Step Site of Grace.
- [ ] Buy the Crafting Kit from the Merchant (Kale) at Church of Elleh.
- [ ] Get the Spirit Calling Bell from Renna (at night at Church of Elleh).
- [ ] Get Torrent (the horse) by resting at three Sites of Grace.
- [ ] Find at least 2 Golden Seeds: one near the First Step (behind the ruined church) and one in the Stormfoot Catacombs or near Gatefront Ruins.
- [ ] Find the Flask upgrade item (Sacred Tear) at the Third Church of Marika (northwest of Limgrave, past the lake).
- [ ] Level up Vigor to at least 15-18.
- [ ] Upgrade your starting weapon to +2 or +3 using Smithing Stones from the Limgrave Tunnels (north of the lake, near the dragon – careful! You can sneak in).
- [ ] Explore the Weeping Peninsula (south of Limgrave) – a relatively easy area with many useful items and a boss.
- [ ] Do NOT enter Stormveil Castle yet; save it for after you're level 20-25 and have a +3 weapon.
- [ ] Set up your quick pouch: map flask to an easy button combo (e.g., Triangle + Up on PS, Y + Up on Xbox).
- [ ] Map your controls: make sure jump is easily accessible (L3/left stick click by default). If uncomfortable, rebind.
- [ ] Save often? No manual saving: the game autosaves constantly. Just quit via menu.
- Death is a learning tool. You will die a lot. Each death teaches you something: enemy patterns, hazardous terrain, or a hidden ambush.
- Follow the NPC quests for unique rewards and story. Talk to every NPC until they repeat dialogue.
- Use the map markers to note points of interest (buildings, imp statues, merchants).
- Experiment with different weapons, but once you find one you like, stick with it and upgrade. Respec options come later.
- Take breaks. The game is intense. Frustration leads to mistakes.
HUD can be toggled (hold Touchpad on PS, View on Xbox, default key? Check Options) to hide for screenshots.
5. Essential Early Objectives
Your primary goal for the first two hours: Learn the basics and reach the first major hub – Roundtable Hold.
1. Find the First Merchant: From the First Step Site of Grace, head down the path towards a large ruin (Gatefront Ruins). A merchant (Kale) sits by his campfire. Buy the Crafting Kit (essential) and Torch (for caves).
2. Activate Sites of Grace: Interact with every golden tree you see. They serve as checkpoints, fast travel points, and allow leveling up (talk to Melina).
3. Get the Spirit Calling Bell: After resting at a Site of Grace at night (or after acquiring your horse), a witch named Renna may appear. If not, go to the Church of Elleh (near the First Step) at night. She gives you the Spirit Calling Bell and Lone Wolf Ashes – crucial for summoning spirit allies in boss fights.
4. Get Torrent (the horse): After resting at three Sites of Grace outside the tutorial cave (any three), Melina will appear and offer you the Spectral Steed Whistle. Accept it. This allows fast travel on a mount and double jumping.
5. Level Up: You can level up at any Site of Grace by selecting "Level Up" (after Melina gives you the ability). Prioritize Vigor (HP) until you have around 25-30. This makes the early game much more forgiving. Then bring Endurance (stamina) to 15-20. After that, invest in your primary damage stat (Strength/Dexterity/Intelligence/Faith).
6. What to Do First – And What to Avoid
#### Do:
#### Avoid:
7. Early Resource Priorities
8. Common Beginner Mistakes
1. Rushing through areas. Elden Ring rewards exploration. Take your time, read item descriptions, and pay attention to environmental clues.
2. Ignoring Vigor. Leveling HP is the #1 mistake new players make. Don't invest heavily in damage stats early; survive first.
3. Not using summons. Ashes (spirit summon) and co-op help tremendously. The game expects you to use them.
4. Getting greedy in combat. One or two hits then dodge away. Stamina management is key – never drain to zero.
5. Heading straight for the red glowing area (Caelid). The game's open world is non-linear, but Caelid is a trap for low-level characters.
6. Trading blows with bosses. Learn their tells and dodge into their attacks (rolling has invincibility frames). Block if you have a shield, but dodging is safer.
7. Not reading messages. Some player messages are helpful (though many are trolls). "Try jumping" almost always means there's a hidden path or item.
9. Day-One Checklist
Final Tips
Welcome to the Lands Between. Good luck, Tarnished.