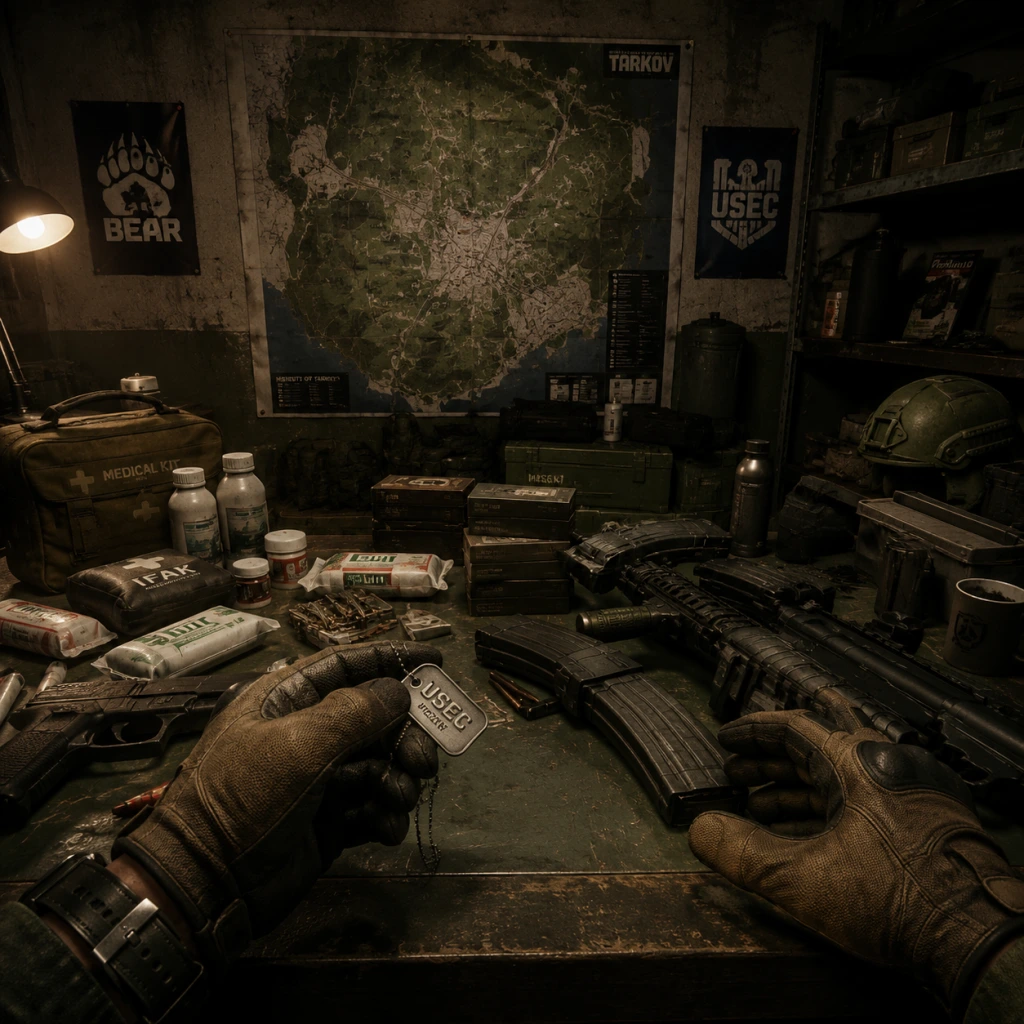
Getting Started
Getting Started Guide for Escape from Tarkov
Introduction
Escape from Tarkov is a hardcore, realistic tactical shooter that punishes mistakes harshly. As a brand-new player, expect to die frequently, lose gear, and feel confused. Patience is your most important tool. This guide will walk you through your first hour, explain the UI, controls, and give you a clear day-one checklist to minimize frustration.
First Hour Walkthrough
1. Buy the Game & Create Account – Purchase from the official website (battlestategames.com). After payment, create a BattleState account and link it. Download the launcher (~10 MB) and install the game (full download ~15-20 GB).
2. Choose Your Character – On first launch, you’ll select a faction:
- USEC – English-speaking; starting gear includes an M4A1 (better for early quests).
- BEAR – Russian-speaking; starts with an AK series. Faction affects voice lines and some quests. Both are viable. Choose USEC if you want slightly easier early game weapon mods.
- Name & Appearance – Pick a name (two words, Latin letters) and customize your face/voice. These are purely cosmetic and don’t affect gameplay.
3. First Raid (Offline) – Before going online, practice in Offline Mode:
- From main menu click Raid > Map: Factory (small), Raid Mode: Offline, Enable PvE (optional).
- Learn basic movement (WASD, sprint with Shift, crouch with C, prone with X).
- Practice looting (F on items), healing (use medkits with left-click from inventory), and shooting (mouse1).
- Kill scavs (AI enemies) and find extracts (green flares or extraction points shown by double-tapping O).
4. First Online Raid – After you feel comfortable, play as your Scav (Scavenger) – a random character with free gear that has a 20-minute cooldown. This is risk-free and lets you learn maps without losing your own gear. Pick a simple map like Customs or Woods.
Character Creation Details
There is no deep character creator. You choose:
- Faction & Appearance: Select USEC or BEAR. Then pick head type, face, skin tone, and voice. These do NOT affect stats.
- Starting Gear: You receive a “Standard Edition” stash (10x28 grid) and starting equipment (Pistol, armor, backpack, meds, food/water). Upgrading editions (Left Behind, Prepare for Escape, Edge of Darkness) gives larger stash, better starting gear, and a secure container (Alpha, Beta, Gamma). Standard players get an Alpha container (2x2).
Controls (PC Only)
Escape from Tarkov is exclusively on PC. Essential keyboard/mouse controls:
| Action | Key |
|---|---|
| Move | W A S D |
| Sprint | Shift + W |
| Walk (slow) | Caps lock (toggle) or Alt + W (hold) |
| Crouch | C (toggle) |
| Prone | X (toggle) |
| Jump | Space |
| Vault | Space + W over obstacles |
| Interact / Loot | F |
| Quick loot (move item) | Ctrl + Left-click |
| Discard | Delete |
| Check weapon / inspect | Alt + T (first equip) |
| Tactical device toggle | L |
| Change fire mode | B |
| Reload | R |
| Check magazine | Ctrl + R (hold) |
| Heal in raid | Open inventory (Tab), right-click meds, use (or hotkey 4-9) |
| Map (double tap) | O (shows extracts & timer) |
| Voice lines | Y (emotes) |
| Free look | Middle mouse button (hold) |
| Grenade throw | G (pull pin, then left-click to throw) |
UI Overview
#### Main Menu / Stash View
- Top bars: Health (hydrated, energy) and time. Your character must eat/drink in raid.
- Stash Grid: Your inventory container. Items take up real space (1x1, 1x2, etc.). Keep organized.
- Bottom: Quick slots (1-6) for weapons, meds, grenades.
- Left side: Character (click PMC tab) to equip armor, helmet, backpacks, etc.
- Trader tabs (top right): Therapist, Prapor, Skier, etc. You unlock them after first raid.
- Tasks (bottom right): Active quests, daily/weekly.
- Raid Menu (top left): Launch raid, choose PMC or Scav, map, time (day/night).
- Bottom Center: Health status (limbs color coded). Right side: stamina bar (yellow), weight indicator.
- Top Right: Raid time remaining.
- Bottom Left: Minimap (if you have compass? Not default).
- Ammo Counter: On your weapon when ADS.
- Extract Points: Shown by double-tap O (list of named locations).
- Play Offline Raids – Practice with your PMC without gear loss. Enable PvE to fight scavs, learn extracts.
- Use Every Scav Raid – Cooldown is short. Treat scav runs as free money runs. Loot everything, sell to traders.
- Insure Your Gear – Always insure cheap guns and armor. If you die but no one takes it, you get it back after 24 hours.
- Bind Medical Items – Put a bandage, AFAK, Splint, and Hemostat in your pouch/container. Use hotkeys (4-9).
- Check Quests in Raid – Press Q to open task list. Always know what you need to find.
- Don’t fight every PMC – You will die. Avoid gunfights; let players pass. Noise attracts others.
- Don’t hoard everything – Your stash is tiny. Sell broken guns, low-tier armor, and excess ammo to traders.
- Don’t waste money on expensive gear – Use SKS (7.62x39) with PS ammo; it’s cheap and powerful. Avoid modded weapons early on.
- Don’t ignore healing – Bleeding or blacked limbs will kill you. Always carry a Car Kit or AFAK.
- Don’t run everywhere – Loud footsteps attract scavs and players. Walk (Caps Lock or Alt+W) in open areas.
- Don’t use bad ammo – Check ammo penetration values (e.g., 7.62x39 PS good; 9x19 Pst gzh decent). Avoid 5.45 BT or 7.62x39 HP for armor.
- Moving too fast – Slow down, listen, spot enemies. Use shift to sprint only in danger.
- Not using audio – Tarkov is about sound. Wear headphones (real life) and in-game headset (e.g., Sordin).
- Overweight – If your weight is >40kg, you move slowly and make noise. Drop backpack in cover while looting.
- Wrong ammo for weapon – Use the correct caliber! 5.45 doesn’t fit 7.62.
- Ignoring extract points – Always have a map open. Learn landmarks: Customs: dorms, construction, old gas station.
- Selling items to wrong trader – Check on wiki: Prapor pays for guns, Therapist for meds, Skier for gear. Always sell to highest value.
- Not using secure container – Put your best loot inside (e.g., flash drives, keys). If you die, they stay with you.
- Scav on solo all the time – You can group with friends or random players (but randoms may betray). Solo is harder but common.
- [ ] Purchase and install Escape from Tarkov.
- [ ] Create BattleState account and log in.
- [ ] Select faction (USEC recommended for standard edition).
- [ ] Play at least 3 offline raids on Factory (PvE enabled) to practice movement, looting, healing, and extracting.
- [ ] Learn all extracts for Customs (look up map).
- [ ] Complete Prapor’s first quest “Debut” – Go to Customs, find Salewa (in lockers or med bags), survive. Hand over to Prapor.
- [ ] Play as your Scav as soon as it’s ready (Factory or Interchange). Loot everything and extract.
- [ ] Organize stash: sell broken guns and low-tier items to traders. Keep only what you need.
- [ ] Bind medical items to hotkeys (4-9).
- [ ] Insure your starting gear before first PMC raid.
- [ ] Set graphics settings: low shadows, TAA high, fullscreen. Turn off V-sync.
- [ ] Review keybindings and remap if necessary (e.g., push-to-talk for VoIP).
- [ ] Read the Tarkov Wiki for beginner quests (Debut, Search Mission, etc.).
- [ ] Watch a beginner guide on YouTube (e.g., Pestily’s Raid series).
#### In-Raid HUD
Essential Early Objectives
1. Complete Prapor’s first quest “Debut” – Survive a raid on Customs and hand over a Salewa (medical kit) or find it in raid. This rewards XP, money, and reputation.
2. Learn one map thoroughly – Customs is the most common early map (quests). Learn extracts: Smuggler’s Boat, ZB-1011, RUAF Roadblock, etc. Use map tools (second monitor or mobile app like Tarkov Wiki).
3. Survive as a Scav – Every 20 minutes, play a scav run on Factory or Interchange to loot free gear and learn combat.
4. Save every FIR (Found In Raid) item – Many early quests require specific items (e.g., Salewa, Dry Fuel). Keep at least one of each.
5. Unlock Flea Market – Reach level 15 to buy/sell any item. Focus on questing to level up fast.
What to Do First
What to Avoid
Early Resource Priorities
1. Secure Container – Upgrade to Beta (from Prapor quests) or Gamma (Edge of Darkness). Always put keys, expensive meds, and valuable loot inside.
2. Keys – Reserve your best keys for high-traffic maps (e.g., Customs marked room, Interchange tech stores).
3. Medical Supplies – AFAK, bandages, splints, hemostats, and propital/alum. Always keep at least 2 of each in stash.
4. Ammo – Stockpile 7.62x39 PS (SKS/AK) and 5.45x39 BT (AK-74). Check caliber vs armor.
5. Backpacks & Vests – Keep at least one MBSS or Berkut backpack and a cheap rig (e.g., M1, Voice Activated).
6. Food & Water – Have some MREs or crackers in stash for scav runs. You need them to heal hydration/energy.
7. Tools & Tech – Keep screws, bolts, nuts, capacitors for hideout upgrades (generator, water collector).
Common Beginner Mistakes
Day-One Checklist
Remember: Death is learning. Each raid teaches you map knowledge, spawns, and player habits. Don’t get discouraged. Good luck, and welcome to Tarkov.