Getting Started
Grand Theft Auto: San Andreas – Getting Started Guide for New Players
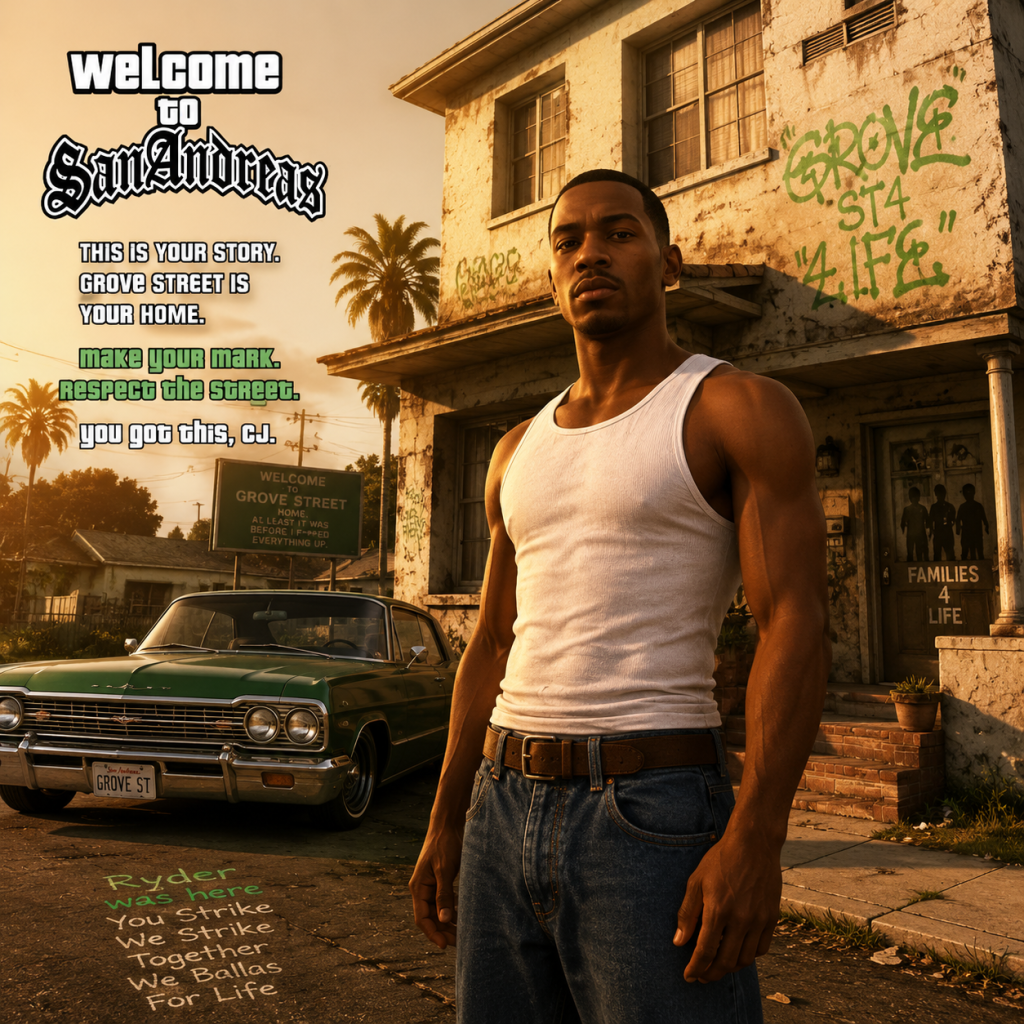
Welcome to San Andreas! This guide will get you through your first hour, explain the controls and UI, and set you up for success. Follow along step-by-step.
First Hour Walkthrough: From the Intro to Grove Street
1. The Opening Cutscene – You’re Carl “CJ” Johnson, returning to Los Santos after five years. Watch the cinematics to understand the story: your mother’s death, your brother Sweet, sister Kendl, and the tensions with the Ballas gang.
2. The Airport – After the cutscene, you control CJ at Los Santos International. Walk forward to exit the terminal. A taxi is waiting – get in automatically by pressing the Enter Vehicle button (see controls below).
3. Ride Home – The taxi takes you to Grove Street. During the ride, you’ll learn about the city through radio and dialogue. You cannot skip this ride, but pay attention to the landmarks.
4. Arriving at Grove Street – You’ll be dropped in front of CJ’s house. Enter it (walk up to the yellow icon). Inside, save your game by walking to the bed and pressing the interact button. This is your first save – do it!
5. First Missions – Exit the house and follow the yellow marker on your mini-map to start “The Introduction” mission series. You’ll meet Sweet, Ryder, Big Smoke, and take out some Ballas. Follow the on-screen prompts. Your first real mission is “In the Beginning…” (bicycle chase) then “Ryder” (drive-by shooting).
Tip: You cannot save freely until you complete the introductory missions. The first few missions are linear but teach you basic controls.
Character Creation? (No – CJ is Fixed)
GTA: San Andreas does not have character creation. You play as Carl Johnson, a preset protagonist. However, you can customize CJ’s appearance later: clothes, haircuts, tattoos, and even body fat/muscle through eating and exercise. But for the first hour, you’re stuck with his default look.
Controls on All Platforms
Here are the default controls for the most common platforms. Note that you can change them in the Settings menu.
#### PC (Keyboard + Mouse)
| Action | Key |
|---|---|
| Move | W, A, S, D |
| Look | Mouse |
| Run (hold) | Shift |
| Jump | Space |
| Enter/Exit Vehicle | F |
| Accelerate (vehicle) | W |
| Brake/Reverse | S |
| Shoot | Left Mouse Button |
| Aim | Right Mouse Button (hold) |
| Change Weapon | Mouse Wheel or 1-9 |
| Pause Menu | Escape |
| Save Game (bed prompt) | F (interact) |
#### PlayStation (PS4/PS5 – via backward compatibility)
| Action | Button |
|---|---|
| Move | Left Stick |
| Look | Right Stick |
| Run (hold) | R2 (while moving) |
| Jump | X |
| Enter/Exit Vehicle | Triangle |
| Accelerate (vehicle) | R2 |
| Brake/Reverse | L2 |
| Shoot | R1 |
| Aim | L1 (hold) |
| Change Weapon | D-Pad Left/Right |
| Pause Menu | Options |
| Interact | X |
| Action | Button |
|---|---|
| Move | Left Stick |
| Look | Right Stick |
| Run (hold) | Right Trigger (RT) while moving |
| Jump | A |
| Enter/Exit Vehicle | Y |
| Accelerate (vehicle) | RT |
| Brake/Reverse | LT |
| Shoot | Right Bumper (RB) |
| Aim | Left Bumper (LB) hold |
| Change Weapon | D-Pad Left/Right |
| Pause Menu | Menu button |
| Interact | A |
#### Nintendo Switch
| Action | Button |
|---|---|
| Move | Left Stick |
| Look | Right Stick |
| Run (hold) | R (shoulder) while moving |
| Jump | B |
| Enter/Exit Vehicle | X |
| Accelerate (vehicle) | R |
| Brake/Reverse | L |
| Shoot | ZR |
| Aim | ZL (hold) |
| Change Weapon | D-Pad Left/Right |
| Pause Menu | + |
| Interact | A |
- Left side: Virtual joystick for movement
- Right side: Swipe to look, tap to shoot, icon for jump, run, enter vehicle, etc.
- Weapon wheel: Tap weapon icon.
- Pause: Three-line menu icon.
- Driving: Tilt device or use virtual steering wheel (configurable).
- Top-left corner:
- Top-right corner:
- Bottom-center:
- Mini-map (bottom-left):
- Radar blips:
- Pause Menu (Escape/Options):
- Save after every mission. Use the bed in your safehouse. If you die or get arrested, you’ll lose weapons and money.
- Stick to story missions until you have a decent weapon and some cash.
- Collect hidden items (horseshoes, oysters, tags) only if you want 100% completion – not essential early.
- Use the map to set waypoints: Right-click on map to place a yellow marker; your mini-map will guide you.
- Roam around Los Santos to learn street layout – runs will be easier.
- Buy a Bicycle from the BMX shop near the beach? Can be fun, not necessary.
- Do not start gang wars (green territory markers) until you’re well-equipped – you’ll get overwhelmed. They appear after a certain mission.
- Avoid killing police or civilians – wanted level escalates quickly. If you get stars, lose the cops by hiding out of sight or getting to a Pay ‘n’ Spray (garage icon on map) to change license plate.
- Do not waste money on clothes or tattoos early – you need cash for armor, weapons, and progress.
- Do not try to swim in the ocean – your swimming skill is low; you’ll drown. Stick to pools (can respawn).
- Do not skip the driving tutorial in the first mission – you need to learn braking and reverse for missions.
- [ ] Complete the opening cutscene and airport walk.
- [ ] Save at Grove Street safehouse (bed).
- [ ] Finish the first three missions: “In the Beginning…”, “Ryder”, “Tagging Up Turf”.
- [ ] Purchase a body armor from Ammu-Nation (west of Grove Street near the Cluckin’ Bell).
- [ ] Do 3-5 taxi missions (green icon near your safehouse) to earn $200+.
- [ ] Buy a cheap meal (Cluckin’ Bell – $10) to eat.
- [ ] Save again after earning money.
- [ ] Learn to drive: steal a car, drive around for 5 minutes, practice braking and reversing.
- [ ] (Optional) Visit a gym – available after mission “Rock?” Not yet. ‘In the Beginning’ unlocks gym? Actually gym unlocks after “Burning Desire”? Not immediate. But check if any gym icon appears. If not, skip.
- [ ] Set a waypoint to the next story mission (yellow marker) and complete it.
- [ ] Save before quitting.
Tip: On mobile, you can connect a Bluetooth controller for better experience; controls then mirror PlayStation/Xbox.
UI Overview: What All Those Icons Mean
The HUD (Heads-Up Display) is split into sections:
- Money – green dollar amount. You start with $0; earn through missions, robbing, etc.
- Respect – a purple bar that fills as you do gang missions or impress others. Needed to recruit gang members later.
- Fat/Muscle/Stamina – visible as bars when you pause (Stats page). Affects speed, health, melee damage.
- Health (green bar) – take damage, it goes down. Die = respawn at hospital with $100 loss.
- Armor (blue bar) – protects health; you can buy body armor at Ammu-Nation (stores). Pick up from police or enemies.
- Weapon icon – shows current weapon. Use mouse wheel or D-pad to cycle.
- Ammo count – bullets remaining / total rounds.
- Shows surrounding area, roads, icons for missions (yellow), safehouses (green), businesses (various). Your character is a small arrow. Enemy gangs appear as red or purple if you’ve started gang wars? Not immediate.
- Yellow markers – main story missions.
- Green markers – side missions (e.g., taxi, ambulance).
- Red markers – rival gang territory (unlocked later).
- $ sign – money-making opportunities.
- Clothing hanger – clothing stores.
- Cross – hospital / police station (respawn points).
- Stats – progress, skill levels (driving, guns, etc.).
- Map – large view, can set waypoints (press right mouse button on map).
- Mission – current objectives.
- Options – graphics, audio, controls.
- Save – only allowed at safehouses (your bed).
Essential Early Objectives: What You Should Do in the First Few Hours
1. Complete the first three missions in order: “In the Beginning…”, “Ryder”, “Tagging Up Turf”. These unlock basic mechanics (bicycle, driving, spray painting) and open the map slightly.
2. Buy or find a safehouse: After “Ryder” you get access to your own house near Grove Street. Save there regularly.
3. Earn your first weapon: After “Tagging Up Turf” you’ll get a pistol from the mission. Also, you can find a baseball bat or knife in backyards. Don’t buy weapons yet – save money.
4. Learn to drive: Steal a car (press enter vehicle button near any car). Practice driving with braking and turning. Avoid crashing into cops – they will give you a wanted level.
5. Do a side hustle: Taxi missions (green icon) earn quick cash. Drive around picking up fares. Start with 5 missions to earn a bit of money and unlock taxis as fast travel (pay phone near safehouse).
6. Eat to maintain health: Your hunger depletes over time. If you don’t eat, health won’t regenerate. Eat at Cluckin’ Bell (fast food) – buy a meal for $10-20. Don’t overeat – if you get fat, stamina suffers.
What to Do First and What to Avoid
DO:
AVOID:
Early Resource Priorities: Money, Weapons, Health
1. Money – Earn at least $500 quickly for a body armor and a good weapon. Missions give $100-200 each. Taxi missions give $50 per fare. Also, you can rob houses (some side quests) or collect money from dead enemies.
2. Weapons – The best early weapon is the Pistol (from the mission or buy at Ammu-Nation for $200). After that, the Micro SMG is excellent but costs $500 – wait until you have armor first. Melee weapons are free but weak.
3. Body Armor – Buy from Ammu-Nation for $150. Pick up from fallen enemies. Armor doubles your survivability.
4. Health Regeneration – Eat food or sleep (save) to restore health. Wanted level prevents health regen? Actually health only regens if you’re not starving? No, health slowly regens over time, but eating full meals speeds it. Better to save at bed to instantly restore health.
5. Vehicle – Steal a cheap car like a Sentinel or a bike. Avoid sports cars – they attract police. Learn to use a car with good handling (e.g., Solair, Premier).
Common Beginner Mistakes and How to Avoid Them
1. Not saving often – You lose progress. Save after every mission or purchase.
2. Using wanted level to drive fast – Chasing cops leads to more stars. Stay under the speed limit? No speed enforcement. Just avoid bumping into cops.
3. Failing to eat – If your stomach icon is red, you can’t regenerate health. Eat at a fast-food place or a restaurant.
4. Skipping main missions for side activities – Some side stuff is locked until you progress. Focus on story until you unlock safehouses with garages.
5. Buying expensive vehicles – Cars are easily stolen. Save money for weapons and armor.
6. Ignoring gym training – After a few missions, you can join a gym (e.g., in Los Santos). Building muscle increases melee damage and stamina. It’s worth a detour.
7. Trying to swim across water quickly – Your swimming skill starts low; you’ll tire and drown. Only swim in shallow pools early on.
8. Running out of ammo – Mission enemies drop ammo. Loot them. Also buy ammo from Ammu-Nation.
9. Getting lost – Use the map’s waypoint. The mini-map is your best friend.
10. Not using the save slot system – Use multiple save slots (max 8). Save before major missions in case you fail and lose money.
Day-One Checklist: Your First Session
Pro tip: If you want a head start, you can find hidden money pickups (e.g., $50 behind The Johnson House, $100 near the basketball court). But honestly, mission rewards are better.
Enjoy your time in San Andreas, CJ! Take it slow, explore, and don’t be afraid to fail. The first few hours set the stage for an epic adventure.