Getting Started
Getting Started Guide for Hollow Knight
Welcome to Hallownest, a vast and ancient kingdom full of secrets, dangers, and beauty. This guide will help you survive your first hours and avoid common pitfalls that frustrate new players.
First Hour Walkthrough (Spoiler-Free)
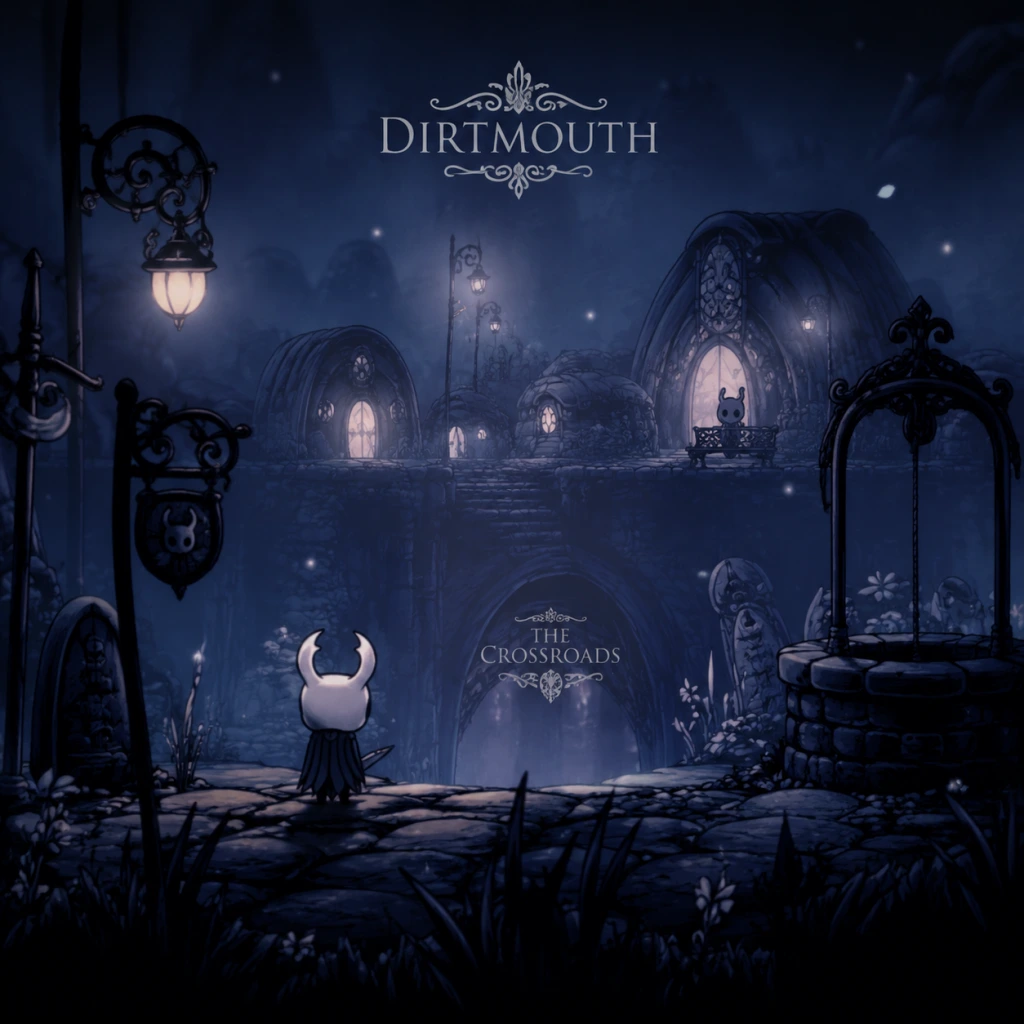
1. Begin in Dirtmouth: After a brief cinematic, you awaken in the town of Dirtmouth. Talk to the Elderbug (the old man near the bench) for a simple greeting. He gives you the Wayward Compass charm later—stay tuned.
2. Enter the Well: Drop down the well in Dirtmouth to reach the Forgotten Crossroads. This is your first real area.
3. Explore Carefully: Follow the linear path. You’ll encounter your first basic enemies: Crawlers and Wandering Husks. Learn to attack (default: X on controller, J on keyboard) and dodge.
4. First Bench: You’ll find a bench in a small room right after the first few enemies. Rest here to save your game. Benches are your save points; always rest when you see one.
5. Meet Cornifer: Listen for humming. Follow the sounds to find Cornifer, the cartographer. Pay him 60 Geo for the Forgotten Crossroads map. Maps are essential; always buy them immediately.
6. Get the Quill: After buying the map, explore until you find a bench. Rest, and Iselda (the map shop owner) will appear in Dirtmouth. Return to her and buy the Quill for 30 Geo. The Quill lets you fill in your map as you explore.
7. Find the Compass: After buying the Quill, Iselda will also sell the Wayward Compass charm (220 Geo). This charm shows your location on the map. Highly recommended for first-timers.
8. Explore More: Now you can safely navigate. Head toward the glowing “?” on your map—that’s the first major boss, the False Knight. But you can explore other paths first.
Character Creation
There is no character creation in Hollow Knight. You play as the Knight, a silent vessel. You choose only a name at the start (entered before the game loads). The name appears on your save file but doesn’t affect gameplay.
Controls (All Platforms)
PC (Keyboard + Mouse) – Default:
Move: Arrow keys or WASD (WASD recommended)
Attack: J (default), but can be remapped to left click
Jump: K (or Space)
Dash: L
Quick Cast (Spell): Q (or left shift)
Focus (Heal): Hold J while having Soul
Dream Nail: Down arrow + Attack (or assign separately)
Super Dash: Hold Dash while running (needs upgrade)
Map: Tab
Inventory: I
Nintendo Switch (Joy-Con or Pro Controller):
Move: Left stick or D-pad
Attack: Y
Jump: B (or A, depending on region)
Dash: A (or B)
Quick Cast: R (right bumper)
Focus: Hold Y
Map: — (minus) button
Inventory: + (plus)
PlayStation (PS4/PS5):
Move: Left stick or D-pad
Attack: Square
Jump: Cross (X)
Dash: Circle
Quick Cast: R1
Focus: Hold Square
Map: Touchpad (left side)
Inventory: Touchpad (right side)
Xbox (One/Series X|S):
Move: Left stick
Attack: X
Jump: A
Dash: B
Quick Cast: RB
Focus: Hold X
Map: View button
Inventory: Menu button
Tip: You can remap controls in the settings menu. Many players prefer to put Quick Cast on a trigger for faster spell use.
UI Overview
Top-left corner: Health (white masks). Losing all masks means death.
Top-center: Geo count (currency).
Top-right corner: Soul meter (white/black orbs). Filled by hitting enemies. Spend Soul on healing or spells.
Bottom-left corner: Equipped Charms (appear as icons).
Map overlay (press Tab or —): Shows explored areas, benches (blue markers), and important rooms.
Death: When you die, you lose all Geo (but not items) and respawn at the last bench rested at. Your Shade (dark ghost) appears where you died. Killing it returns your Geo. If you die again before reclaiming, the Geo is lost permanently.
Essential Early Objectives
1. Obtain the map for every area (buy from Cornifer).
2. Get the Wayward Compass charm (from Iselda after buying Quill).
3. Collect 50+ Geo for the quill and compass.
4. Find the first bench in each new area to save progress.
5. Defeat the False Knight to gain a City Crest and access to the City of Tears.
6. Find the first Dream Nail (requires defeating the Dream Warrior in the Resting Grounds; not urgent).
7. Obtain the Mothwing Cloak (dash ability) from the Greenpath area (accessible after False Knight).
What to Do First
Buy the map and quill immediately. Exploration is miserable without them.
Equip the Wayward Compass until you learn the layout.
Practice combat on weak enemies to learn attack range and timing.
Break empty Geo deposits (glowing orange piles) for free currency.
Talk to every NPC; many give hints or items.
Save often at benches.
What to Avoid
Don’t rush into unknown rooms—enemies may ambush you.
Don’t ignore benches—you will die and lose progress.
Don’t spend all Geo on consumables early on; save for maps, quill, compass, and later upgrades.
Don’t fight the first big enemy (False Knight) without upgrading your nail (though you can beat him with base nail—just harder).
Don’t waste Soul on healing during boss fights unless safe—you heal slowly and can be interrupted.
Don’t sell valuable items like Rancid Eggs or City Crest until you know their use.
Early Resource Priorities
1. Geo → First 220 Geo for compass, 30 for quill, 60 for map (total 310). Then save for: Lantern (1800 Geo, opens dark areas), Nail upgrades (250 Geo each at the Nailsmith).
2. Soul → Use for healing primarily in early game. Spells (Vengeful Spirit) are powerful but optional.
3. Charm Notches → Find charm notches (early ones: from Salubra in the Crossroads costs 120 Geo, and from a hidden room in the Crossroads). You need notches to equip charms.
4. Mask Shards → Collect 4 to increase max health. Early shard: Bretta’s house (need to rescue Bretta in Greenpath).
5. Vessel Fragments → Collect 3 to increase Soul capacity. Early fragment: in the Crossroads near the boss arena.
Common Beginner Mistakes
1. Not buying the map → Leads to confusion and frustration.
2. Not resting at benches → Lose progress after death.
3. Holding down attack → You can only swing once per press; spam is better.
4. Ignoring spells → Vengeful Spirit does massive damage and can destroy projectiles.
5. Panic healing → Heal only when enemies are staggered or far away.
6. Over-relying on the compass → Try to memorize landmarks; you have limited charm notches.
7. Trying to beat bosses too early → Some bosses are optional; explore other areas first.
8. Not using the Dream Nail → Later you can get essence from enemies; early it’s not crucial.
Day-One Checklist
- [ ] Start the game, name your Knight.
- [ ] Talk to Elderbug in Dirtmouth.
- [ ] Enter Forgotten Crossroads, find Cornifer, buy map (60 Geo).
- [ ] Rest at the first bench.
- [ ] Find Iselda in Dirtmouth, buy Quill (30 Geo) and Wayward Compass (220 Geo).
- [ ] Equip Wayward Compass (press Inventory, select charm, equip).
- [ ] Explore the Crossroads: break 2-3 Geo deposits, kill enemies for practice.
- [ ] Locate and rest at all benches in the area.
- [ ] Defeat the False Knight (boss) to get City Crest.
- [ ] Open the gate to Greenpath (requires City Crest).
- [ ] Save and quit (optional) – you’ve made great progress.
Remember: Hollow Knight rewards patience and curiosity. If you get stuck, backtrack and try another path. Use the map, listen for Cornifer’s humming, and never be afraid to die – you’ll learn each time. Good luck, little ghost. Hallownest awaits.