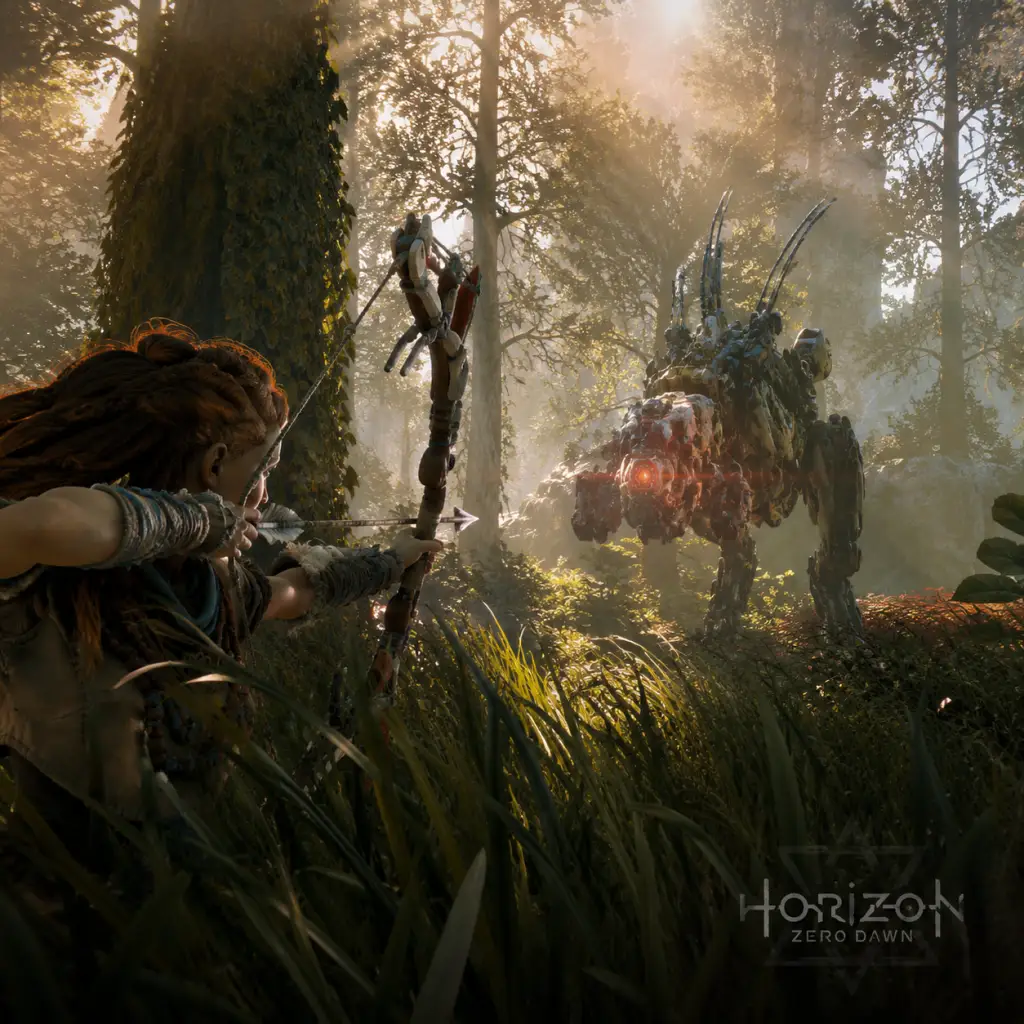
Getting Started
Getting Started: Horizon Zero Dawn
Welcome to the world of Horizon Zero Dawn. This guide is designed for brand-new players to help you survive the first few hours, understand the basics, and avoid common pitfalls. You play as Aloy, an outcast Nora tribeswoman who must uncover the mysteries of a lost civilization while hunting robotic machines. There is no character creation—Aloy’s appearance and background are fixed, so you can jump straight into the story.
---
First Hour Walkthrough
Your first hour will take you through the tutorial area and into the first major quest. Follow this path:
1. Opening Cutscene & Prologue (0–5 minutes)
- Watch the cinematic introducing Aloy as a baby and the world. No player input needed.
- You’ll gain control as child Aloy. Follow the linear path, interact with glowing focus (press R3/right stick on controller or F on PC) to trigger memories.
- Climb ledges using X (PlayStation) / Space (PC) / A (Xbox controller).
2. Learning the Basics (5–15 minutes)
- Young Aloy meets Rost, your mentor. He’ll teach you to sprint (press L3), crouch (Circle / C), and shoot a sling.
- Complete the target practice with the sling. Aim with L2 / right mouse, fire with R2 / left mouse.
- Climb the watchtower to trigger the next story beat.
3. The Proving (15–30 minutes)
- Time-skip to adult Aloy. You’ll participate in the Proving, a survival trial.
- Before the Proving, you can explore the village, talk to NPCs, and collect some resources (more on resources below).
- The Proving itself is a timed race: follow the waypoints, climb, and slide. No combat is required—just run and climb efficiently.
- After the Proving, a dramatic event unfolds. You’ll lose your gear temporarily but regain it shortly after.
4. First Steps into the Open World (30–60 minutes)
- You’ll receive the Focus (if you didn’t have it earlier) and your first bow. The world opens up near the Embrace.
- Use your Focus to scan machines and learn their weaknesses (press R3 / F).
- Complete the first few main quests: "The Womb of the Mountain" and begin "A Gift from the Past".
- By the end of the hour, you should have completed the initial tutorial area and be in the open world. Save your game at a campfire.
---
Controls on All Platforms
Horizon Zero Dawn supports PlayStation 4/5, PC (keyboard & mouse), and PC with controller.
PlayStation (4/5) Default Controls
| Action | Button |
|---|---|
| Move | Left stick |
| Camera | Right stick |
| Sprint | L3 (click stick) |
| Crouch | Circle |
| Jump / Climb | X |
| Interact / Loot | Triangle |
| Use Focus | R3 (click stick) |
| Shoot (bow) | R2 |
| Aim (bow) | L2 |
| Melee attack | R1 |
| Heavy attack | Hold R1 |
| Dodge | Square |
| Weapon wheel | L1 |
| Tool / Potion wheel | D-pad left/right |
| Map | Touch pad |
| Pause | Options |
PC (Keyboard & Mouse) Default Controls
| Action | Key / Mouse |
|---|---|
| Move | W/A/S/D |
| Look around | Mouse |
| Sprint | Shift (hold) |
| Crouch | C |
| Jump / Climb | Space |
| Interact / Loot | E |
| Use Focus | F |
| Shoot (bow) | Left mouse button |
| Aim (bow) | Right mouse button |
| Melee attack | R |
| Heavy attack | Hold R |
| Dodge | Q |
| Weapon wheel | Tab (hold) |
| Tool / Potion wheel | 1–4 keys |
| Map | M |
| Pause | Esc |
PC (Controller) – Same as PlayStation but button prompts match your controller.
Tip: You can rebind controls in the Options menu. On PC, both keyboard and controller can be used simultaneously.
---
UI Overview
The heads-up display (HUD) provides vital information:
- Health Bar – Top-left corner (green). When it turns red, you’re critically injured. Use medicinal plants to heal (hold D-pad up to consume).
- Weapon/Tool Icons – Next to health bar. Shows equipped weapon (bow, sling, etc.) and ammo type. Use weapon wheel (L1/Tab) to switch.
- Compass – Top center. Shows cardinal directions and icons for quests, waypoints, and points of interest.
- Focus Mode – When active, the screen desaturates and highlights enemies, lootable items, climbable surfaces, and machine weak points. Press R3/F to toggle.
- Machine Information – When scanning with Focus, a small window shows the machine’s name, health, components, and elemental weaknesses.
- Resource Counter – Bottom-right shows Metal Shards (currency) and other key inventory items.
- Quest Tracker – Left side, shows current objective name and optional objectives.
Pro Tip: You can adjust HUD visibility in Settings > General > HUD. New players may want to set it to "Always On" until they get comfortable.
---
Essential Early Objectives
In your first few hours, prioritize these goals:
1. Complete "The Womb of the Mountain" – This main quest teaches you to use your Focus and fight basic machines (Watchers, Striders). It ends with you leaving the Sacred Lands.
2. Unlock the Skill Tree – After gaining a few skill points, invest in the Prowler tree: Lure Call and Concentration (slows time while aiming) are early game-changers.
3. Craft a Health Potion and a Fast Travel Pack – Gather medicinal plants (blue flowers) and trade with merchants or craft at workbenches.
4. Unlock the Carja merchant at Mother’s Heart – Sell excess machine parts and buy better weapons (hunter bow, tripcaster).
5. Explore the area around the first Tallneck – Overriding Tallnecks reveals the map. The first Tallneck is near the city of Meridian (accessible after the main quest "The City of the Sun").
6. Complete side quests – They reward skill points, resources, and lore.
---
What to Do First and What to Avoid
Do First:
Scan every new machine with your Focus to learn its weaknesses (fire, freeze, shock, etc.). Mark components for easier aiming.
Craft arrows immediately. Wood from trees, Ridge-Wood from bushes, and Metal Shards from loot. Don’t run out of ammo.
Use stealth – Crouch in tall grass, whistle to lure enemies away, and use silent strike (press R1/R from behind) to one-shot weak enemies.
Collect everything – Medicinal plants, wood, rocks, machine parts. You’ll need them later.
Override basic machines (Striders, Watchers) for mounts. This requires the Override skill from the Prowler tree.
Save at campfires often (manual save available).
Avoid:
Don’t fight large machines early – Sawtooths, Scrappers, and especially Thunderjaws will kill you in 1–2 hits. Sneak around them until you have better gear and skills.
Don’t ignore the weapon wheel – You can slow time (with Concentration skill) to pick ammo types. Always have fire and shock arrows ready.
Don’t sell all machine parts – Some are needed for upgrades or quests. Keep things like Lenses, Hearts, and Braiding.
Don’t fast travel excessively – You’ll miss valuable resources and side quests. Walk or ride a mount.
Don’t neglect side content** – The main quests are great, but side quests provide essential XP, money, and lore.
---
Early Resource Priorities
| Resource | Use | Where to Find |
|---|---|---|
| Metal Shards | Currency, crafting ammo | Loot from machines, containers, merchants |
| Wood / Ridge-Wood | Crafting arrows (most important) | Bushes and trees (always pick up) |
| Medicinal Plants | Craft health potions | Blue flowers near water or in forests |
| Machine Cores | Crafting better ammo and upgrades | Looted from dead machines |
| Wire | Crafting shock ammo | Scavenged from machines, bought from merchants |
| Blaze | Crafting fire ammo | Found in machines weak to fire (Scorcher, etc.) |
| Chillwater | Crafting freeze ammo | Same as Blaze but from freeze-vulnerable machines |
| Sturdy Parts | Upgrading pouches (carry capacity) | Looted from adult machines |
---
Common Beginner Mistakes
1. Not using the Focus – Many new players forget to scan enemies. Always scan before engaging.
2. Trying to fight like a traditional shooter – Horizon rewards stealth and tactical planning. Rushing in gets you killed.
3. Ignoring health – Don’t wait until health is critical. Heal often. Use potions or eat medicinal plants.
4. Hoarding skill points – Spend them as soon as you have one. Concentration (Prowler tree) is the first must-have skill.
5. Selling all machine parts – Keep at least 5–10 of each common part until you understand upgrades.
6. Not upgrading pouches – Visit merchants with Animal Skins (rabbit, boar, etc.) to increase carry capacity for arrows, potions, etc.
7. Ignoring the map – Set custom waypoints and use the compass. The world is large; you can get lost.
8. Failing to dodge – Master the dodge roll (Square/Q). It gives invincibility frames. Use it against heavy attacks.
9. Sticking with the starting bow – Buy a Hunter Bow (better stats) and Tripcaster (trap) from the first merchant near Mother’s Heart.
10. Fast traveling too much – You miss random encounters, bandit camps, and resource nodes. Save fast travel for long distances.
---
Day-One Checklist
Complete these tasks in your first play session (2–4 hours):
- [ ] Complete the opening prologue and become adult Aloy.
- [ ] Learn to sprint, crouch, climb, and use Focus.
- [ ] Win the Proving.
- [ ] Retrieve your gear and escape the ruins.
- [ ] Activate the first Tallneck (after reaching Meridian or the Carja encampment).
- [ ] Craft 50+ arrows (wood + metal shards).
- [ ] Buy a Hunter Bow from the merchant.
- [ ] Invest first skill point in Concentration (Prowler).
- [ ] Unlock Lure Call (Prowler skill) to distract enemies.
- [ ] Complete 2–3 side quests (e.g., help the village with machines).
- [ ] Collect at least 20 medicinal plants.
- [ ] Upgrade your Quiver (arrow pouch) at a merchant (requires animal skins).
- [ ] Save the game at a campfire.
- [ ] Override a Strider or Broadhead to ride as a mount.
Follow this checklist and you’ll be well prepared for the challenges ahead. Remember: patience, stealth, and preparation are your greatest allies. Good luck, Nora.