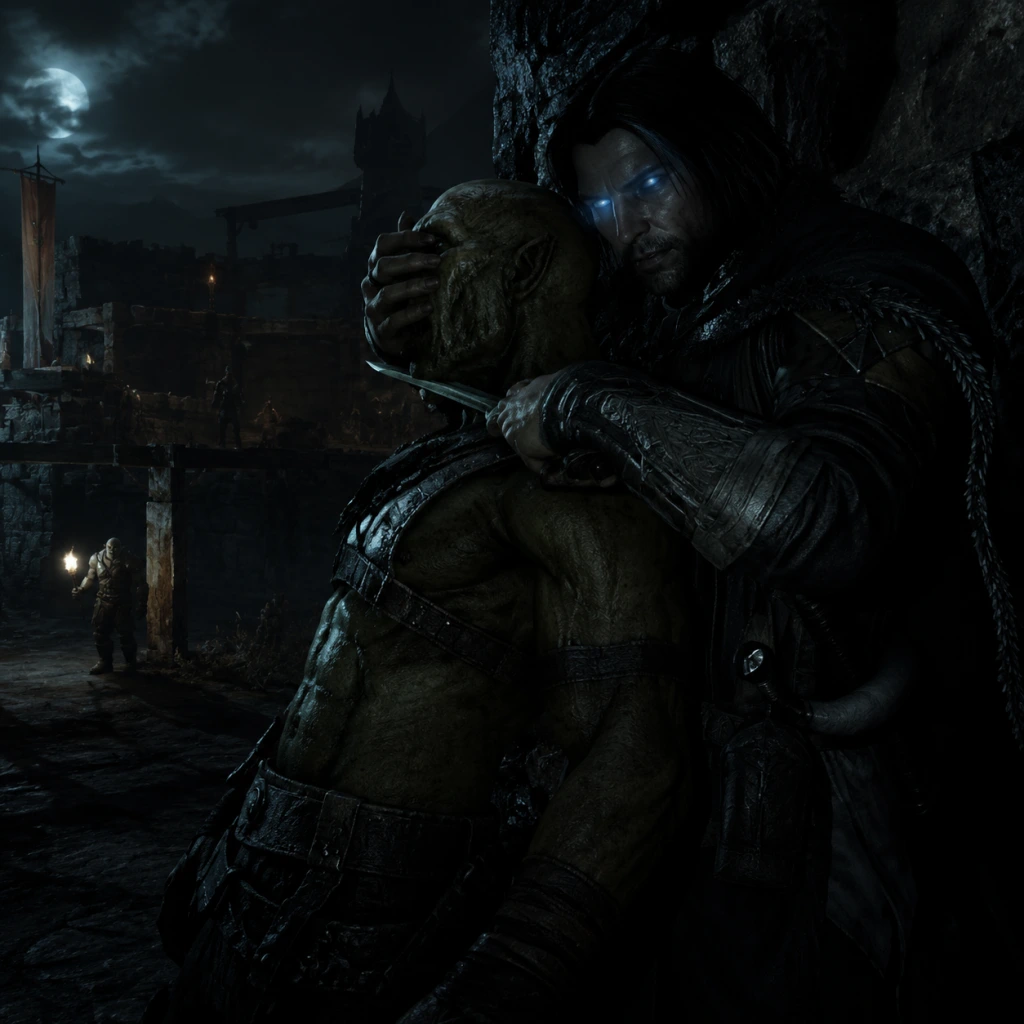
Game Tips
Game Tips
This section provides a comprehensive collection of tips for Middle-earth: Shadow of Mordor, organized by category. Each tip includes an explanation of why it works and when to use it, ranging from beginner-friendly fundamentals to advanced optimizations.
Beginner Tips
#### 1. Master the Counter Before Attacking
- What: Use the counter button (default: B on Xbox, Circle on PlayStation, Ctrl on PC) when an enemy flashes yellow just before attacking. Parry and instantly kill basic grunts.
- Why: Countering is the single most important defensive skill. It nullifies damage, interrupts enemy combos, and builds your combo multiplier safely. Without it, you will be overwhelmed quickly.
- When: In every engagement, especially when surrounded by 3+ enemies. Always prioritize countering over dodging when possible.
- What: Approach enemy camps or strongholds from high ground. Use the bow or stealth takedowns to eliminate archers and isolated warriors before the alarm is raised.
- Why: Uruks become significantly more dangerous when they have ranged support. Removing 4-5 enemies before open combat turns a 15-minute brawl into a 2-minute cleanup.
- When: Always before triggering a captain fight or entering a fortress. Use tall grass, wall ledges, and rooftops.
- What: Keep at least one Eärendil's Light (from spectral dash) or Wraith Flash available to disengage when health is low.
- Why: Dying is punishing because it empowers nemesis captains. Escaping to a safe area (like a tower) resets the encounter without giving enemies experience.
- When: Anytime you face a new, unknown captain or are below 30% health. Better to live and return stronger.
- What: Purchase the Wraith Finisher skill (second tier of Wraith abilities) which allows you to execute downed enemies instantly.
- Why: It greatly speeds up killing captains once their health is low. The skill can be upgraded to execute from any attack, making it a swift finisher.
- When: Start unlocking as soon as you have 3 skill points. It becomes essential for boss fights and crowd control.
- What: Focus on hitting multiple enemies in succession without taking damage. Each hit adds to the combo multiplier, which increases damage and unlocks special moves like Ground Execution or Charged Strikes.
- Why: The combo multiplier caps at 8x, which makes you a walking destroyer. High combo also unlocks the ability to use the Wraith Stun on multiple enemies simultaneously.
- When: During any large battle (8+ enemies). Use quick strikes and dodge/counter to maintain the streak. Avoid overcommitting to heavy attacks that interrupt the flow.
- What: When a captain starts an enrage animation (glowing red or shouting), shoot them with a charged headshot from the bow. This stuns and cancels the enrage.
- Why: Enraged captains gain damage resistance, faster attacks, and often can't be damaged by regular hits. Canceling the enrage keeps the fight manageable.
- When: Immediately when you see the captain stop moving and begin enrage. If you miss, dodge away until they calm down (about 5 seconds).
- What: Each captain has at least one weakness listed in the Nemesis menu (e.g., “Fear of Caragors,” “Weak to Stealth,” “Vulnerable to Ranged”). Exploit these.
- Why: Hitting a weakness deals massive damage, triggers a fear effect (causing the captain to flee), or grants an immediate execution opportunity.
- When: Before engaging a captain, check their profile. If they are afraid of beasts, summon a Caragor or Graug. If they are vulnerable to stealth, use an ambush from above.
- What: Unlock and use skills like “Chain of Shadows” (hit two enemies with one wraith flash) or “Blade Mastery” (increase critical hit chance).
- Why: These skills multiply damage output without extra effort. For example, Chain of Shadows allows you to stun and then execute two enemies in one move.
- When: Mid-game when you have 10+ skill points. Focus on passive upgrades that enhance your existing playstyle (e.g., stun-heavy or stealth-heavy).
- What: Activate the Wraith World vision (left bumper/L1/Shift) to see glowing blue outlines of artifacts, Ithildin, and hidden lore. These are scattered everywhere.
- Why: Collecting scrolls and poems unlocks power upgrades (like increased health, focus duration, or combo time). Also, finding all artifacts in a zone grants a massive XP and skill point bonus.
- When: Whenever you enter a new region, do a sweep using the tallest towers to scan for artifact locations. Prioritize the ones that give health upgrades.
- What: Unlock all Haedir towers in each region to enable fast travel. Each tower also reveals map icons (missions, camps, collectibles).
- Why: The map is huge. Running from one end to the other wastes time. Fast travel also resets enemy patrols and respawns resources.
- When: Immediately after arriving in a new area, climb the tower and activate it. Then use fast travel to return to the central hub for upgrades.
- What: Tame Caragors by stealth-killing them while mounted (approach from behind and press attack). Once tamed, you can ride them and command them to attack.
- Why: Caragors are faster than running, help in fights by biting captains, and can clear camps of archers quickly. They also distract enemies.
- When: After unlocking the ability to ride beasts (middle of the story). Use in open areas to travel faster, and in combat to overwhelm tough captains.
- What: Many caves, tombs, and hidden areas contain locked chests or runes that require you to solve simple puzzles (like activating pressure plates or destroying wall-mounted shields).
- Why: Epic and legendary runes provide major bonuses like +25% damage to caragors or +30% health regen. These runes can be slotted into your sword, dagger, or bow.
- When: Late-game when you have the Shadow Strike ability to teleport, as many puzzles require precision movement. Check the map for “?” icons.
- What: Mirian is the main currency for buying upgrades and rune slots. It drops from dead Uruks, treasure chests, and can be obtained by completing side missions.
- Why: Upgrades become very expensive. A single epic rune slot can cost 5000 Mirian. Without farming, you'll be broke.
- When: Always smash crates and loot bodies. Focus on “Treasure Hunt” missions (yellow circles) which give 200-300 Mirian each. Also, kill graugs (giant beasts) for 500 Mirian each.
- What: A skill that allows you to steal Mirian from stunned or downed enemies. Purchase it from the skill tree.
- Why: Each pickpocket yields 10-30 Mirian, and you can do it on every enemy before you kill them. Over a playthrough, this can net thousands of Mirian without extra effort.
- When: First 5 skill points. Combine with ground execution to kill after stealing.
- What: Runes you find can be duplicates. Go to the inventory screen and sell any rune you have more than one copy of. They give Mirian equal to 10% of their base value.
- Why: Frees up inventory and provides quick cash for upgrades. Legendary duplicates sell for 200+ Mirian.
- When: After each major battle, check your runes. Sell duplicates unless you need multiple for different weapons (e.g., two health runes for sword and dagger).
- What: The forge in Udûn (near the tower) allows you to combine three runes of the same quality to create a new random rune of one tier higher (e.g., 3 common = 1 uncommon).
- Why: Turns useless common runes into potentially valuable epic ones. It's the best way to upgrade your gear late-game.
- When: Once you have 30+ common runes and a few duplicates. Save epic runes for combining into legendaries.
- What: Maximize the Wraith Flash and Wraith Stun skills, paired with runes that increase stun duration or area. Use the ability to freeze groups and then execute them one by one.
- Why: This build excels against large crowds and captains. A fully upgraded Wraith Stun can paralyze up to 10 enemies for 5 seconds, giving you time to kill captains without interference.
- When: Use whenever you are outnumbered 5:1 or more. Recommended runes: “Sparks of the Wraith” (increases stun radius) and “Eternal Stun” (extends stun duration by 2 seconds).
- What: Focus on stealth takedowns, silent running, and the ability to teleport between kills (Shadow Strike chain). Use runes that increase stealth damage and reduce detection range.
- Why: This build makes you invisible to enemies even in plain sight, allowing you to clear entire camps without a single combat. Excellent for missions requiring no alarms.
- When: For high-difficulty strongholds or when you want to complete side objectives quickly. Essential rune: “Shadowskin” (reduces detection time by 50%).
- What: Max out the bow skills, especially “Charged Shot” and “Spectral Dash (Ranged variant)”. Use runes that increase arrow damage and focus regeneration.
- Why: This build allows you to one-shot most Uruks from distance, even captains if you hit a weakness. Great for thinning out before melee.
- When: When facing enemy encampments with many archers or during caragor fights. Pair with a rune that gives +20% bow damage.
- What: The best legendary runes are: “The Bright Lord” (increases combo time), “The Wraith of Talion” (chance to fear on hit), and “Ungoliant's Bite” (all attacks poison).
- Why: These runes provide multiplicative bonuses that drastically alter combat. “Ungoliant's Bite” makes every hit weaken enemies over time, stacking with other effects.
- When: Equip on your primary sword once obtained. Farm legendary runes by killing epic captains (Warchiefs) or completing the “Lord of the Hunt” DLC.
- What: Outcast missions (purple circles) reward large amounts of XP and skill points. They involve freeing prisoners and often escalate into captain fights.
- Why: These missions are repeatable and provide the fastest XP gain outside of story missions. They also spawn new captains for the Nemesis System.
- When: Between story missions. If you ever feel underleveled, do 2-3 outcast missions.
- What: Each weapon (sword, bow, dagger) can hold up to 4 runes. Unlocking all slots costs Mirian (progressively more expensive: 500, 1000, 2000, 4000).
- Why: Runeless weapons are weak. Having 4 epic runes on your sword can triple your damage output.
- When: Unlock slots in order: first slot early (very cheap), then second mid-game, third late, and fourth only if you have surplus Mirian.
- What: Captains you spare or die to grow stronger, gain iron will (unable to be dominated), and develop new traits. Use this to create challenging endgame bosses.
- Why: The system generates unique stories. If you want a specific captain with many weaknesses (for easy domination), let them kill you twice to boost their power then dominate them for a powerful ally.
- When: Late-game when you have all skills. For example, let a weak captain kill you so he becomes a Warchief, then dominate him to control an entire fortress.
- What: When you are hit with a killing blow, a quick-time event appears (press the attack button repeatedly). Successfully completing it kills the attacker and restores health.
- Why: This can turn around a losing fight. The timing is generous but requires focus. Use it as a safety net, not a strategy.
- When: When surrounded and low health. Prioritize surviving to trigger it then counter-attack.
- What: Walls, cliffs, and fire pits can be used to kill or incapacitate enemies. For example, knock an Uruk into a fire pit to set him ablaze, causing panic among other soldiers.
- Why: Environmental kills instantly defeat enemies, and the panic effect spreads to other Uruks, causing them to flee or hesitate.
- When: In strongholds with many hazards. Lure enemies near ledges and use a charged attack to knock them off.
- What: A skill unlocked mid-game that allows you to teleport to a targeted enemy within range (by pressing the bow button while aiming). Can be upgraded to chain multiple strikes.
- Why: This is the best mobility tool. Use it to close distance to a captain, escape a tight spot, or reposition instantly.
- When: Always when fighting large groups. Use it to zip between archers on rooftops or to dodge a heavy attack.
- What: Once you unlock the ability to dominate captains (after the story mission “The One Ring”), you can turn them into allies. Send them to attack fortresses or defend regions.
- Why: Dominated captains fight for you during sieges, vastly reducing difficulty. You can also order them to kill other captains, weakening the enemy hierarchy.
- When: After reaching level 15+. Dominate all captains with fear weaknesses for best results.
- Note: In original releases, you could dominate a warchief by attacking them while they are in a caragor fight. This is patched in most versions, but still useful to know for legacy copies.
- Alternative: If you need to dominate a warchief, bring a Graug or Caragor to the fight to distract him, then use the Wraith Flash to stun and dominate.
- What: The DLC introduces new enemies and beast-rider abilities. Playing it first can be very difficult.
- Why: The main story gives you essential skills and runes. The DLC assumes a leveled character.
- When: After completing the main campaign and unlocking all skills, then start the DLC for a fresh challenge.
- What: Pause during combat by pressing the photo mode key (P on PC). This gives you a free camera to assess the battlefield.
- Why: Helps you plan next moves, check for remaining enemies, or find a safer spot.
- When: During intense boss fights with many captains. Not available on consoles.
- What: Yellow icons on the map represent not just missions but also impromptu fights between rival captains and caragors. Intervene to earn Mirian and ride runes.
- Why: These events are the main source of XP and Mirian outside of main quests. They also advance the Nemesis System.
- When: Whenever you have free time. They are infinite and respawn quickly.
- What: Health upgrades are hidden in Gondorian artifacts. There are exactly 5 in each region (and 1 extra from the final story mission).
- Why: Without them, your health stays at 3 bars. With all, you get 6 bars, effectively doubling survivability.
- When: Find all artifacts in the first region (Udûn) before tackling the second region (Nurnen).
- What: These replayable missions (green circles) reward a specific rune on first completion. Subsequent completions give Mirian.
- Why: Some of the best runes (like “The Wraith of Talion”) come from these missions. Do them as soon as they appear.
- When: Right after unlocking them, as runes are essential.
#### 2. Use Stealth to Thin the Herd
#### 3. Always Have a Plan to Escape
#### 4. Invest in the Wraith Finisher Early
Combat Tips (Intermediate)
#### 5. Build Combo with Hit Streaks, Not Kills
#### 6. Use Ranged Attacks to Interrupt Captain Enrage
#### 7. Know the Elemental Weaknesses of Captains
#### 8. Chain Combo from Mastery Skills
Exploration Tips (Advanced)
#### 9. Use the Wraith World (Gondorian Artifacts) to Uncover Secrets
#### 10. Fast Travel Is Your Best Friend
#### 11. Ride Caragors for Speed and Combat Assistance
#### 12. Explore Caves and Underground Passages for Epic Runes
Resources & Economy Tips
#### 13. Collect Mirian from Everything
#### 14. Invest in the “Pickpocket” Skill Early
#### 15. Sell Duplicate Runes
#### 16. Use the Forge to Combine Runes (Intermediate)
Builds & Optimizations
#### 17. The “Wraith Stun” Build (Advanced)
#### 18. The “Stealth Overlord” Build (Advanced)
#### 19. The “Ranged Assassin” Build (Intermediate)
#### 20. Legendary Rune Priority
Economy & Progression
#### 21. Complete all “Outcast” Missions for Fast XP
#### 22. Don't Neglect the Weapon Rune Slots
#### 23. The Nemesis System: Play the Long Game
Combat Mastery Tips (Advanced)
#### 24. The “Last Chance” Mechanic
#### 25. Use Terrain to Your Advantage
#### 26. The “Shadow Strike” Teleport
#### 27. Dominate Captains for Easy Siege
#### 28. The “Warchief” Domination Glitch (Fixed in Some Versions)
Final Progression Tips
#### 29. Save the “Lord of the Hunt” DLC for After the Main Story
#### 30. Use the “Photo Mode” to Your Advantage in Combat (PC Only?)
#### 31. Always Check the Map for “Nemesis” Events
#### 32. The Importance of Health Upgrades
#### 33. Use the “Shadow of the Past” Missions for Runes
---
Remember: The Nemesis System thrives on player choices. Experiment freely, and don't be afraid to die—it creates memorable stories.