Core Gameplay
Core Gameplay
Overview of the Core Gameplay Loop
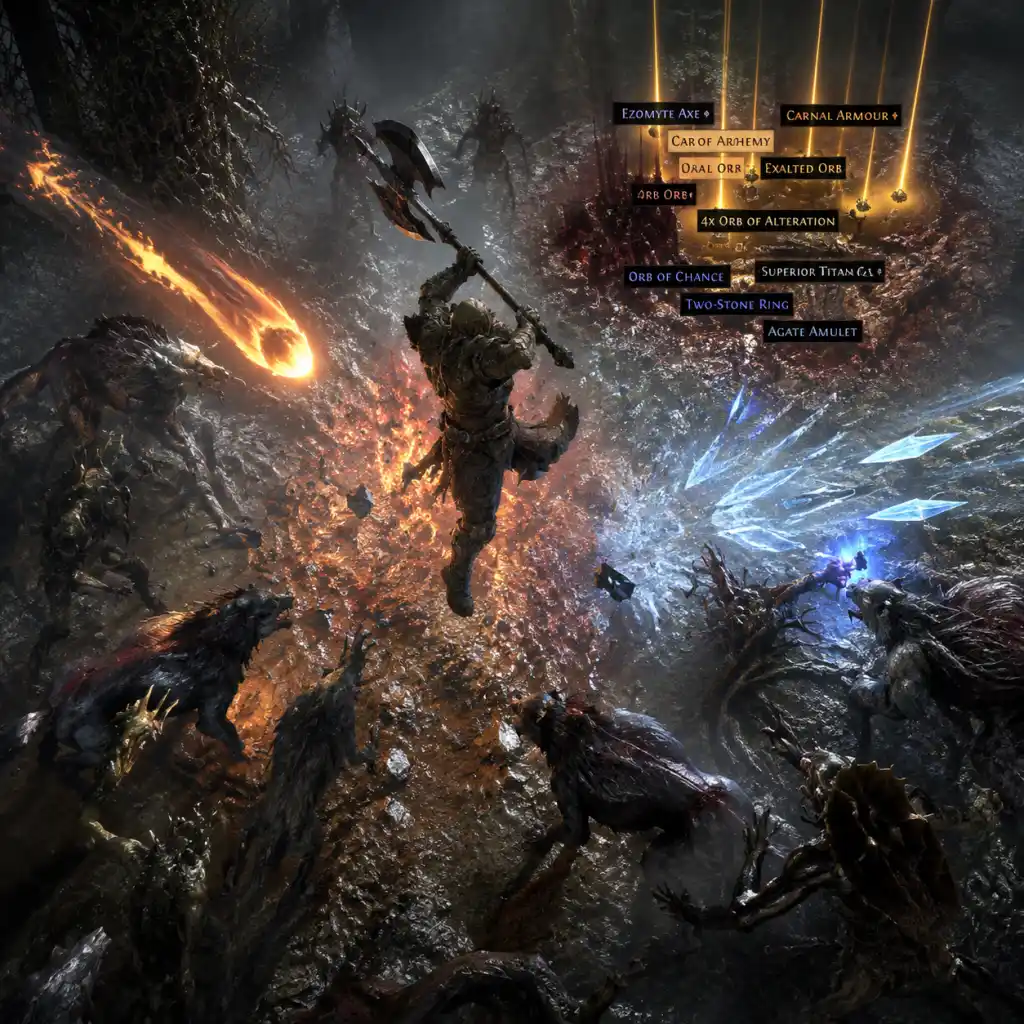
Path of Exile (PoE) is built around a relentless cycle: explore dangerous zones → slay hordes of monsters → collect loot and currency → upgrade your character's gear, skills, and passive tree → take on even tougher content. This loop repeats across the story acts and into the infinite endgame. Your ultimate goal is to create a powerful build capable of clearing screens of monsters, surviving deadly boss mechanics, and accumulating wealth to craft or trade for better equipment.
Combat & Interaction Systems
- Skills & Support Gems: All active skills come from skill gems socketed into gear. Support gems modify those skills (e.g., adding damage, area of effect, or multiple projectiles). Linking support gems to a skill gem in the same piece of gear (matching socket colors) empowers that skill. Example: "Fireball" linked with "Added Lightning Damage" and "Greater Multiple Projectiles" creates a volley of lightning-enhanced fireballs.
- Flasks (Potions): You have a belt of up to five flasks that restore life, mana, or provide temporary buffs (e.g., immunity, movement speed). On PC, flasks are bound to 1–5 keys; on console, they are assigned to R1/L1 + face buttons. Pressing a flask quickly can save your life – always keep them refilled (pressing 'R' on PC or down on d-pad on console refills from the ground).
- Movement & Positioning: Most builds use a movement skill like "Dash", "Flame Dash", or "Leap Slam" for mobility. Kiting, dodging telegraphed attacks, and using terrain are essential. Standing still is death.
- Targeting: On PC, you aim with the mouse cursor. On console, the game auto-targets the nearest enemy, but you can switch targets with the right stick. Skills like "Frost Blades" or "Arc" auto-target multiple enemies.
- Crafting & Interaction: You can interact with objects (chests, levers, altars) by pressing 'E' on PC or 'X' on console. The crafting bench in your hideout allows adding mods to gear using currency.
- Experience & Levels: Killing monsters grants experience. Leveling up gives passive skill points and improves life/mana.
- The Passive Skill Tree: A massive web of nodes. You earn one skill point per level and additional points from quests. Plan a path through the tree to reach keystones and cluster jewels that define your build.
- Ascendancy Classes: After completing the Lord's Labyrinth (first available in Act 3), you choose an Ascendancy subclass. Each Ascendancy offers specialized passives (e.g., Necromancer for minions, Slayer for two-handed melee). You must run the labyrinth multiple times (Normal, Cruel, Merciless, Endgame) to unlock all Ascendancy points.
- Quest Rewards: Main quests grant skill gems, support gems, passive points, and sometimes permanent stat bonuses. Side quests often give skill points or additional rewards like respec points.
- Main Story Quests: Spanning ten acts. They introduce zones, bosses, and mechanics. Example: The "Enemy at the Gate" quest (Act 1) takes you from Twilight Strand to The Coast, fighting Hailrake and eventually rescuing Tarkleigh.
- Side Quests: Often optional but highly recommended. For instance, "The Caged Brute" quest rewards an additional passive point. Some side quests are needed to unlock important features like the map device.
- League & Endgame Quests: After the story, the Atlas quest chain guides you through mapping and introduces endgame bosses like the Elder and the Shaper.
- Skill Gems: Level up your main skill gem and its supports. Higher gem levels = more damage. Support gems can be leveled for improved bonuses.
- Passive Tree Specialization: Focus on nodes that enhance your chosen skill (e.g., increased fire damage, projectile speed, life). Do not spread points too thin.
- Gear: Prioritize life, resistances (especially elemental resistances), and damage mods. As you progress, upgrade to 4-link and eventually 6-link gear to maximize damage.
- Ascendancy Progression: Run the Labyrinth at least twice to get your fourth ascendancy point (usually around level 35–40 for Normal lab, then 55–65 for Cruel lab). Ascendancy passives dramatically amplify your build's power.
- Bandits Quest (Act 2): You can choose to help one of three bandit groups or kill all. Each choice grants a passive benefit (e.g., +40 life, +8% attack speed, or one passive point). Check your build guide for the optimal choice.
- Atlas Progression: Complete maps to earn Atlas bonus completion, which increases the chance of higher tier maps dropping.
- Sirus, Awakener of Worlds: The main endgame boss after opening 32 watchstones.
- Conquerors of the Atlas: Four mini-bosses (Baran, Drox, Al-Hezmin, Veritania) that drop watchstones used to upgrade maps.
- Other Endgame Activities: Delve (infinite mine), Heist (thieving contracts), Incursion (time-travel temple), Blight (tower defense), Betrayal (spy network), and more. Each has its own progression and rewards.
- Bosses: Shaper, Elder, Uber Elder, Maven, The Feared, and others require specific map fragments and high-tier gear.
- Goal: Complete the first three acts, reach level 38–40, and finish the Normal Labyrinth.
- Combat: You have limited links (often 1- to 4-socket items). Use a main skill that clears efficiently (e.g., "Freezing Pulse" for spellcasters, "Sunder" for melee). Rely on life flasks heavily; abuse flasks to sustain mana.
- Gear: Focus on sockets and links over stats. Try to cap fire, cold, and lightning resistances at 75% (this becomes critical by mid game). Use salvage items and vendor recipes for starting currency.
- Exploration: Clear each zone for experience and loot. Use Portal Scrolls to town to sell items and refill flasks. Complete every side quest for skill points.
- Economy: Collect Wisdom Scrolls and Portal Scrolls. Trade with vendors using transmutation and alteration orbs for early upgrades. Do not spend Chaos Orbs yet; save them.
- Build Advice: Follow a league starter build guide. Do not over-specialize; get life nodes and a few damage nodes. Use the passive tree calculator online to plan.
- Goal: Complete acts 4 through 7, reach the end of Cruel difficulty, acquire your Ascendancy points through the Cruel Labyrinth (around level 55–65).
- Combat: By now you should have a 4-link main skill. Support gems (e.g., Added Cold, Elemental Focus) massively boost damage. Monsters hit harder; you must cap elemental resistances (75% for all three). Use a movement skill to avoid damage.
- Gear: Upgrade weapons for higher base damage and look for gear with +life and resistances. A 4-link chest or two-handed weapon is a priority. Start using Orbs of Alchemy on jewelry or weapons.
- Exploration: Zones become larger and more dangerous. Use waypoints to skip already-cleared zones. Side quests like "The Sceptre of God" provide skill points.
- Economy: Begin accumulating Chaos Orbs from the Chaos Recipe. Sell rare sets to vendors (item level 60–74) to generate early wealth. Learn to price items on the trade website.
- Build Advice: Your build should now specialize. Allocate key keystones if recommended (e.g., "Resolute Technique" for melee if accuracy is low). Start using cluster jewels if your build requires them.
- Goal: Finish the story, reach level 70, complete the Merciless Labyrinth (levels 65–75) to unlock your fourth and sixth Ascendancy points.
- Combat: You'll encounter map-like difficulty. Maximize your resistances to 75% (chaos resistance is nice but not mandatory). Use a 5-link if possible (6-link is endgame luxury). The final boss of Act 10, Kitava, corrupts your resistance by 30% – you must overcap to still be at 75% after the fight.
- Gear: Use crafting bench in your hideout to add missing resistances or life. Upgrade to gear with item level 70+ for better mods. Use Essences to guarantee certain stats.
- Exploration: The Desecrated Chambers and final zones test your mobility. Be prepared to dodge many area-of-effect attacks. Trigger boss phases carefully.
- Economy: Convert currency into Chaos Orbs and Exalted Orbs. Use the trade website to buy essential uniques (e.g., Tabula Rasa for 6-link early, or build-defining items). Vendor recipes like Jeweller's Touch can be valuable.
- Build Advice: Your passive tree should be mostly complete by level 70. You may need to respec some points using regret orbs from quests or trade. Prepare a character that can handle white and yellow maps (tiers 1–10).
- Goal: Run maps to level 90+, complete Atlas progression (earn watchstones, fight Conquerors and Sirus), tackle Uber bosses, and optimize gear for high-tier maps (tiers 11–16) and Delirium/Beyond.
- Combat: Full 6-link with optimized support gems. Flasks must be used proactively (e.g., Silver Flask for onslaught, Quicksilver for speed). Use guard skills like "Steelskin" or "Molten Shell" for survivability. For bossing, study mechanics (e.g., Shaper's bullet hell, Elder's degen pools).
- Gear: Focus on high life rolls, 30%+ movement speed on boots, chaos resistance, and damage suffixes. Craft influenced items (Shaper/Elder mods). Use Awakener's Orbs to combine mods. For extreme power, acquire Headhunter or Mageblood unique belts.
- Exploration: Map layouts matter – learn which ones are efficient for clear speed. Use Sextants, Scarabs, and Atlas passives to juice maps for higher loot and difficulty. Use the Atlas passive tree to specialize in mechanics you enjoy (e.g., Essence, Delve, Heist).
- Economy: Generate wealth through mapping (sell excess maps, currency, valuable uniques). Bulk trade common currency for Exalted Orbs (the main high-value currency). Craft items for profit or flip items on the trade market. Learn boss drop strategies (e.g., Sirus drops Awakener Orbs, Maven drops Maven Orbs).
- Build Advice: At high endgame, you must invest heavily into damage and survivability. Consider cluster jewels with powerful notables (e.g., “Fuel the Fight” for flasks). Use PoB (Path of Building) to min-max. Adapt your build to the content you target: fast mapping builds differ from boss killers.
Progression Systems
Exploration & Zones
Each story act contains several interconnected zones. The game uses a semi-randomized layout – you'll learn to spot landmarks (e.g., totems, dead bodies) that hint at the direction of the exit or quest objective. Waypoints are scattered throughout; activating them allows fast travel between them. It is wise to activate every waypoint you find to save backtracking later. Secret areas (e.g., Vaal side areas) can be accessed with special items like Vaal Orbs or by finding hidden entrances.
Quests & Missions
Economy & Currency
PoE's economy is unique: no gold. Instead, currency items (orbs, scrolls, essences) serve dual purposes as both crafting materials and mediums of exchange. The most common trade currency is the Chaos Orb, while the Exalted Orb is a high-value unit. Players trade on the official trade website (for PC) or in-game trade channels (console). Important currency includes: Portal Scrolls, Wisdom Scrolls (identify items), Orb of Alchemy (upgrade magic to rare), Orb of Fusing (re-link sockets), and Glassblower’s Bauble (quality flasks).
Vendor Recipes: Selling certain item combinations to NPCs yields currency or useful items. Example: selling a full set of rare items (helmet, body armour, gloves, boots, belt, two rings, amulet, two weapons) all of item level 60–74 gives Chaos Orbs (the Chaos Recipe).
Character & Build Growth
Building a character revolves around:
Endgame Structure
After Act 10, you enter the Mapping Endgame. The Atlas of Worlds is a map device that allows you to open high-level zones called maps. Maps have tiers (1–16) and modifiers (magic, rare, corrupted). Key endgame systems include:
Progression Tiers (Detailed)
Early Game (Acts 1–3, Levels 1–40)
Mid Game (Acts 4–7, Levels 40–60)
Late Game (Acts 8–10, Levels 60–70)
Endgame (Maps, Levels 70+)
Conclusion
Mastering Path of Exile's core gameplay is an ongoing journey. The loop of killing monsters, gathering loot, and upgrading your character never gets old due to the immense depth of systems. Start with a beginner-friendly build, learn the basics of the passive tree and support gems, then gradually delve into crafting, trading, and Atlas mechanics. Each tier brings new challenges and rewards, culminating in the satisfaction of defeating the game's hardest bosses. Welcome to Wraeclast – embrace the darkness and the grind.