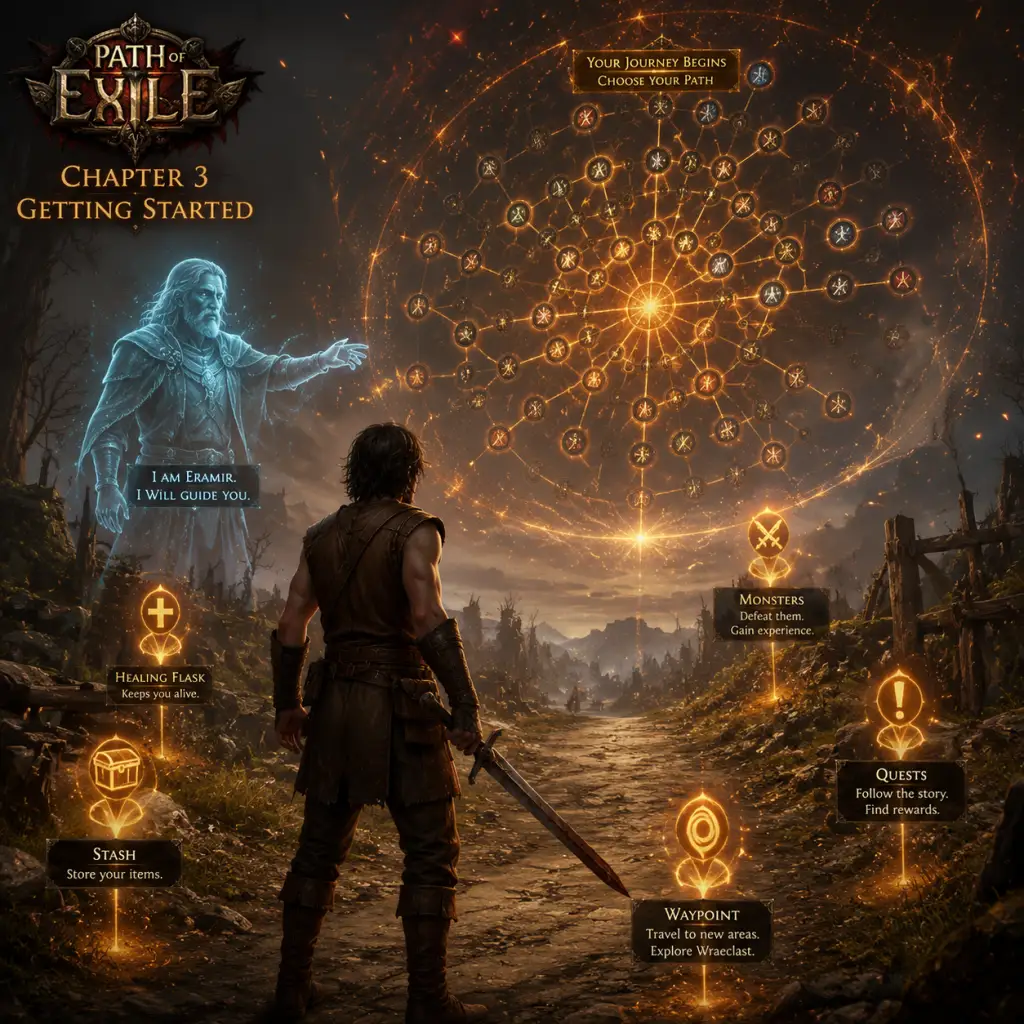
Getting Started
Path of Exile: Getting Started Guide for New Players
Welcome to Wraeclast! This guide will walk you through your first hour, explain character creation, controls, the UI, and help you avoid the most common beginner pitfalls. If you haven't installed the game yet, check the [Download & Installation Guide](#) and [Game Introduction](#) for context.
1. Character Creation: Picking Your First Class
PoE has seven base classes, each starting in a different area of the massive passive skill tree. For beginners, the easiest choices are:
- Marauder (strength) – tanky, good for melee builds.
- Duelist (strength/dex) – balanced melee/ranged.
- Ranger (dexterity) – fast, ranged attacks.
- Witch (intelligence) – spell caster, minions.
- Shadow (dex/int) – traps, critical strikes.
- Templar (str/int) – elemental spells/melee.
- Scion (unlocked later) – flexible but not for first character.
- Step 1 – Move and Attack: Use WASD (PC) or left stick (controller) to move. Left-click on zombies to attack. Collect the Scroll of Wisdom from the first chest.
- Step 2 – Find the Skill Gem: Near the end of the strand, a dead exile lies beside a chest. Open it to get a Skill Gem (e.g., Split Arrow for Ranger, Fireball for Witch). Right-click the gem in inventory to learn it, then drag it to an empty socket on your gear.
- Step 3 – Talk to Nessa: At the end of the strand, click on Nessa (a blue-haired woman). She gives you the Tattered Cloak and a Portal Scroll. Use the portal scroll (right-click) to create a portal to town.
- Step 4 – Enter Lioneye's Watch: Step through the portal. You're now in the first hub town. Talk to Tarkleigh (the guard captain) to get the quest "The Dweller of the Deep" (optional). Then talk to Nessa again to get a Support Gem – link it to your skill gem for extra power.
- Step 5 – Your First Fight: Exit town via the waypoint to The Coast. Kill zombies and rhoas. Look for a cavern entrance – inside you'll find Hailrake (a boss). Kill it and loot the Tidal Island quest item (shell). Return to town for a skill point reward.
What matters most: Your class only determines starting location on the passive tree and ascendancy (specialization) options. Any class can use any skill gem, so pick the fantasy you like. Recommended beginner classes: Marauder (for simple melee) or Witch (for easy minion builds).
#### Create a Character
1. Launch the game and log in.
2. Click "Create New Character."
3. Choose a name (must be unique).
4. Select your class and league. Always start in the current challenge league (e.g., Affliction, Necropolis) – it has more content and a fresh economy.
5. Click "Create."
2. First Hour Walkthrough: From Beach to Town
Your journey begins on the Twilight Strand – a beach with a few zombies and a chest. Here's your exact sequence:
3. Controls on All Platforms
#### PC (Mouse + Keyboard)
| Action | Default Key |
|---|---|
| Move / Attack (basic) | Left click |
| Move Only | Hold Shift + Left click |
| Interact | Left click on NPC/object |
| Skill slots 1-8 | Q,W,E,R,T,A,S,D or 1-8 |
| Potion slots 1-5 | 1-5 (life, mana, utility) |
| Open Inventory | I |
| Passive Skill Tree | P |
| Map Overlay | Tab (hold for full) |
| Quest Log | U |
| Town Portal | Right-click Portal Scroll in inventory |
| Loot Filter | Toggle with Ctrl+Shift+L (or via menu) |
| Action | Xbox | PlayStation |
|---|---|---|
| Move | Left stick | Left stick |
| Interact / Attack | A | Cross |
| Skill bar | RB + Face buttons | R1 + Face buttons |
| Potion (life) | LB | L1 |
| Open Inventory | Select (back) | Touch pad (or Options) |
| Open Passive Tree | View button | Touch pad (swipe up) |
| Map Overlay | Right stick click | R3 |
| Quick Portal | Hold LB + RB | Hold L1 + R1 |
4. UI Overview
- Top-left: Health globe (red) and Mana globe (blue). Below them: experience bar and flask charges.
- Bottom-center: Skill bar with active skills. Use number keys or controller buttons to cast.
- Bottom-right: Flask slots. Press 1-5 (or LB/L1) to drink.
- Mini-map: Top-right corner; hold Tab for full map overlay.
- Quest Tracker: Default top-right; shows active quests and objectives.
- Inventory: Press I (or Select/Touch pad). It has grid slots for gear, flasks, and currency items.
- Passive Tree: Press P. It's a huge web of nodes – allocate points as you level up (1 point per level up to 100).
- Follow the main quest line. Side quests are optional but give skill points – aim to complete them before moving to next act.
- Pick up every Scroll of Wisdom and Portal Scroll – you'll need hundreds.
- Pick up Orbs of Transmutation – use them on flasks and white gear with good base types.
- Upgrade your flasks every 5-10 levels by buying from vendors (Nessa sells them).
- Use Armour, Energy Shield, or Evasion based on your class – but prioritize life on gear (without life, you’ll die instantly starting Act 3).
- Don't trade with other players until you understand currency values (e.g., Chaos Orbs are mid-tier, Exalted Orbs are high-end). You'll likely get scammed.
- Don't try to craft gear with Exalted Orbs or Chaos Orbs early – save them for endgame gear.
- Don't ignore your resistances (fire, cold, lightning). After Act 5, the game expects 75%+ resistance or you'll die very fast.
- Don't pick up everything – use a loot filter (Neversink's filter is standard, included in game options).
- Don't stay in one zone too long – you earn experience faster by progressing story.
- Don't use skill gems that do zero damage – each gem has a damage type; make sure you support it accordingly.
5. Essential Early Objectives
1. Learn your skill gem: Equip it, then immediately put a support gem in a linked socket to empower it. (e.g., Fireball + Added Lightning Damage).
2. Complete the first three quests: "The Dweller of the Deep" (tidal island, reward: skill point), "Mercy Mission" (rescue Tarkleigh in The Coast), and "Breaking Some Eggs" (kill rhoa nests in The Mud Flats).
3. Reach Level 4-6 before the first major boss (Hillock in The Twilight Strand? Actually Hillock is in the strand. Defeat him for a skill point and first support gem).
4. Get a movement skill: By Act 2 you should use Dash, Flame Dash (Witch/Shadow), or Leap Slam (Marauder). They vastly improve survival.
5. Capress your flask: When you reach town, buy/find a second life flask. Use an Orb of Transmutation on it to get mods like "Immunity to Bleeding."
6. Open all white chests and strongboxes – they drop map fragments and currency.
6. What to Do First and What to Avoid
#### Do First:
#### Avoid:
7. Early Resource Priorities
| Resource | Priority | Use |
|---|---|---|
| Scroll of Wisdom | High | Identify items (you need them to see if gear is good) |
| Portal Scroll | Medium | Return to town quickly – keep 5+ in inventory |
| Orb of Transmutation | High | Upgrade your flasks (life, mana, utility) |
| Orb of Alteration | Low | Save for later; don't waste on low-level gear |
| Orb of Augmentation | Low | Same as above |
| Chaos Orb | Keep | Endgame currency; don't use or trade early |
| Regal Orb | Keep | Used to turn a magic item into rare – advanced |
| Gemcutter’s Prism | Keep | Quality up your main skill gem at endgame |
8. Common Beginner Mistakes
1. Ignoring flask management – You have 5 flasks, but you only use one for life. You should have a life flask, a mana flask (if needed), and utility flasks (quicksilver, granite, etc.).
2. Not linking sockets – Support gems only work if the sockets are linked (connected by a line). Always check links when equipping gear.
3. Over-leveling without planning – The passive tree is huge. Either follow a beginner build guide (look up “Enki’s Arc Witch” or “Zizaran’s Max Block Gladiator”) or focus on life and damage for your skill type.
4. Trying to do all side content immediately – Side quests give skill points, but you can come back later. Focus on main story for faster progression.
5. Not using movement skills – PoE is about speed. Get a movement skill as soon as possible (level 4-10).
6. Logging out instead of using death penalties – When you die, you lose 5% of your current experience (if you are level 1-9, no penalty). Don’t worry, just keep going.
7. Not using a loot filter – By default, the game shows every item. Download Neversink’s filter via the in-game menu (Options → UI → Loot Filter) – it hides trash and highlights valuable items.
9. Day-One Checklist
- [x] Installed the game and chosen a league (challenge league).
- [x] Created your first character (recommended: Marauder or Witch).
- [x] Completed the Twilight Strand and entered Lioneye's Watch.
- [x] Used your first skill gem and linked a support gem.
- [x] Defeated the first major boss (The Dweller of the Deep? Actually the first boss is Hailrake on the Tidal Island, then The Siren in The Cavern of Wrath at end of Act 1).
- [x] Reached at least level 8-10 and finished Act 1 (The Siren).
- [x] Activated a loot filter (in Options).
- [x] Bought or crafted a second life flask from Nessa.
- [x] Joined a beginner-friendly guild or /global chat channel (type /global 820 for tips).
- [x] Learned how to use a portal scroll (bind it to a key for quick use).
- [x] Understood that dying is normal – don’t give up!
Remember: PoE is a marathon, not a sprint. Your first character will likely hit a wall in Act 4 or 5 because of resistances or build inefficiencies. That's okay – your second character will be much stronger. Until then, follow these steps and enjoy the dark world of Wraeclast!