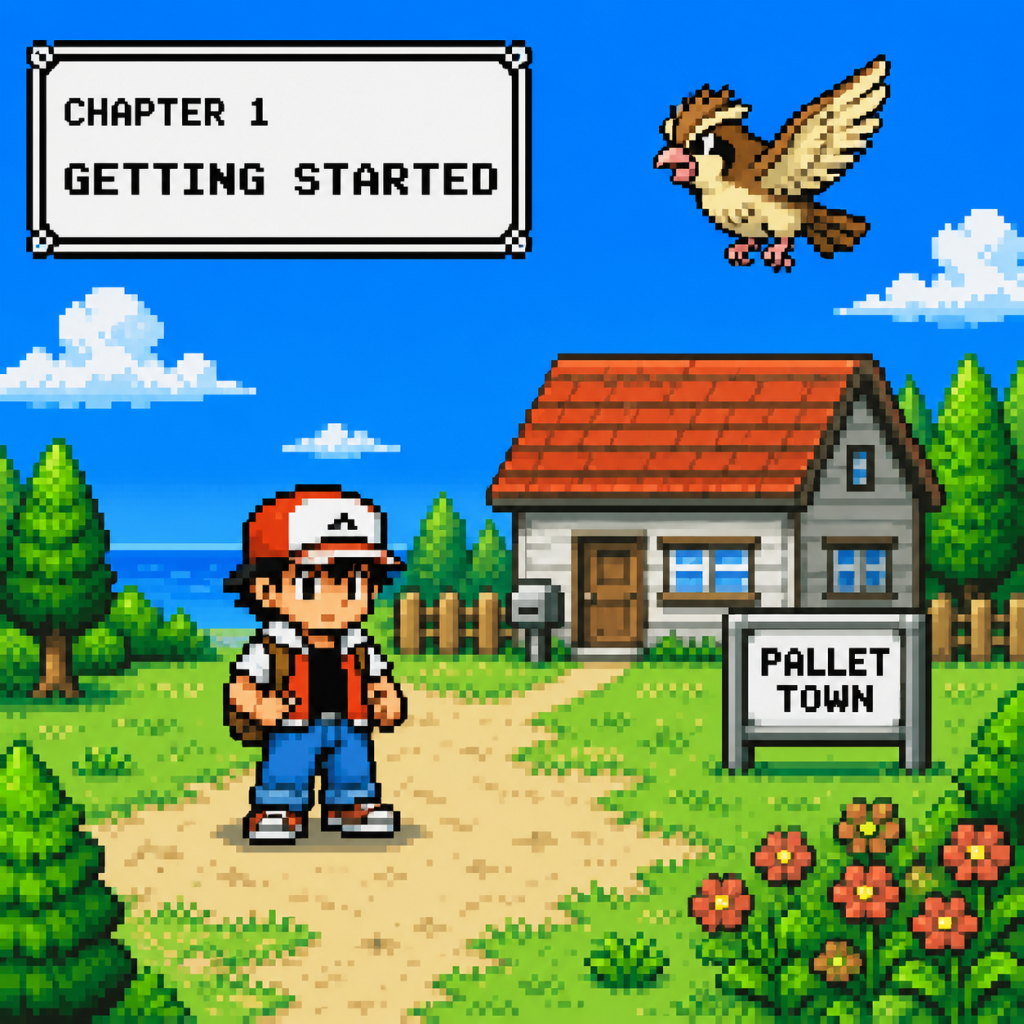
Getting Started
Getting Started in Pokémon Red and Blue
Introduction for Complete Newcomers
Welcome to the world of Pokémon! This guide is designed for brand-new players jumping into Pokémon Red and Blue for the first time. These classic Game Boy titles are the foundation of the entire Pokémon franchise, but they can feel a little rough around the edges compared to modern games. We’ll walk you through the first hour, cover essential controls, and help you avoid common pitfalls so your journey starts smoothly.
---
First-Hour Walkthrough (From New Game to Viridian City)
1. Start the Game – After the title screen, you’ll be asked to choose a save file (press A on an empty slot). You cannot skip this – saving is required.
2. Name Your Character – You are asked “What is your name?” Enter any name (up to 7 letters). This is your player character’s name. No other appearance options exist.
3. Name Your Rival – Professor Oak then asks, “What is your rival’s name?” Enter a name (the game suggests “BLUE” if you don’t change it). This is your rival; they will appear throughout the game.
4. Wake Up in Pallet Town – You start in your house on the second floor. Walk downstairs (press Up on the d-pad and then Down to exit your room and go downstairs).
5. Visit Professor Oak’s Lab – Go north out of your house, then east into the lab (the building with the red roof). Walk toward the counter – the professor will stop you.
6. Choose Your Starter Pokémon – Oak will lead you to three Poké Balls on a table. You can only pick one. The choices:
- Charmander (Fire) – Good early power, but tough against the first two Gyms (Rock and Water).
- Squirtle (Water) – Easy mode for early Gyms, learns Water Gun early.
- Bulbasaur (Grass/Poison) – Strong against the first two Gyms, but weak to many later challenges.
Advice for absolute beginners: Squirtle is the most forgiving choice.
7. Rival Battle – Immediately after choosing, your rival will challenge you. Your starter has only one move (Tackle or Scratch). Just spam that move to win. No items needed yet.
8. Leave Pallet Town – After the battle, Oak will give you a Pokédex and 5 Poké Balls. Walk north out of town to Route 1.
9. Route 1 – This long grassy path is full of wild Pokémon (Pidgey, Rattata). Catch at least 2-3 Pokémon here for practice. Use a Poké Ball when their health is low (red bar).
10. Arrive in Viridian City – At the north end of Route 1, you enter Viridian City. Your first objective: go to the Pokémon Center (the building with a red roof and a Poké Ball symbol) to heal your Pokémon for free.
11. First Gym? Not Yet – The Viridian City Gym is locked. You must visit the Poké Mart next door to buy more Poké Balls (200 Pokédollars each). Then proceed east to Route 2 (watch for a guard who will let you pass once you have a Pokémon above level 10 or after you’ve received the Pokédex; you can pass right away by talking to him).
12. Viridian Forest – Enter the forest to the east. This is a maze with many Bug-type Pokémon (Caterpie, Weedle). Stock up on Poké Balls before entering. Save often! Walk slowly to avoid random encounters.
13. Arrive in Pewter City – After clearing the forest, you reach Pewter City. Heal at the Center, then challenge the Pewter City Gym (Rock-type leader Brock). If you chose Squirtle, use Water Gun. For Charmander, you’ll need to train your Pikachu (if you caught one in Viridian Forest) or catch a Mankey on Route 22 (west of Viridian). For Bulbasaur, use Vine Whip.
---
Character Creation
There is no customization beyond naming. You cannot change gender, appearance, or clothes. The game forces a male protagonist (Red). Your rival’s name is the only other input. Simply follow the prompts on screen.
---
Controls (Game Boy and Emulation)
Pokémon Red/Blue were designed for the original Game Boy, but are commonly played on emulators, Nintendo 3DS Virtual Console, or via the Game Boy Player on GameCube. The following controls apply to the original hardware. Emulators map these to keyboard/controller:
| Original Game Boy Button | Function |
|---|---|
| D-Pad (Up/Down/Left/Right) | Move character, navigate menus, select moves |
| A Button | Confirm/select/interact with NPCs or objects |
| B Button | Cancel/back out of menus / hold B while walking to run (in some versions, but not Gen I – running isn’t possible in Red/Blue) |
| Start | Open the main menu (Pokémon, Items, Save, etc.) |
| Select | Toggle item/status menu (usually opens the item bag in overworld) |
Emulator tips:
- Save states are available on emulators – use them often (F5 to save state, F7 to load in many emulators). But also use the in-game save (Start → Save) to avoid corruption.
- Speed up (fast forward) is common – use it to skip long text or slow walking. But avoid while in battles or menus to prevent bugs.
- Overworld Screen: You see your character from a top-down perspective. The top bar shows your current location name. The bottom has no HUD (HP bars only appear in battle).
- Battle Screen: Shows your Pokémon’s HP bar at the bottom left, the opponent’s HP bar and name at the top. Options: FIGHT (choose a move), BAG (use an item), POKÉMON (switch), RUN (flee).
- Main Menu (Start):
- Phone? No PokéGear – just basic menus.
- Save before entering tall grass – random encounters can wipe a weak team.
- Talk to every NPC – many give important items (Potions, Poké Balls, TMs) or useful tips.
- Check the PC in Pokémon Centers – you can withdraw stored Pokémon and items from the Bill’s PC (after getting the S.S. Anne ticket).
- Buy at least 10 Poké Balls before starting any serious catching.
- Heal at Pokémon Centers (it’s free).
- Don’t skip the tutorial guy in Viridian City – he teaches you how to catch Pokémon (but you can skip if you’re comfortable).
- Don’t waste money on Potions early – free Potions are found on the ground. Save your cash for Poké Balls.
- Don’t try to catch every Pokémon you see – focus on building a balanced team of 3-4 first.
- Don’t ignore type matchups – Fire beats Grass, Water beats Fire, Grass beats Water, etc. A quick reference: use super-effective moves for 2x damage.
- Don’t fight without healing – if your lead Pokémon faints, the next one comes out; if all faint, you black out and lose half your money (max $5000) and are sent to the last Pokémon Center.
- Don’t release your starter – you cannot get it back! Keep it always.
- Money (Pokédollars): Earned from Trainer battles (not wild Pokémon). Spend on: Poké Balls (200 each) > Antidotes (100) > Potions (300). Do NOT buy Great Balls until you reach Cerulean (better catch rate).
- Poké Balls: Your most important early item. Catch wild Pokémon to build a team. Always carry at least 10.
- Antidotes: Poison is common from Weedle/Zubat. Buy 2-3 early.
- PP (Power Points): Moves have limited uses. Restore PP at Pokémon Centers. Use weaker moves (Tackle) on low-level wild Pokémon to save PP for strong moves.
- Experience Points (XP): The fastest way to level up is battling wild Pokémon on routes near towns. Avoid grinding on weak Pokémon (Pidgey, Rattata) – move to higher level areas (Route 3 after Pewter).
- [ ] Start a new game and name your character and rival.
- [ ] Choose your starter Pokémon.
- [ ] Win the first rival battle.
- [ ] Receive Pokédex and 5 Poké Balls.
- [ ] Catch at least 2 wild Pokémon on Route 1 (Pidgey, Rattata).
- [ ] Arrive in Viridian City.
- [ ] Heal at Pokémon Center.
- [ ] Buy 10 Poké Balls from the Poké Mart.
- [ ] Explore Route 2 and enter Viridian Forest.
- [ ] Save and heal before entering the forest.
- [ ] Navigate through the forest (watch for bug catchers and wild Pokémon).
- [ ] Reach Pewter City.
- [ ] Challenge Brock’s Gym (have a super-effective move ready).
- [ ] Save your game after earning the Boulder Badge.
- Talk to the old man in Viridian City (the one who says “I was walking in tall grass…”). He gives you a free Potion.
- Check the hidden items – look for red/blue squares on the ground (use the Itemfinder later). But for now, just explore.
- Use the in-game save (Start → Save) every time you enter a new city or before a gym battle.
- Don’t be afraid to lose – you can always come back stronger. The game is forgiving except for the money loss on blackout.
- Have fun exploring! The magic of the original Pokémon games is the sense of discovery. Don’t rush.
---
UI Overview
- Pokédex – see Pokémon you’ve caught (press Select to change modes).
- Pokémon – view your team, check stats, rearrange order, use HMs (field moves).
- Bag – all items sorted by pocket (Items, Key Items, etc.).
- Save – save your game (only possible outside of battle and in buildings/towns).
- Options – text speed (recommend Fast), battle animation (ON/OFF), sound (stereo/mono).
---
Essential Early Objectives
1. Get the Pokédex – Already done after leaving the lab.
2. Catch your first wild Pokémon – Buy Poké Balls, then find a wild Pokémon, weaken it (use Tackle/Scratch until HP is red), throw a Ball. Success rate increases with lower HP and status conditions (Sleep, Paralysis).
3. Collect 8 Gym Badges – Start with Brock in Pewter City (Rock-type), then Misty in Cerulean (Water), etc.
4. Defeat the Elite Four – Endgame challenge.
5. Complete the Pokédex (optional) – Catch all 151 Pokémon.
---
What to Do First & What to Avoid
Do:
Avoid:
---
Early Resource Priorities
---
Common Beginner Mistakes
1. Not saving – The game only saves when you use the in-game save menu. Power loss = lost progress. Save every 10 minutes.
2. Over-leveling one Pokémon – Your starter will become strong, but if it faints, you have no backup. Keep 3-4 Pokémon evenly leveled.
3. Using the Master Ball too early – You get one Master Ball (guaranteed catch). Save it for a rare legendary like Mewtwo at the end.
4. Teaching bad TMs – TMs (Technical Machines) are one-time use. Don’t waste them on weak moves (e.g., Water Gun is a TM but also learned by Squirtle naturally).
5. Ignoring the PC – You can only carry 6 Pokémon. Store extras in the PC. If your team is full and you try to catch one, you’ll be asked to release or swap. Always choose to send to PC.
6. Fighting wild Pokémon without Balls – If you’re low on Poké Balls, run from wild battles to avoid fainting.
7. Trying to beat Brock without Grass or Water moves – Use a Nidoran (learns Double Kick at level 12, which is Normal/Fighting? Actually Nidoran male learns Horn Attack at 12 – better to catch a Mankey on Route 22 or evolve a Nidoran into Nidorino for Fighting moves).
---
Day-One Checklist
---
Final Tips for Newcomers
Good luck, Trainer! The road to becoming the Pokémon League Champion starts now.