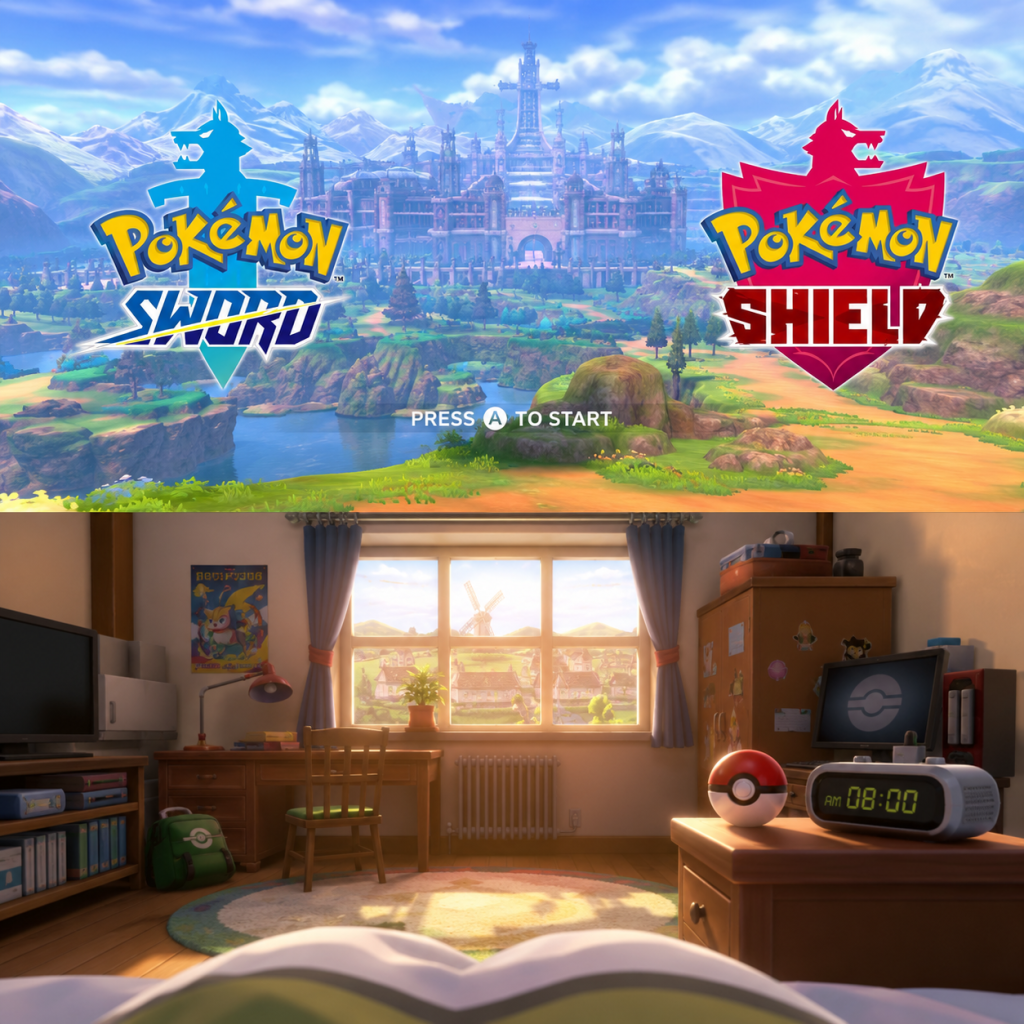
Getting Started
Getting Started Guide for Pokémon Sword and Shield
First Hour Walkthrough: From Title Screen to First Capture
1. Start the Game – After the opening cutscene, you'll be prompted to choose a language. Select your preferred language. Then you'll see the title screen. Press A to begin.
2. Character Creation – You'll choose between a male or female protagonist (a boy or girl). This affects your appearance and some in-game dialogue but not gameplay. You also name your character (up to 6 characters). Finally, you'll name your rival (Hop) – you can accept the default "Hop" or invent a new name. There is no further customization at this point (hairstyle, clothes, etc. are unlocked later via shops and the Rotom Phone).
3. The Opening – You wake up in your house in the small town of Postwick. Your mother tells you that your friend Hop is outside. Go downstairs, talk to your mom, then leave the house. Hop will greet you and invite you to his house.
4. Meet the Starter Pokémon – Inside Hop's house, you'll see a TV showing the Champion Leon. Hop's sister (your neighbor) will let you and Hop choose your first Pokémon from three Poké Balls on the table. The choices are:
- Grookey (Grass type)
- Scorbunny (Fire type)
- Sobble (Water type)
Each has its strengths and weaknesses. Pick the one you like most – any is viable for a first playthrough.
5. First Battle (Rival) – After choosing, Hop challenges you to a battle. This is a tutorial battle where you'll learn how to attack, use items, and switch Pokémon. Hop will have the starter that is weak to yours (if you picked Grookey, he has Scorbunny; if you picked Scorbunny, he has Sobble; if you picked Sobble, he has Grookey). Win or lose, the story continues.
6. Return Home – After the battle, you'll go back to your house and sleep. The next day, you and Hop set off for the nearby train station to travel to the Pokémon League. On the way, you'll catch your first wild Pokémon in the tall grass (see "Essential Early Objectives" below for details).
Controls (All Platforms – Nintendo Switch)
Pokémon Sword and Shield use the same controls regardless of system mode (handheld, docked with Joy-Con, or Pro Controller).
| Action | Button(s) |
|---|---|
| Move character | Left Stick / D-Pad |
| Interact/Talk/A | A button |
| Run (while holding) | B button (hold while moving) |
| Open Menu | X button |
| Open Pokédex (if obtained) | Y button |
| Call your Bike (if obtained) | + button (Plus) |
| Quick save (only in overworld) | Not available – autosave is on, but you can manually save from menu (X > Save) |
| Battle: Attack/Select move | A to choose move, then select target with D-Pad/Left Stick |
| Battle: Use Item | X during battle to open bag |
| Battle: Run | (Not possible in trainer battles; only wild battles, press B after selecting Run) |
| Zoom in/out on map | L / R (when viewing map) |
| Rotom Phone (map, camera, etc.) | Press Y on overworld |
| Quick menu for Pokémon | Hold R to see your party; press A on a Pokémon for options |
| Camera control (in Wild Area) | Right Stick |
| Enter a building/inventory | A when near entrance |
UI Overview (Key Screen Elements)
- Overworld HUD:
- Menu (Press X):
- Battle Screen:
- Don't run from every wild battle – Catching and battling wild Pokémon gives you experience and useful items. Balance catching with advancing the story.
- Don't ignore type matchups – Learn the type chart mentally. For example, Water beats Fire, Fire beats Grass, Grass beats Water. Failing to use super-effective moves makes battles harder.
- Don't forget to heal – Before challenging a Gym, make sure all your Pokémon are fully healed. Use a Pokémon Center or Potions.
- Don't sell all your items – Keep at least 10 Poké Balls and 5 Potions at all times. You can sell unwanted TMs later.
- Don't overlevel one Pokémon – Your whole team should be around the same level. If one Pokémon gets too high, it may disobey you in battle (badges prevent disobedience). Rotate your team.
- Don't skip NPC conversations – Many NPCs give you free items or important tips. Talk to everyone in towns.
- Don't use the Master Ball carelessly – You only get one Master Ball (from the story). Save it for a very rare or tough Pokémon (like a legendary).
- Don't spam the same move – Especially in Dynamax battles, use type advantages for maximum damage.
- Poké Balls – You start with 5, but you can buy more from any Poké Mart. Prioritize buying 10–20 Poké Balls early so you can catch everything you see without worry.
- Potions – Buy 5–10 Potions from the first Poké Mart. They are cheap (₽300 each) and keep your team healthy.
- Antidotes – Route 2 has wild Toxel (Poison-type) that can poison your Pokémon. Carry 2–3 Antidotes.
- Money (Poké Dollars) – Earn money by battling trainers and selling valuable items (like Nuggets or rare berries). Do not waste money on cosmetic items early.
- Heart Scales – These are rare but important for relearning moves. Hold onto them.
- Evolution Stones – You'll find some in the Wild Area; save them for later evolution needs.
- Mistake: Not catching enough Pokémon – You need a diverse team to handle different types. Aim to catch at least one new species per route.
- Mistake: Forgetting to save before major battles – The game autosaves, but if you lose a key battle (like a Gym Leader), you may lose progress. Save manually before every Gym.
- Mistake: Ignoring the Wild Area – The Wild Area is open early and contains higher-level Pokémon, valuable items, and Max Raid battles. Visit it as soon as you can (after first Gym badge is recommended).
- Mistake: Using TMs too early – TMs are one-time use in this game (they break after use). Only use TMs on Pokémon you plan to keep long-term. Save for important type coverage.
- Mistake: Not checking Pokémon summaries – Before evolving, check if a Pokémon learns important moves at certain levels. Some moves are only learned before evolution.
- Mistake: Selling evolution stones – They are rare and needed for specific evolutions. Never sell them unless you have duplicates.
- [ ] Choose your starter and defeat Hop in the first battle.
- [ ] Catch at least 3 different wild Pokémon on Route 1.
- [ ] Arrive at Wedgehurst and obtain the Pokédex.
- [ ] Heal your Pokémon at the Wedgehurst Pokémon Center.
- [ ] Talk to the professor's assistant to get 5 Poké Balls.
- [ ] Walk through Route 2 to the Wild Area entrance (but don't go deep yet).
- [ ] On Route 2, catch at least 2 new Pokémon (e.g., Rookidee, Yamper).
- [ ] Battle all visible trainers on Route 1 and Route 2 for experience and money.
- [ ] Buy 10 extra Poké Balls and 5 Potions from the Wedgehurst Poké Mart.
- [ ] Save the game manually after reaching the Wild Area.
- [ ] Optional: Participate in one Max Raid Battle in the Wild Area (you can do it solo with NPCs).
- [ ] Quit for the day, having made it to Motostoke (the first major city with a Gym).
- Top left: Your name, current location, and steps taken (for hatching eggs).
- Bottom left: Minimap (can be expanded with Y). Shows nearby buildings, NPCs, and Pokémon icons.
- Top right: Your party of up to 6 Pokémon (shown as small icons). If a Pokémon is fainted, its icon turns grey.
- Pokémon: View your party, check stats, move sets, nicknames, etc.
- Bag: Items sorted by category (Potions, Poké Balls, TMs, Key Items, etc.).
- Trainer Card: Your profile, badges, playtime, and money (Poké Dollars).
- Save: Manually save (autosave is on by default, but manual save is useful before important battles).
- Options: Text speed, battle style (Set vs. Shift), sound, etc. Recommended: Set battle style to "Set" for a challenge, otherwise you get a free switch after each KO.
- Pokédex (once obtained): Records all seen and caught Pokémon.
- Rotom Phone: Access to map, camera, and other apps (like Pokémon Jobs).
- Top: Opponent's HP bar, level, and name.
- Bottom: Your active Pokémon's HP bar, status conditions.
- Center: Battle text.
- Bottom right: Menu (Fight, Bag, Pokémon, Run).
- In wild battles, you may also see a "Catch" option after using a Poké Ball.
Essential Early Objectives (What to Do First)
1. Get your Starter and Rival Battle – Complete the opening sequence.
2. Catch at least 3-4 wild Pokémon on Route 1 (before Wedgehurst). This diversifies your team. Common early Pokémon: Rookidee (Flying), Blipbug (Bug), Wooloo (Normal), Skwovet (Normal), Nickit (Dark).
3. Arrive at Wedgehurst – Talk to the professor's assistant at the train station to receive the Pokédex and Poké Balls (5 free).
4. Visit the Pokémon Center in Wedgehurst – Heal your team and access the PC (box system).
5. Challenge the first Gym (Turffield Gym) – But first, you need to go through Route 2 and the Wild Area. You'll get a Dynamax Band in Motostoke.
6. Learn about Dynamaxing – In the Wild Area, you'll encounter Max Raid dens. These are optional but highly recommended for rare items and Pokémon.
7. Pick up free items along the way – Potions, Poké Balls, and Antidotes are lying on the ground as sparkling spots.
What to Avoid (Common Pitfalls)
Early Resource Priorities
Common Beginner Mistakes
Day-One Checklist (Achievable in First 2 Hours)
Tip: Don't rush. Enjoy the journey, explore every nook, and talk to every NPC. The Galar region has many secrets to discover!
---
This guide is designed for brand-new players to Pokémon Sword and Shield. For more advanced strategies, see the dedicated sections on competitive battling, shiny hunting, and post-game content.