Getting Started
Getting Started Guide for \"Slay the Spire\"
Welcome to Slay the Spire! This guide is designed to help brand-new players survive their first few runs, understand the core systems, and avoid common pitfalls. We’ll cover everything from controls and UI to early objectives and a day-one checklist.
First Hour Walkthrough
When you launch the game, you’ll see the main menu. Your first action: start a new run with the Ironclad (the red warrior). There is no character creation – each of the four characters is a fixed class with its own starter deck, relics, and unique cards. The Ironclad is the most forgiving for beginners due to his high starting HP (80) and straightforward damage/block cards.
Your first run step-by-step:
1. Tutorial prompt: The game offers a brief tutorial. Take it – it teaches basic combat, cards, energy, and the path map. If you skip, you can still learn by doing.
2. First room (campfire): You start at a campfire. Do not rest yet – your health is full. Instead, smash to upgrade a card (or you can rest if you need healing, but not now). Upgrade your basic attack or defense card.
3. First ? room or combat: You’ll encounter a random event or a simple enemy fight. The first combats are easy – test your attacks and blocks. Use basic cards to learn energy management: you get 3 energy per turn (shown at bottom right).
4. Card rewards: After combat, you choose one of three cards to add to your deck. For beginners: prioritize cards that deal damage or give block. Avoid complex cards that require synergy (e.g., \"Power\" cards or status cards) until you understand the game.
5. First campfire: Use it to rest if your HP is low, or upgrade another card. Upgrading is often better than resting if you can survive the next fight.
6. First boss: You’ll reach the first boss (e.g., The Guardian, Slime Boss, Hexaghost) after about 6–8 rooms. Bosses have unique patterns. Try to have a mix of offense and defense. If you die, that’s normal – start a new run and learn from mistakes.
The entire first hour will likely be your first one or two runs. Expect to die on the first boss or earlier – that’s part of the roguelike loop.
Controls on All Platforms
Slay the Spire is available on PC, console (Xbox, PlayStation, Nintendo Switch), and mobile (iOS/Android). Controls vary slightly:
| Platform | Movement/Selection | Primary Action | Secondary Action | Card Play | Menus |
|---|---|---|---|---|---|
| PC (Keyboard/Mouse) | Mouse to hover/click | Left-click to select/confirm | Right-click to inspect | Left-click card, then target or drag | Escape/Pause; Tab for map; C for deck; B for relic details |
| PC (Keyboard only) | Arrow keys or WASD to navigate cards/hover | Enter/Space to confirm | Backspace/Escape to cancel | Press number key (1-9) to select card, then target with arrow keys? (Not recommended – use mouse) | Same as above |
| PlayStation/Xbox | Left stick or D-pad to move cursor | X / A to confirm | Circle / B to cancel | Press X/A on card, then select target | Options/Start for pause; L2/R2 for fast scroll; L1/R1 for deck/map? (Check in-game) |
| Nintendo Switch | Left stick or D-pad | A to confirm | B to cancel | A on card, then target | + for pause; L/R for deck? (Hold L for deck view) |
| iOS/Android (Touch) | Tap to select | Tap to confirm | Swipe or long press for info | Tap card from hand, then tap target or enemy | Menu button top left or gesture |
UI Overview
When in a run, the screen is divided into clear sections:
- Top-left corner: Your character portrait, current HP, Max HP, and gold count.
- Top-right corner: Potion slots (you can hold up to 3 potions). Click to use during combat.
- Center/Right side: Map of the spire – shows upcoming rooms (campfires, combats, elites, shops, ? events, bosses). Hover/click to see details.
- Bottom-left: Your hand of cards (usually 5-7 cards). Cards have energy cost (top left corner), type icon, and effect description.
- Bottom-right: Your energy orbs (up to 3 energy per turn, shown as blue gems). Next to it is your deck size, draw pile count, and discard pile count.
- Under your hand: Buttons for End Turn (skip), View Deck (to see full deck), and View Relics (to see your relics).
- During combat: Enemies appear on the right. Their intent (what they plan to do next turn) is shown above them – a sword for attack, shield for block, glowing orb for buff/debuff.
- Start with the Ironclad character.
- Follow the tutorial or play a few runs to get a feel.
- Focus on simple strategies: pick attack cards early to kill enemies fast, then add block cards to survive bosses.
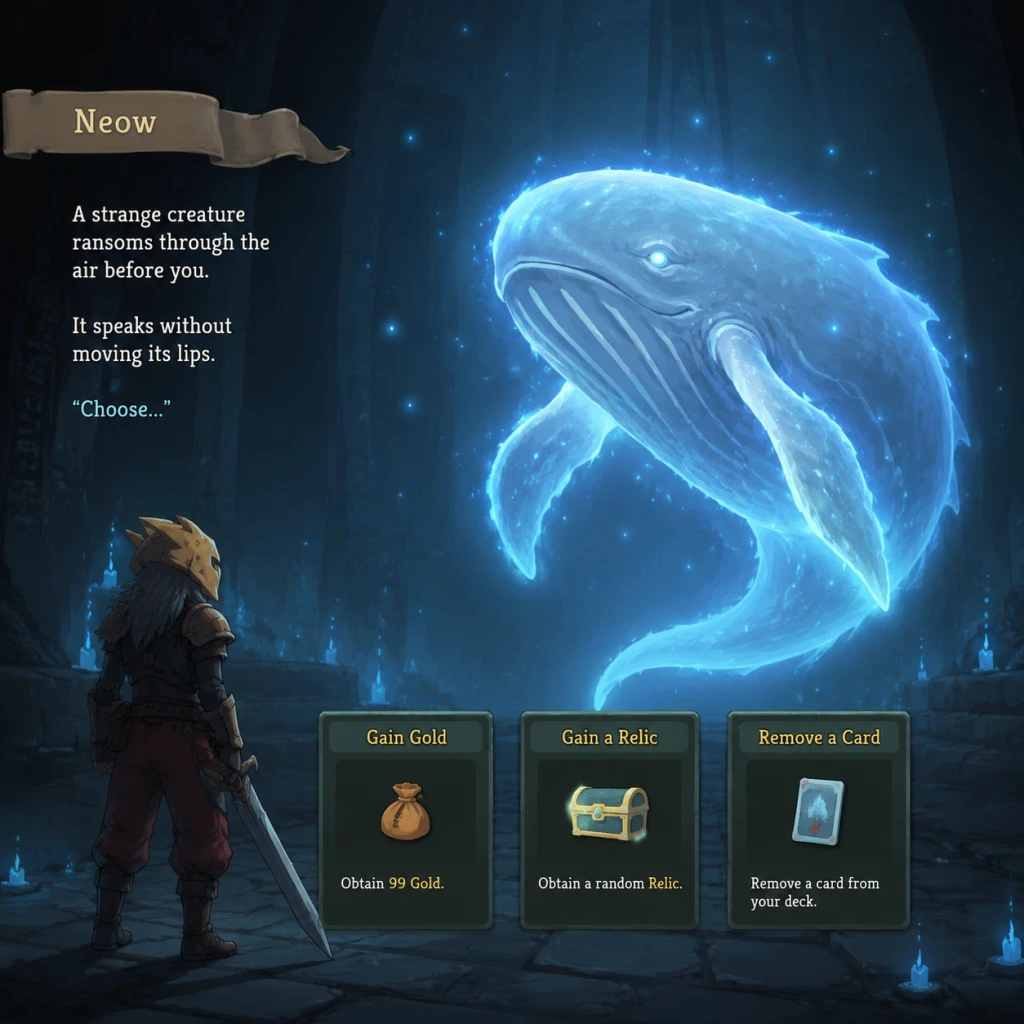
- Visit ? rooms (random events) – they can give you free relics or upgrades, but some are dangerous. Read the choices.
- Use potions! Especially in tough fights or boss fights. Don’t hoard them.
- Upgrade key cards at campfires (e.g., Bash, Sword Boomerang, or any high-impact card).
- Adding too many cards to your deck. A bloated deck means you draw weaker cards more often. Aim to keep your deck lean.
- Ignoring the map. Always plan your route: look for campfires before a boss, avoid too many elites if your deck is weak, and try to visit shops to remove strikes.
- Sticking to one strategy too early. Stay flexible – adjust your card picks based on what relics you get and what enemies you face.
- Taking every card offered. Skip cards that don’t fit your current deck. The skip button is your friend.
- Rushing through fights without reading card descriptions. Understand each card’s effect before playing.
- Gold: Spend on removing starter cards at shops (cost ~75 gold for the first removal, increasing each time). Buying a strong relic or a key card can also be good, but removal is often the best use.
- Campfires: Prioritize upgrades over healing early in Act 1. If you have full HP or can survive the next fight, upgrade. Rest only when you are at risk of dying.
- Potions: Use them freely in hard fights – they can turn the tide. Don’t be afraid to use a health potion before a boss if you’re low. Hoarding potions until the final boss is a common mistake.
- Card rewards: Look for versatile cards that give both value and scale. For Ironclad, good early picks: \"Shrug It Off\" (block + draw), \"Battle Trance\" (draw), \"Carnage\" (big damage), \"Fiend Fire\" (if you have many statuses). Avoid cards that seem too situational (e.g., “Evolve” only good with status cards).
- Relics: Relics are permanent bonuses for the run. Prioritize relics that give energy (e.g., \"Burning Blood\" from Ironclad start, then \"Smiling Mask\" from shop or event). Energy is king in the early game.
- [ ] Complete the in-game tutorial (or read the hover tips).
- [ ] Start your first run with the Ironclad.
- [ ] Successfully upgrade a card at a campfire.
- [ ] Defeat at least one normal enemy (should happen in your first room).
- [ ] Visit a ? room and make a choice (learn what events are).
- [ ] Visit a shop and buy something (preferably a card removal if you can afford it).
- [ ] Survive until the first boss (even if you lose).
- [ ] Understand the difference between each card type (Attack, Skill, Power).
- [ ] Unlock at least 1-2 new cards or relics from your run (unlocked after a run ends, win or lose).
- [ ] Try a second run with the Ironclad and experiment with different card choices.
- [ ] Learn to check the map and plan a path.
- [ ] Use at least one potion during combat.
- [ ] Identify the most common enemy intents (attack, buff, debuff) by looking at the icons.
- [ ] Practice ending your turn when you have no good plays (instead of wasting cards).
- [ ] Take a break after a few runs to let the game mechanics sink in.
Essential Early Objectives
1. Learn the basics: Understand how energy works (you get 3 per turn, cards cost 0-3), how to play attack/block/skill/power cards, and how status cards (like Wound, Burn) hinder you.
2. Reach the first boss on Act 1: That’s your immediate goal. Don’t worry about winning – just get there to learn boss patterns.
3. Unlock cards and relics: Dying or winning unlocks new cards and relics for future runs. This is permanent progress. More unlocks give you more strategic options.
4. Understand pathing: On the map, plan your route. Elites (marked with a skull) are harder but give better rewards. Campfires let you heal or upgrade. Shops let you buy cards, relics, potions, or remove bad cards.
5. Manage your deck size: A deck of 15-20 cards is more consistent than a huge deck. Try to remove starter cards (Strike, Defend) at shops or via events.
What to Do First and What to Avoid
Do first:
Avoid:
Early Resource Priorities
Your resources in each run are: HP, Gold, Potions, Campfires (for healing/upgrades), and Card Rewards.
Common Beginner Mistakes
1. Not taking enough block cards. Beginners often load up on attacks and die because they can’t mitigate enemy damage. A good rule is to have at least 1 block card for every 2 attack cards in your deck.
2. Resting too much. Upgrading cards is often more valuable than healing 15-30 HP early on. Learn to judge whether you can survive with low HP through the next fights.
3. Ignoring the intent system. Watch what enemies plan to do next turn. If an enemy is attacking, play blocks. If it’s buffing, you can attack safely. This is crucial for efficient health management.
4. Taking too many status cards. Cards like “Wound,” “Dazed,” or “Slimed” can clutter your deck. Avoid adding them unless you have synergy (e.g., Fire Breathing).
5. Not planning ahead. The map shows you the next 3-4 rooms – plan your route to include at least one campfire before a boss, and consider skipping elites if your deck is weak.
6. Skipping potions. Potions are powerful one-time use items. Always carry three and use them strategically.
7. Overvaluing rare cards. Rare cards are not always better than common ones. A simple attack like "Strike" can be useful, while a rare card like "Bludgeon" might cost too much energy for your deck.
Day-One Checklist
Here’s a practical checklist to complete on your first day of playing (1-2 hours):
Final advice: Slay the Spire is about learning through failure. Every death teaches you something. Keep playing, experiment with different strategies, and soon you’ll be climbing the spire consistently. Good luck!