Getting Started
Getting Started Guide for Sons of the Forest
Welcome to the island. This guide is designed to get you from the plane crash to a stable first night, covering every beginner's pain point. Sons of the Forest is a survival horror game with deep crafting, building, and combat. It is currently available exclusively on PC via Steam. No console or mobile versions exist.
---
First Hour Walkthrough (and What to Expect)
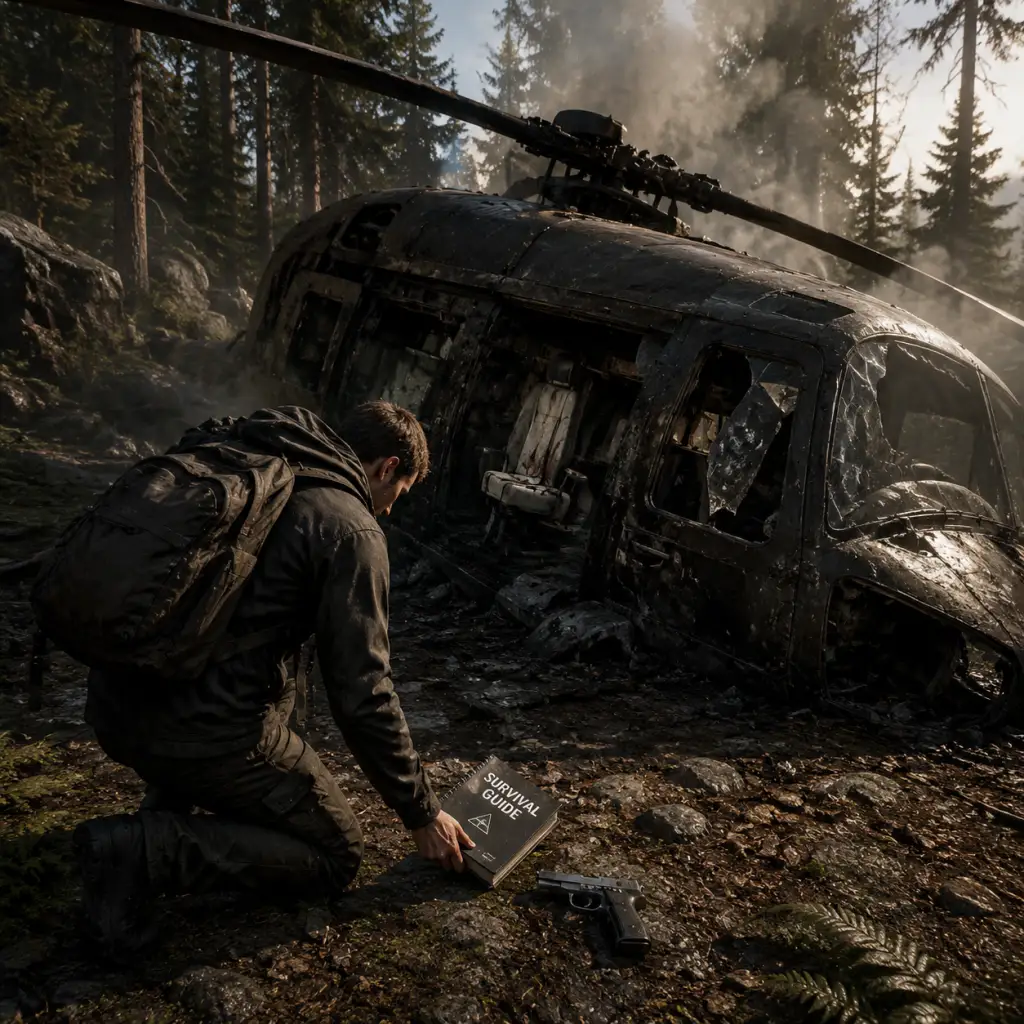
The game begins with a cutscene: your helicopter crashes on a remote island. You are automatically thrown out, and you black out. When you regain control, you are lying on the ground near the wreckage.
Your immediate goals (0-10 minutes):
1. Stand up and look around. You'll see the burning helicopter and a large crate nearby. Go to the crate and press the interact key (E on keyboard, X on controller) to open it and grab your Emergency Pack. This contains your GPS tracker (gives you a map), a flashlight, food, water, meds, and a maintenance keycard (for later).
- Important: Do NOT ignore the GPS tracker. It is your map, compass, and waypoint system.
2. Open your inventory (Tab on keyboard, Back/Select on controller). Equip the GPS tracker. Press the trackpad/use button to open it. You'll see a green dot (you) and a white quest marker (the direction of a cave you need to reach for the story). Ignore that cave for now. Your priority is survival.
3. Pick up everything from the crash site: scattered luggage, cans of food, bottles of water, cloth, duct tape, and any sticks or stones on the ground. Don't hoard too much – but don't leave anything behind.
4. Find a safe location. Look for a clearing near water. The crash site is not safe – cannibals will arrive soon. Move about 100-200 meters away from the crash, ideally into a forest patch. Keep the GPS open to track your position.
5. Gather basic resources. As you move, collect sticks (from bushes and ground), stones (gray rocks), and small rocks. Also look for berries (blueberries are safe; avoid red ones – they're poisonous).
6. Build a shelter. By the time 15-20 minutes have passed, you must have a small shelter. The simplest is a leaf shelter (see building section below). If you find a tarp (white cloth) from luggage, you can craft a tarp shelter which is quicker.
7. Make a fire. Before nightfall (around 20-25 minutes in), craft a fire pit (7 stones in a circle) and light it with a lighter (right-click on fire pit, or use lighter from inventory). A fire keeps cannibals at bay and allows cooking.
8. Get a weapon. Your first weapon is a crafted spear (2 sticks + 1 sharp stone) or a club (1 stick + 1 stone). Alternatively, find a pistol in a specific location (see later). But for early defense, a spear is fine.
9. Survive the first night. Stay near your fire, keep it roaring, and stay inside your shelter if you hear noises. Cannibals may investigate but usually won't attack directly if you have a fire.
By the end of the first hour, you should have:
- A basic shelter (leaf or tarp) near water.
- A fire pit with at least one log or several sticks.
- A crafted weapon (spear or bow).
- A small stock of food/water (3-5 canned goods, a few bottles of water, some berries).
- A GPS tracker active with your base marked (press F to place a waypoint at your base).
- Change clothes by picking up different outfits (e.g., wetsuit, thermal gear) found in suitcases or corpses.
- Equip armor (made from bones, hide, etc.) for protection.
- Customize your inventory layout (rearrange items in your backpack).
- Note: Do not expect any RPG-style customization. The game focuses on survival, not character aesthetics.
---
Character Creation and Customization
Sons of the Forest does not have a traditional character creation screen. You play as Kevin (canon name) – a middle-aged man with a beard. No gender, appearance, or name changes are available. Your character is fixed. However, you can:
---
Controls: All Platforms (PC and Controller)
The game supports Keyboard + Mouse (primary) and Xbox/PlayStation controllers natively on PC. There is no official console version, but controllers work seamlessly.
#### PC (Keyboard & Mouse) – Default Controls
| Action | Key |
|---|---|
| Move | W, A, S, D |
| Look Around | Mouse |
| Interact / Use | E |
| Open Inventory | Tab (hold for backpack) |
| Equip GPS | Tab -> click on GPS |
| Attack (Melee) | Left Mouse Click |
| Aim / Block | Right Mouse Hold |
| Reload / Action | R |
| Jump | Space |
| Sprint | Left Shift |
| Crouch | Left Control (toggle) |
| Light / Extinguish Fire | F |
| Map / Waypoints | G (open GPS) |
| Place Marker | F (while GPS is open) |
| Crafting | Open inventory -> Combine items |
| Build Mode | B (opens the construction book) |
| Radial Menu | Q (hold) – quick select items |
| Inventory Drop | Drag item out of backpack |
| Backpack | Press Tab (hold) to see bag; drag items into world |
| Action | Xbox Button | PlayStation Button |
|---|---|---|
| Move | Left Stick | Left Stick |
| Look | Right Stick | Right Stick |
| Interact | A | Cross |
| Attack (Melee) | Right Trigger (RT) | R2 |
| Aim / Block | Left Trigger (LT) | L2 |
| Open Inventory | Back (select) / View | Touchpad (or Share) |
| Jump | B | Circle |
| Sprint | Left Bumper (LB) | L1 |
| Crouch | Right Bumper (RB) | R1 |
| Light Fire | Y | Triangle |
| Crafting | Open inventory -> combine | |
| Build Mode | D-Pad Up | D-Pad Up |
| Radial Menu | D-Pad Down (hold) | D-Pad Down (hold) |
| Map / GPS | D-Pad Right | D-Pad Right |
| Item Drop | In inventory press X (Xbox) / Square (PS) on item | |
| Flashlight | Hold D-Pad Up (while equipped) | Hold D-Pad Up |
| Use Item | Click right analog stick (R3) for flashlight | R3 |
---
UI Overview
The Heads-Up Display (HUD) is minimal by design.
- Top-left corner: Health bar (red), Stamina bar (green), Energy bar (yellow) – all fill or deplete.
- Bottom center: Your currently equipped item (icon).
- Bottom-right: Temperature indicator (cold/heat); also shows if you are in combat.
- No mini-map – you must open the GPS (G) for a map.
- Inventory screen (Tab): A grid backpack. You can combine items by dragging one onto another (e.g., stick + stone = axe). Grayed-out items are locked until you learn the recipe via in-game guide book (picked up in caves).
- Build mode (B): Opens the construction book. You can place blueprints for structures (shelters, walls, traps) using planks, logs, and materials from the environment.
- Notebook: Press M to open your survival notebook. It contains crafting recipes, building plans, lore notes, and your map if GPS is active. Essential for progress.
- Quest markers appear as floating glowing orbs when you get near story objectives. They are white for main, gold for optional.
- Sound cues: The game heavily relies on ambient sounds for danger. If you hear strange growls or footsteps, hide or prepare.
- Do NOT venture into caves. They are dark, full of mutants, and you lack gear.
- Do NOT attack cannibals directly – you are weak. Use stealth or run away. Fire can deter them.
- Do NOT eat raw meat (causes food poisoning). Always cook over fire.
- Do NOT swim in deep water (no stamina, drown risk).
- Do NOT drink from stagnant puddles (sickness). Stick to rivers or rain.
---
Essential Early Objectives (First Day Checklist)
Your first day (0-24 in-game hours) must be structured. Follow this order:
#### 1. [0-5 min] Crash Site Looting
- Get Emergency Pack (GPS, flashlight, food, keycard).
- Grab every can, bottle, cloth, tape, stick, stone from the immediate area.
- Smash suitcases (by hitting them) to release items.
#### 2. [5-15 min] Find Water
- Locate a lake, river, or pond. Fresh water sources are marked on GPS if you explore. You can drink directly from them (press E while facing water), but it may make you sick after a while. Boiling water is better (craft a pot from a cooking pot found in villages). For now, drink from water sources sparingly.
- Pro tip: Collect rainwater using a turtle shell (craft a water collector later). For immediate use, find canned sodas or water bottles.
#### 3. [15-25 min] Build a Basic Shelter
- Leaf Shelter: 10 sticks + 30 leaves (gather leaves from bushes by pressing E). Place it on flat ground. This protects you from rain and gives a save point.
- Tarp Shelter: 1 tarp + 5 sticks. Faster but requires tarp found at campsites.
- Save point: Sleeping in a shelter autosaves. Manual save is at any shelter or bed.
#### 4. [25-30 min] Gather Firewood
- Collect at least 50 sticks and 3-4 logs. Logs are from chopping down trees with a crafted axe (stone + stick). Use firewood to keep fire burning through the night.
#### 5. [30-40 min] Craft Basic Tools & Weapons
- Crafted Axe: 1 stick + 1 sharp stone (from riverbeds) + 1 rope (found in villages or caves). If no rope, save this for later. Without rope, make a bone knife (1 bone + 1 stone) if you find a skull.
- Crafted Spear: 2 sticks + 1 sharp stone. Right-click to throw (left click for melee). Great for hunting deer.
- Bow & Arrows: 1 stick + 1 cloth + 1 rope for bow; arrows: 2 sticks + 1 feather (from birds). More advanced but worth crafting on day 2.
#### 6. [40-50 min] Secure Food
- Eat canned food (use from inventory). Don't waste meds on hunger.
- Hunt small animals: birds, rabbits, fish. Throw your spear at them. Cook meat on fire (press E on raw meat near fire to start cooking).
- Collect edible berries (blue and purple). Avoid red and white ones.
#### 7. [50-60 min] Prepare for Night
- Build a fire pit (7 stones in a circle). Place near your shelter, not too close to trees (can catch fire).
- Light fire with lighter (must have a lighter – you start with one in emergency pack).
- Add logs/sticks to fire to keep it burning for 6+ hours.
- Sleep in shelter to speed up time if you want (hold E while inside shelter).
What to avoid on day one:
---
Early Resource Priorities
| Priority | Resource | Why | How to Get |
|---|---|---|---|
| 1 | Sticks | Everything: fire, shelter, tools, arrows | Ground, bushes, breaking saplings |
| 2 | Stones | Weapons, fire pit, axe, sharp stones | Riverbeds, streams, scattered on ground |
| 3 | Leaves | Shelter, bedding, fire fuel | Bushes (press E near any green bush) |
| 4 | Logs | Fire fuel, building walls, bridges | Chop trees with axe (any). Logs roll downhill – use this to transport |
| 5 | Rope | Advanced crafting (axe, bow, shelter, traps) | Hanging from caves, in suitcases, villages. Rope is rare early on; prioritize finding a rope at a cannibal camp near the beach |
| 6 | Cloth | Bandages, armor, bow, molotovs | Suitcases, camps, cabins. Also used for healing (bandage + meds) |
| 7 | Food (canned) | Quick energy | Crash site, suitcases, cabins. Eat only when starving to save for emergencies |
| 8 | Water | Hydration | Rivers, bottles. Boiling or rainwater is better |
| 9 | Duct Tape | Repair tools, upgrade weapons | Suitcases, maintenance huts. Necessary for fixing flashlight or making axes |
| 10 | Bones | Knife, armor, decorations | Cannibal corpses (after killing). Boil bones for glue (advanced) |
Common Beginner Mistakes (and How to Avoid Them)
1. Wandering into the story cave immediately. The GPS points you to a cave. Do not follow it until you have a weapon, armor, and at least 10 meds. Cannibals are aggressive inside.
2. Ignoring the weather. Cold wetness reduces health and stamina. If you're shivering, sit by fire or put on dry clothes (change from inventory).
3. Not saving. The autosave only triggers when you sleep. Manual save from shelter is crucial. Save often – especially before exploring new areas.
4. Building a base too close to the crash site. Cannibal patrols spawn near the crash. Build at least 200m away, preferably with a water source.
5. Running from every fight. Sometimes you must stand your ground. If a single cannibal approaches, try to kill it with a spear – it will drop bones and rope. But if a group, run.
6. Hoarding without organizing inventory. Keep your backpack tidy: weapons in one row, food in another. Drop unnecessary items (like excess rocks) near your base.
7. Not using the radial menu (Q). It saves time. Assign your GPS, flashlight, weapon, and healing items to the hotbar.
8. Eating poisonous berries. Learn the colors: Blue = safe, Red = poison, White = poison, Purple = safe but rare. When in doubt, don't eat.
9. Not boiling water. Drinking from ponds often gives you a stomach infection (need meds). Always build a water collector (turtle shell + sticks) or use a cooking pot to boil.
10. Sleeping without fire. If you sleep outside a shelter without fire, you may freeze or be attacked. Always sleep near a fire in a shelter.
---
Day-One Checklist (Print-Friendly)
When you start a new game, tick off these before night falls:
- [ ] Pick up Emergency Pack from the crate near crash.
- [ ] Open GPS, place a waypoint at the crash site (so you don't lose it).
- [ ] Gather all items from crash area (food, waters, cloth, tape, sticks, stones).
- [ ] Move away from crash (at least 150m, preferably toward a lake).
- [ ] Find a flat spot near water to build a base.
- [ ] Gather 10+ sticks and 30+ leaves. Build a leaf shelter.
- [ ] Collect 7 stones, place a fire pit near shelter.
- [ ] Collect 10+ sticks for fire fuel; light fire with lighter.
- [ ] Craft a spear (2 sticks + 1 sharp stone).
- [ ] Hunt 1-2 small animals (birds/rabbits) or open a can of food. Cook meat on fire.
- [ ] Drink from a river (if safe) or use a water bottle.
- [ ] Equip flashlight (put in radial menu).
- [ ] Save game by sleeping in shelter.
- [ ] Stay near fire until dawn.
- [ ] Craft a stone axe (1 stick + 1 sharp stone + 1 rope) if you found rope.
- [ ] Find a trail of suitcases leading to a small camp – loot for armor and ammo.
- [ ] Scare away first cannibal by throwing a spear or lighting a fire.
Optional but recommended:
---
Congratulations – you survived the first day! From here, you can expand your base, explore caves, and eventually uncover the island's mysteries. Remember: Sons of the Forest is brutal but fair. Take it slow, respect the environment, and always carry a fire source.