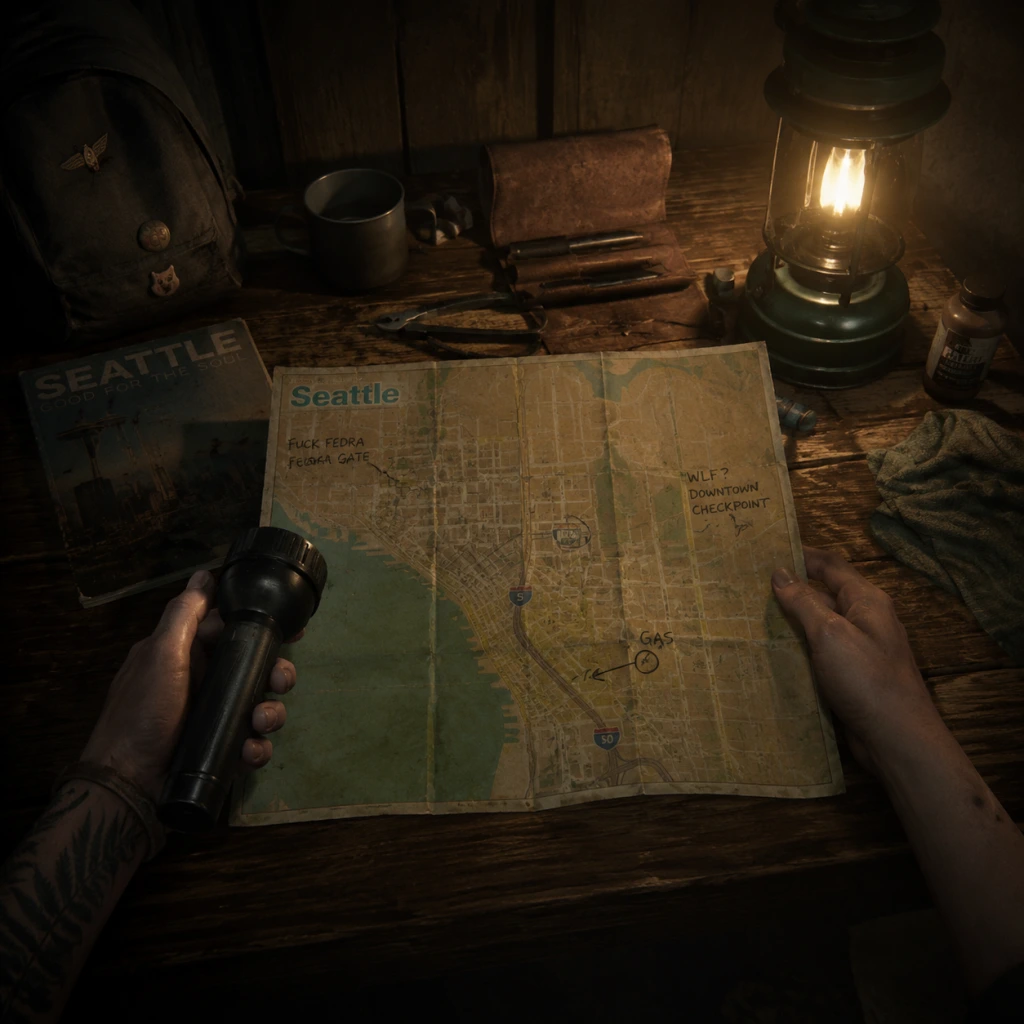
Getting Started
Getting Started
This guide is for brand-new players of The Last of Us Part II on PlayStation 4 or PlayStation 5. The game is a single-player, story-driven survival action game with no character creation—you play as Ellie (and later as Abby). Your goal is to survive hostile environments, scavenge resources, and progress through a deeply emotional narrative.
---
First Hour Walkthrough
1. Prologue (Jackson, Wyoming – Winter)
- You start as Ellie in the settlement of Jackson. You cannot die here; just follow the linear path.
- Key actions: Walk around, talk to characters (Dina, Tommy, Jesse). This is pure tutorial and story setup.
- No combat yet; enjoy the atmosphere.
2. Opening Cutscene – A flashback to Joel and Tommy. Then you attend a party with Dina.
- What to do: Follow Dina, pet a dog (Buckley), go to the barn.
- Avoid: Ignoring story prompts; all are mandatory but give world-building.
3. First Patrol (with Dina) – You leave Jackson on horseback.
- Controls introduced: Movement (L3), Horse controls (R1 to trot, R2 to gallop, L2 to stop/dismount).
- First fight tutorial: A small group of infected appear.
- You have a pistol and a melee weapon (the axe Dina gives you).
- Practice targeting (L2) and shooting (R2).
- Stealth kill from behind: Approach an unaware enemy and press Triangle.
- Tip: Use the listen mode (R1) to see enemy locations through walls (white outline).
4. Exploring the Synagogue – Dina and Ellie search for supplies.
- First safe: Combination lock puzzle (Code: 25-1-17). Open safe for supplements (skill points).
- Loot everything: Bottles, rags, alcohol, bindings. These are crafting materials.
5. Returning to Jackson – Linear walk/ride back. The first hour ends.
---
Character Creation
No character creation exists. You control Ellie for the vast majority of the game, and later Abby (around 10–12 hours in). Their appearance, skills, and weapons are fixed by the story. All progression comes from upgrade trees (skills and weapons) found by collecting supplements and parts.
---
Controls (All Platforms)
The Last of Us Part II is available on PS4 and PS5 with identical control layouts (PS5 uses DualSense features but mapping is the same). Below is the default control scheme:
| Button | Action |
|---|---|
| Left Stick (L3) | Move / Press to run (sprint) |
| Right Stick (R3) | Camera / Press to melee attack (when weapon drawn) |
| Cross (X) | Jump / Climb / Context action (open doors, pick up items) |
| Circle (O) | Crouch / Stand up / Dive (in water) |
| Square (□) | Reload (hold) / Interact (loot containers) |
| Triangle (△) | Pick up / Melee attack (when unarmed) / Execute stunned enemy |
| L1 | Listen Mode (highlight sounds and enemies through walls) |
| L2 | Aim weapon (hold) / Block (when unarmed) |
| R1 | Switch weapon (tap) / Heal (hold + use medkit) |
| R2 | Shoot / Attack (with melee weapon) / Accelerate in horse |
| Options | Pause menu (Inventory, Map, Skills, Weapons, Journal) |
| Touchpad | Open Map (single tap) / Journal (hold) |
| D-Pad Up | Switch to pistol |
| D-Pad Down | Switch to long gun (rifle, shotgun, bow) – based on current weapon |
| D-Pad Left | Switch to throwable (brick, bottle, Molotov, smoke bomb) |
| D-Pad Right | Switch to melee weapon (when not already equipped) |
- Stealth is king. Use crouch (Circle) and listen mode (L1 often, but only when standing still).
- Quick weapon switching (R1) cycles through your two main weapons. Use D-Pad for specific types.
- Hold L1 to heal when you have a bandage (crafted from rags). Don’t waste health kits until needed.
- DualSense features (PS5 only): Haptic feedback gives subtle alerts (e.g., pulling back a bow string feels tense). Adaptive triggers resist when weapons are damaged or when aiming. Not essential but immersive.
- Health – The screen shows no health bar. Look for Ellie’s physical state:
- Ammo counter – Shows current magazine / total for the equipped weapon (e.g., 4/20).
- Weapon wheel – Tap R1 to see currently equipped weapons. Hold R1 to bring up quick select (not full wheel). Use the Options menu for full inventory.
- Crafting icon – When you have materials for a craftable item, a small icon appears near the bottom-right (e.g., knife icon for a shiv). Open inventory (Options) to craft.
- Minimap – Top-right corner, appears only when inside large interiors or areas with infected. Not always present.
- Waypoint marker – A faint white dot/line guiding you to the next story objective. Follow it if lost.
- Listen Mode – Activates a sonar-like pulse that highlights:
- Loot everything, always. Every drawer, cabinet, shelf may contain:
- Collect all supplements – Use them immediately in the Skills menu (Options > Skills). Prioritize:
- Upgrade your weapons at workbenches – Parts found. Upgrade priority:
- Craft often – In the inventory menu, craft: medkits (rags + alcohol), shivs (bindings + scissors), smoke bombs (rag + sugar), Molotovs (rag + alcohol + bottle). Always keep one medkit and one shiv (for locked doors).
- Explore fully before moving to the next story beacon. Safes and hidden areas often contain skill magazines (permanent buffs) and extra parts.
---
UI Overview
The Heads-Up Display (HUD) is minimalist and contextual. Understanding it is critical:
- No damage: normal movement.
- Light damage: occasional blood spatter on edges.
- Heavy damage: screen gets desaturated, blood splatters heavily; listen for heavy breathing.
- Heal prompt appears when heavily injured or when you have a medkit.
- Special weapons (rifles, shotguns) show separate counts.
- Enemies (white outlines).
- Lootable containers (yellow).
- Interactive objects (blue/green).
- Resources (glowing white).
Important: The UI never tells you exactly how much health you have. Pay attention to visual/audio cues. Always carry a crafted medkit.
---
Essential Early Objectives (First 2–3 Hours)
1. Survive the Prologue – Pure story. No decisions.
2. Complete the patrol with Dina – Use stealth for infected; loot the synagogue (safe code: 25-1-17).
3. Return to Jackson and attend the dance – Cuts to next morning.
4. First major combat encounter – After leaving Jackson, you infiltrate a building. Use stealth, bricks/bottles for distractions.
5. Obtain the hunting bow – Found in a convenience store after the first WLF encounter. Essential for silent kills.
6. Enter the first open hub (Downtown Seattle) – You can explore here. Prioritize finding workbenches and safes.
---
What to Do First (Priorities)
- Supplements (skill points) – they look like small green vials with a plus sign.
- Parts (gun upgrade currency) – metal pieces.
- Crafting materials: alcohol, rags, bindings, sugar, explosives (rare).
- Ammo and weapons (fixed spawns).
- Precision (swap shoulders while aiming) – Huge for peeking around corners.
- Healing (improves medkit efficiency) – Saves resources.
- Stealth (quieter movement) – Helps avoid detection.
- Pistol (muzzle break or reload speed) – You use it most early on.
- Bow (draw speed) – Silent headshots are gold.
---
What to Avoid (Common Mistakes)
1. Rushing into combat – Stealth is always better. Enemies are smart; they will flank and call for backup. If detected, run and reposition.
2. Ignoring listen mode – Use R1 frequently. It shows patrol routes and loot. Consumes no resource.
3. Wasting ammo on basic infected – Use melee or stealth. Save bullets for humans or clickers.
4. Not crafting medkits – You can’t buy them. Always have at least one.
5. Skipping safe combinations – Every safe gives valuable loot. Write down combos (they can be found nearby).
6. Forgetting to switch weapons – You can only carry two guns at a time (pistol + long gun). Manage wisely.
7. Not reading the journal – Ellie writes notes that reveal clues and combinations. Check Options > Journal.
8. Overusing molotovs on small groups – Save for bloaters or heavy enemy groups.
9. Trying to kill everyone – Some areas are meant to be stealthed through. You don’t need to clear every room.
10. Not exploring before story trigger – Once you pass a point of no return, you cannot revisit. Loot thoroughly.
---
Early Resource Priorities (First 5 Hours)
| Resource | Priority | Use |
|---|---|---|
| Rags | High | Medkits, smoke bombs, shivs (with bindings) |
| Alcohol | High | Medkits, Molotovs |
| Bindings | Medium | Shivs (doors), essential for melee upgrades |
| Sugar | Medium | Smoke bombs (distraction) |
| Explosive items (e.g., gunpowder) | Low (first hours) | Craft ammo (rare early). Conserve until you have many parts. |
| Supplements | Always collect | Skill points – spend immediately. |
| Parts | Always collect | Weapon upgrades at workbenches. |
---
Common Beginner Mistakes (Detailed)
- Ignoring the playable flashback sections – These are not skippable and provide context. Don’t just mash through dialogue; pay attention for story clues and loot locations.
- Holding R2 too long when pulling bow – The bow can be held for precision but consumes stamina (visual shake). Release quickly for snap shots.
- Not using bricks/bottles – Throw them (tap L2 then R2) to distract or stun an enemy. Bricks can also be used as melee weapons.
- Forgetting to disable traps – Human enemies place trip mines. Look for laser lines; crouch under or shoot the red barrel to destroy them.
- Underestimating clickers – They kill in one grab. Always have a shiv or use a melee weapon to escape if they grab you. Stealth is mandatory.
- Sprinting through water – Noise alerts enemies. Walk/crouch in water.
- Not using the map – In open areas, the map shows your location and areas of interest. Press Touchpad to view.
- Selling/trading items – You cannot; there are no merchants. All loot is used for crafting or upgrades.
- Assuming you can play as Joel – Joel is playable only in a short flashback. The game is Ellie’s story.
- [ ] Set difficulty – Choose Moderate (balanced). Survival (hard) restricts resources and listen mode, and Permadeath is not recommended for first playthrough.
- [ ] Enable subtitles – Already on by default. Keep them on for environmental voice lines.
- [ ] Adjust controller sensitivity – Default is fine. If you want quicker aiming, go to Settings > Controls > Aim Sensitivity (increase to 4–5).
- [ ] Understand listen mode – Hold L1 when still; it recharges after use (blue bar). Use it sparingly in combat to avoid cooldown.
- [ ] Memorize safe code for first safe – 25-1-17 (in the synagogue). Write it down.
- [ ] Check for skill magazines – In the first hub (Downtown Seattle), look for a magazine that grants a permanent upgrade (e.g., faster healing). Search the bookstore and bank.
- [ ] Collect all coins/pins – Not plot-essential, but feeds the trophy “That’s All I Got” and some safes.
- [ ] Save often – The game autosaves frequently, but you can manual save from Options > Save (only one save slot per playthrough). No need to micromanage.
- [ ] Plan for at least 25–30 hours – The story is long. Don’t rush.
- [ ] Avoid story spoilers – The game is best experienced blind. Do not look up guides beyond this beginner walkthrough.
- Play on a good TV/headset – Audio cues are vital: clicking of clickers, footsteps, whistles.
- Don’t be afraid to die – Deaths are cheap; retry from last checkpoint (fair checkpoints). Learn from mistakes.
- Interact with everything – Don’t just rush to objective markers. Open all drawers, break glass, search bodies.
- Manage horse stamina – When riding, hold X (pat) to calm the horse, but this is minor.
- Read notes and letters – They often contain safe combinations or lore.
- Expect emotional impact – The story is mature, violent, and somber. Take breaks if needed.
---
Day-One Checklist
Before you play your first session, do this:
---
Final Tips for Newcomers
Welcome to The Last of Us Part II. Survive, scavenge, and keep moving forward.