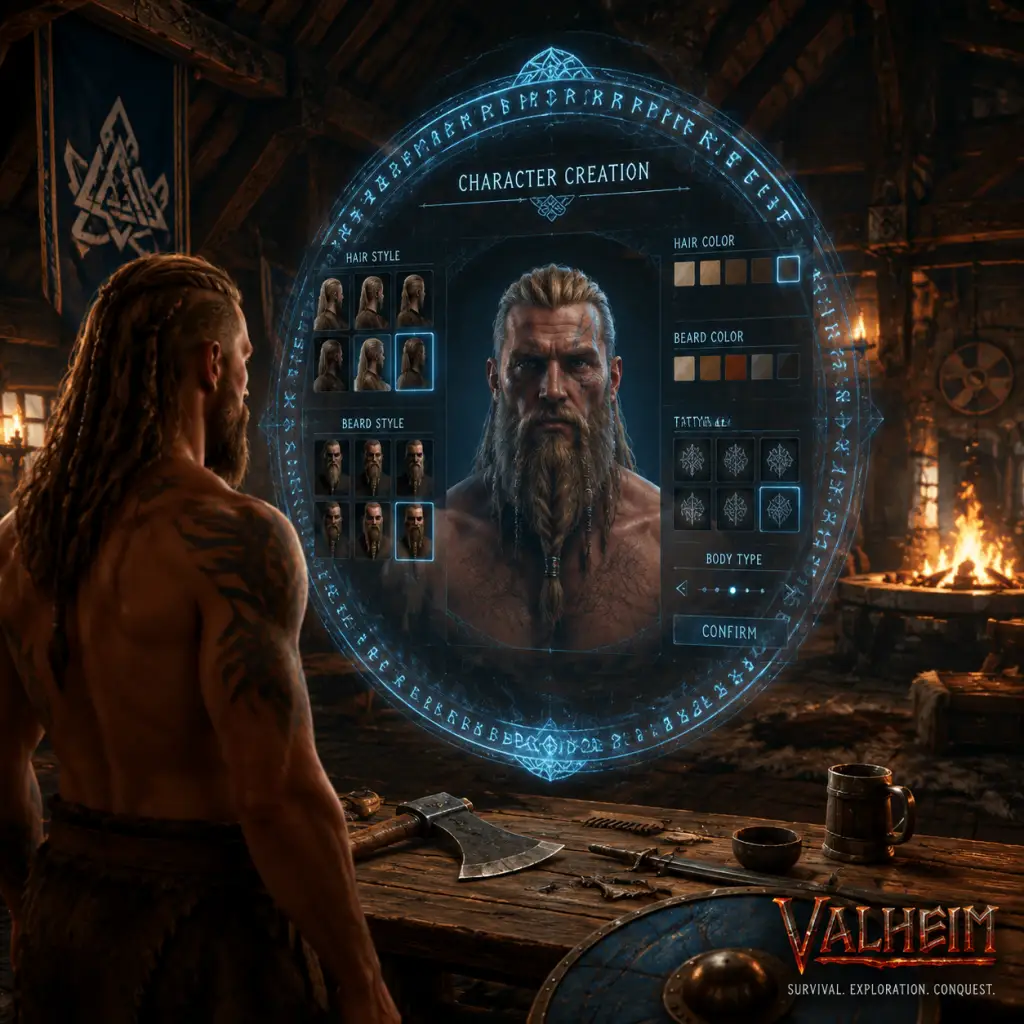
Getting Started
Valheim: Getting Started Guide
1. Character Creation & Initial Spawn
In Valheim, character creation is purely cosmetic. You choose your name, hair, beard, and skin tone. There are no classes or stat choices – your playstyle is determined entirely by your gear and skills. Once created, you’ll be placed on a random shore in a lush, green biome called the Meadows. You start with:
- Rags (torso, legs, head) – minimal armor.
- A Stone – used to pick up certain items but not as a weapon yet.
- A Torch – provides light and can be used as a weak weapon.
Tip: Don’t spend time customizing your character extensively – you can’t change it later, but it has zero gameplay impact. Just pick something quick and jump in.
---
2. Platform-Specific Controls
PC (Keyboard & Mouse)
| Action | Key |
|---|---|
| Move | W, A, S, D |
| Jump | Space |
| Run | Shift (hold) |
| Sneak | Ctrl (hold) |
| Interact / Pick up | E |
| Attack (primary) | Left Mouse Button |
| Attack (secondary) | Right Mouse Button (hold for bow) |
| Block / Parry | Right Mouse Button |
| Inventory | Tab |
| Map | M |
| Build Menu | Q |
| Chat | Enter / Y |
| Use item (e.g., food) | Number keys (1-8) |
| Dodge roll | Double-tap a movement key while blocking |
Xbox (Controller)
| Action | Button |
|---|---|
| Move | Left Stick |
| Look / Aim | Right Stick |
| Jump | A |
| Run | Left Stick click (hold) |
| Sneak | Right Stick click (hold) |
| Interact | Y |
| Attack (primary) | RT (Right Trigger) |
| Attack (secondary) | LT (Left Trigger) |
| Block / Parry | LB (Left Bumper) |
| Inventory | X |
| Map | View button (two squares) |
| Build Menu | D-Pad Up |
| Quick select | D-Pad Left/Right (cycle hotbar) |
| Dodge roll | LB + A (while moving) |
---
3. First Hour Walkthrough (Step by Step)
Minutes 0-5: Gather Basics
1. Look around – you’re on a shore. There are small trees, rocks, and bushes.
2. Pick up wood – walk up to fallen branches or small saplings (they glow slightly) and press E (or Y on Xbox). You’ll get Wood.
3. Pick up stones – look for loose stones on the ground; press E to collect Stone.
4. Pick up Flint – near water edges, you’ll see greyish rocks. Press E to collect Flint (not always there, but common).
5. Run around – your stamina drains quickly. Walk or slow down to regen. Do not sprint constantly – you’ll exhaust stamina and be vulnerable.
Minutes 5-15: First Tools
Crafting is done via the build menu (Q on PC, D-Pad Up on Xbox).
1. Open build menu → Crafting tab.
2. Craft a Stone Axe (5 Wood, 4 Stone) – your first tool for chopping trees.
3. Craft a Stone Knife (2 Wood, 5 Stone, 2 Flint) – good quick weapon for hunting boar.
4. (Optional) Craft a Hammer (3 Wood, 2 Stone) – used to repair structures and build.
5. Craft a Workbench (10 Wood) – place it on the ground (press primary attack to place). This unlocks more crafting recipes.
Minutes 15-30: Shelter & Fire
Safety is critical. Build a simple shelter before night.
1. Use the build menu under Building tab.
2. Place a Workbench (already crafted).
3. Build a Hammer if you haven’t. Use the hammer to see available pieces.
4. Start by placing Wall pieces (4 Wood each) to make a 3x3 floor or 4x3 box. A simple 4-wall enclosure with a roof will keep rain off.
5. Place a Door in one wall (1 Wood, 1 Stone).
6. Build a Campfire (2 Stone, 2 Wood) inside – place it on the ground. Light it by using a torch (press primary while holding torch) or by igniting with a bow/fire arrow later.
7. Sit near the fire to gain Resting buff (+50% health/stamina regen) – crucial at night.
Night danger: At dusk, Greydwarfs (hostile humanoid trees) and Boars become aggressive. Stay inside your shelter until morning.
Minutes 30-60: Prepare for First Boss
Your first boss is Eikthyr, a giant deer. Before summoning him:
1. Collect at least 30 Wood and 20 Stone.
2. Build a Crafting Station upgrade: Add a Chopping Block (10 Wood, 10 Flint) near your workbench.
3. Craft a Club (6 Wood, 4 Stone) – decent early weapon.
4. Craft a Leather Armor set (tunic, pants, helmet) – requires Deer Hide (from hunting deer) and Bone Fragments (from skeleton kills). Alternatively, upgraded rags are fine.
5. Cook food (raw meat from boar/deer) at a Cooking Station (2 Wood placed on workbench). Cooked meat gives more health/stamina.
6. Eat three food items – your max health and stamina are determined by what you’ve eaten (3 slots). Always keep all three slots filled with different foods.
7. Find the Eikthyr summoning location – look for large glowing runestone in the Meadows (often near spawn). Interact with it to learn the summoning ritual.
8. Summon Eikthyr by placing 2 Deer Trophies (from hunting deer) on the spawn point and interacting.
Tip: You don’t need to kill the boss on day 1. Focus on basic survival first.
---
4. UI Overview
- Top left: Health bar (green) and Stamina bar (yellow). Fill by eating food.
- Top center: Current buffs/debuffs (e.g., Resting, Wet, Cold).
- Bottom center: Hotbar – 8 slots for weapons, tools, food. Press numbers 1-8 or scroll wheel.
- Bottom right: Compass and minimap (shows nearby points of interest).
- Pressing Tab (or X): Inventory screen. Divides into:
- Building Menu (Q / D-Pad Up): Submenus for crafting, building, and furniture. You “pin” recipes to your crafting window for quick reference.
- Map (M / View): Shows explored area, boss locations (stones), and your death marker. You can add custom pins (right-click / LT on map).
- Immediately pick up everything on the ground (wood, stone, flint).
- Build a simple shelter before nightfall.
- Craft a Stone Axe and chop down small trees (not the giant oaks or pines – they require upgraded axes).
- Build a workbench and upgrade it once.
- Cook and eat food to max your HP.
- Mark your spawn point with a bed.
- Don’t run into the Black Forest – you’ll be killed by Greydwarfs or skeletons.
- Don’t eat only one food – you need three food items active at all times for maximum stats. Empty food slot = fragile.
- Don’t explore at night without a torch or fire – you take cold damage and vision is poor.
- Don’t carry all your resources while exploring – leave spare wood, stone, and expensive items in chests. Dying drops everything you carry (on ground, not in inventory slots?). Actually, you drop all items except equipped gear. So only take what you need.
- Don’t try to build a huge base immediately – start small, then expand later. Large structures require many resources.
- Don’t attack a boar with a torch – it will set you on fire.
- Don’t forget to repair your tools – use a hammer to repair structures and workbench to repair tools.
- Left: your equipped gear (armor, weapon, shield).
- Center: backpacks (carried items).
- Right: equipped item slots (only 2 weapon slots initially).
Important UI tip: Hover over any item or skill in your inventory to see tooltips describing usage and stats.
---
5. Essential Early Objectives (Days 1-3)
1. Build a permanent base – a small hut with a workbench, campfire, bed, and chests. The bed sets your spawn point (sleep in it).
2. Craft a Stone Axe, Stone Knife, Hammer, and an upgrade for Workbench (Chopping Block).
3. Gather at least 20 Wood, 10 Stone, 10 Flint, and 5 Deer Hide (for armor or later gear).
4. Hunt deer (sneak up, use bow or throw spear; they flee easily). Also hunt boar (use knife or club; they attack back).
5. Cook raw meat at a cooking station over a fire. Always have cooked meat ready.
6. Collect Raspberries and Blueberries (from bushes) – these are early food items that fill slots moderately.
7. Find a large Maypole (if possible) or simply clear an area – you’ll need to expand soon.
8. Avoid the Black Forest (darker trees, fir trees) until you have better gear – Greydwarf brutes and skeleton spawns can one-shot you.
9. Build a raft (if you need to cross water) – but rafts are slow and fragile; better to build a bridge or swim (if short distance).
10. Learn to parry/block – practice blocking with a shield or weapon against boars to stun them for a critical hit.
---
6. What to Do First vs. What to Avoid
✔️ Do First
❌ Avoid
---
7. Early Resource Priorities
| Resource | Use | How to Get |
|---|---|---|
| Wood | Foundations, walls, tools, crafting | Chop trees; pick fallen branches |
| Stone | Tools, weapons, campfire, walls | Pick up loose stones on ground |
| Flint | Knife, axe upgrade, arrows | Along shorelines (grey rocks) |
| Deer Hide | Leather armor, backpack (later) | Hunt deer with bow/spear |
| Boar Meat | Cooked food for HP/stamina | Hunt boar (use knife or club) |
| Raspberries / Blueberries | Quick food (low stats) | Bushes in Meadows (purple/blue) |
| Bone Fragments | Arrows, certain tools | Kill skeletons (in Black Forest or at night) – avoid early on |
| Resin | Torches, arrows | From Greydwarfs (avoid early) or from chopping certain trees (rare) |
---
8. Common Beginner Mistakes
1. Not using food correctly – You can eat up to 3 different foods. They each give health and stamina for a limited duration. Always have 3 active. Right-click food to eat. Replenish when icons start fading.
2. Ignoring rested bonus – Being near a campfire or a comfort item (like a chair, rug) gives a 5-20 minute Rested buff that doubles health/stamina regen. Always sit by fire after gathering.
3. Building too far from spawn – If you die far from your base, you have to run back naked. Build your first base within 200 meters of your spawn point.
4. Not setting a bed – Sleeping in a bed sets your respawn point. If you don’t, you respawn at the original spawn (usually far away).
5. Underestimating stamina management – Running, jumping, and attacking consume stamina. When exhausted, you move slowly and can’t defend. Always keep a small reserve for emergencies.
6. Over-encumbered – Your carry weight limit is 300 (default). If you exceed it, you walk very slowly. Drop items or build a cart (unlocked later).
7. Not checking the map – Use map markers to remember resource spots, interesting biomes, and dangerous areas. Press M, right-click to place a pin.
8. Fighting at night without a torch – Night-time enemies are tougher and more numerous. Stay indoors or near light.
9. Chasing deer without a bow – Deer are extremely skittish. You need a bow (unlocked with Flint head arrows) to hunt efficiently. Sneak and aim for headshots.
10. Exploring alone – You can play solo, but it’s harder. If possible, team up with friends – Valheim scales enemy difficulty based on player count.
---
9. Day-One Checklist (Print or Reference)
- [ ] Spawn and pick up every loose wood, stone, flint in sight.
- [ ] Craft Stone Axe and Stone Knife.
- [ ] Chop down 6-8 small trees (get ~20 wood).
- [ ] Collect at least 10 stones and 5 flint.
- [ ] Build a small 4x4 wooden hut (walls, roof, door).
- [ ] Place a workbench inside.
- [ ] Build a campfire inside (and light it with torch).
- [ ] Craft a hammer (if not done).
- [ ] Build a bed (10 Wood) and sleep in it (set spawn).
- [ ] Build a chest (10 Wood) and store extra items.
- [ ] Hunt 1-2 boars and deer (get raw meat, deer hide).
- [ ] Build a cooking station over the campfire; cook the meat.
- [ ] Eat three different foods (e.g., cooked boar, raspberries, blueberries).
- [ ] Craft a crude bow and 10-20 arrows (requires wood, stone, flint).
- [ ] Upgrade workbench with a Chopping Block (10 Wood, 10 Flint).
- [ ] Locate the Eikthyr runestone (boss location) nearby.
- [ ] Learn the summoning ritual (from runestone).
- [ ] (Optional) Collect 2 deer trophies to summon Eikthyr, but don’t fight him until you have upgraded leather armor and a good weapon.
- [ ] End day by repairing gear (use workbench), storing valuables, and sleeping.
- Explore carefully: Stick to Meadows edges; avoid Black Forest until you have maybe 2-3 pieces of leather armor and a bronze weapon.
- Build a raft only if necessary: It’s slow and fragile. Better to build a bridge or swim small rivers.
- Plan your base expansion: Add a wall around your house (stake wall – requires 2 Wood each). This keeps out most night raids.
- Harvest Birch and Oak trees (require bronze axe) – do not attempt with stone axe; you’ll waste time.
- Watch your skills: Skills increase by using them (e.g., running increases Run skill, reduces stamina drain). Practice every skill.
- Don’t die: Dying reduces your skills slightly and drops your inventory. Always carry a spare weapon and food in case you need to retrieve your corpse.
---
10. Additional Tips for Days 2-3
Final note: Valheim is a game of slow progression. Don’t rush. Each biome has a gear check. The first boss (Eikthyr) is designed to teach you basic combat mechanics. After defeating him, you unlock the antler pickaxe and can mine copper and tin – that’s when the real journey begins.
Happy viking survival!