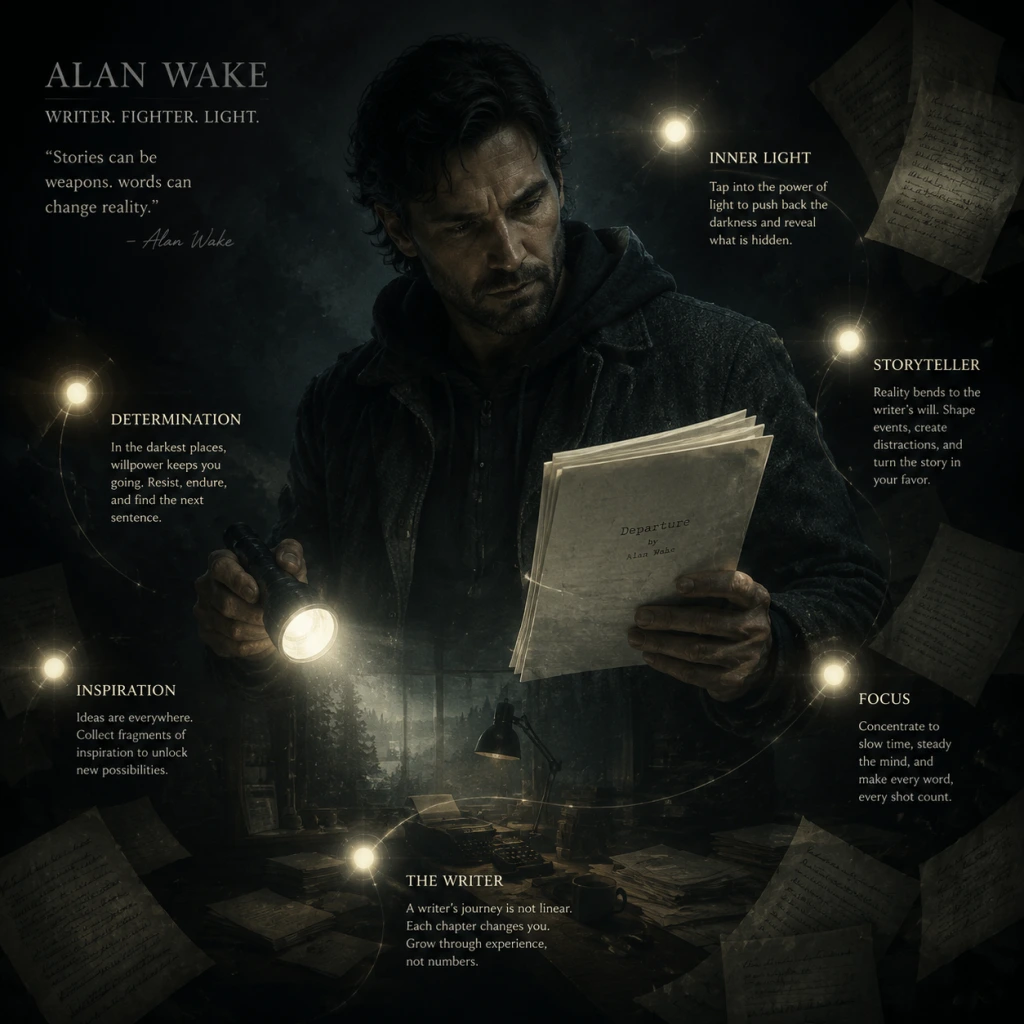
Character Skills
Character Skills for Alan Wake
Overview
Unlike traditional RPGs, Alan Wake has no skill trees, talents, or spells. Alan Wake is the sole playable character, and his abilities are defined entirely by his weapons and tools – specifically his mastery of light. This guide treats every weapon, item, and action as a “skill,” detailing its effects, usage, and optimal situations. All information applies to both the original 2010 release and the Remastered version.
---
Core Ability: Flashlight
Alan’s most essential tool. It serves as both a light source and a weapon to strip the darkness shield from Taken.
- Modes:
- Battery: Depletes over time, recharges automatically when not in use (slower during combat). Batteries (found in the environment) instantly restore full charge.
- Cooldown / Management: No cooldown – only battery capacity. Always keep an eye on the battery indicator. Switch to low beam when exploring to conserve charge.
- Upgrades: None permanent. Finding extra batteries in the world increases your reserves (carry limit starts at 4, can be increased to 6 by picking up battery packs).
- Best Use: Always use focused beam to break a Taken’s darkness shield, then continue to shine to stun them before switching to firearms. Against large groups, use focused beam only on the nearest enemy.
- Input: Press the dodge button (B on Xbox, Ctrl/C on PC?). Standard third-person dodge.
- Cooldown: None; can be spammed, but careful timing is required to avoid attacks.
- Effect: Evades melee attacks, projectiles (like thrown axes), and explosions. Does not break the darkness shield but keeps you alive.
- Upgrades: None.
- Best Use: Use just as a Taken swings or just before an explosion. It can also be used to quickly reposition when surrounded.
- Low Beam: Wards off darkness slowly; battery lasts longer.
- Focused Beam (hold RT/click RMB): Burns darkness rapidly, but drains battery twice as fast. Required to stun and damage Taken after the shield is gone.
---
Defensive Maneuver: Dodge
A quick sidestep or roll that provides temporary invincibility frames.
---
Primary Weapons
| Weapon | Damage | Ammo Capacity | Reload Speed | Effective Range | Best Use |
|---|---|---|---|---|---|
| Revolver | High per shot (headshot kills most Taken instantly when darkness is gone) | 6 rounds | Moderate | Medium | Precision; taking down isolated enemies from a distance. |
| Shotgun | Very high burst; one shot can kill multiple Taken at close range | 2 shells | Slow | Short | Crowd control; close quarters. |
| Hunting Rifle | Extremely high; one-shot kills even from a distance (after darkness removed) | 6 rounds | Slow | Very long | Sniper; eliminating threats from afar, especially Taken with ranged attacks. |
| Flare Gun | Instant light damage; sets enemies on fire for seconds | 1 flare | Very slow | Medium, but AoE | Stunning groups; emergency escape. |
Combos: Light + Shoot. Burn shield with flashlight, then switch to revolver/shotgun for the kill. Or use flare to stun, then shotgun blast to the chest.
---
Consumable Light Tools
| Tool | Effect | Duration | Carry Limit | Best Use |
|---|---|---|---|---|
| Flare | Burns brightly, repelling nearby Taken; provides safe zone. | ~8 seconds | 5 | Area denial; protecting yourself while reviving or switching weapons. |
| Flashbang | Instant blinding light; stuns all Taken in radius for ~3 seconds. | Instant | 5 | Crowd control; buying time to escape or kill multiple enemies. |
| Signal Flare (rare) | A powerful flare that lasts longer and attracts Taken, burning them. | ~15 seconds | 2 | Distraction; luring enemies into an area then shooting them. |
| Thermos (note: not a tool, but collectible) | – | – | – | No combat use. |
- Toss a flare at your feet, then use the revolver to pick off enemies from inside the safe zone.
- Throw a flashbang, then immediately sprint through a group to safety.
- Streetlights, floodlights, car headlights, TV screens – Standing under these temporarily stuns incoming Taken. No cooldown, but enemies will avoid them unless forced.
- Generator-powered lights – Turn on generators to create permanent safe zones. Useful for choke points.
- Flashlight – The only portable light source.
- No cooldown – As long as the light is on, it works.
- Weapon 1: Revolver (versatile)
- Weapon 2: Shotgun (crowd control)
- Tools: 2 Flares, 2 Flashbangs
- Best for most encounters.
- Weapon 1: Hunting Rifle
- Weapon 2: Revolver (backup for close range)
- Tools: 4 Flares (to keep enemies at distance)
- Ideal for open areas like Cauldron Lake.
- Weapon 1: Shotgun
- Weapon 2: Flare Gun (secondary)
- Tools: 4 Flashbangs (to stun then shove shotgun in face)
- Use in tight corridors or when expecting heavy Taken pressure.
- Flashlight: Always on. Switch to focused beam only when enemies are near. Use low beam to preserve battery during exploration.
- Dodge: Use when you hear the enemy’s attack sound or see them lunge. Essential against axe-throwing Taken.
- Revolver: Any time you can line up a headshot. Best for lone Taken or when ammo is scarce.
- Shotgun: When three or more Taken are within 5 meters. Also great for braking through wooden barriers.
- Hunting Rifle: Use against Taken that stand still (e.g., those with ranged weapons) or snipers on high ledges. Not good for crowded fights.
- Flare Gun: Emergency only – ammo is rare. Use when overwhelmed or to clear a path through a tight spot.
- Flares: Throw one before entering a dark building to light your way and keep enemies at bay.
- Flashbangs: Throw into a group before charging in with the shotgun. Or use to interrupt a second wave of enemies.
- There are no character upgrades – Alan’s skills remain the same throughout the game. Progression comes from player skill and resource management.
- The DLC chapters (“The Signal” and “The Writer”) add no new abilities but introduce more challenging enemy types.
- In Alan Wake’s American Nightmare (a separate game), additional weapons like the submachine gun and crossbow appear, but this guide focuses on the main Alan Wake experience.
---
Environmental Light Sources
Best Use: Lure enemies into light sources to stun them, then shoot without wasting battery. In the woods, use car headlights as temporary safe havens.
---
Advanced Techniques & Combos
1. The Light-Stun-Kill Combo: Activate focused beam → burn shield → switch to revolver → headshot. This is the bread and butter.
2. Flare-Stun-Close-Quarters: Throw a flare or flashbang → close distance → shotgun blast to multiple enemies.
3. Dodge-Through: Dodge _toward_ an attacking Taken – then immediately shine light on its back, causing it to stun for a longer period.
4. Ammo Conservation: Use environmental light to stun large groups, then focus on one at a time with pistol headshots. Do not waste ammo on shielded enemies.
5. Flare Gun Emergency: When surrounded, fire the flare gun at your feet – it creates a temporary safe zone that burns all nearby Taken, allowing you to escape or reload.
---
Recommended Loadouts
#### Balanced (Default)
#### Sniper / Ranged
#### Aggressive Close Quarters
---
When to Use Each Skill
---
Notes
---
Master the light, and the darkness will yield.