Getting Started
Introduction
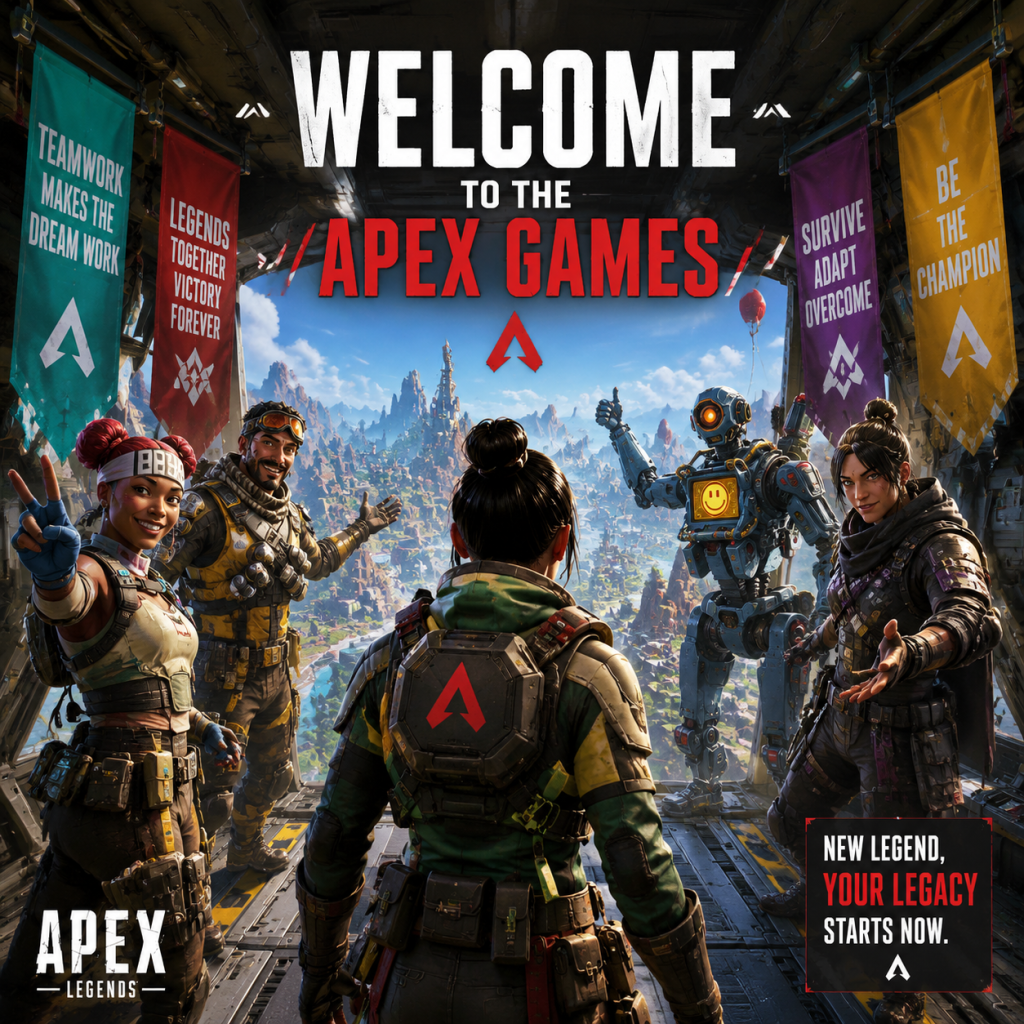
Welcome to the Apex Games, rookie! Apex Legends is a fast-paced, team-based battle royale where squads of three compete to be the last team standing. Unlike traditional shooters, you choose a Legend – each with unique abilities – and use teamwork, map knowledge, and quick reflexes to survive. This guide will walk you through your first hour, controls, UI, priorities, and common mistakes so you can start your journey with confidence.
Character Selection (No Creation, Just Choice)
There is no character creation in Apex Legends. Instead, you pick from a roster of Legends, each with a tactical, passive, and ultimate ability. New players start with six free Legends: Bangalore, Bloodhound, Gibraltar, Lifeline, Pathfinder, Wraith, plus Octane unlocked later (or you can earn/unlock others).
- Your first pick: Try Bloodhound (track enemies) or Lifeline (heal/revive team) for beginner-friendly kits.
- In the lobby: Before queueing, you can select your Legend. If you don’t pick, the game chooses a random one.
- Note: You cannot change Legend mid-match, so choose wisely.
First Hour Walkthrough
1. Launch the game – After installation, start Apex Legends. You’ll see a splash screen, followed by the main menu.
2. Play the Tutorial (Highly Recommended) – The game offers a short tutorial (Press Firing Range button). It teaches basic movement, shooting, and ability use. Complete it.
3. Firing Range – Optionally, spend 5–10 minutes in the Firing Range (accessible from lobby) to practice with weapons and Legends.
4. First Match – Queue for Battle Royale (trios). You’ll be matched with two random teammates or fill with friends.
5. Drop Phase – As the dropship flies over the map, press E (PC) / X (Xbox) / Square (PS) / A (Switch) to ping a location, then jump when near your chosen spot. Look for named areas with decent loot (e.g., Fragment East, Lava City, The Cage).
6. Loot, Fight, Survive – Collect weapons, armor, and items. Stick with your team, use the ping system to communicate, and rotate toward the ring.
7. Expect to die quickly – It’s normal. Each match teaches map layout, loot spots, and combat basics.
Controls – All Platforms
Below are default controls. You can customize them in Settings.
PC (Keyboard & Mouse)
| Action | Key |
|---|---|
| Move | W, A, S, D |
| Look | Mouse move |
| Shoot | Left Click |
| Aim Down Sights | Right Click |
| Reload | R |
| Interact/Pickup | E |
| Ability: Tactical | Q |
| Ability: Ultimate | Z |
| Ability: Passive | (Auto) |
| Ping | Mouse Middle |
| Jump | Space |
| Crouch | Left Ctrl |
| Sprint | Shift |
| Melee | V |
| Inventory | Tab |
| Map | M |
| Heal | 4 (health), 5 (shield) |
| Grenade | G |
| Slide | Sprint + Crouch |
| Climb | Hold Forward at wall |
Xbox
| Action | Button |
|---|---|
| Move | Left Stick |
| Look | Right Stick |
| Shoot | RT |
| Aim Down Sights | LT |
| Reload | X |
| Interact/Pickup | A |
| Ability: Tactical | LB |
| Ability: Ultimate | RB |
| Ping | R Stick (click) |
| Jump | Y |
| Crouch | B (hold for toggle) |
| Sprint | L Stick (click) |
| Melee | R Stick (click twice?) – check |
| Inventory | Back/View |
| Map | Start/Menu |
| Heal | D-Pad Up (health), Right (shield) |
| Grenade | D-Pad Left |
| Slide | Sprint + Crouch |
| Climb | Move into wall |
PlayStation
| Action | Button |
|---|---|
| Move | Left Stick |
| Look | Right Stick |
| Shoot | R2 |
| Aim Down Sights | L2 |
| Reload | Square |
| Interact/Pickup | Cross (X) |
| Ability: Tactical | L1 |
| Ability: Ultimate | R1 |
| Ping | R3 (click stick) |
| Jump | Triangle |
| Crouch | Circle (hold for toggle) |
| Sprint | L3 (click stick) |
| Melee | R3 (?) – default R3 click |
| Inventory | Touchpad (left half) |
| Map | Touchpad (right half) or Options |
| Heal | D-Pad Up (health), Right (shield) |
| Grenade | D-Pad Left |
| Slide | Sprint + Crouch |
| Climb | Move into wall |
Nintendo Switch
| Action | Button |
|---|---|
| Move | Left Stick |
| Look | Right Stick |
| Shoot | ZR |
| Aim Down Sights | ZL |
| Reload | B |
| Interact/Pickup | A |
| Ability: Tactical | L |
| Ability: Ultimate | R |
| Ping | R Stick (click) |
| Jump | X |
| Crouch | Y (hold for toggle) |
| Sprint | L Stick (click) |
| Melee | R Stick (?) |
| Inventory | – (see Button Help) |
| Map | + |
| Heal | D-Down (?) – refer to in-game |
| Grenade | D-Left |
| Slide | Sprint + Crouch |
| Climb | Move into wall |
UI Overview
Your HUD shows:
- Top-center: Kill feed (enemy eliminations) and team announcements.
- Top-left: Team banners – shows each teammate’s Legend, health, shield, and knockdown status.
- Center-bottom: Your Legend’s portrait, health bar (red), shield bar (blue), ability cooldowns.
- Bottom-left: Weapon slots – current weapon, ammo count, and equipped attachments.
- Bottom-right: Minimap – shows squad positions, ring timer, and nearby points of interest. Press M to expand full map.
- Center (when pinging): Ping wheel with options like “Enemy here”, “Looting here”, “Defending”.
- Inventory screen (Tab/Back): Manage weapons, attachments, armor, helmet, backpack, and consumables.
- Shield cells, batteries = rectangular blue symbols.
- Syringes, med kits = cross symbols.
- Grenades = round icons (frag, thermite, arc star).
- Complete the tutorial – Unlocks basic knowledge and free rewards.
- Turn on Aim Assist (if on controller) – Default settings are fine.
- Adjust sensitivity – Start medium (4–5 on PC, default on console) then tweak.
- Use a headset – Audio cues are critical (footsteps, gunshots, ziplines).
- Play with friends – Or find a squad via Discord. Communication reduces frustration.
- Land at named locations – Supply bins, weapon racks, and buildings. Avoid open fields.
- Check death boxes quickly – Scan loot and move; don’t stand still.
- Hot-dropping (landing in crowded zones) – You’ll die instantly without loot. Learn slowly.
- Ignoring armor upgrades – A blue shield is far better than white. Upgrade whenever possible.
- Looting too long – After you have a decent weapon, shield, and heals, move. The ring closes and enemies will push.
- Running in the open – Always use cover (rocks, walls, buildings). Slide to move faster.
- Not using your Legend’s abilities – Abilities win fights. Use tactical and ult often (but not wastefully).
- Solo queuing without pinging – Your team can’t read your mind. Ping everything.
- Reloading after every shot – Reserve ammo isn’t infinite. Reload only when safe.
- Forgetting to heal before fights – Pop a shield cell/phoenix kit before engaging a team.
- Over-looting – Spending minutes in one building while ring closes or enemies ambush.
- Not sliding – Sliding downhill preserves momentum and you become a harder target.
- Forgetting to heal before fighting – Always start a fight at full shields and health if possible.
- Ignoring sound – Footsteps, ziplines, and ability sounds give enemy positions.
- Wrong weapon combos – Don’t use two snipers; combine close-range (SMG/shotgun) and mid-range (AR).
- Dropping your guard after a kill – Third parties are frequent; heal and reposition immediately.
- Not using the minimap – Rotate toward the ring and avoid open chokepoints.
- Playing too passively – Hiding doesn’t improve skill. Engage in fights (even if you die) to learn.
- Giving up after one down – Your teammates can revive you. Stay in the game.
- Use the firing range regularly to practice weapon recoil and movement.
- Legends are not pay-to-win – All free Legends are viable. Unlock new ones by earning Legend Tokens (via leveling).
- Watch your teammates – If they ping an enemy or a direction, follow their lead.
- Don’t be afraid to ask questions – Many experienced players are willing to help if you use voice chat politely.
- Remember: Every pro was once a newbie. Persistence pays off.
Key Symbols:
Essential Early Objectives
Your first 10–20 matches should focus on:
1. Survive the drop – Land at a safe spot with teammates. Avoid the hottest zones (e.g., Fragment, The Streamer Building) until you know combat basics.
2. Loot efficiently – Grab a weapon, armor, and helmet. Prioritize body shield (at least white), then ammo, then heals.
3. Stick together – Never wander off alone. Ping your intentions and follow teammates.
4. Master the ping system – Use Middle Mouse / R3 to mark enemies, loot, or directions. It’s faster than voice chat for many.
5. Rotate before the ring – Keep an eye on the ring timer. Move toward the safe zone early to avoid damage and third parties.
6. Engage smartly – Only fight when you have an advantage (better position, numbers, loot). Third-partying is common; be aware of nearby fights.
What to Do First – What to Avoid
✅ Do This:
❌ Avoid:
Early Resource Priorities
When looting, always prioritize:
1. Weapon – Start with any gun; learn recoil patterns later. Best starters: R-301 (assault rifle), Volt SMG, or a shotgun + SMG combo.
2. Body Shield – Always equip the highest level (white < blue < purple < gold).
3. Ammo – 120–160 rounds for your primary, 60–80 for secondary.
4. Helmet – Reduces headshot damage; any better than none.
5. Healing Items – 2–4 syringes, 2 shield cells, 1–2 med kits, 1–2 shield batteries. More as you survive.
6. Attachments – Sights, stocks, magazines, barrels. Prioritize extended mags and sights that suit your playstyle.
7. Grenades – Frag grenades are versatile; thermite for area denial; arc stars for sticking enemies.
8. Ultimate Accelerants – Only if your Legend’s ult is powerful; otherwise leave.
> Tip: Don’t hoard everything. Drop low-tier items for better ones your teammates can use.
Common Beginner Mistakes
Day-One Checklist
Here’s a concrete list for your first session:
1. Download & Install (if not done).
2. Launch the game.
3. Complete the tutorial (if prompted).
4. Spend 5 minutes in Firing Range – test 2–3 weapons and one Legend’s abilities.
5. Queue for Battle Royale (Trios) with fill on.
6. Your first match objectives:
- Land at a named location (e.g., Fragment East).
- Pick up any weapon and armor.
- Stay within 50 meters of teammates.
- Ping at least one enemy, one loot item, and one direction.
- Try to survive more than 5 minutes (just focus on looting and rotating).
- Don’t worry about kills; survival is key.
7. After first match, go to Legend selection – Try a different Legend to understand roles.
8. Adjust settings – Lower sensitivity if aiming feels jerky; enable auto-sprinting if comfortable.
9. Play 3–5 more matches – Each match, focus on one new thing: using abilities, sliding, or checking the minimap.
10. Watch your kill cams – Learn from deaths: were you out of position? Did you not heal?
11. Optional: Watch a beginner’s guide on YouTube (e.g., from Aceu or iTemp Plays).
12. Have fun! – Losing is part of learning. The goal is improvement.
Final Tips
Now drop in, grab a weapon, and become an Apex Champion!