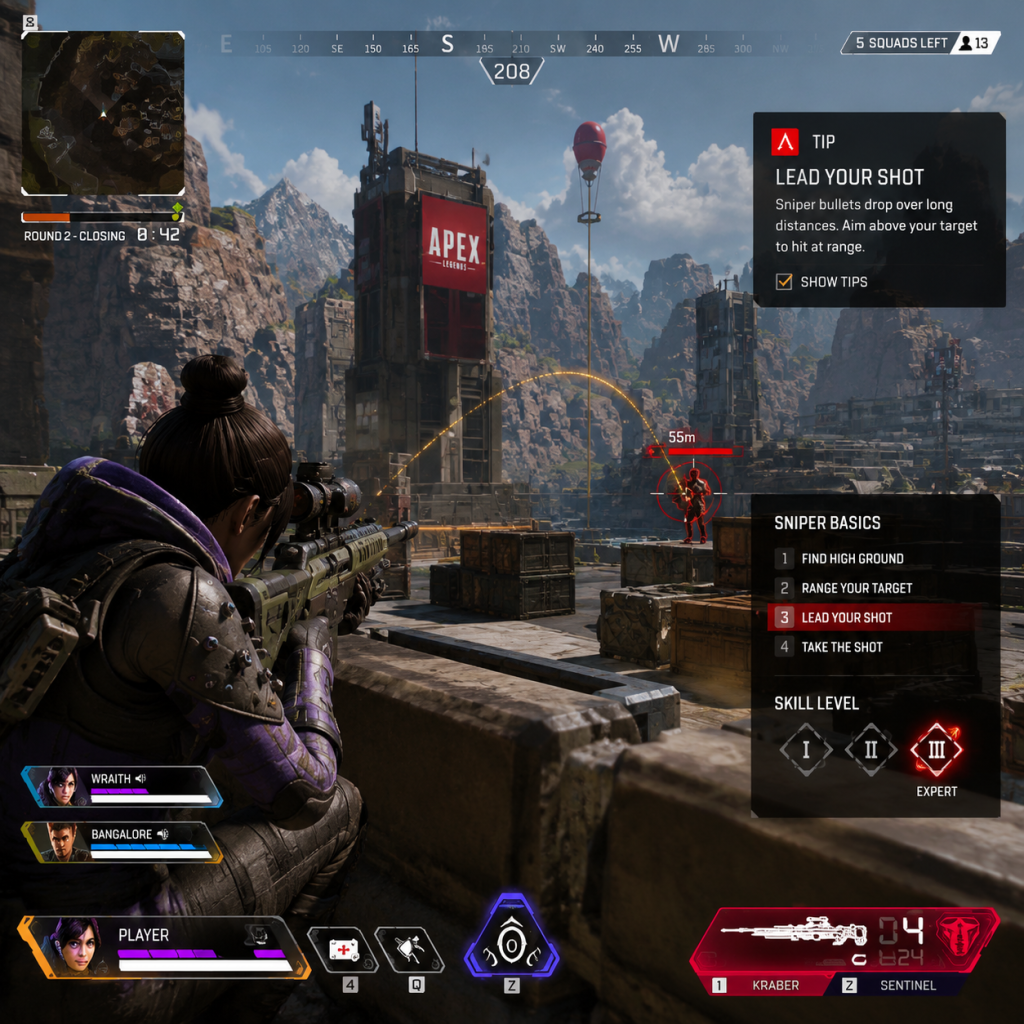
Game Tips
Game Tips for Apex Legends
This section provides proven tips across all skill levels, organized by category. Each tip includes a clear explanation and deeper analysis of why it works and when to apply it.
---
Combat
1. Peek with Purpose
- Explanation: Don't repeek the same angle repeatedly. The enemy will pre-aim your head. Instead, take a shot, reposition, or use a different angle.
- When to use: After landing a shot that doesn't kill; reset the fight. Use headglitches or slide-jump peeks to minimize exposure.
2. Master the Slide-Jump
- Explanation: Slide-jumping preserves momentum and makes you a harder target while maintaining speed. Practice chaining slide-jumps across open ground.
- When to use: Rotating between cover, disengaging from a losing fight, or closing distance quickly with a shotgun.
3. Use Hipfire at Close Range
- Explanation: Hipfire has minimal spread when moving and allows faster strafing. ADS at close range slows you down and makes you an easy target.
- When to use: Within 10 meters with SMGs, shotguns, or even some ARs (e.g., R-99 alternator). For marksman rifles, always ADS.
4. Learn Recoil Patterns
- Explanation: Each weapon has a unique recoil pattern. Practice in Firing Range to control the visual recoil and spray transfer between targets.
- When to use: Mid-to-long range engagements when the enemy is not moving erratically. Use a 2x or 3x sight to see the pattern more clearly.
5. Third-Party Awareness
- Explanation: After a fight, heal and reset before looting. Third parties often wait for gunfire to die down. Use audio cues and situational awareness to expect them.
- When to use: Always after a firefight. If you hear shots nearby, prioritize repositioning over looting.
6. Shield Swapping
- Explanation: Swapping a cracked shield for a fresh one from a death box is faster than using shield cells/batteries. The animation is shorter and you avoid heals.
- When to use: During a fight when you have no shields and an enemy death box is nearby. Do it in cover.
---
Exploration & Movement
1. Utilize the Map's Verticality
- Explanation: High ground offers superior sightlines and damage bonuses. Use ziplines, jump pads, and climbable surfaces to gain height advantage.
- When to use: During rotations or when holding a building. Never fight from low ground if you can avoid it.
2. Wall Bouncing
- Explanation: Jump off a wall while sliding into it to maintain momentum and change direction instantly. A high-skill movement technique.
- When to use: To escape a pursuer, juke an enemy's aim, or quickly peek corners without losing speed.
3. Sound Cues for Rotations
- Explanation: Footsteps, zip sounds, and ability audio reveal enemy positions. Move quietly when near enemies; use loud moments (smoke, explosions) to mask your reposition.
- When to use: When you know an enemy is in a building or around the corner. Crouch-walk on metal surfaces to minimize noise.
4. Slide Down Slopes for Speed
- Explanation: Sliding down any incline builds momentum, allowing faster traversal and less exposure. Use this to get behind cover quickly.
- When to use: When rotating downhill, escape the ring, or engage from a new angle.
5. Balloon and Trident Usage
- Explanation: Balloons grant height and distance but leave you vulnerable mid-air. Tridents provide cover and speed but are loud and have a fixed path.
- When to use: Balloons for rotating across open areas safely (if not contested). Tridents for fast team rotation on flat ground, but avoid during fights.
---
Resources & Loot
1. Prioritize Backpack Upgrades
- Explanation: Larger backpacks let you carry more heals, ammo, and grenades. A purple backpack can hold 6 shield cells, 4 med kits, etc.
- When to use: Always loot backpacks first. If you have a blue backpack and see a purple, swap immediately regardless of other loot.
2. Ammo Management
- Explanation: Carry 2-3 stacks of ammo for your primary and 1-2 for your secondary. Too much ammo wastes inventory space; too little forces mid-fight reload.
- When to use: Early game, stack more ammo (3-4 stacks). After securing loot, drop one stack for more heals or grenades.
3. Loot Efficiently in Hot Drops
- Explanation: Don't empty a single bin; grab a weapon, armor, and immediate ammunition, then fight. Loot after securing the area.
- When to use: Landing at Fragment East, Estates, or any popular POI. Time is life; looting too long gets you killed.
4. Heal Order
- Explanation: Shields heal faster than health when using cells vs syringes. In fights, prioritize shields. Use batteries for instant full shield (4 seconds) vs cells (3 seconds each, 4 cells = 12 seconds).
- When to use: After taking shield-damage only, use cells. If armor is cracked and you have a battery, swap if available or pop battery. In final rings, use med kits to top off health.
5. Grenade Usage
- Explanation: Grenades force enemies out of position. Arc Stars stick and slow, Fragmentations area denial, Thermolite burn and obscure vision.
- When to use: To clear a building, force an enemy out from behind a rock, or prevent a revive. Always carry at least one arc star for rushing shields.
---
Economy & Crafting
1. Crafting Materials Scarcity
- Explanation: Materials are found on the ground or in bins (one per bin). They are used to upgrade armor at Replicators. Don't waste them on suboptimal items.
- When to use: Only craft when you need a specific item (e.g., missing helmet, backpack upgrade). Avoid crafting weapon attachments unless you have extra materials.
2. Replicator Priority
- Explanation: Replicators are stations that convert materials into loot. They offer one free item per station per round, and two paid items. The free item cycles per match.
- When to use: Loot first, then use Replicator for upgrade. If you see a free purple shield or helmet, grab it before fighting. Paid items: focus on armor upgrades first.
3. Supply Drops
- Explanation: Care packages drop mid-game and contain fully kitted weapons (e.g., Kraber, R-301). They also drop high-tier armor and helmet. Contesting them is risky but rewarding.
- When to use: If you are well-equipped and near the drop, contest. Otherwise, let others fight and third-party the winner. Never cross open ground to reach a supply drop if the ring is far.
---
Character & Team Composition
1. Role Synergy
- Explanation: A balanced squad includes a recon (e.g., Bloodhound, Valk), a support (e.g., Lifeline, Newcastle), and a skirmisher (Wraith, Octane). This covers scanning, healing, and mobility.
- When to use: In ranked, always aim for this mix. In casual, any composition can work with communication.
2. Ability Timing
- Explanation: Use tactical abilities on cooldown but with purpose. For example, Wraith's phase to reposition, not as a panic button. Use Bloodhound scan when you suspect enemies nearby, not randomly.
- When to use: Scan before entering a building, pop tactical after taking damage, use ultimate for rotational advantage (e.g., Bangalore's smoke to disengage).
3. Support Legend Tips
- Explanation: Lifeline's drone heals over time; place it behind cover. Newcastle's tactical provides a mobile shield; use to revive safely. Loba's market allows quick loot; drop it in safe zones.
- When to use: Lifeline drone after a fight, Newcastle shield when reviving under fire, Loba ult when looting a POI after a fight.
---
Settings & Optimization
1. Adjust Sensitivity and FOV
- Explanation: Lower sensitivity (1.5-3.0 at 400 DPI) allows precise aim; higher FOV (90-100) increases peripheral vision but makes targets smaller. Find a balance.
- When to use: For flick-heavy play, higher sens; for tracking, lower sens. Test in Firing Range for 20 minutes to dial in.
2. Audio Settings
- Explanation: Use headphones with surround sound (or stereo with L/R balance). Reduce music and subtitles volume; increase effects and dialogue volume.
- When to use: Always. Clear audio is critical for knowing enemy location and direction. In crowded fights, reduce chat volume temporarily.
3. Input Buffer and Auto-Sprint
- Explanation: Enable auto-sprint under Controls; it reduces the need to click shift constantly. Set input buffer to "0" for faster response.
- When to use: Always. This improves movement fluidity and reduces finger strain.
---
Game Sense & Rotations
1. Ring Awareness
- Explanation: Know the ring closing schedule (closing times and damage per tick). Rotate early to avoid gatekeeping teams. Use the map to plan a path through cover.
- When to use: When the ring is 2 rings away from closing, start moving. If you are in the edge of the next ring, hold position to catch late rotators.
2. Positioning in Final Rings
- Explanation: In last 3 rings, high ground and cover are vital. Avoid open areas. Use grenades to flush out enemies from the last building. If no cover, create it with abilities (e.g., Caustic traps, Rampart walls).
- When to use: When the ring is small (circle 4 and beyond). Patience is key; let others fight while you hold an advantageous spot.
3. Third-Party Strategy
- Explanation: Wait for two teams to engage, then attack when one team is weak. Use the chaos to clean up. Do not engage too early or you become the third party target.
- When to use: When you hear gunfire nearby but not part of the fight. Approach silently, position near the exit route, then push after the initial explosion.
---
Endgame & Victory
1. Survive with Your Team
- Explanation: In final rings, staying alive is more important than kills. Shield up, use knockdown shields for cover, and prioritize revives. A 2v3 with good shields is winnable.
- When to use: When the team count is below 5 squads. If a teammate is downed, use crypto drone or other abilities to safely respawn if ring permits.
2. Use Ultimate Accelerants
- Explanation: Accelerants give charge for your ultimate. In endgame, having your ult ready can turn the tide (e.g., Gibby bombardment, Caustic gas).
- When to use: When you have a free moment and your ult is not fully charged. Keep one accelerant for emergencies.
3. Final Circle Tactics
- Explanation: When the circle is tiny, play in the middle if you have cover. Use healing items to outheal ring damage if necessary. Avoid being the first to peek; let enemies expose themselves.
- When to use: In the last few seconds before the ring fully closes. Use thermite to block doors, arc stars to stun, and frags to force movement. If you are in a building with roof access, climb up for unexpected angles.
---
This guide covers essentials across all skill levels. Practice these tips in Firing Range and actual matches to improve your consistency and win rate.