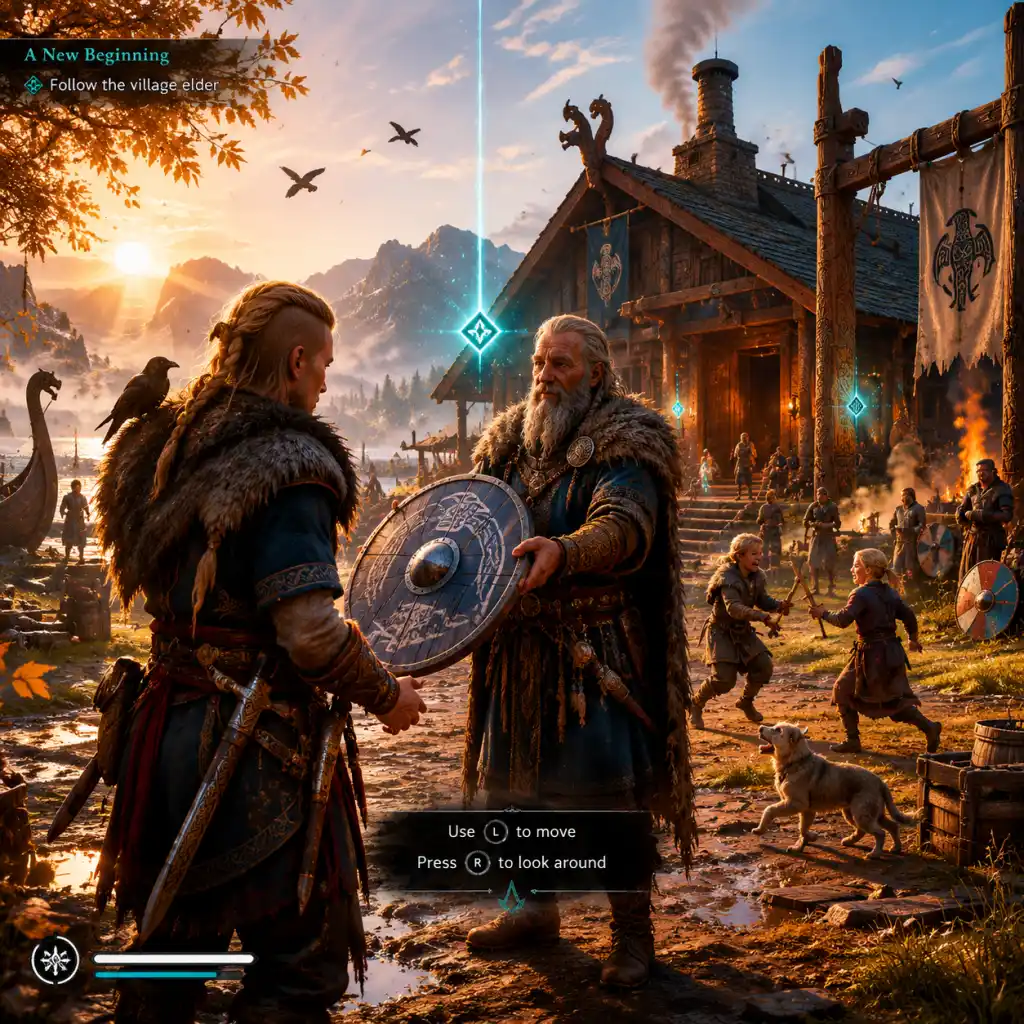
Getting Started
Getting Started Guide for Assassin's Creed Valhalla
Welcome to Assassin's Creed Valhalla! This guide is designed for brand-new players to help you survive your first hours as Eivor, a Viking raider caught between the cold shores of Norway and the warring kingdoms of England. Follow this step-by-step walkthrough, learn the controls, avoid common pitfalls, and set yourself up for a successful journey.
---
First-Hour Walkthrough: From Character Creation to England
Your first hour will roughly follow this path:
1. Launch the game → You will be prompted to choose a difficulty mode. We recommend Normal if you’re new, but you can change it later in the settings.
2. Cinematic introduction → You see a young boy (Eivor) and his sister. This sets up the story.
3. Character Creation → After the opening cinematic, you enter the character customization screen.
4. Prologue: Norway → You control Eivor as a child in a snowy village. Follow the on-screen prompts to move, interact, and climb. This is a safe tutorial. After a short sequence, you time-skip to adult Eivor.
5. Adult Prologue → You wake up after a battle. You’ll learn basic combat, parkour, and stealth. Do not rush – experiment with each button.
6. The Return of the Raven → Your first main objective. You meet Valka and learn about the settlement. Then you receive your longship and sail to England.
7. Arrival in England → After a storm, you wash ashore near the River Exe. Follow the story mission to find a place for your new home. This ends the first hour.
Tip: During the prologue, remember to use your raven (Synnin) to scout areas and mark enemies. Hold the button shown on screen to activate her.
---
Character Creation
At the very start, you define your Eivor. Here are the options:
| Option | Description |
|---|---|
| Gender | Choose Male, Female, or Let the Animus Decide (swaps gender during modern-day segments). Canonically, female Eivor is the main historical character; male is a disguise. Pick whichever feels right. |
| Appearance | Customize hair, beard (male only), face paint, outfit colors, and more. You can later change these at the tattoo shop in your settlement. |
| Difficulty | Normal, Hard, or Nightmarish. You can change difficulty in the pause menu at any time. |
---
Controls (All Platforms)
Below are the default control schemes. You can remap controls in the settings menu.
#### PC (Keyboard + Mouse)
| Action | Keys |
|---|---|
| Move | W A S D |
| Sprint / Mount | Shift (hold) |
| Interact / Pick up | E |
| Attack (Light) | Left Mouse Button |
| Attack (Heavy) | Right Mouse Button |
| Block / Parry | Q |
| Dodge / Roll | Alt (or double-tap movement) |
| Crouch / Stealth | Ctrl |
| Use Odin’s Sight | V (hold) |
| Call Raven | X |
| Skill Wheel | R |
| Weapon Swap | Mouse wheel up/down or 1/2 |
| Open Map | M |
| Pause / Menu | Escape |
| Action | Button |
|---|---|
| Move | Left stick |
| Sprint / Mount | Hold A |
| Interact / Pick up | Y |
| Attack (Light) | RB |
| Attack (Heavy) | RT |
| Block / Parry | LB |
| Dodge / Roll | B |
| Crouch / Stealth | Left stick (click) or X (hold) |
| Odin’s Sight | Hold Right stick |
| Call Raven | Up on D-pad |
| Skill Wheel | Hold LB + press RB? Actually hold LB to quick ability? Check in-game. Typically hold LB to bring up ability wheel. |
| Weapon Swap | Left/Right on D-pad |
| Open Map | Touchpad button or Select |
| Action | Button |
|---|---|
| Move | Left stick |
| Sprint / Mount | Hold X |
| Interact / Pick up | Triangle |
| Attack (Light) | R1 |
| Attack (Heavy) | R2 |
| Block / Parry | L1 |
| Dodge / Roll | Circle |
| Crouch / Stealth | L3 (click) or Square (hold) |
| Odin’s Sight | Hold R3 |
| Call Raven | Up on D-pad |
| Skill Wheel | Hold L1 |
| Weapon Swap | Left/Right on D-pad |
| Open Map | Touch pad or Options |
---
UI Overview
When you start playing, you’ll see several icons on your screen:
- Health Bar (top-left) – Red bar for health; grey bar shows maximum health.
- Stamina & Adrenaline (below health) – Green stamina depletes when sprinting or climbing. Fill adrenaline (yellow segments) by landing hits; you spend adrenaline on special abilities.
- Quest Tracker (top-right) – Shows your current objective. Press Tab (PC) or the menu button to see your full quest log.
- Compass (top of screen) – Shows directions, points of interest (white dots), quest markers (yellow), and enemy locations (red).
- Mini-map – Located bottom-left by default. Shows immediate surroundings; you can cycle map zoom with the map key.
- Action Prompts – Appears in the center of screen when near something interactive.
- Skill Points – Shown next to health bar; you earn one per level-up and can spend them in the Skill Tree.
- Do the tutorial missions – They teach you core mechanics.
- Build the Blacksmith in your settlement – Upgrades are essential.
- Spend your first skill points wisely – Focus on one branch: Raven (stealth), Wolf (ranged), or Bear (melee). Don’t spread too thin.
- Collect resources from the environment – Loot every chest, break wooden crates, and harvest plants.
- Talk to NPCs in your settlement – They give quests and lore.
- Use Odin’s Sight (hold V on PC) constantly to reveal hidden objects and enemies.
- Save your silver for later – Avoid buying gear from early merchants; you’ll find better loot in the world.
- Complete your first raid – The tutorial raid teaches you to call your longship crew and break into fortified towns.
- Don’t rush to the southern regions of England – Enemies there are level 90+ and will one-shot you.
- Don’t ignore the settlement – Upgrading Ravensthorpe unlocks new services (stables, hunter’s hut, etc.) that make the game easier.
- Don’t fight large groups head-on – Use stealth, arrows, and abilities to thin them out.
- Don’t skip side content entirely – World Events and Mysteries give skill points and gear. But don’t get lost in them either.
- Don’t waste resources on upgrading every weapon – Pick one or two favorite weapons and upgrade only those.
- Don’t sell all your spare gear – Some gear can be upgraded later, and you can always store it. Instead, dismantle for raw materials.
- Don’t forget to use your longship as fast travel – You can summon it to rivers via the map.
- [ ] Set difficulty (Normal recommended for first time).
- [ ] Create your character – Choose gender, customize appearance.
- [ ] Complete the prologue (Norway) – Follow the story until you sail to England.
- [ ] Reach England and begin the quest “The Port of Exe.”
- [ ] Arrive at your settlement site – Build the Blacksmith.
- [ ] Unlock fast travel by synchronizing at least two viewpoints (one near your settlement).
- [ ] Spend your first skill points – Pick one branch and unlock one core ability.
- [ ] Complete your first raid (the tutorial raid on a nearby monastery).
- [ ] Upgrade at least one weapon to level 2 (use iron/leather from the raid).
- [ ] Equip a piece of gear from the Hidden Ones quest if you find it, or from loot.
- [ ] Explore a few World Events to get a handle on side quests.
- [ ] Talk to your clan members in your settlement to start building relationships.
- [ ] Practice stealth – Try clearing a small enemy camp without being detected.
- [ ] Save your game manually before quitting.
Other elements like loot notifications and raid alerts appear temporarily. You can customize the UI opacity and toggle elements in the Options menu.
---
Essential Early Objectives
Your first priority after character creation is to follow the main story until you establish your settlement, Ravensthorpe, in England. Specifically:
1. Complete the prologue in Norway (story quest “The Return of the Raven”).
2. Sail to England (story quest “The Port of Exe” or similar).
3. Build the first settlement building – the Blacksmith. This allows you to upgrade your gear.
4. Complete the quest “The Sons of Ragnar” to unlock your first proper open-world region.
5. Visit the Hidden Ones Bureau early (once you find it) to unlock the Hidden Ones questline and gain early assassin armor.
6. Synchronize viewpoints (the tall towers) to reveal the map and unlock fast travel.
Avoid skipping the main story to explore far away. The early game gates many features behind settlement progress.
---
What to Do First vs. What to Avoid
#### ✅ Do First
#### ❌ What to Avoid
---
Early Resource Priorities
Resources are scarce early on. Focus on these:
1. Raw Materials (stone and timber) – These build and upgrade settlement structures. Highest priority.
2. Supplies (cloth, leather, iron) – Used for upgrading gear and some settlement projects. Gather from loot and raids.
3. Silver – Currency for buying items and bribes. Earn from selling valuables (jewels, ingots) and completing quests. Save it for important upgrades.
4. Leather – Needed for upgrading armor. Dismantle unwanted armor pieces to get leather.
5. Iron Ore – For upgrading weapons. Dismantle unwanted weapons.
6. Skill Points – Earned from leveling up and discovering “Books of Knowledge.” Spend them immediately; you can reset later.
7. Opals – Rare currency for the shop of the mysterious merchant “Reda” (appears every week). Collect opals from daily quests and glowing blue treasures in the world.
Tip: In the first 10 hours, prioritize settlement upgrades over gear upgrades. A level-2 settlement gives you a stable (free mount) and a hunter’s hut (special arrows).
---
Common Beginner Mistakes
1. Not using the raven – Synnin reveals enemy positions, loot, and quest objectives. Use her often.
2. Forgetting Odin’s Sight – This highlights lootable items, secrets, and enemies in your vicinity. Hold the assigned key/finger every few steps.
3. Ignoring combat tutorials – Blocking, parrying, and dodging are vital. Practice until you can parry Viking attacks consistently.
4. Spending all skill points in one area but then wanting another – You can reset the entire skill tree at any time for a small silver fee at the skill interface. But it’s better to plan a build early. Look online for beginner-friendly builds.
5. Trying to fight zealots (golden enemies) early – They are level 200+ and roam the map. Avoid until you are at least power level 100.
6. Not upgrading the rations pouch – You carry limited healing rations. Upgrade at the herbalist’s hut in your settlement to carry more.
7. Skipping dialogue – The story gives context for your actions and often reveals clues for puzzles.
8. Forgetting to manually save – The auto-save is generous, but occasional manual saves (Save in pause menu) prevent losing progress.
---
Day-One Checklist
Complete these tasks during your first play session (approximately 2–4 hours):
Congratulations! You’ve survived the first day. The world of Assassin’s Creed Valhalla is now open for you to raid, explore, and conquer. Go – become a legend of the Northmen.