Character Skills
Character Skills Guide for Battlefield 1
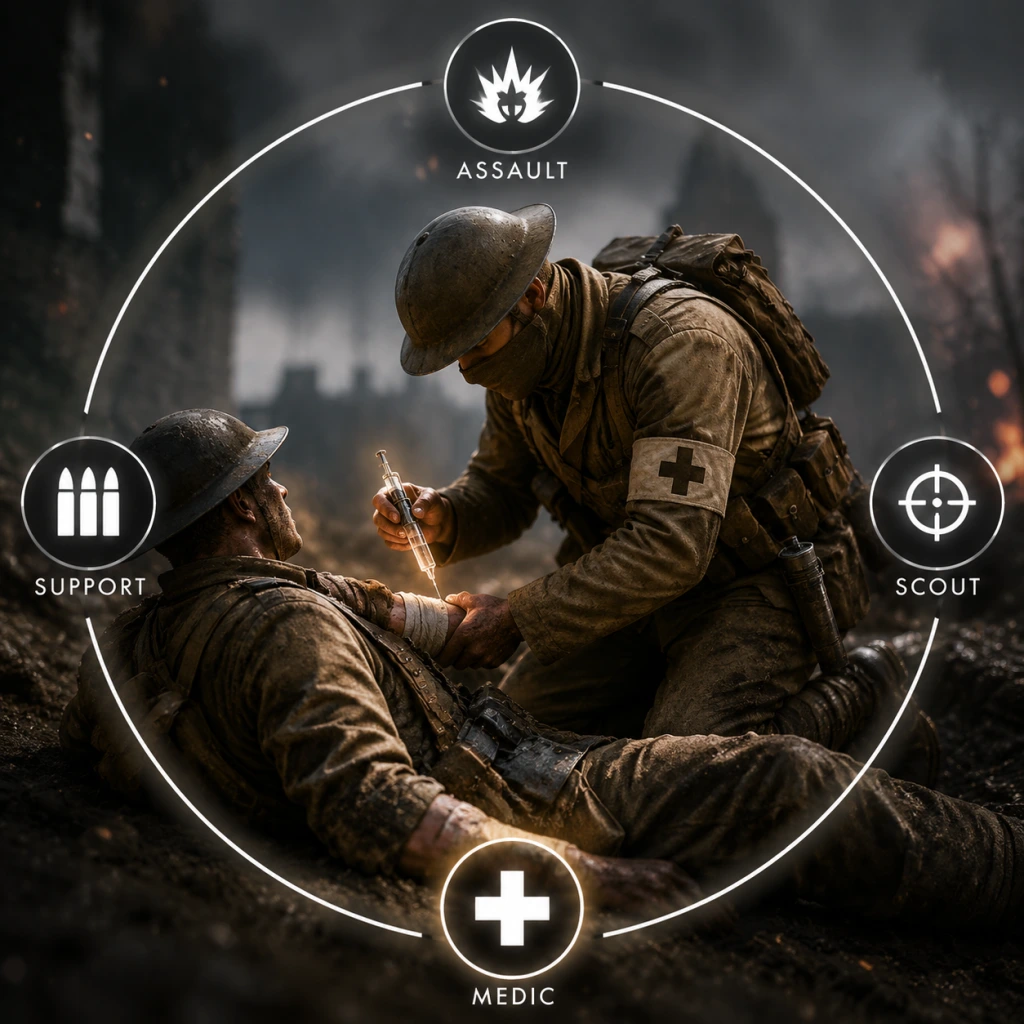
Battlefield 1 does not feature traditional RPG skills or spells. Instead, your "skills" are defined by your class gadgets, weapons, and special abilities tied to the four main classes, as well as Elite Classes and vehicle roles. This guide covers all playable roles and every unique gadget/ability, including effects, cooldowns, upgrades, synergies, and recommended builds.
---
1. Assault Class
Role: Frontline infantry, tank destroyer, close-quarters combat.
#### Gadgets & Abilities
| Gadget | Effect | Cooldown | Upgrades |
|---|---|---|---|
| Anti-Tank Grenade | Thrown explosive that deals heavy damage to vehicles and moderate splash to infantry. | Resupply from Support crates (no timer) | Higher tier versions explode faster and have more blast radius via weapon assignments. |
| AT Rocket Gun | Shoulder-fired rocket launcher, effective against armor and infantry in line. | 2 seconds between shots; 3 rockets total | Can equip different ammo types (e.g., HE vs. Shrapnel) via class progression. |
| Dynamite | Remote-detonated explosive; stick to vehicles or surfaces. High damage. | Infinite supply but only 2 placed at a time; resupplied per use. | None; placement strategy matters. |
| Mine (Anti-Tank) | Proximity mine for vehicles. | 2 mines max; once placed, must resupply. | None. |
| Light Anti-Tank Grenade | Lighter, cheaper alternative; shorter range but faster throw. | Resupply from crates. | None. |
| Heavy Anti-Tank Grenade (+ DLC) | Same but more damage. | Slower throw. | None. |
- Combine AT Rocket Gun + Dynamite to destroy heavy tanks in seconds.
- Use mines on narrow roads before engaging a tank.
- AT Grenades finish off damaged vehicles.
- Tank Hunter: AT Rocket Gun + Anti-Tank Grenades + Mines. Use dynamite for ambushes.
- Close Assault: Automatico SMG + Dynamite + Light AT Grenades. Focus on infantry and hit-and-run on vehicles.
- Always prioritize high-threat vehicles (tanks, armored cars).
- Use dynamite to clear bunkers or destroy fortifications.
- Switch to AT Rocket Gun for long-range anti-armor.
Recommended Builds:
When to Use:
---
2. Medic Class
Role: Healing, reviving, medium-range combat.
#### Gadgets & Abilities
| Gadget | Effect | Cooldown | Upgrades |
|---|---|---|---|
| Syringe | Revive downed teammates. | 1.5-second animation; no cooldown but must be ready. | None. |
| Medical Crate | Deployable supply point that heals nearby teammates over time. | Resupply time: about 20 seconds for a new crate if destroyed. | Larger healing radius via assignments (e.g., "Heal 100 teammates"). |
| Medical Pouch | Single-use thrown heal that instantly heals for 50 HP (can overheal to 100+). | Instant throw; infinite supply but limited to 2 pouches carried. | Faster throw speed via class rank. |
| Rifle Grenade (optional gadget slot) | Launcher attachment for healing or explosive (frag). | 2 grenades carried; resupply from support. | Frag variant for damage; heal variant for team support. |
| Bandage (DLC) | Same as Medical Pouch but slower heal over time. | Holds 3. | None. |
- Syringe: Never revive in open fire; use smoke grenades for cover. Revive close squadmates first.
- Medical Crate: Place at choke points or near objectives. Works through walls (short range).
- Medical Pouch: Faster than crate for individual heals; good for mobile play.
- Rifle Grenade (Heal): Can heal multiple teammates at range, but you lose a main weapon slot.
- Crate + Pouch = triage: heal groups with crate, insta-heal key players with pouch.
- Use smoke grenades (secondary gadget) to cover revives.
- Team Medic: Medical Crate + Syringe + Rifle Grenade (Heal). Carry Mondragón or Selbstlader 1916 for medium range.
- Combat Medic: Medical Pouch + Syringe + Frag Rifle Grenade. Use Federov Avtomat (full-auto) for aggressive plays.
- Revive whenever safe; prioritize squad leaders and medics.
- Keep crate behind cover at objective points.
- If no medics near you, throw pouches to heal yourself and others.
Synergies:
Recommended Builds:
When to Use:
---
3. Support Class
Role: Ammo resupply, suppressive fire, bipod-based machine guns, fortification repair.
#### Gadgets & Abilities
| Gadget | Effect | Cooldown | Upgrades |
|---|---|---|---|
| Ammo Crate | Deployable crate that resupplies all teammates (gadgets, grenades) over time. | Same as medical crate: about 20 seconds if destroyed. | Resupply speed increases with class rank. |
| Ammo Pouch | Single-use thrown pouch that instantly resupplies a small amount of ammo and one gadget charge. | Holds 2 pouches; quick throw. | None. |
| Repair Tool | Repair ally vehicles (tanks, planes, trains) or destroy enemy equipment. | Continuous use; no cooldown. | Faster repair rate via assignments. |
| Mortar | Deployable indirect fire weapon; fires high-explosive or smoke shells. | 3 shells per deployment; reload after each shell (slow). | Can upgrade to Air Mortar (faster, less damage) via DLC. |
| Crossbow Launcher (DLC) | Fires explosive or incendiary bolts; secondary gadget. | 5 bolts; resupply from ammo crates. | None. |
| Anti-Tank Grenade (optional) | Same as Assault but with less damage; used for light vehicles. | Holds 1 grenade. | None. |
- Ammo Crate: Place near chokepoints or where teammates are entrenched. Resupplies grenades and gadgets.
- Ammo Pouch: Quickly throw to a moving soldier who requests ammo.
- Repair Tool: Repair friendly tanks from behind; also can destroy enemy tripwires and mines.
- Mortar: Use smoke to cover pushes; HE for stationary targets.
- Ammo Crate + Mortar: set up indirect fire base near ammo crate for infinite shells.
- Repair Tool + any tank: keep your armor alive.
- Crossbow + Incendiary Bolts: area denial on flags.
- Suppressive Support: LMG (M1917 Browning, MG15) + Bipod + Ammo Crate + Mortar. Hold lanes.
- Vehicle Support: Repair Tool + Ammo Pouch + LMG (e.g., BAR). Stick with tankers.
- Always throw ammo pouch to squadmates; place crate at key defensive positions.
- Repair tool priority: repairing tank vs. destroying enemy equipment. If no vehicles, destroy enemy mortars or mines.
- Use mortar only when safe behind cover; avoid direct line of sight.
Synergies:
Recommended Builds:
When to Use:
---
4. Scout Class
Role: Long-range recon, spotting, flanks, objective denial.
#### Gadgets & Abilities
| Gadget | Effect | Cooldown | Upgrades |
|---|---|---|---|
| Spotting Flare | Fires a flare that illuminates a large area on the minimap for enemies; also can ignite gas. | 2 flares carried; 40-second duration per flare. | None. |
| Tripwire Bomb | Placeable mine that detonates when an enemy passes; can be gas, HE, or incendiary. | 2 tripwires max; resupply per use. | Damage types upgrade via class assignments. |
| K Bullets | Special ammunition for snipers to damage armored vehicles and disrupt repairs. | 5 bullets per life; limited resupply. | None. |
| Periscope | High-zoom binoculars that can spot enemies and provide a 3D spot from range. | No cooldown; battery lasts 30 seconds. | None. |
- Flare Gun (Spotting) – same as above.
- Flare Gun (Incendiary) – sets ground on fire.
- Tripwire Bomb – any variant.
- K Bullets – dedicated slot.
- Periscope – dedicated slot.
| | | |
Skill Usage Tips:
- Spotting Flare: Shoot into objective buildings or flags to reveal all enemies for your team.
- Tripwire Bomb: Place on stairs, doorways, or behind cover. Incendiary for area denial, gas for disorienting pushes.
- K Bullets: 2-3 shots can destroy a light vehicle or disable heavy tank tracks.
- Periscope: Use to spot while hiding behind cover; marks enemies for 3D spotting.
- Spotting Flare + any teammate: all enemies become visible; coordinate attacks.
- Tripwire + Periscope: spot enemy then lure them into trap.
- K Bullets + Assault's AT Rockets: finish off tanks.
- Aggressive Scout: Russian 1895 (or SMLE) + Spotting Flare + Tripwire (HE). Play close to objectives.
- Sniper Scout: M1903 Sniper + Periscope + K Bullets. Long-range support.
- Always fire spotting flare into contested objectives.
- Use K Bullets to disable vehicle engines to slow them down.
- Tripwire bombs: place on flanks to alert team of infiltration.
- Primary: Wex flamethrower – continuous fire that ignites enemies and area. No cooldown but limited fuel (recharges slowly).
- Gadgets: 2x Incendiary Grenades, Smoke Grenade.
- Special Move: No skill per se, but the flamethrower can ignite gas clouds and destroy enemy tripwires instantly.
- Use: Clear trenches, bunkers, forests. Combine with smoke to advance.
- Weakness: Short range; vulnerable to snipers and AT rockets.
- Primary: Tankgewehr M1918 – massive anti-tank rifle that one-shots infantry and deals heavy damage to vehicles. Reload is long (~4 sec).
- Gadgets: Anti-Tank Grenade, Repair Tool.
- Special Ability: Can destroy any vehicle in 2-3 shots; can also shoot through thin walls.
- Use: Ambush tanks, destroy armored cars, take down aircraft (very difficult).
- Weakness: Slow movement; no close-range weapon.
- Primary: MG 08/15 with bipod – large magazine, high suppression. Cannot sprint.
- Gadgets: Ammo Pouch, Gas Mask (always equipped).
- Special Ability: Bipod deploy reduces recoil massively. Can destroy vehicles with sustained fire (slow).
- Use: Defend objectives, suppress large areas.
- Weakness: Immobile when deploying bipod; easy target for snipers.
- Primary: Trench Club (melee) – kills in 1-2 hits. Has a quick charging special attack (right-click) that does a wide sweep.
- Gadgets: 3x Gas Grenades, Light Anti-Tank Grenade.
- Special Ability: High movement speed, can deflect bullets? Actually, the kit grants increased health (200 HP) and faster movement. The special sweep attack clears a wide arc.
- Use: Flank and wreak havoc in close quarters; use gas to disorient enemies.
- Weakness: No ranged options; weak to shotguns and pistols.
- Primary: Cavalry Saber (melee) – charge attack one-shots infantry. Also has a rifle (e.g., M1903 C) with limited ammo.
- Gadgets: Med Pouch, Ammo Pouch (heal/resupply while mounted), Light Anti-Tank Grenade.
- Special Moves: Horse can trample enemies; horse health is separate. Dismount to use bandages.
- Use: Flank objectives, resupply and heal teammates on the move. Good for breaking defensive lines.
- Weakness: Large target; vulnerable to AT rockets and MGs.
- Tanks: Driver can self-repair (hold Repair key) – reduces cooldown based on tank type. Some tanks have secondary weapons (e.g., grenade launcher).
- Planes: Pilots can use flares, smoke, or bombs. Fighter planes have “Repair” ability (hold key) that repairs slowly. Attack planes have “Spotting Camera” (reveals enemies on mini-map).
- Behemoths (Dreadnought, Train, Zeppelin): Each has unique turrets with ranges and abilities (e.g., Dreadnought’s main guns fire shells that suppress). No skill customization.
- Perks (Assignments): All classes can unlock specializations like “Quick Unspot” (reduce spot duration after being spotted) or “Cover” (reduce suppression). These act as passive skills. Unlock through class rank.
- Gadget Upgrades: Higher class ranks unlock new gadgets and weapon variants (e.g., optical sights, bipods).
- Combos:
Synergies:
Recommended Builds:
When to Use:
---
5. Elite Classes
These are one-per-squad pickup kits on certain maps. Each has unique “skills” (special attacks).
#### Flame Trooper Kit
#### Tank Hunter Kit
#### Sentry Kit
#### Trench Raider Kit
#### Cavalry (Horse) Class
---
6. Vehicle Crew Skills
Vehicles (tanks, planes, armored cars) have driver / gunner roles with unique abilities.
---
7. General Tips for All Classes
- Scout + Assault: spot then destroy vehicles.
- All classes: use smoke grenades to cover revives or pushes.
---
This guide covers every playable role in Battlefield 1 as of the base game and all DLCs (They Shall Not Pass, In the Name of the Tsar, Turning Tides, Apocalypse). Remember to adapt your build to the map and team composition.