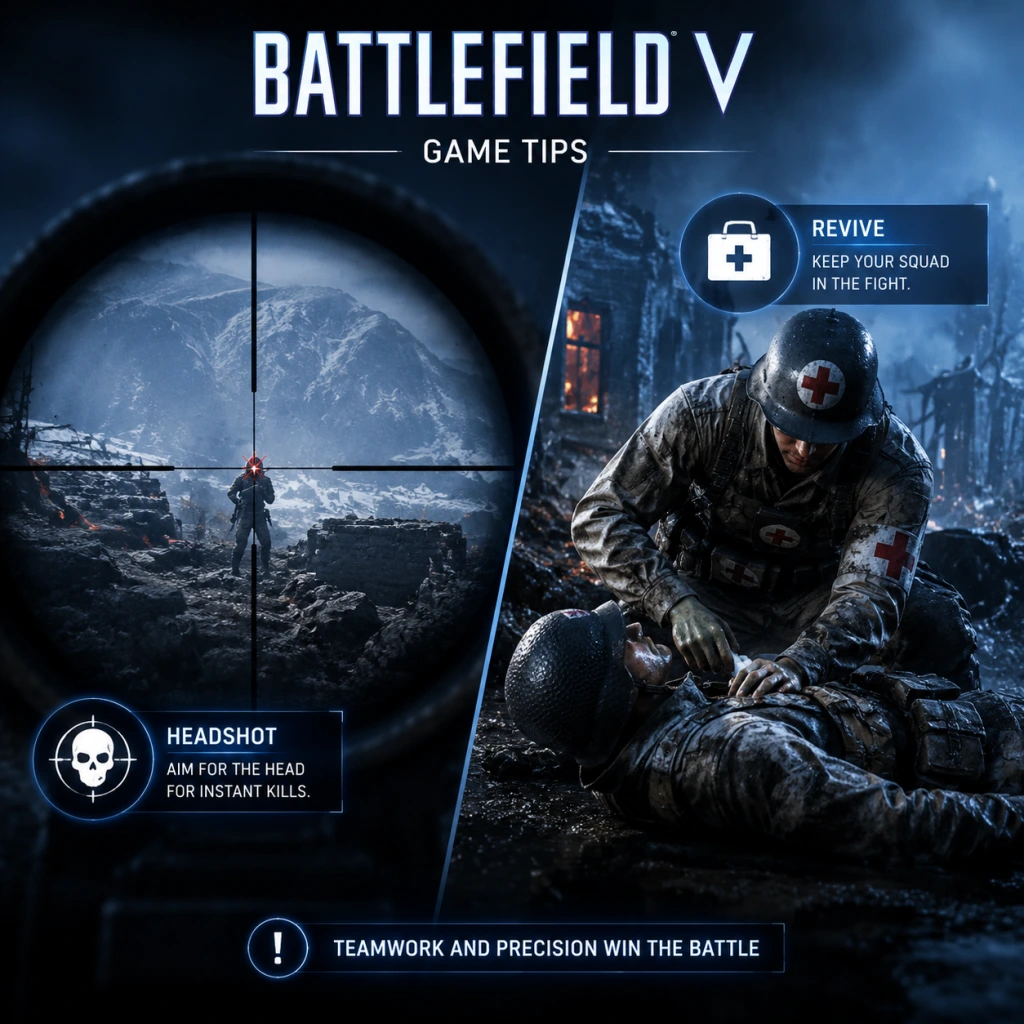
Game Tips
Game Tips for Battlefield V
This guide covers essential tips for all skill levels, organized by category. Use these to improve your effectiveness on the battlefield.
---
Combat Tips
Beginner: Stick with cover and use the Fortification system.
- Explanation: Battlefield V emphasizes positional play. Always move between cover points (walls, craters, rocks) and use the fortification tool (press and hold B on PC, circle on console) to build sandbags, trenches, or repair damaged structures. This gives you better sightlines and protects flanks.
- When to use: In any infantry engagement, especially when defending an objective (flag). Building heavy machine gun nests can suppress multiple enemies.
- Explanation: Most weapons (like the STG 44 or KE7) have significant recoil. Fire in short 3-5 round bursts for automatic weapons; tap-firing for semi-autos. Practice pulling down on the mouse/right stick slightly to compensate during bursts. Use the Training range to practice with your favorite guns.
- When to use: Medium to long range engagements. Spraying full auto at a distant enemy will waste ammo and reveal your position.
- Explanation: Only medics can revive squadmates quickly, but any squad member can revive a downed squadmate (slowly, takes ~4 seconds). After killing an enemy, quickly check for a downed squadmate nearby and use the “drag” mechanic (hold spot button on a downed ally) to pull them into cover before reviving. This prevents getting killed during the revive animation.
- When to use: Always prioritize dragging a squadmate behind a wall or into smoke before reviving. In chaotic CQ flags, a well-timed drag can turn a fight.
- Explanation: Each map (e.g., Rotterdam, Arras, Twisted Steel) has distinct chokepoints and hidden paths. Spend time in solo or empty Servers (via Advanced Search) to walk around. Note where snipers hide and where vehicles spawn. Use the minimap (press M on PC) to spot enemy icons when spotted.
- When to use: Before any match, review the map loading screen for objectives. During a match, use the 3D spot (Q on PC, RB on console) to mark enemies for your team.
- Explanation: Many buildings, cliffs, and towers offer elevated angles. Climb to rooftops (use Ziplines on some maps) to spot enemies below. Beware of limited escape routes.
- When to use: As a Recon or Support, controlling high ground gives massive advantage. On Rotterdam, the church tower overlooks D flag.
- Explanation: Pay attention to spawn beacons, enemy movement patterns, and kill feed. If you see several squad wipes on one flag, expect a counterattack. Use the map to predict where enemies will push next.
- When to use: When deciding which objective to attack or defend. If your team loses a flag, expect the enemy to push the next closest flag.
- Explanation: Accumulate “Squad Points” by capturing objectives, killing enemies, healing, reviving, resupplying. These are shared with your squad. Once you have enough, the Squad Leader can call in special items: V-1 Rocket (large area kill), JB-2 Rocket (similar), Churchill Crocodile tank, Supply Drop, or improved resupply stations.
- When to use: Save for V-1 against clustered enemies on a flag. Supply Drops are great for sustained pushes.
- Explanation: Support players can build resupply stations (with the fortification tool) that give ammo and gadgets. Medics can build health stations. Always restock when safe, especially grenades and gadgets.
- When to use: Before pushing into a hot objective, or after surviving a firefight. A Support can resupply your ammo and also give you a repair tool for vehicles.
- Explanation: When low on ammo or health, press the commo rose (Q on PC, up on D-pad) and select “Request Ammo” or “Request Health.” This creates a visible icon for nearby Supports/Medics. They get bonus XP for resupplying/healing you.
- When to use: Whenever you are below 50% health or have fired more than half your magazines. Do this from cover.
- Explanation: All four classes (Assault, Medic, Support, Recon) have distinct roles. Pick Assault for anti-tank, Medic for close-range healing, Support for ammo and suppression, Recon for sniping. Don’t switch wildly; mastery comes with practice.
- When to use: Begin with Medic (fast healing, SMGs) or Assault (versatile assault rifles).
- Explanation: Each weapon has a “Specialization Tree” that modifies stats (reduced recoil, faster reload, etc.). Use the Company menu to unlock and equip. For example, the STG 44 can be specced for faster ADS or better hipfire.
- When to use: Before a match, select your loadout. Build depending on map size: longer range specializations for open maps, hipfire for CQC.
- Explanation: Combine gadgets to counter enemies. Assault: Use the Panzerfaust (anti-tank) and Anti-tank grenade bundle for armor. Support: Use the Repair Tool to fix vehicles (great for earning vehicle points) and the AP Mines for area denial. Recon: Use the Flare Gun to reveal enemies in a large radius – crucial for your team’s Situational Awareness.
- When to use: Switch gadget between respawns based on enemy vehicles. If the enemy has a lot of tanks, equip the “Bazooka” (M1A1) or similarly.
- Explanation: You earn Company Coins (CC) from daily assignments, milestones, and through leveling. Spend on weapon upgrades (specializations) first, then cosmetic items. Avoid buying weapon skins early; functional upgrades matter more.
- When to use: Prioritize unlocking specializations for weapons you use regularly. Each weapon has 4 tiers of upgrades – buy them in order.
- Explanation: Daily and weekly assignments give significant XP and CC. Always check the Assignments menu (accessible from the main menu) and equip them to track progress.
- When to use: Before starting a match, select 3 assignments that match your playstyle. For example, “Get 10 kills with Assault” will give bonus XP.
- Explanation: Timed events often reward exclusive weapons or cosmetics. Track the Battlefield V community calendar for these. Participating can get you premium weapons early.
- When to use: Only if you want to maximize content; many weapons are later unlockable via Company Coin, so don’t stress.
- Explanation: Vehicles (tanks, planes) are powerful but easily destroyed if misused. Learn their strengths: tanks are slow but powerful against infantry, planes dominate the skies. In a tank, stick with your team – never go alone.
- When to use: Starting out, take a tank only when your squad has a Support with Repair Tool. Drive to objectives that have infantry cover.
- Explanation: While driving a vehicle, press the switch camera button (C on PC, R3 on console) to toggle between 1st and 3rd person. 3rd person gives a wider field of view, crucial to spot flanking soldiers with AT grenades.
- When to use: When moving through urban areas or open fields. Quickly switch to 1st person when aiming at a distant target for better precision.
- Explanation: Tank shells have travel time. Against moving vehicles or infantry, aim ahead of their movement. Use the spotting lens (if equipped) to increase zoom and range estimation.
- When to use: Against enemy tanks that are moving perpendicular. Fire a shot, note the impact, adjust accordingly. Also use HE (High Explosive) shells for infantry, AP (Armor Piercing) for tanks.
- Explanation: Squadmates can spawn on each other (as long as it’s safe). Staying together increases survivability. Use the comma rose to request orders from squad leader, or call for help.
- When to use: When you are downed, press the spot button to call for help. A medic icon appears for medics nearby.
- Explanation: Even if you can’t engage, spot (Q/R1). Each spot reveals enemy icons to your whole team. This is especially powerful for snipers and vehicle users.
- When to use: Always, especially when scanning a horizon or before opening fire. Spotting helps your teammates kill unseen enemies.
- Explanation: While many players don’t use voice, the ping system (holding the spot button on an enemy) works. You can also ping locations. For squad leaders, give clear orders (Attack Objective A) which gives squad bonus XP on capture.
- When to use: In coordination with a premade squad. Use the “Request Orders” if your squad leader isn’t giving them.
- Explanation: While sprinting, press crouch (C on PC, B on console) to slide. Sliding can disrupt enemy aim. Combine with sliding into cover. Also, learn to vault quickly over low walls by sprinting and jumping.
- When to use: When crossing open areas under fire. Slide into a crater, then pop up to shoot.
- Explanation: Deploying the bipod by aiming near a ledge or prone reduces recoil drastically. This turns machine guns into deadly sustained fire weapons. For snipers, it stabilizes the scope.
- When to use: On windowsills, sandbags, or any flat surface. Always prone when possible for maximum stability.
- Explanation: This is a faction-specific weapon for the Medic class (available on some maps). It has a high fire rate and excellent hipfire. Useful for aggressive CQ medics.
- When to use: On tight infantry maps like Operation Underground or Rotterdam.
- Explanation: After a reload animation completes, but before the final “chamber” sound, you can sprint or swap weapons to skip a small portion. Not a huge time save but can help in emergencies.
- When to use: Only after the magazine is inserted; do not cancel early or you lose the reload.
- Explanation: Some tank specializations give improved splash damage or faster fire rate. For example, the Tiger I can be upgraded to reduce reload time. Research tank upgrades in the Company menu.
- When to use: When you are comfortable with a specific tank, invest in its specialization tree to maximize its effectiveness.
- Turn off chromatic aberration and film grain in video settings for clearer visibility.
- Adjust your FOV (Field of View) to around 90-100 (PC) for better peripheral awareness.
- Use a medium sensitivity – too high loses precision, too low causes slow turns.
- Play the objective – kills are secondary to capturing flags. You earn more XP and help win.
- Don’t always autoclick – wait for clear shots to conserve ammo.
- Learn from death cam – where you got shot from, then adjust positioning.
- Use the “Advanced Search” in multiplayer menu to find specific modes (e.g., Conquest, Breakthrough) or maps.
Intermediate: Master recoil control and burst firing.
Advanced: Abuse the squad revive and buddy drag.
---
Exploration / Map Knowledge
Beginner: Learn flag layouts and flank routes.
Intermediate: Use the environment for verticality.
Advanced: “Read” the flow of battle.
---
Resources & Reinforcements
Beginner: Understand the squad reinforcement system.
Intermediate: Ammo and health stations are critical.
Advanced: Use the “Request Ammo/Health” feature.
---
Class Builds & Kit Optimization
Beginner: Stick to one class you enjoy.
Intermediate: Specializations matter – configure them.
Advanced: Gadget synergy with playstyle.
---
Economy / Company Progression
Beginner: Use your “Company Coins” wisely.
Intermediate: Complete assignments for boost.
Advanced: Grind for “Tides of War” rewards.
---
Vehicle Usage
Beginner: Don’t instantly rush into a vehicle.
Intermediate: Use the 3rd person camera for awareness.
Advanced: Practice lead aiming with tank shells.
---
Teamwork & Communication
Beginner: Stick with your squad and use the “Need Help” feature.
Intermediate: Spot enemies aggressively.
Advanced: Use voice chat or ping system.
---
Advanced Techniques & Optimizations
Slide and jump to avoid fire.
Use bipods on LMGs and snipers.
Master the “Noob” weapon: M1907 SF.
Learn to reload cancel.
Use the “Danger Close” specialization for tanks.
---
General Tips
---
By implementing these tips gradually, you’ll go from a clumsy recruit to a tactical veteran. Good luck on the frontline!