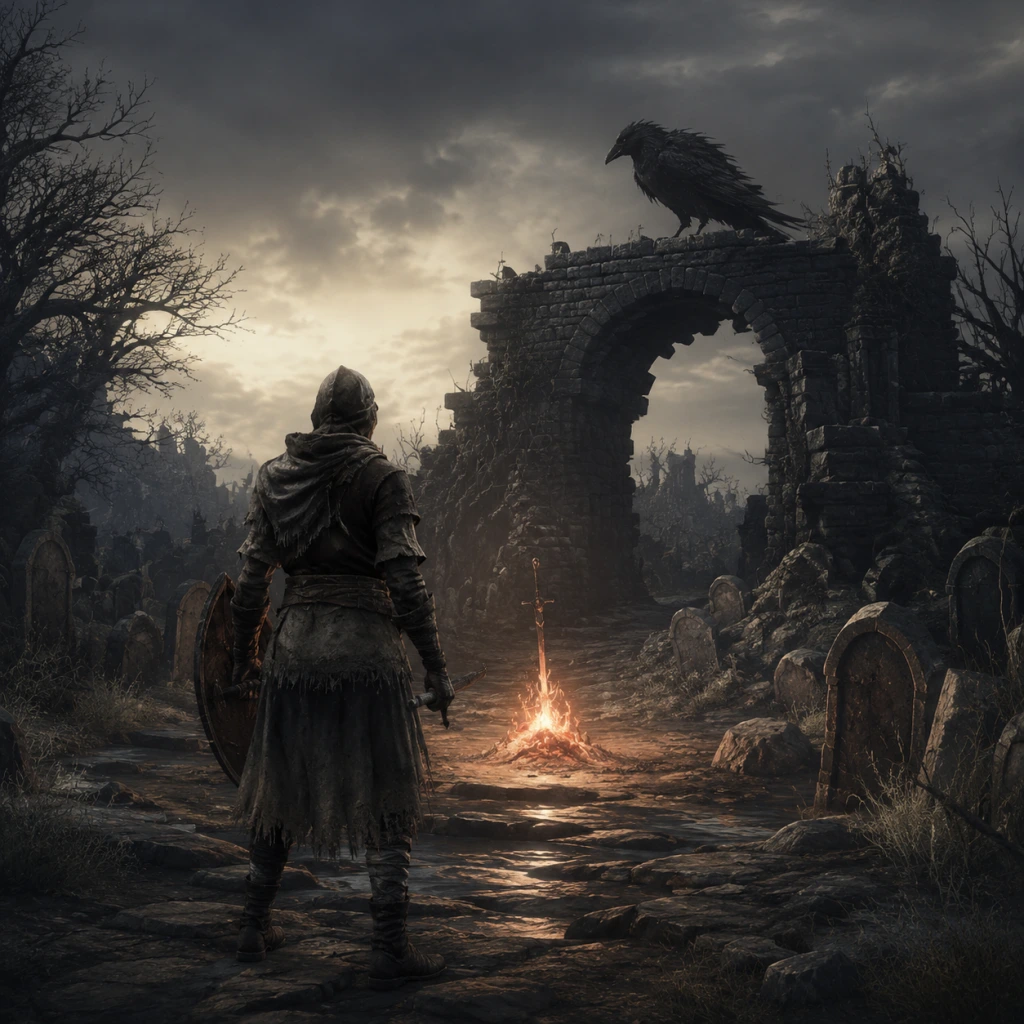
Getting Started
Dark Souls III Getting Started Guide for New Players
This guide is designed to get brand-new players through the first terrifying hours of Dark Souls III. We’ll cover everything from creating your character to surviving your first few encounters, avoiding common pitfalls, and setting yourself up for success.
Character Creation – Your First Critical Decision
When you start a new game, you’ll be taken to the character creation screen. This is not just cosmetic – it determines your starting class, stats, and equipment.
Best starting class for beginners: Knight
- Why: The Knight starts with high Vitality (HP) and a 100% physical block shield (the Knight Shield). This shield alone lets you survive many early attacks. You also start with a solid straight sword and decent armor.
- Avoid starting as a Sorcerer, Pyromancer, or Cleric unless you really want to cast spells quickly. But for a first playthrough, melee is far more forgiving.
- Left Stick: Move
- Right Stick: Camera
- L1: Block (shield) / Two-hand left weapon
- L2: Weapon Art (special attack)
- R1: Light attack
- R2: Heavy attack
- Triangle: Two-hand right weapon
- Square: Use item (Estus Flask, etc.)
- Circle: Roll / Backstep
- Cross: Interact / Confirm
- D-pad Up/Down: Switch items
- D-pad Left/Right: Switch spells/weapons
- Touchpad: Gesture menu / Open menu
- Options: System menu
- Left Stick: Move
- Right Stick: Camera
- LB: Block / Two-hand left weapon
- LT: Weapon Art
- RB: Light attack
- RT: Heavy attack
- Y: Two-hand right weapon
- X: Use item
- A: Roll / Backstep
- B: Interact / Confirm
- D-pad Up/Down: Switch items
- D-pad Left/Right: Switch spells/weapons
- View button (two squares): Gesture menu / Map
- Menu button (three lines): System menu
- W/A/S/D: Move
- Mouse: Camera
- Left Click: Light attack
- Right Click: Block (if shield) / Weapon Art with Shift+Left Click
- Shift: Two-hand weapon (hold)
- R: Use item
- Space: Roll / Backstep
- E: Interact
- Q: Switch item (up/down)
- 1/2/3/4: Quick item slots
- Tab: Open menu
- Esc: System menu
- Top left: Health bar (red), Stamina bar (green). Stamina recovers quickly but depletes on attacks, rolls, and blocks. Never let it hit zero.
- Top right: Item slots (up to 10), with the currently selected item highlighted. Below that, your equipped weapons and shield.
- Bottom center: Soul counter (currency and XP).
- Bottom left: Active buffs and debuffs (small icons).
- Map/compass: Not provided – you must rely on memorization.
- Don’t attack NPCs – especially the old man with a birdcage (Pilgrim). They are friendly quest-givers. Hitting them makes them hostile.
- Don’t use boss souls for immediate souls – you’ll need them later for boss weapons or spells.
- Don’t rely on heavy armor and tanking – you have low HP early on. Rolling (circle/B) is key.
- Don’t rush into unknown areas – always scout with a shield up, or roll away if surprised.
- Don’t use your Estus Flask frivolously – you have limited charges. Use it only when you’re below 50% HP and not in immediate danger.
- Souls: Use for leveling up first. Only buy consumables or upgrade materials after you’ve hit comfortable HP/stamina.
- Titanite Shards: This is your most important upgrade material. Use them on your main weapon (Longsword, Broadsword, or Claymore). Do not upgrade multiple weapons until later.
- Estus Shards: Give these to the blacksmith to increase your Estus Flask charges. You can find 3-4 before the first Lord of Cinder.
- Undead Bone Shards: These increase the healing power of your Estus Flask. Burn them at a bonfire in Firelink (the bonfire in the hub) – not a regular bonfire.
- Embers: Use them sparingly. They give +30% max HP and allow online play. Save them for boss fights.
- R1 spam: This drains stamina quickly and leaves you open. Manage your swings.
- Trying to trade hits: You will lose. Dark Souls punishes aggressive trading. Wait for openings.
- Ignoring enemy movesets: Each enemy has tells. Watch them, don’t just run in.
- Not using the weapon’s moveset: Try running attacks (sprint + R1), rolling attacks (roll then R1), and backstep attacks. These have different reach and speed.
- Selling boss souls: You cannot get them back. Always check first what they can be traded for (upgrades, spells, weapons).
- Overleveling resistance stats: Vigor, Endurance, and VIT are far more important than Luck or Attunement for a first playthrough.
- [ ] Create a Knight class, pick Life Ring.
- [ ] Complete Cemetery of Ash, defeat Iudex Gundyr.
- [ ] Arrive at Firelink Shrine, talk to Fire Keeper.
- [ ] Level up Vigor to at least 15.
- [ ] Upgrade your starting weapon to +2 or +3 using Titanite Shards found in the area.
- [ ] Explore High Wall of Lothric up to the first shortcut (the elevator near the Tower on the Wall bonfire).
- [ ] Collect at least one Estus Shard and one Undead Bone Shard.
- [ ] Do not die more than 10 times to the same enemy – learn from each death.
- [ ] Save all boss souls and embers.
- [ ] If stuck on Vordt, summon help (using Ember) or practice dodging to his backside.
Gift selection: Choose the Life Ring (increases max HP by ~7%). It’s the safest choice. The other gifts (like the Young White Branch or Black Firebomb) are niche or consumable.
Appearance: Spend as little time as possible – you can change it later with a limited item (Rosaria’s Fingers covenant). Focus on the class and gift.
Controls (All Platforms)
PlayStation 4/5:
Xbox One/Series X|S:
PC (Keyboard + Mouse):
Pro tip: On PC, consider using a controller. The game was designed for it, and the camera/mouse controls can be finicky.
UI Overview – The HUD
The heads-up display (HUD) shows:
Rest at a bonfire to fully heal, refill Estus, and level up (once you have the Fire Keeper).
First Hour Walkthrough – What to Do
1. After the opening cutscene, you’ll be in the Cemetery of Ash. Follow the linear path forward. You’ll encounter a few weak hollows. Practice your attacks (R1 for quick, R2 for heavy) and blocking (L1/LB).
2. First bonfire: "Cemetery of Ash". Rest here to heal and save progress. Use the bonfire menu to “Attune Spell” if you have any (not needed for Knight).
3. Enter the ruined chapel with a boss fog gate ahead. Do not go through the fog yet. Instead, explore the grounds to find:
- Undead Bone Shard (under a shrine in the room with a giant crystal lizard – use a plunging attack from above to kill it easily).
- Estus Shard (in a tower past the first large hollow with a spear – climb the ladder, find the shard, then drop down).
- Minor loot like souls and consumables.
4. Return to the boss fog and fight Iudex Gundyr, the first boss. Tips:
- Stay close, dodge to his right (your left) for most attacks.
- In phase 2 (black ooze), roll away from the slamming attacks and punish after his combos.
- If you’re struggling, you can summon a NPC (Sword Master) by using an Ember (found in the area) – but save embers for later.
5. After victory, touch the bonfire to warp out. You’ll be taken to Firelink Shrine, the central hub.
What to Avoid in Your First Hour
Early Objectives (First 2–3 Hours)
1. Level up at Firelink Shrine. Talk to the Fire Keeper (female sitting at the bonfire). Spend souls with her. Prioritize Vigor (HP) to 20-25, then Endurance (stamina) to 15-20, then your main damage stat (Strength for Knight).
2. Upgrade your weapon – find the blacksmith (Andre) in Firelink. You need Titanite Shards (found on enemies and in the world). +3 upgrade is a huge boost.
3. Explore High Wall of Lothric – the first real area. Head up the stairs past the giant crystal lizard, then through the gate. Collect items, find shortcuts (elevators, doors), and fight the boss Vordt of the Boreal Valley.
4. Unlock the shrine maiden – you can buy useful items (Firebombs, homeward bones) from her.
5. Learn to parry – practice on the weak hollows near Firelink. Parry timing is when the enemy’s hand is about to strike you (not the weapon). Success opens them up for a critical riposte.
Resource Priorities
Common Beginner Mistakes (and How to Avoid)
Day One Checklist
With this checklist and the guidance above, you’ll safely navigate the first hours and build a strong foundation. Remember, death is a learning tool – every corpse is a lesson. Praise the Sun and good luck, Ashen One!