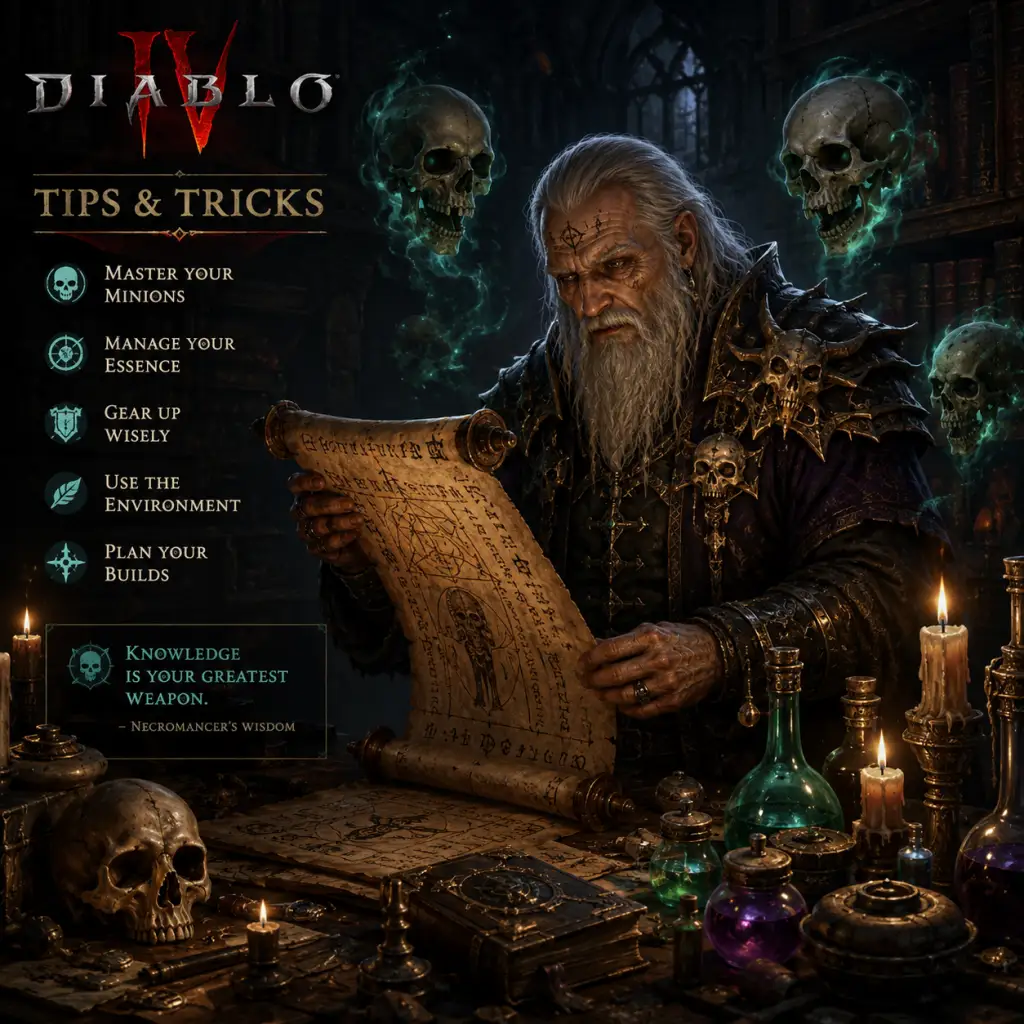
Game Tips
"content": "## Diablo IV – Game Tips: Combat, Exploration, Resources, Builds, Economy & More
This guide collects essential tips for all players—from your first steps into Sanctuary to endgame optimization. Tips are grouped by category and tagged with Beginner, Intermediate, or Advanced so you know where to focus.
---
#### 1.1. Always Keep Moving (Beginner)
Standing still is a death sentence. Strafing, dodging, and kiting are essential. Use your Dodge (Spacebar / Circle / B) even off cooldown to reposition between attacks.
Remember: Diablo IV is about having fun while killing demons. Experiment with builds, ignore meta pressure, and enjoy the world of Sanctuary.
This guide collects essential tips for all players—from your first steps into Sanctuary to endgame optimization. Tips are grouped by category and tagged with Beginner, Intermediate, or Advanced so you know where to focus.
---
1. Combat Tips
#### 1.1. Always Keep Moving (Beginner)
Standing still is a death sentence. Strafing, dodging, and kiting are essential. Use your Dodge (Spacebar / Circle / B) even off cooldown to reposition between attacks.
- Why it works: Many enemy attacks have telegraphed AoEs. Movement breaks enemy targeting and avoids crowd-control effects that instantly kill.
- Example: A Sorcerer can freeze a pack with Frost Nova, then unload Ice Shards for multiplied damage.
- Why it works: Almost every build has a damage multiplier against CC’d enemies (passive skills, Paragon nodes, legendary aspects).
- Why it works: Staying alive allows you to leech or regenerate; dying resets your progress and drops XP. Over time, using potions early becomes second nature.
- Why it works: Movement in Diablo IV interrupts attack animations only after the damage frame. This technique is mandatory for high attack speed builds on ranged classes like Rogue or Sorcerer.
- Why it works: Eliminating the threat that disables your build or creates unavoidable damage simplifies the fight. This is crucial in Nightmare Dungeons with high density.
- Why it works: Altars of Lilith grant permanent stat bonuses and Murmuring Obols capacity; hidden events reward crafting materials and XP. Skipping them slows long-term progression.
- Why it works: You can see which dungeons have Aspects you need and where World Bosses are spawning. No more wandering aimlessly.
- Why it works: The game shows the nearest objective on your minimap with a small pointer. Pinning multiple keeps you from forgetting side goals.
- Why it works: The open world is huge; running on foot dramatically extends playtime. The mount also has a quick dismount attack that can stun enemies.
- Why it works: Certain modifiers negate your build’s core mechanics. A bad sigil can make a T100 dungeon impossible. Re-roll at the Occultist to a better one.
- Why it works: Early game you need Veiled Crystals and Iron/Leather for upgrades; gold is plentiful. In the endgame, upgrading gear costs tens of millions, so selling junk items becomes necessary.
- Why it works: With limited stash space (4 tabs base, +5 via Season Journey), being organized prevents wasting time hunting for that specific ring with +3 to Core Skills.
- Why it works: Obols can drop Legendaries with high item power up to 925. Gambling is the fastest way to fill missing slots outside of Uber bosses.
- Why it works: Avoid conversion early; you’ll naturally get all types. Late game, converting low-value Fragments (like Skulls for Armor) into Royal Topaz for resource generation is worth it.
- Why it works: In high density Nightmare Dungeons, you get a flat +5% per Elixir and up to +5% per Incense, totaling ~15% more XP. This speeds up leveling from 90 to 100 significantly.
- Why it works: Damage calculations multiply mods of the same type. Spreading across two elements halves your scaling. For example, a Lightning Sorcerer stacks Lightning Critical Strike Damage, not Fire Damage.
- Why it works: Crowd control and defensive cooldowns allow you to survive bursts. Many builds require a movement skill to dodge boss mechanics.
- Why it works: In-game numbers are unreliable; dummies give stable outputs. You can see if a change increases DPS or lowers it before committing resources.
- Why it works: Activating the secondary bonus often gives +100% to a specific damage type (e.g., +X% Physical Damage). Missing this defeats the purpose of the Glyph.
- Why it works: You can complete any content without an Uber unique. Chasing them will burn you out. Trade gold to buy them if you have millions to spare, but not before you have a full build.
- Why it works: The Aspect is reusable via the Codex of Power. The raw gold from vendoring is better than keeping a useless item.
- Why it works: Lower cost means more gambles per Obol, increasing chance of hitting a desired Aspect. Boots and gloves also roll movement speed and ranks to skills generously.
- Why it works: Boss rotation is tedious; trading cuts time by 50%. Prices fluctuate, so check Diablo.trade or the official Discord for current rates.
- Why it works: Re-rolling a single affix is cheaper than crafting a new item from scratch. Budget around 5-10 re-roll attempts per item.
- Why it works: Shrines provide temporary immunity or massive damage. Using them prematurely on trash wastes their potential.
- Why it works: Solo tackling a World Boss is nearly impossible past Torment; the group splits aggro and provides resurrection safety.
- Overworld: Whispers (Obols), Helltide (Forgotten Souls, Living Steel), Nightmare (Glyph XP, better loot).
- Prioritize: Nightmare Dungeons for leveling (Glyph XP > item drops). Helltides for materials to summon bosses.
- Why it works: Mixing activities is inefficient. Dedicate sessions to one type to maximize specific currencies.
- Why it works: This prevents a death loop where enemies camp your body. Only use if you’re sure you can’t retrieve safely.
- Level 1-50: Follow the campaign. Do all Strongholds in each zone. Unlock all Waypoints.
- Level 50-70: Finish the campaign. Start Tree of Whispers. Farm Helltides for gear and materials.
- Level 70-100: Nightmare Dungeons for Glyph XP and Paragon levels. Target-farm unique bosses (Duriel, Andariel) for specific uniques.
- Endgame: Push Nightmare Dungeon Tier 100. Defeat Uber Lilith. Optimize gear affixes. Trade for perfect rolls.
#### 1.2. Exploit Crowd Control (Beginner)
Apply Slow, Stun, Freeze, or Knockdown to enemies before using high-damage abilities.
#### 1.3. Use Your Potion on Cooldown (Intermediate)
Don’t hoard health potions. Drink whenever you drop below 50% HP in combat. The cooldown is short, and you can find more potion charges from slain enemies or shrines.
#### 1.4. Stutter-Step for Ranged Characters (Intermediate)
Between each attack, take a tiny step. This cancels the end of your attack animation, allowing faster repositioning without delaying your next attack.
#### 1.5. Elites: Single Out the Most Dangerous (Advanced)
Packs of Elite monsters have unique affixes. Identify and burst down the one with Suppressor, Stormbane’s Wrath, or Avenger first. Suppressor negates your skill projectiles; Stormbane leaves expanding pools; Avenger buffs nearby non-elite enemies.
---
2. Exploration Tips
#### 2.1. Always Check Dead-Ends (Beginner)
Every zone has hidden events, Legendary chests, or Altars of Lilith. Take a few seconds to explore branches that don’t lead to the main objective.
#### 2.2. Use the Map Legend (Intermediate)
Open the full map (M / Touchpad) and click the legend button to see icons for all dungeon entrances, Waypoints, and whisper targets. This helps plan efficient routes.
#### 2.3. Pin a Quest to Track Multiple Zones (Intermediate)
You can pin up to five quests/objectives on the map at once. This is vital when juggling Seasonal Journey, Tree of Whispers, and a dungeon run.
#### 2.4. Unlock Mount Early (Beginner)
Complete the Donan’s Favor quest (roughly level 30 in Act 4). Once you have a mount, you can unlock Mount Speed upgrades (from the Stable Master) to make travel 15-20% faster.
#### 2.5. Nightmare Dungeon Sigils: Check for Codex Effects (Advanced)
Before using a Sigil, read the modifiers. Avoid “Monster Critical Resist” (crit damage penalties) if you rely on crits. Also avoid “Vulnerability Duration Reduction” for mana- or resource-starved builds.
---
3. Resources & Inventory Tips
#### 3.1. Salvage vs. Sell (Beginner)
Up to level 70, Salvage Everything except gear you equip. After that, sell rare items for gold.
#### 3.2. Stash Tab Organization (Intermediate)
Label each tab by usage: “Equip,” “Aspects,” “Gems,” “Seasonal,” “Trade.” Use the search bar to find items quickly.
#### 3.3. Murmuring Obols: Spend Early, Spend Often (Intermediate)
Complete Whispers to earn Purveyor of Curiosities (gambling). Spend your Obols as soon as you have 500-1000. Don’t cap at 1000 (wasting potential).
#### 3.4. Gem Fragment Conversion (Advanced)
You can convert Gem Fragments of one color to another at the Jeweler, but it costs 10:1 ratio and gold. Only convert if you’re desperate for a specific gem.
#### 3.5. Stack Elixirs and Incense (Advanced)
You can have one Elixir active (provides stats and +5% XP on kill) plus one Incense of each duration (20, 30, 60 min). The XP bonus stacks multiplicatively with other sources.
---
4. Build & Skill Tips
#### 4.1. Pick a Core Damage Type (Beginner)
Choose one damage type (Physical, Fire, Cold, Lightning, Shadow, Poison) and focus all gear affixes, Paragon nodes, and skills on it.
#### 4.2. Always Keep an Unlockable Skill Slot (Intermediate)
Your Skill Bar has 6 slots. Keep one open for a Buff (like Barbarian’s Shouts) or Mobility (Druid’s Trample). Don’t fill all 6 with damage abilities.
#### 4.3. Test Builds on the Practice Dummy (Intermediate)
In Kyovashad, there are training dummies. Use them to compare damage numbers after swapping aspects or skills. Split-screening a parse (damage over 10 seconds) helps validate changes.
#### 4.4. Paragon Board: Glyph Ranges (Advanced)
When placing a Glyph, check its range radius (usually 3 or 4 nodes). Aim to activate the secondary bonus by surrounding the Glyph with enough Magic nodes of that type (e.g., Dexterity nodes for a Dexterity-based Glyph).
#### 4.5. Uber Uniques: Don’t Prioritize Them (Advanced)
Uber Uniques (like Shako, Grandfather) have drop rates below 1% even from Tormented bosses. Focus on farming regular uniques with better stats and Aspects first.
---
5. Economy & Trading Tips
#### 5.1. Sell Legendaries with Wrong Affixes (Intermediate)
If a Legendary item has good item power but affixes that don’t match your build (e.g., +Thorns for a Fire Sorcerer), salvage it for the Aspect, then sell or vendor the material.
#### 5.2. Buy in Bulk from the Purveyor (Intermediate)
When gambling Obols, buy the cheapest item slot (usually boots or gloves) because they cost fewer Obols. You can then extract the Aspect if you get a good one.
#### 5.3. Trade for Runes & Boss Materials (Advanced)
Season 5 introduced Trade Chat. Use it to trade duplicate boss materials (like Stygian Stones, Exquisite Blood) for the ones you need. Also trade gold for Duriel summons.
#### 5.4. Gold Sink: Re-roll Affixes Cheaply (Advanced)
The Occultist can re-roll one affix per item. The cost increases exponentially with each re-roll (up to millions). Re-roll only the most important affix (e.g., Critical Strike Chance) and stop if you hit a mediocre roll.
---
6. Miscellaneous Advanced Tips
#### 6.1. Stun Grenades and Shrines (Beginner)
Shrines are powerful but have a 30-second duration. Plan to pop a Shrine just before entering a large pack of elites or a boss room. Stun Grenade shrines are excellent for clearing rooms.
#### 6.2. World Bosses: Stay in Group (Intermediate)
When fighting World Bosses like Ashava, stay within the group marker. The boss’s AoE attacks are easier to dodge when you have multiple escape angles. Also, rezzing allies is faster.
#### 6.3. Overworld vs. Helltide vs. Nightmare (Advanced)
Each activity gives different rewards:
#### 6.4. Exit Strategy (Intermediate)
If you die in a Nightmare Dungeon and your corpse is in a bad spot, Teleport to Town from the menu (not by dying). Wait 10 seconds, then re-enter. You’ll respawn at the dungeon entrance instead of at your corpse.
---
Final Progression Path (Quick Reference)
Remember: Diablo IV is about having fun while killing demons. Experiment with builds, ignore meta pressure, and enjoy the world of Sanctuary.