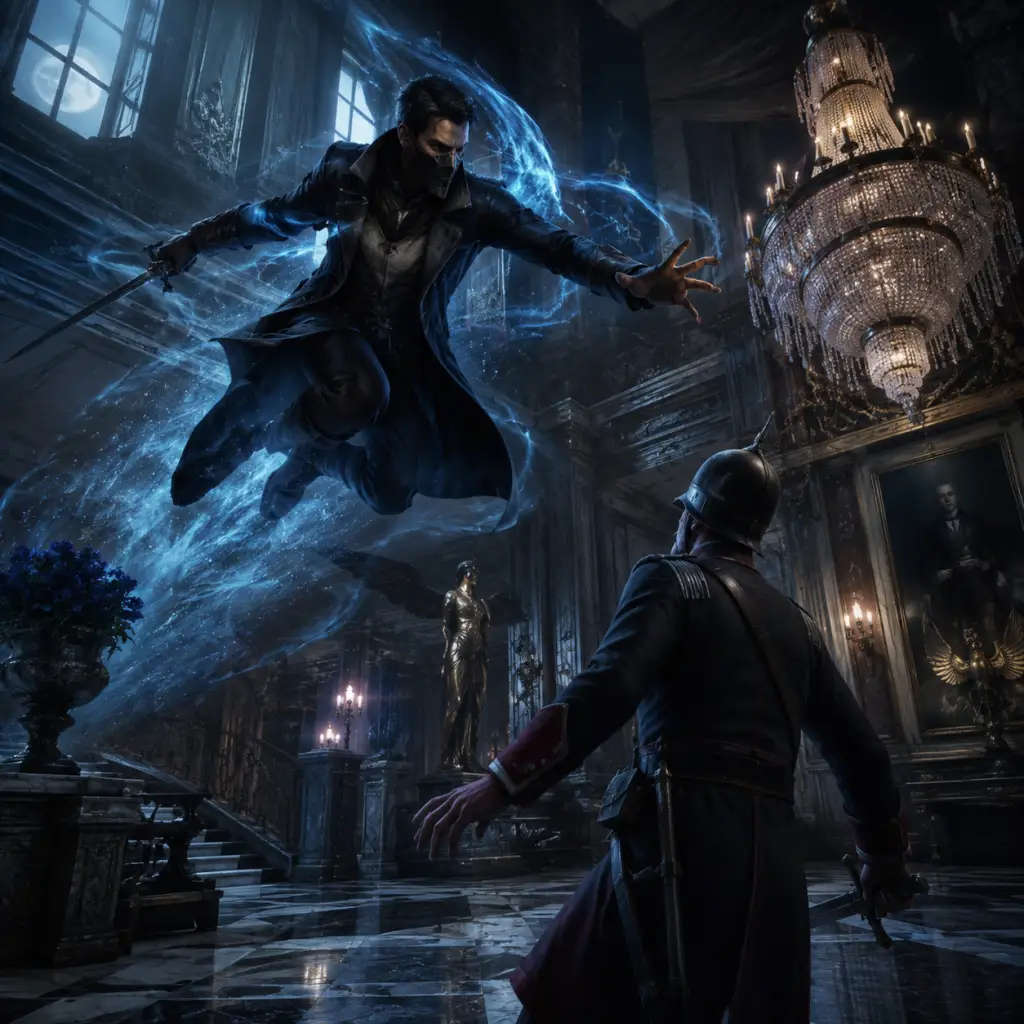
Core Gameplay
Core Gameplay Guide for Dishonored 2
This guide breaks down the core gameplay loop and systems of Dishonored 2 across four progression tiers: Early Game, Mid Game, Late Game, and Endgame. Each section covers the main gameplay loop, combat/interaction systems, progression, exploration, quests/missions, economy, character/build growth, and endgame structure tailored to that tier.
---
Early Game (Chapters 1–3: Karnaca Arrival up to The Clockwork Mansion)
Main Gameplay Loop
- Explore the streets of Karnaca, complete your first mission objectives (e.g., find Meagan Foster, eliminate the Crown Killer).
- Use stealth or direct action to bypass or eliminate guards and threats.
- Acquire basic resources (coins, runes, bonecharms) from safes, hidden caches, and enemies.
- Return to the Dreadful Wale between missions to upgrade equipment, manage inventory, and accept new contracts.
- Melee: Sword swings (left mouse/right trigger) can parry enemy attacks if timed correctly. Basic guards fall in 1–2 hits, but alerted enemies require careful timing.
- Ranged: Pistol (low ammo early on) and crossbow (sleep darts, regular bolts). Use sleep darts to non-lethally incapacitate.
- Stealth: Crouch (Ctrl/L3) to move silently, stay out of sight (bushes, shadows, above ground). Peek through keyholes and use dark vision (if you have it) to track enemies.
- Blink: Corvo’s basic ability allows short-range teleportation. Use it to reach ledges, evade sight, or distract.
- Interaction: Pick locks (use lockpicks), hack walls of light (wire puzzles), activate levers, carry unconscious bodies to hide them.
- Character Abilities: Runes are used to purchase and upgrade powers. Early game you can afford 1–2 basic upgrades: Corvo gains Bend Time (slow or stop time briefly) or Possession (take over small creatures); Emily gains Far Reach (pull objects/enemies) or Mesmerize (distract enemies).
- Equipment Upgrades: Bonecharms provide passive bonuses (e.g., faster movement while crouched). Use bonecharms found in the world or crafted at the black market shop.
- Levels are semi-open hubs with multiple vertical paths. Early game areas like the Addermire Institute have hidden rooms, alternate entry points, and side objectives (e.g., saving Doctor Alexandria Hypatia).
- Pay attention to notes, audiographs, and environmental clues to find secret areas and lore.
- Use heart (acquired after the first mission) to sense hidden runes and bonecharms.
- Main missions: “A Long Day in Dunwall” (prologue), “Edge of the World” (free roam Karnaca), “The Good Doctor” (Addermire Institute).
- Side missions: Usually optional assassination or sabotage contracts found in the world (e.g., kill a specific guard leader). Complete for extra coins and sometimes a bonecharm.
- Objective variety: Assassinate, non-lethal neutralize, or steal. Each mission has a main target and often a secondary optional target.
- Coins: Found in loot, safes, and from pickpocketing. Spend at black market shops for ammo, keys, maps, and special items (e.g., the Masterful Refined Spring that increases crossbow bolt capacity).
- Runes: Limited supply early on (around 8–10 per level). Prioritize a core power (e.g., Bend Time or Far Reach) and a passive (e.g., Vitality for health).
- Bonecharms: Randomly generated early, but you can craft your own by sacrificing runes at a bonecharm altar (unlocked after a few levels).
- Start with no powers. Decide whether to play low chaos (non-lethal stealth) or high chaos (lethal combat). Early choices shape dialogue and world changes.
- Example build: Low-chaos Emily: Far Reach + Mesmerize + Shadow Walk (unlock later). High-chaos Corvo: Bend Time + Windblast + Devouring Swarm.
- After completing “The Clockwork Mansion” (chapter 3), you unlock more abilities and access to the black market shop. End of early game prepares you for the tougher mission “The Royal Conservatory”.
- Juggle multiple mission objectives across larger, interconnected maps (e.g., Dust District has several factions).
- Use upgraded powers to bypass more complex enemy types (Witch Coven, Clockwork Soldiers).
- Engage with faction quests (e.g., assist the Howlers or the Abbey of the Everyman).
- Recurring trips to the Dreadful Wale to upgrade gear and receive new missions.
- Advanced enemies: Clockwork Soldiers are immune to sleep darts and most physical attacks; require disabling via their back panel (lethal) or rewiring (non-lethal). Witches have powerful ranged attacks and teleport.
- New powers: Mid-game you can afford mid-tier upgrades like Domino (Emily) linking enemies so actions affect multiple, or Windblast (Corvo) for crowd control.
- Gadgets: Use stun mines, spring razors, and howling bolts (distract enemies). Combine gadgets with powers: e.g., drop a stun mine then use Far Reach to pull a guard into it.
- Stealth improvements: Dark Vision (if not already) now shows enemy vision cones and lootable items.
- Skill trees: Runes now cost more (4–6 per upgrade). Focus on tier 2 abilities (e.g., Domino, Shadow Walk).
- Equipment upgrades: Upgraded crossbow (rapid fire or precision), more pistol ammo capacity, bonecharm crafting now viable with 3–4 crafting materials found per level.
- Chaos system: Your actions affect the world: high chaos causes more bloodflies, more aggressive guards; low chaos makes civilians helpful and less security.
- Levels have multiple overlapping zones (e.g., Dust District splits into Howler hideout, Overseer outpost, abandoned mines). Use wall of light bypasses via rewired security panels.
- Secret areas often contain runes, bonecharms, and blueprints. Example: in the Dust District observatory, find a hidden passage with a bonecharm.
- Use heart regularly—it can detect secret doors and lootable objects.
- Main missions: “The Royal Conservatory” (eliminate Breanna Ashworth), “The Dust District” (find Stilton and deal with Jindosh’s riddle), “A Crack in the Slab” (time-manipulation level with shifting house).
- Side missions: Each district has multiple optional objectives, such as destroying a painting, stealing a specific item, or rescuing prisoners.
- Mission branching: In Dust District, you can side with the Howlers (get a shortcut) or the Overseers (gain access to Stilton’s manor). Choice affects rewards and NPC reactions.
- Coins: More abundant, but expensive upgrades (e.g., a powered wall of light override costs 300 coins). Black market sells rare bonecharm recipes for 200–400 coins.
- Runes: 10–12 per level. Spend wisely; respec is not available until late game via a special item (tonic of reversal, found rarely).
- Crafting: Bonecharm crafting becomes key. Combine traits (e.g., Strong Arms + Swift Potion) for powerful combos. Use runes to unlock more crafting slots.
- Build specialization solidifies. Example: Low-chaos Emily with Domino (3 links), Mesmerize (radius upgrade), and Shadow Walk speed. Build allows non-lethal group knockdowns.
- High-chaos Corvo: Bend Time (upgrade to stop longer), Windblast (area), and Blood Thirst (increase damage). Prioritize combat-focused bonecharms (e.g., +damage from stealth).
- Completing “A Crack in the Slab” reveals the time-manipulation gimmick and a major plot twist (Stilton’s fate). End of mid game leads to the mission “The Grand Palace” where you face Duke Abele.
- Finish remaining side objectives in prior levels (some can be revisited via the Dreadful Wale world map for a short window).
- Confront major bosses: Duke Abele (lethal or non-lethal via his body double), Delilah Copperspoon.
- Use fully upgraded powers and high-level bonecharms to deal with elite enemies (Overseer Elites, Bloodfly nests).
- Chaos level determines the state of Karnaca: high chaos leads to more infected districts; low chaos shows civilians rebuilding.
- Boss mechanics: Delilah’s statue-army fight requires using her own power (Domino) or the Amulet of the Outsider (if collected). Duke Abele fight is standard but with lots of guards.
- Advanced techniques: Stack multiple powers (e.g., Shadow Walk then Possession through a keyhole). Use bonecharms like “Void Favor” to reduce mana cost.
- Allied NPCs: Some missions allow you to bring a companion (e.g., Anton Sokolov in The Good Doctor). They provide distractions but limited combat ability.
- Maxed abilities: By late game you should have at least 3–4 core powers fully upgraded and 5–6 bonecharms equipped. To get all powers requires ~40 runes total; you may need to scavenge every level and do side quests.
- Equipment fully upgraded: Masterful crossbow (rapid fire + 3 bolt types), Max pistol ammo (12 shots), 2 grenade types.
- Chaos system: Final chaos level influences the post-credit scene and certain NPC fates (e.g., Meagan’s arm, Jessamine’s ghost).
- Levels are more linear but still have verticality (e.g., The Grand Palace has many rooftops and balconies).
- In “Death to the Outsider” (if you have it), new areas like the Void are abstract and require platforming.
- Use heart extensively in the final palace; it reveals hidden passageways in Delilah’s throne room.
- Main missions: “The Grand Palace” (infiltrate the Duke’s mansion), “Death to the Outsider” (venter into the Void to confront Delilah).
- Side missions: Few new ones; instead, loose ends from earlier levels (e.g., returning a key to a shopkeeper) can be completed now.
- No real side quests after endgame begins; once you progress past a certain point, you cannot go back.
- Coins: You’ll have excess by now (1000+). Buy the last few upgrades if any.
- Runes: If missing some, use heart in earlier levels (you can replay missions from main menu after beating the game, but not during playthrough). Prioritize one final power upgrade.
- Bonecharms: Craft the best combinations. Example: “Strong Spikes” (increases unconscious carry speed) + “Light from Darkness” (recover mana in shadows).
- At this point, build is finalized. For Emily, a strong late-game build includes Domino (full 4 links), Mesmerize (extended duration), and Shadow Walk (stealth kill). Corvo may go Bend Time (freeze multiple), Possession (upgrade to humans), and Summon Rats (for chaos).
- Consider a hybrid if you have many runes: e.g., Emily with Far Reach and Domino, plus a few Corvo-like powers if you have Favor (you don’t, but similar effects via bonecharms).
- After defeating Delilah (lethal or non-lethal), the final cutscene shows the consequences of your chaos level. The game ends, and credits roll. No postgame sandbox; you reload to before the last mission or start New Game+.
- No free roam after final mission. Once you finish “Death to the Outsider” (or the alternate final), the game ends. You can reload a save from before the final mission to explore any remaining side content, but not continue the story.
- New Game+ (unlocked after beating the game once): Start a new playthrough with all powers unlocked from the beginning. Choose to play as the other protagonist (if you played Corvo first, now play Emily and vice versa). Chaos carries over? No, but you keep all powers regardless of chaos. This allows you to experiment with different builds from the start.
- Mission replay: From the main menu, you can replay any mission with your current loadout (including powers from New Game+). This is useful for achievements, experimenting, or finding missed collectibles. Chaos choices in replays do not affect your main save.
- DLC content: “Dishonored: Death of the Outsider” is a standalone expansion but shares mechanics. Not part of base game endgame, but adds new powers (e.g., Displace) and missions.
- Same as early game but with full power sets. You can breeze through early missions with high-level abilities, but combat is still challenging if you rush.
- Try opposite chaos level: if you played low chaos, now go high chaos to see different outcomes.
- Collect all runes and bonecharms to craft ultimate builds (e.g., all passive slots filled).
- With all powers, you can chain combos like: stop time, throw 10 grenades, possess a guard, kill everyone, then blink away. This trivializes most encounters.
- Use bonecharms from the start; craft them immediately for massive bonuses.
- No traditional progression since you already have everything. But you can still upgrade equipment by finding blueprints again (if you want). Runes are useless except for crafting bonecharms.
- Chaos system still applies; you can shape the world’s final state differently.
- With all powers, you can reach previously inaccessible areas earlier. For example, use Far Reach to skip entire sections.
- Use Heart from the start; find all runes efficiently.
- Same main and side missions. No new quests in New Game+.
- You can complete all side objectives more easily, unlocking achievements like “Clean Hands” (no kills) or “Ghost” (never detected).
- Coins are still needed for black market upgrades? Actually, you already have infinite starting ammo? No, you still need to buy ammo; but you have many coins from previous run. Not a constraint.
- Runes are plentiful but not needed for powers; use them for crafting bonecharms.
- No further growth beyond maxing all abilities. You can reset? Not in base game; but you can start another New Game+ with different protagonist.
- The ultimate endgame is to complete all achievements, find all lore, or challenge yourself (e.g., no powers run, only crossbow, speedrun). The game does not have a traditional endgame like raids; the replayability comes from stort branching and playstyle freedom.
Combat/Interaction Systems
Progression
Exploration
Quests/Missions
Economy
Character/Build Growth
Endgame Structure (Early Game)
---
Mid Game (Chapters 4–6: The Royal Conservatory, Dust District, and A Crack in the Slab)
Main Gameplay Loop
Combat/Interaction Systems
Progression
Exploration
Quests/Missions
Economy
Character/Build Growth
Endgame Structure (Mid Game)
---
Late Game (Chapters 7–9: The Grand Palace, Death to the Outsider related content, and Final Mission before Endgame)
Main Gameplay Loop
Combat/Interaction Systems
Progression
Exploration
Quests/Missions
Economy
Character/Build Growth
Endgame Structure (Late Game)
---
Endgame (Post-Mission Completion and New Game+)
Endgame Structure
Gameplay Loop in New Game+
Combat/Interaction Systems
Progression in New Game+
Exploration
Quests/Missions
Economy
Character/Build Growth
Endgame Structure (Endgame)
---
Summary Table of Tiers
| Tier | Chapters | Key Powers | Main Enemy Types | Economic Focus |
|---|---|---|---|---|
| Early | 1–3 | Blink/Far Reach, 1-2 basic powers | Guards, Dogs, Howler thugs | Basic ammo, first rune purchases |
| Mid | 4–6 | Domino, Shadow Walk, Bend Time + upgrades | Witches, Clockwork soldiers, Howler leaders | Advanced upgrades, bonecharm crafting |
| Late | 7–9 | Maxed powers | Duke’s guards, Delilah’s statue army | Last upgrades, high-end gear |
| Endgame | Post-game | All powers (NG+) | Revisit any enemy type | Crafting, achievement hunting |
Tips for Each Tier
- Early: Save sleep darts for tough enemies. Explore thoroughly for runes.
- Mid: Choose a faction in Dust District wisely – it affects the path to Stilton.
- Late: During the Duke’s palace, use the body double to avoid a fight.
- Endgame: In New Game+, try a pure stealth run with no kills for the Clean Hands achievement.
This core gameplay guide covers all essential systems across the progression of Dishonored 2. Adapt your playstyle to the tier and use the environment to your advantage.