Game Tips
Combat Tips
Beginner - The Combat Loop Essentials
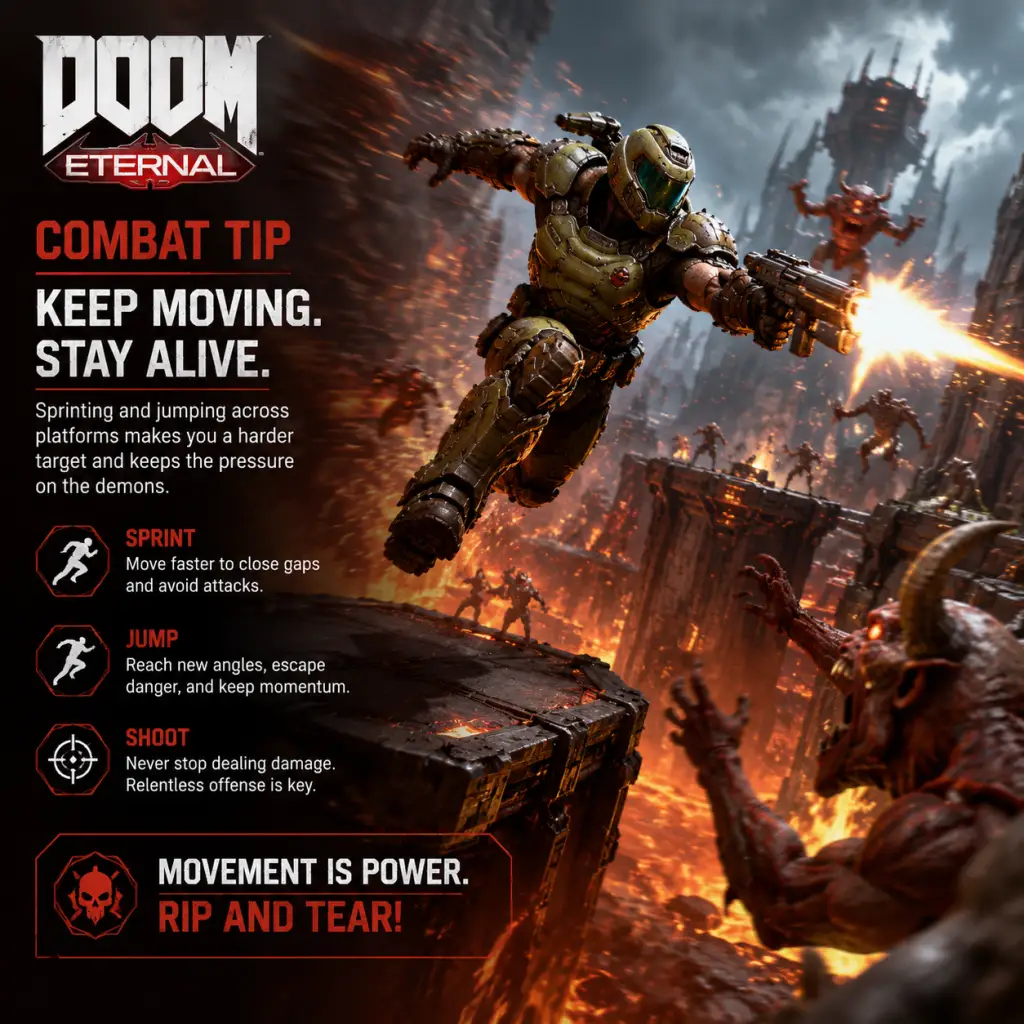
- Always be moving: Standing still is death. Make liberal use of the dash (default Shift on PC, L1 on PS4, LB on Xbox) to strafe and dodge projectiles. The dash recharges quickly—use it every 3 seconds to avoid damage.
- Use the Super Shotgun’s Meat Hook: This grapple not only closes distance but also staggers enemies. After hooking a demon, follow up with a quick shotgun blast to the face to stun it, then finish with a Glory Kill. Use this to regain health when low.
- Master the “Combat Dance”: The core loop is: shoot to damage → stagger → Glory Kill (health) → use Flame Belch (armor) → Chainsaw (ammo). Repeat. Always alternate resources to never run out.
- Learn every demon’s weakpoint: For example, the Mancubus’s cannon arms; destroy them with the Precision Bolt or Heavy Cannon scope to disable its fire attacks. The Arachnotron’s turret can be destroyed with a single Plasma Rifle heat blast. This instantly removes its most dangerous weapon.
- Use the Ballista immediately after a weapon swap: The Ballista deals massive damage but has a slow fire rate. Swap to it after firing a Super Shotgun or Rocket Launcher to cancel the recovery animation. This “quick-switch” technique doubles your DPS.
- Stagger with grenades: The Frag Grenade can stagger multiple lesser demons. Throw it into a crowd, then follow with a Rocket Launcher or Micro Missiles for easy kills.
- Chain Flame Belch with Blood Punch: Use Flame Belch (short cooldown) to set demons on fire, then Blood Punch (requires one full Blood Punch charge from killing staggered enemies) to restore massive armor. This combo can refill your armor from empty to full in seconds.
- Save Chainsaw for Heavy Demons: Use the Chainsaw on “Heavy” demons (e.g., Cacodemon, Hell Knight) to instantly kill them and drop far more ammo than using it on zombies. Prioritize high-tier enemies when your ammo is low.
- Ice Bomb + Rocket Lock-On: Freeze a group of demons with the Ice Bomb, then use the Rocket Launcher's lock-on burst to quickly eliminate them. The ice prevents movement, making lock-on shots easy.
- Look for glowing green eyes: These indicate a “Brutal” secret location or a “Cheat Code” orb. Shoot them to reveal a secret area. Many are on ceilings or hidden behind breakable walls.
- Use the map pin system: Press the map button (M on PC, touchpad on PS4) to place a waypoint on you want to revisit. The compass shows the direction to your pin. This helps in confusing levels like “The Blood Swamps.”
- Check behind waterfalls: Many levels have hidden alcoves behind waterfalls containing Sentinel Crystal upgrades or Armor Points.
- Collect all 3 items from each arena before leaving: After a combat arena, always search thoroughly for the “1-Up” doll, a Praetor Suit point, and a weapon mod. Use the map to find any missed items.
- Unlock shortcuts by destroying weak walls: Look for cracked walls that can be destroyed with the Rocket Launcher or Blood Punch. These often lead to shortcuts back to the start of an area, useful for backtracking.
- Pay attention to sound cues: Secret areas often have a distinct humming or a radio interference sound. Turn up your audio for easier detection.
- Skip unskippable cutscenes: Some cutscenes can be avoided by quickly pulling up the map or menu right as they start. This saves seconds on full-level runs.
- Use the Meathook for vertical shortcuts: The Super Shotgun’s Meat Hook can latch onto enemies far below or above you, letting you bypass long climbs. Use it in fights to reach elevated platforms faster.
- Master the “Double Dash”: On slopes, dash twice in quick succession to gain extra height, allowing you to reach ledges normally requiring a climb. Practice in The Fortress of Doom.
- Health: Always kill staggered enemies with Glory Kills—they drop green health orbs. Never let a stagger go to waste if you need HP.
- Armor: Use the Flame Belch (F on PC, R1 on PS4, RB on Xbox) on every group of enemies. It has a short cooldown, so use it liberally. Each enemy set on fire drops armor shards when damaged.
- Ammo: The Chainsaw (C on PC, Circle on PS4, B on Xbox) is your primary ammo source. Use it on fodder enemies (Imps, Zombies) to refill all ammo. It recharges faster after three full pips (killing a heavy demon with one pip).
- Never let one resource hit zero: If health is low, look for a Glory Kill. If armor is low, Flame Belch a group. If ammo is low, Chainsaw a zombie. Plan ahead—when you see a big fight, check your ammo and armor before engaging.
- Use the Super Shotgun as a crutch: It deals high damage and recovers health via the Meat Hook’s stagger. When you’re overwhelmed, pull yourself to a heavy demon and blast it for immediate heal.
- Upgrade the Flame Belch duration and radius: In the Praetor Suit menu, prioritize “Hot Furnace” (increases flame duration) and “Spreading Wildfire” (flame spreads to nearby enemies). This turns Flame Belch into a crowd-armor tool.
- Master the “Chainsaw Blood Punch” combo: When you Chainsaw a heavy demon, it takes a second to die. Use that window to Blood Punch nearby enemies for additional armor/health. This maximizes resource gain from a single kill.
- Use the Crucible for instant health: The Crucible (obtained later) is a one-hit kill against any demon, including the Marauder. Use it only when you’re near death and have no Glory Kill option—it also drops a large health orb.
- Stack armor with Shield Mancubus: When fighting Shield Mancubi, destroy their shield by shooting its back. They are excellent armor factories—Flame Belch them, then kill them with a Blood Punch to get massive armor shards.
- Super Shotgun + Rocket Launcher: This combo covers close and mid-range. Swap between them quickly to keep pressure. The Super Shotgun staggers, the Rocket Launcher deals area damage.
- Always have the Heavy Cannon with scope: The Precision Bolt mod (scope) is mandatory for sniping weakpoints from a distance. It’s your safest option for Mancubus arms or Arachnotron turrets.
- Ballista with Destroyer Blade: This mod fires a piercing beam that can hit multiple enemies. Use it when enemies are lined up, like in corridors. Works wonders against the Archvile’s summoned demons.
- Plasma Rifle with Heat Blast: The heat blast mod creates a powerful explosion if you overheat it. Charge it by shooting the plasma rifle, then when the gauge is full, press the mod button to unleash a blast that staggers nearby demons. Use it when surrounded by fodder.
- Chaingun with Mobile Turret: This mod lets you move while firing a high-rate spin-up. Use it against stationary bosses like the Doom Hunter (after destroying its sled) or the Icon of Sin’s gladiator phase.
- Bind weapon quick-swap keys: On PC, bind the Super Shotgun and Ballista to easy-to-reach keys (e.g., Q and E). The “quick-switch” combo (Super Shotgun -> Ballista -> Super Shotgun) deals massive burst damage and can stunlock some demons.
- Use the Micro Missiles mod for added damage: While using the Heavy Cannon, switch to Micro Missiles (press mod key while aiming) to fire homing missiles after a precision shot. This adds extra damage without slowing your aim down.
- Master the “Rocket Stick”: Use the Rocket Launcher with the Remote Detonate mod. Shoot a rocket into a Marauder’s shield, wait for him to lower it (after his green eye flash), then detonate the rocket for a guaranteed hit.
- Praetor Suit: First, get “High & Mighty” (faster movement when locked on) and “Hot Brew” (faster dash recharge). Then focus on resource generation upgrades like “Spreading Wildfire” and “Extra Lives.”
- Weapon Mods: Unlock the Ballista’s Arbalest mod (explosive burst) and the Super Shotgun’s Meat Hook (if not already unlocked). These are critical for progression.
- Sentinel Crystals: Always upgrade “Armor” and “Health” first—these are flat increases that help survival. Then unlock “Extra Lives” and “Movement Speed.”
- Save upgrades for specific fights: Before a boss arena (like the Marauder or the Doom Hunter), ensure you’ve invested in “Dash Recharge” and “Glory Kill range” (from Praetor Suit) to dodge their attacks and finish them faster.
- Prioritize the “Chainsaw Fuel” upgrade: The Praetor Suit’s “Fuel for the Fire” reduces Chainsaw recharge time by 25%. This means more ammo more often. Get it as soon as you can.
- Spare weapon points: Don’t fully upgrade every mod. Focus on two or three weapons you use most. The Ballista, Super Shotgun, and Heavy Cannon are universal; skip the Chaingun’s Shield mod unless you play defensively.
- Grind for extra lives: Each level has a hidden 1-Up doll. Collect them all in a level to get an extra life. Once you have 5 extra lives, the game spawns more in later levels—use this to buffer difficult arenas.
- Use the Fortress of Doom for last-minute upgrades: Before leaving the hub, ensure you’ve opened all locked doors that require Sentinel Batteries. These often contain large armor/health upgrades or weapon mod points.
- Sell unused mods: If you find a weapon mod you don’t need, you can sell it at the Workshop in the Fortress of Doom for Weapon Points. Use this to free up points for better mods.
- Bunny Hopping: Jump and press dash while in the air to maintain speed. This lets you move faster than normal running. Practice strafe-jumping in arenas to stay out of enemy fire.
- Wall Climb Cuts: When climbing a wall, press dash near the top to cancel the climb and launch yourself forward. This saves time in sections like the platforming in “The Super Gore Nest.”
- Fall Damage Cancellation: Doing a Glory Kill or landing on an enemy negates fall damage. If you must drop from a great height, aim for a nearby zombie or use a meathook to an enemy below.
- Marauder: Wait for his green eye flash (after he attacks or raises his shield). Fire immediately with the Super Shotgun or Ballista. Do not spam—he will block everything except during his attack window.
- Archvile: Always prioritize killing the Archvile first. Use the Ballista’s Destroyer Blade or the Super Shotgun’s Meat Hook to close distance quickly. If he summons a squad, use Ice Bomb + Rocket Lock-On to clear them.
- Whiplash: These snake-like enemies are fast and dodge often. Use the Plasma Rifle’s Heat Blast after stunning them with a Frag Grenade to freeze them, then finish with a Blood Punch.
- Rune of Agile: Combine “Air Control” (increased air movement) with “Saving Throw” (survive fatal hits). Air Control lets you dodge in mid-air, and Saving Throw gives you one get-out-of-jail-free card per fight. Both are from the Rune system found in optional levels.
- Sentinel Crystal “Chrono Strike”: This crystal upgrade slows time while you’re in mid-air aiming. Pair it with the Heavy Cannon’s Precision Bolt to snipe weakpoints safely while falling.
- Play on higher difficulties for better practice: “Hurt Me Plenty” is standard; “Ultra-Violence” forces you to master the combat dance. If you’re struggling, drop to “I’m Too Young to Die” but note that enemy spawns are fewer.
- Use the photo mode for exploration: Pause the game and enter photo mode to look around corners or above ledges for secrets. This is especially helpful in “The Blood Swamps” maze sections.